Building a new PC is one of the most exciting—and stressful—times in a techie’s life. You slapped all the parts together, so what’s the next step? While many guides cover the assembly process, few take you through the steps that follow. So, here’s the guide you’ll need next.
1 Connect the Cables and Your Peripherals
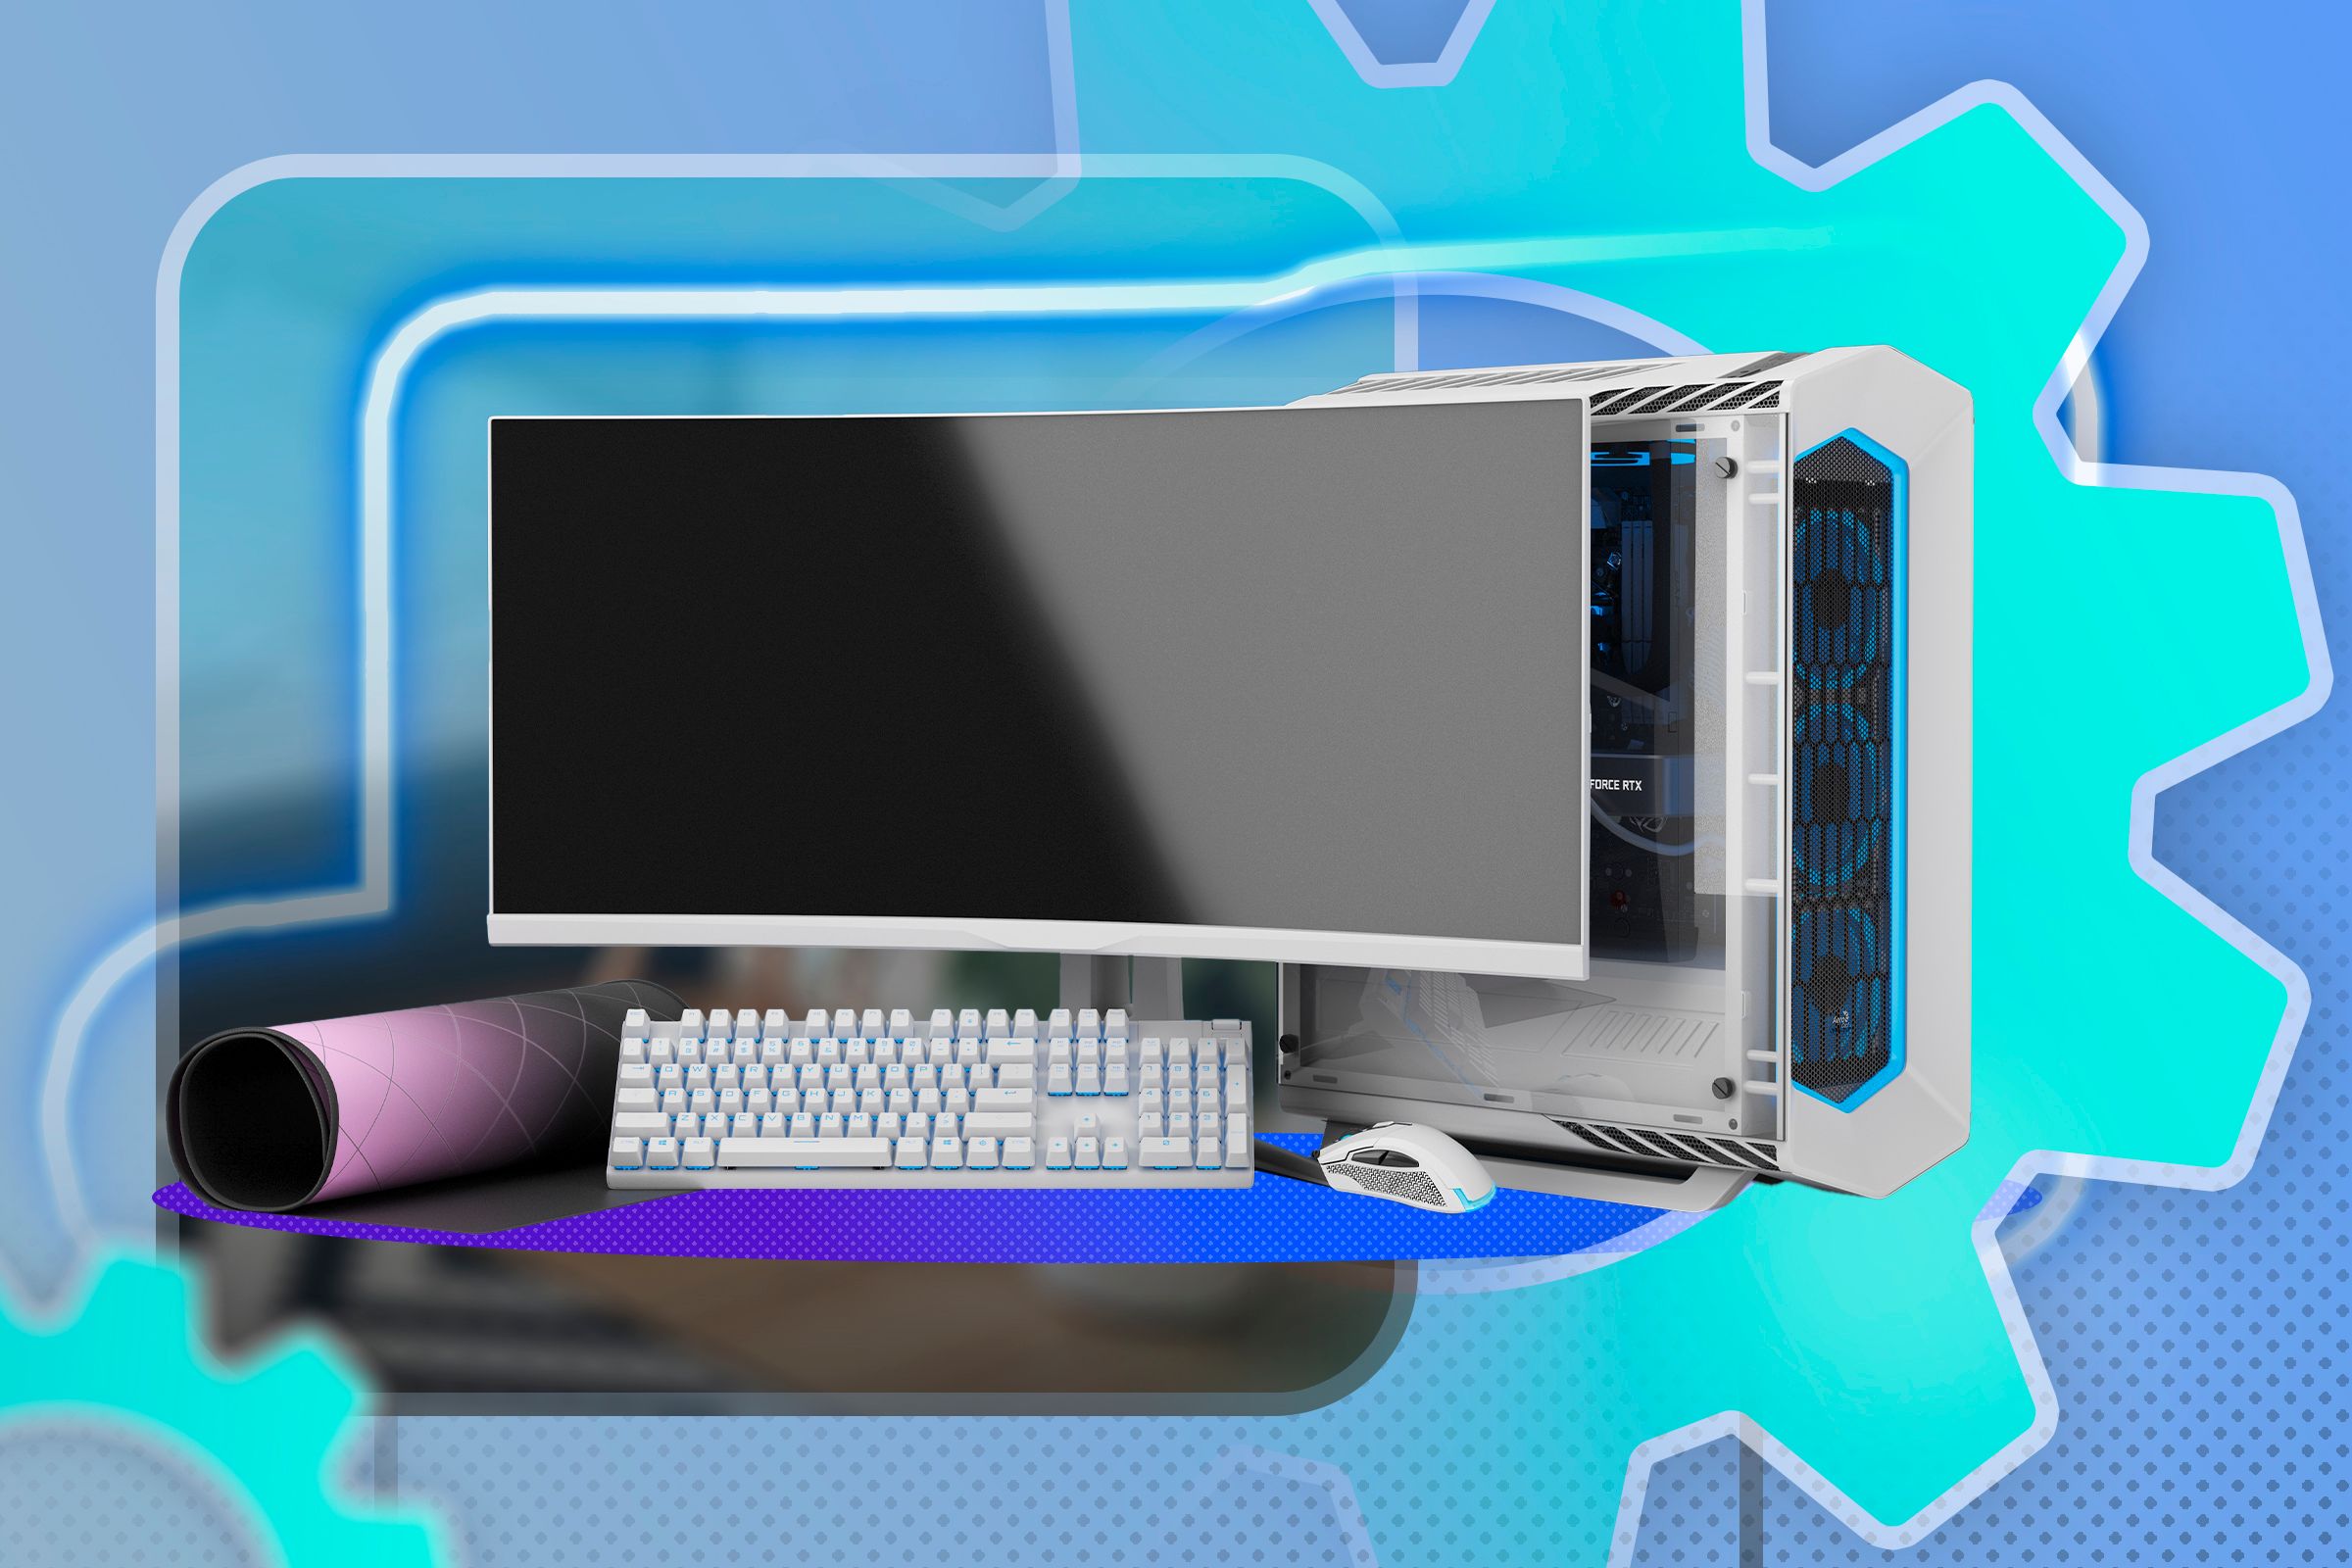
Assuming you’ve already built the PC and connected all the internals correctly, the first thing you’ll have to do is connect all the external cables. The back of your PC has ports for your power cable, monitor, Ethernet, keyboard, mouse, speakers, and any additional devices. Neatly organize the cables while you’re at it.
Unlike a PC’s internal cables, connecting the external cables is fairly straightforward. Each cable and port has a unique shape, so it’s practically impossible to do it incorrectly. The only small correctable error you want to avoid is plugging the monitor into the motherboard instead of the graphics card.
2 Test and Troubleshoot the New PC
Now that everything is connected, your PC should turn on when you press the power button, even if it doesn’t have an operating system yet. To be more precise, it should “POST” (Power-On Self-Test). The LEDs will turn on, fans will spin, and the monitor will display the POST screen.
If the PC doesn’t POST, don’t fret. Nine times out of ten, it’s just a minor issue that you can fix in minutes. If the PC isn’t getting any power, make sure that the power cable is fully inserted on both ends, the PSU switch (if present) is set to “On,” and your power strip is also turned on. If that doesn’t work, make sure your RAM, CPU, GPU, and all the cables are inserted correctly. Reseating them is also worth a shot. Also, if your motherboard is an older model compared to your CPU, you might need a BIOS update in order for the PC to work.
3 Install an Operating System
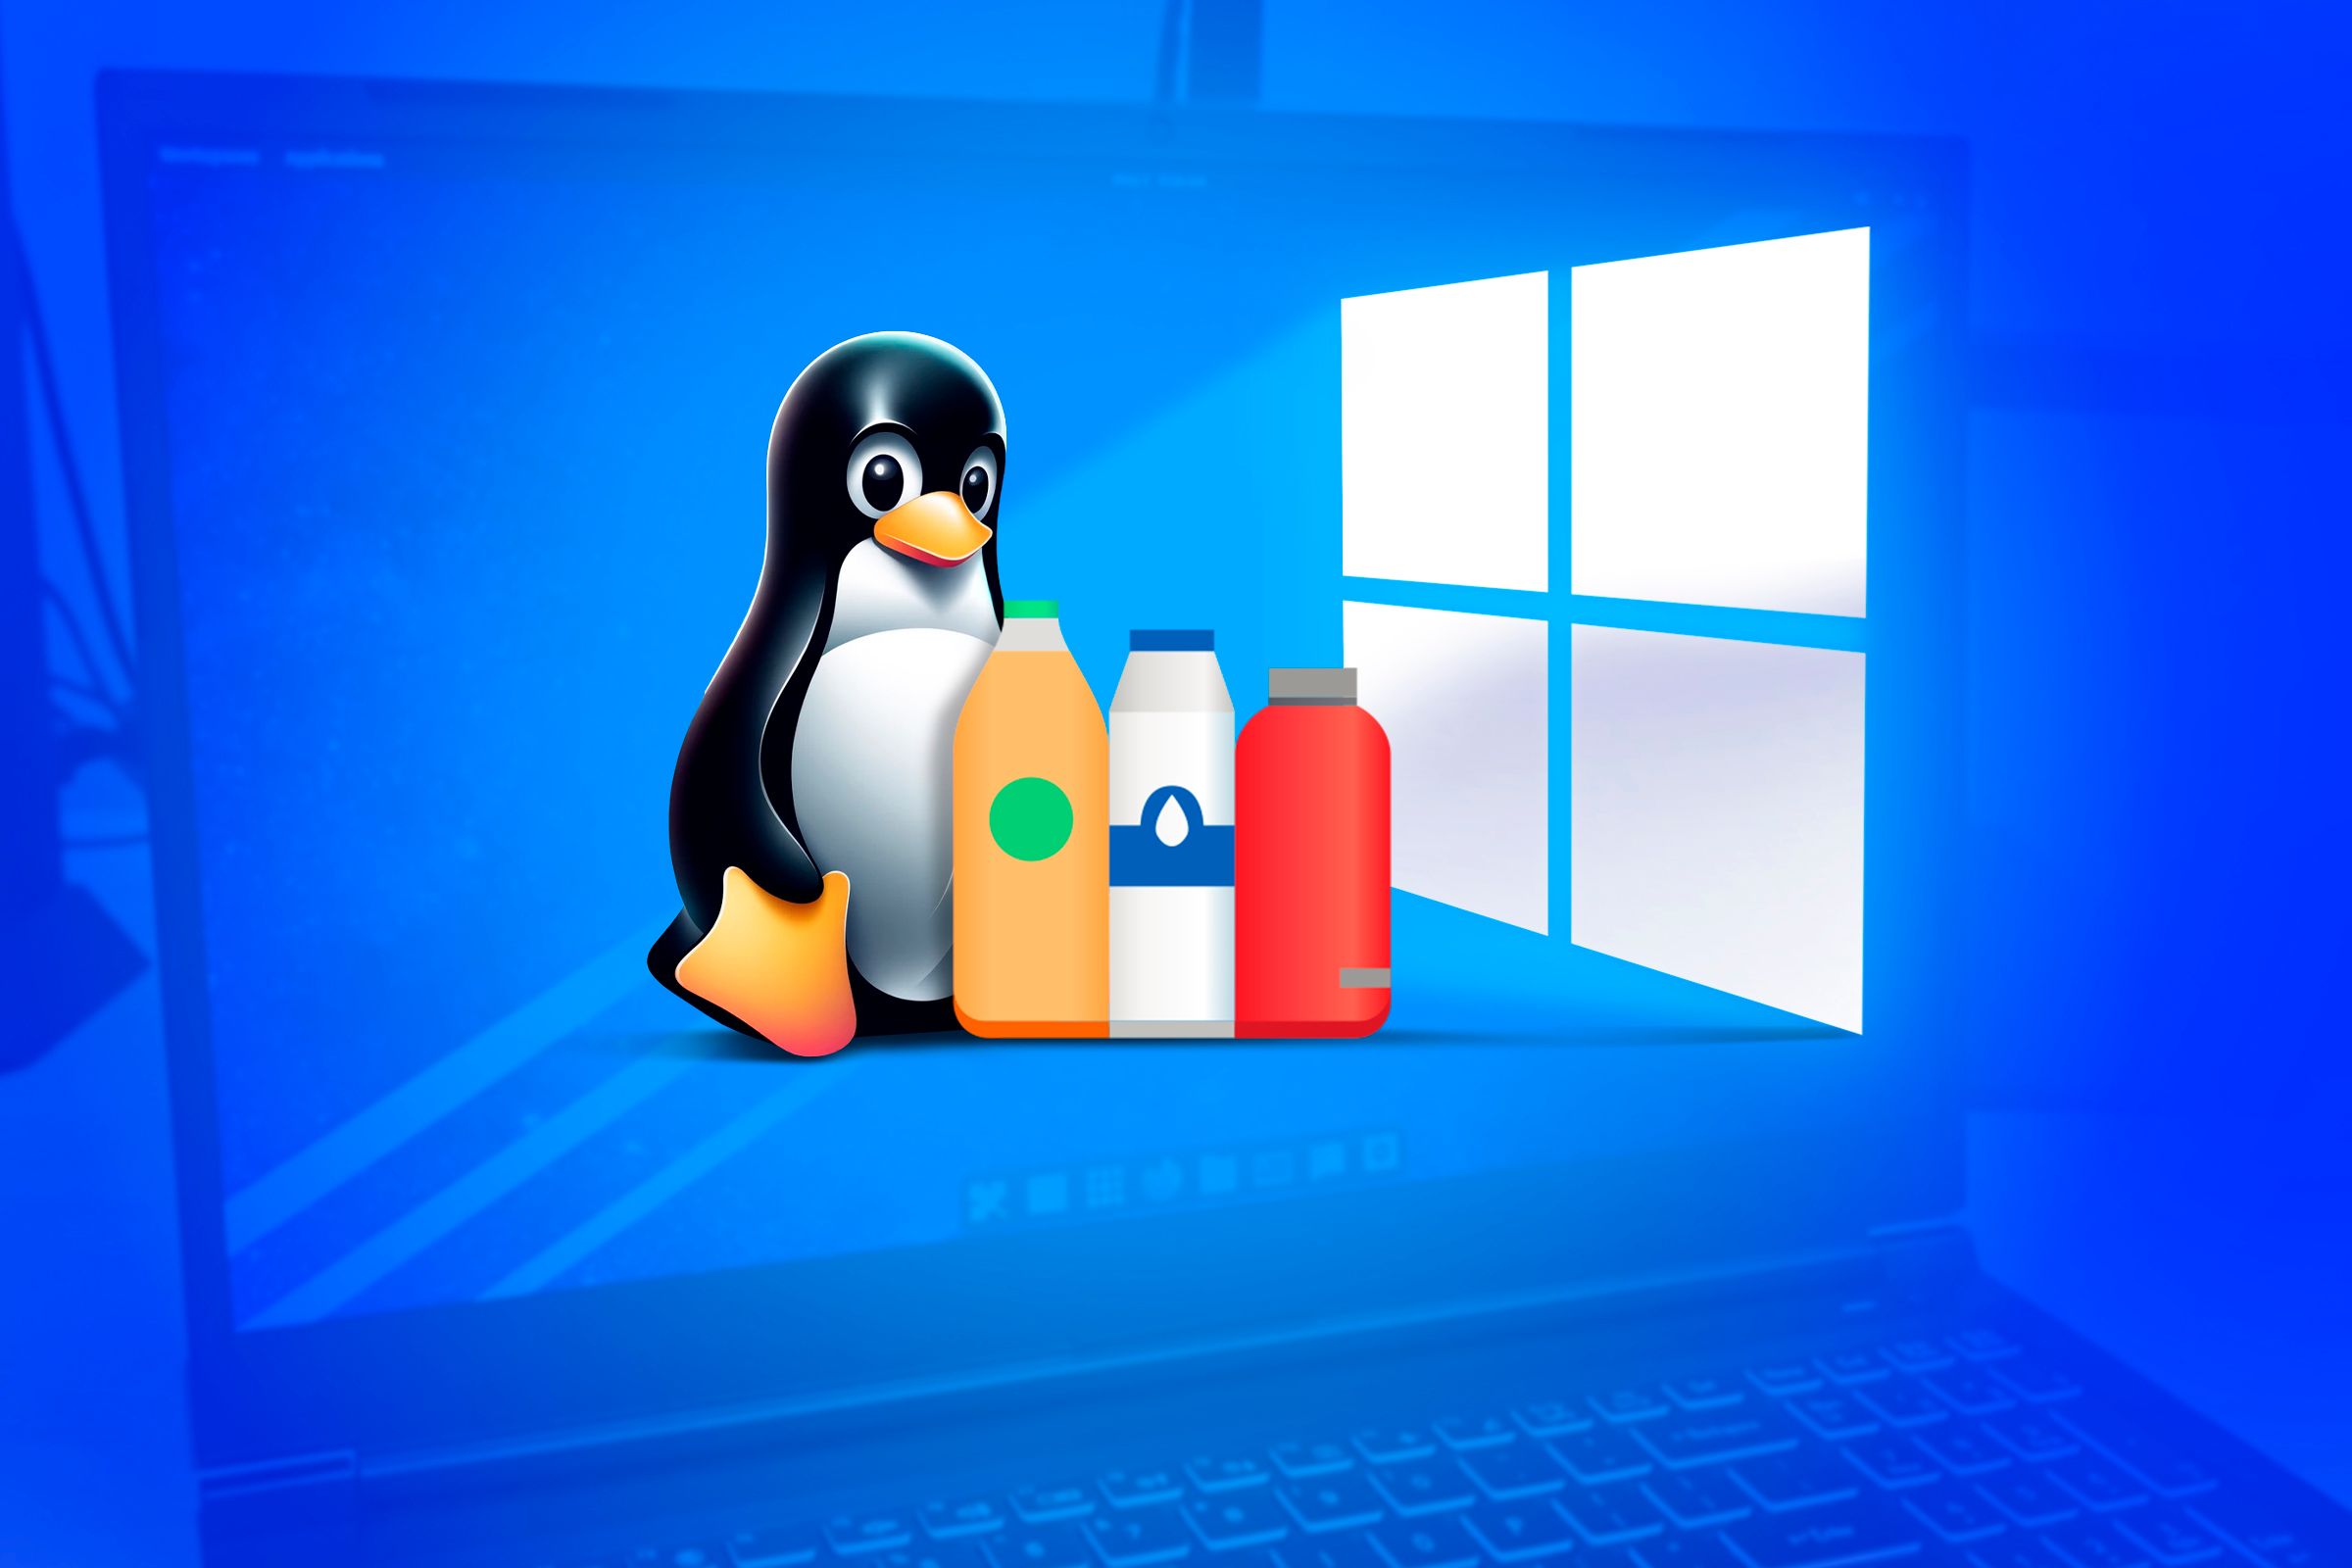
On the left, the Linux mascot and the bottle app logo, on the right, the Windows logo
With everything in order, it’s time to equip the PC with an operating system. Your choice essentially boils down between Windows and Linux, both of which have their own distinct advantages. Whichever OS you prefer, we have helpful guides for installing both Windows and Linux.
4 Download Essential Programs
After booting into the OS, it’s time to download your most important programs. Hopefully, you’ve made a list beforehand, but don’t worry if you haven’t. Ninite is a great starting point and the first website I have always opened on a freshly installed OS. Ninite allows you to install multiple programs at once. Simply select your list of preferred apps, download the package, and run it.
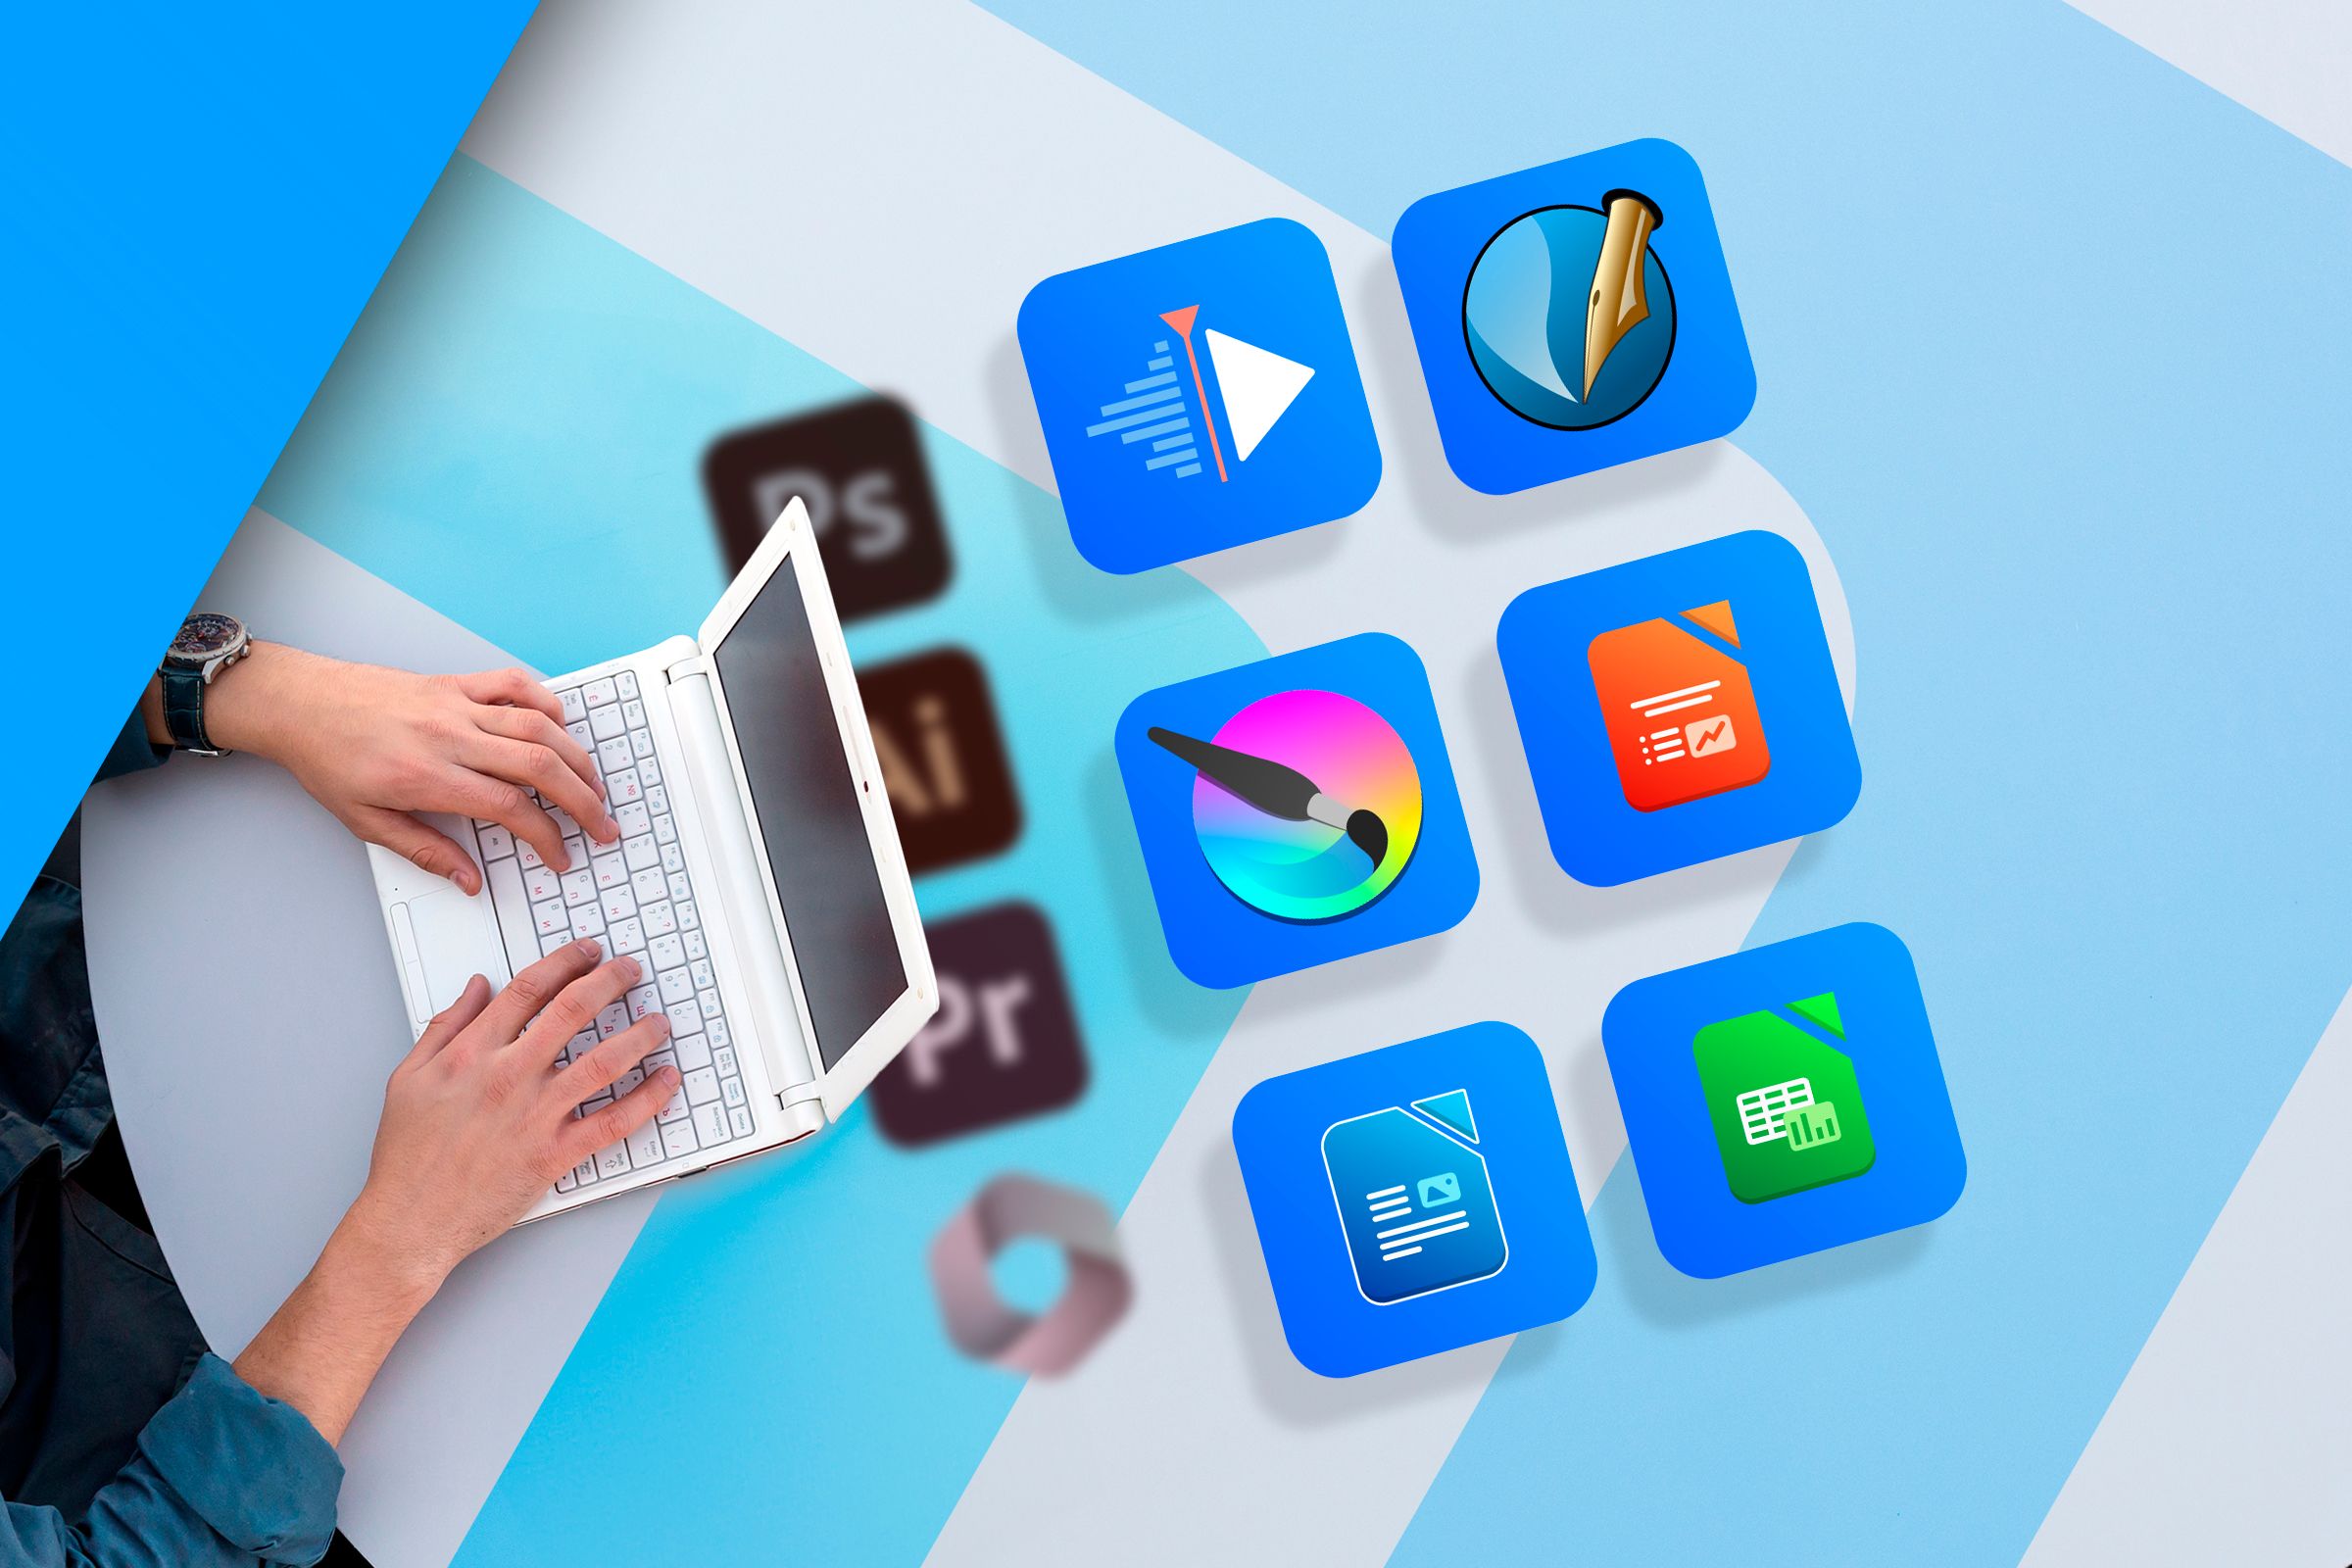
After using Ninite, don’t forget to download all the other apps that weren’t included. You might need some productivity apps for work, and if it’s a gaming PC, you probably have to get started with downloading all the game launchers.
5 Update the Drivers
Drivers allow your computer hardware to work correctly with the software. The basic versions of drivers get installed automatically; you wouldn’t even be able to use your keyboard, mouse, or monitor otherwise. Still, these are often generic or outdated drivers that limit the functionality and performance of your hardware.
If you want to get the most from your hardware, you should download the drivers for nearly all components and peripherals. Just remember that the only website from which you should download drivers is the respective manufacturer’s official website.
The most important drivers to install are the GPU drivers and chipset drivers. If you have a fancy keyboard and mouse, they probably have proprietary programs with drivers that allow you to customize them. You can also use these programs to update the firmware. The same is true for other peripherals, such as your monitor, webcam, speakers, and headphones.
6 Consider Updating the BIOS
If you check your BIOS version, it’ll most likely be the first version that was released on the motherboard. Depending on how old the motherboard is, there may have been numerous important security, performance, and feature updates that were added in newer BIOS versions.
So, if BIOS updates are so crucial, why didn’t I mention them alongside the driver updates? The issue is that updating your BIOS is always slightly more risky than any other update that you can do on your PC.
Even if you do everything correctly, a power outage could cause your PC to shut down in the middle of a BIOS update and brick your motherboard. That’s why you need to invest in an uninterruptible power supply. Don’t let this scare you from updating your BIOS, though. Not installing an important security update could be much more scary. So, make sure to follow the instructions from your motherboard’s manual fully and ensure stable power to your PC during the update.
7 Tweak All the Settings
You have all the apps and drivers, but they’re not fully set up just yet. There are a bunch of things you can do to optimize your PC for optimal performance. The most important ones are enabling XMP / EXPO and ReBAR / SAM in your BIOS. You should also optimize Windows / Linux, adjust the settings in NVIDIA Control Panel / AMD Radeon Software, and create a custom GPU fan curve.
8 If It’s a Gaming PC, Download Some Games
No gaming PC is truly complete without a bunch of games installed on it. Since modern games can be over 100GB and take hours to download, it’s smart to start the downloads as soon as you get the chance. Go through each game launcher and install all the games that you’ve always yearned to play on a more powerful PC! Steam lets you transfer game files over your local network instead of downloading; if your old PC is still at home, turn it on one last time.
9 Stress Test the System
Games give you an excellent opportunity to battle-test your new PC to make sure everything is stable and performs as expected. Benchmarks (both in games and third-party tools) give you a standardized test that you can use to test the system.
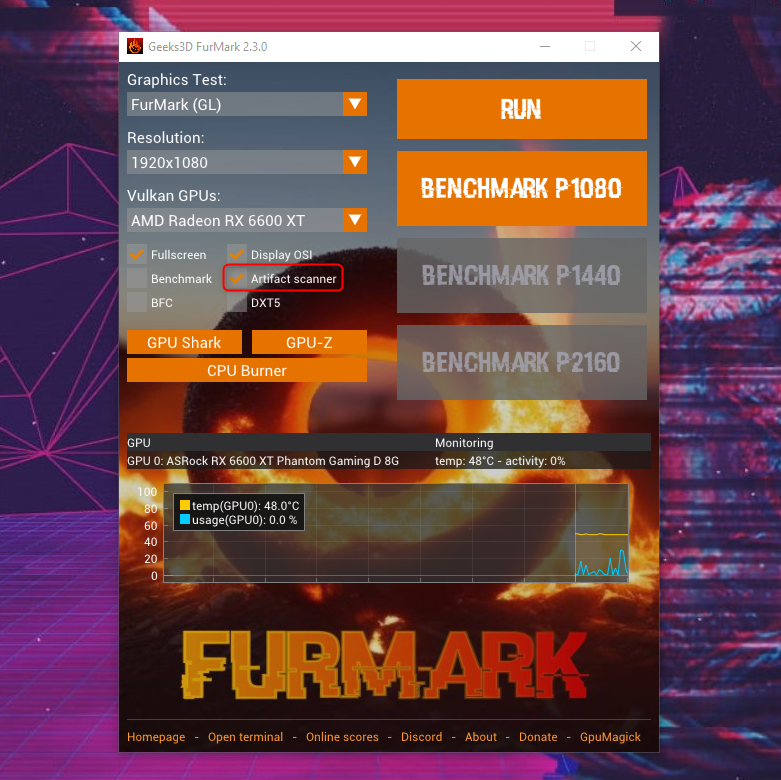
Still, the best way to stress test your whole PC is to run dedicated stress testing tools like FurMark, Prime95, and MemTest86. Leave them running for an hour or two. Be sure to monitor the temperatures throughout the process; high temperatures are more likely to cause your PC to crash than a hardware issue, so keep your PC cool.
10 Schedule Backups and Create a System Restore Point
Once everything is set up, it’s time to protect your PC. On Windows, you can use System Restore to create a backup system image. If the software on your PC fails, you can use the tool to reset your PC to its previous settings.
As for backups, you have plenty of options. Local backups are coming back in style and are an especially great option if you have a home server, but cloud backups have their advantages, too. The good news is that nothing stops you from utilizing both, which is what I like to do. Just make sure to back up your files regularly if you don’t have a way to automate it.
Congratulations on building and setting up your new PC. It’s now optimized and ready for countless new game adventures and projects. Enjoy the road ahead and make the most of your new rig!
Source link


