Summary
- If the Pro Controller is unresponsive, plug it into the Switch console (or dock when in docked mode), turn the console on, then press a button on the controller until it connects.
- If a Pro Controller doesn’t work with a specific game, but works fine with everything else, the problem is most likely a lack of Pro Controller support from the game itself.
- Unresponsive or delayed buttons, control sticks, or motion controls can sometimes be fixed by recalibrating the controller settings.
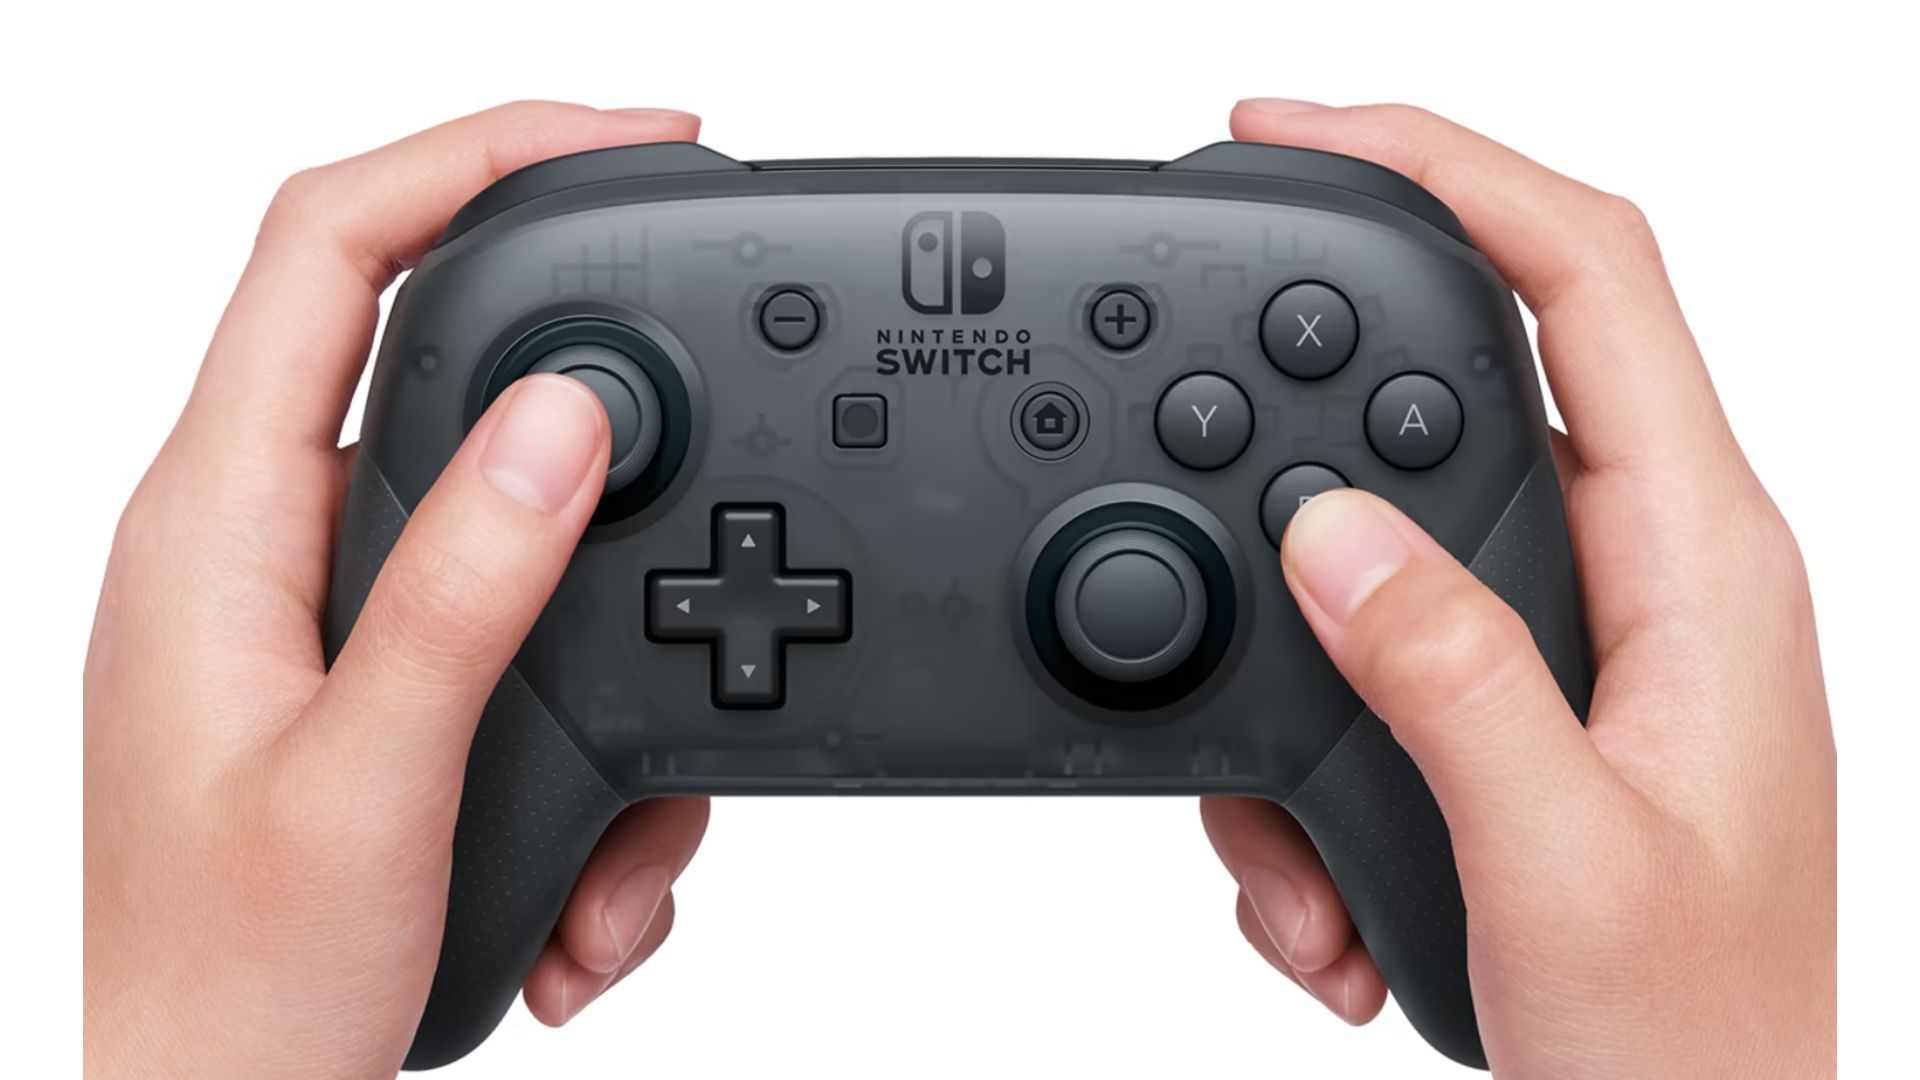
For all its benefits, like a more comfortable hand feel and a lower susceptibility to analog stick drift, a wireless Nintendo Pro Controller can be a source of problems. Here are some of the issues I managed to overcome.
Nintendo Switch Pro Controller Not Responding
An unresponsive Pro Controller is most likely the result of a lost connection with the Switch console itself. In this case, you just need to pair them up.
To pair using a USB cable, plug one end into either the Switch itself or the dock, and the other end into the Pro Controller.
If the console is already powered on, push a button or two on the Pro Controller or start moving the control sticks until you see input results on the Switch.
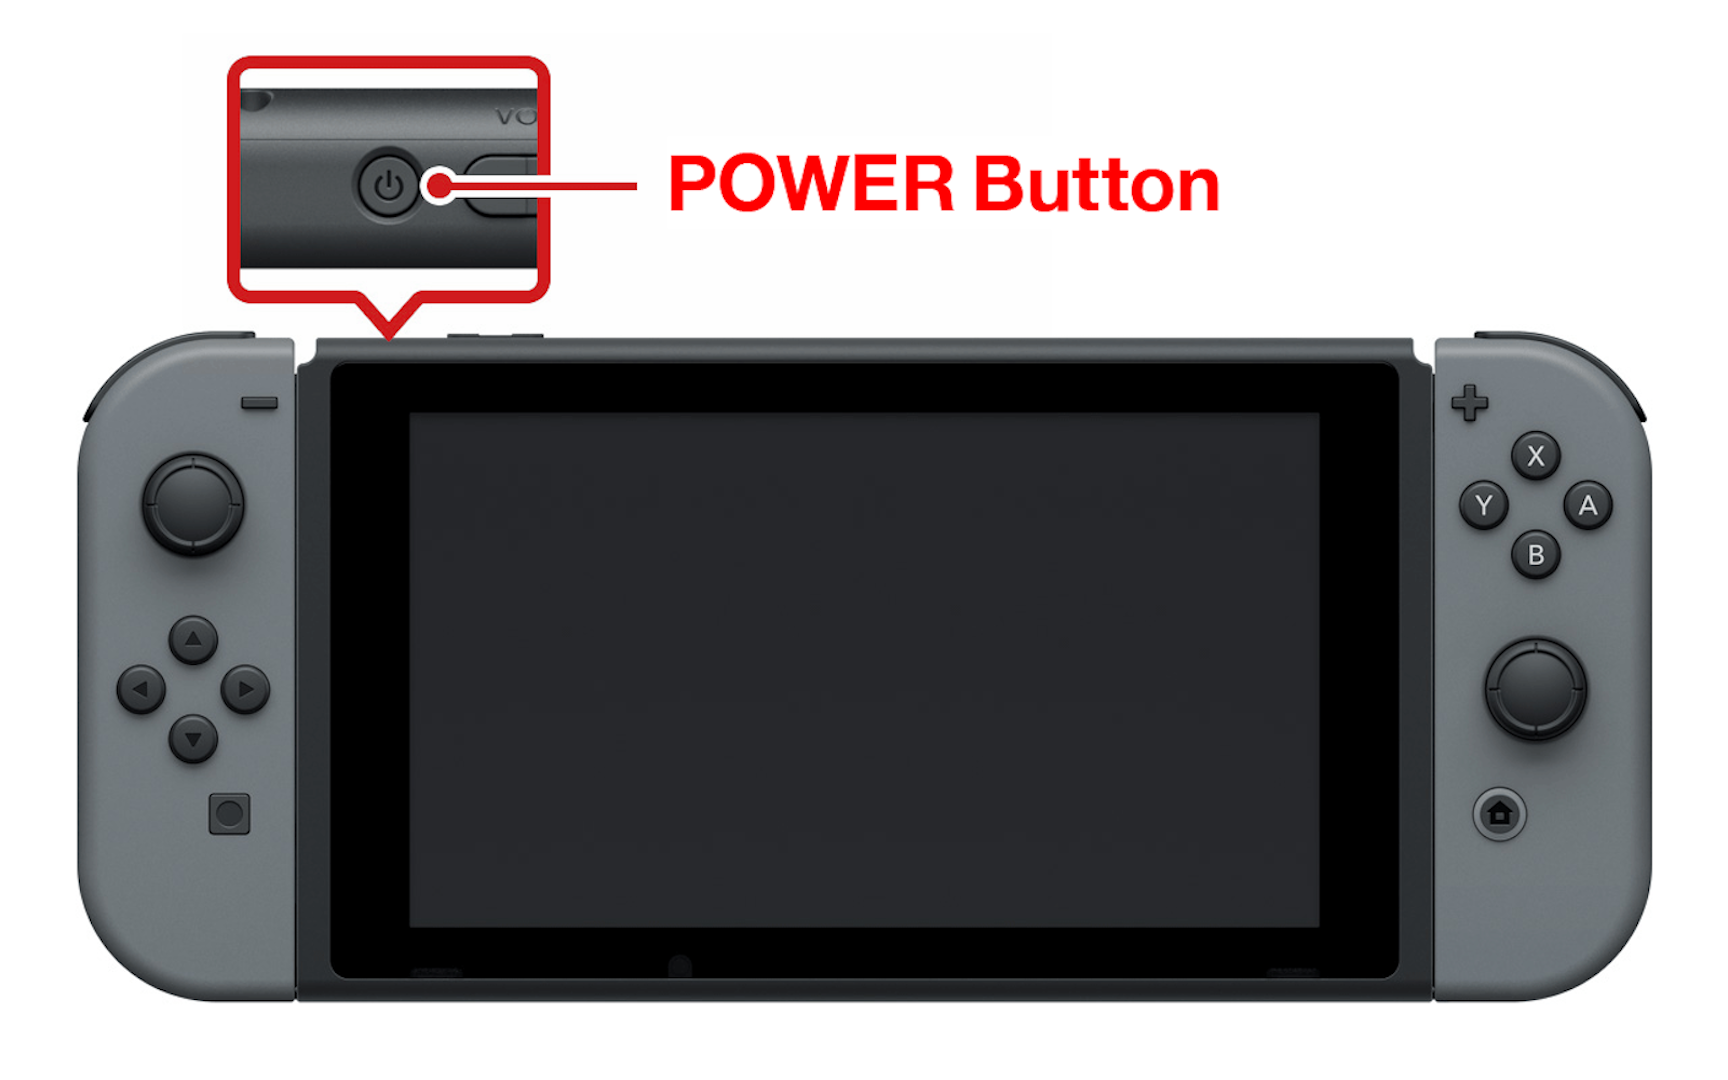
If the console is powered off, turn it on by pressing the Power button along the top (to the left of the volume controls) and then push a button on the Pro Controller until the Switch responds.
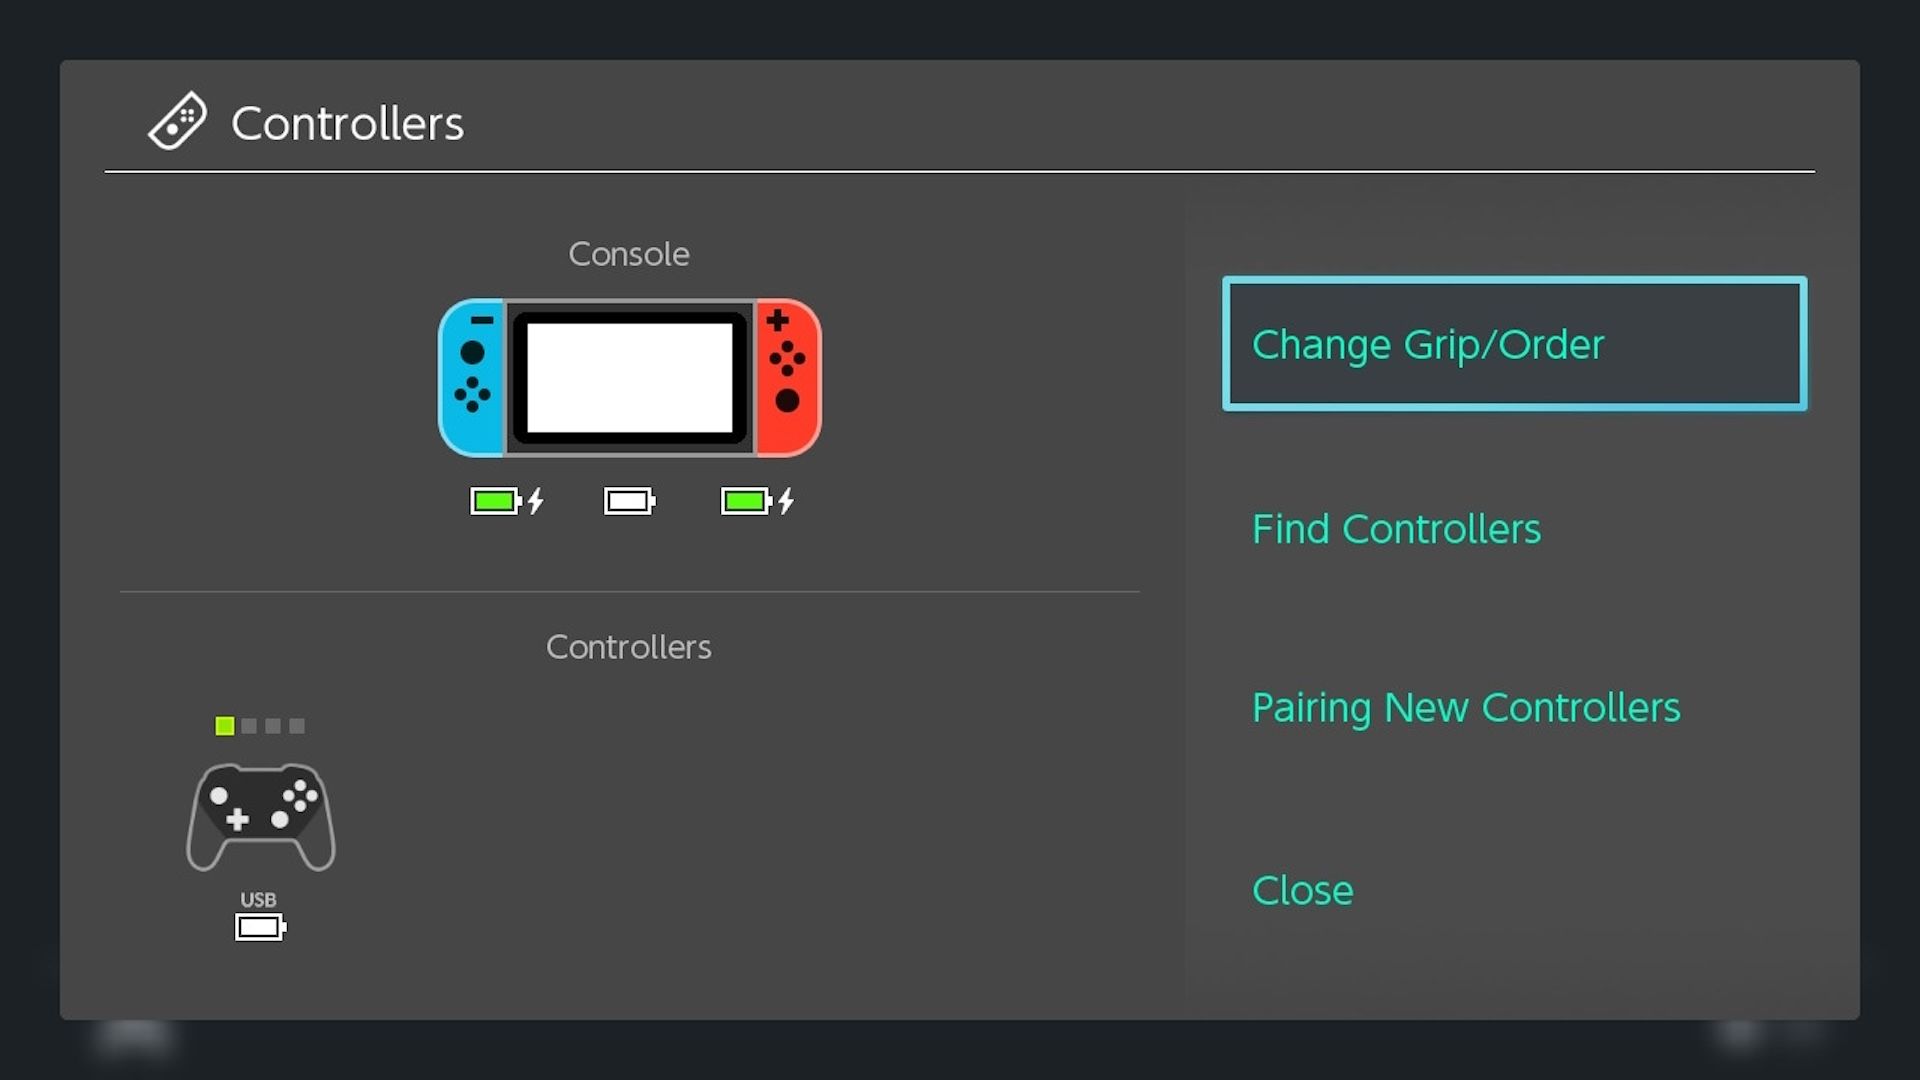
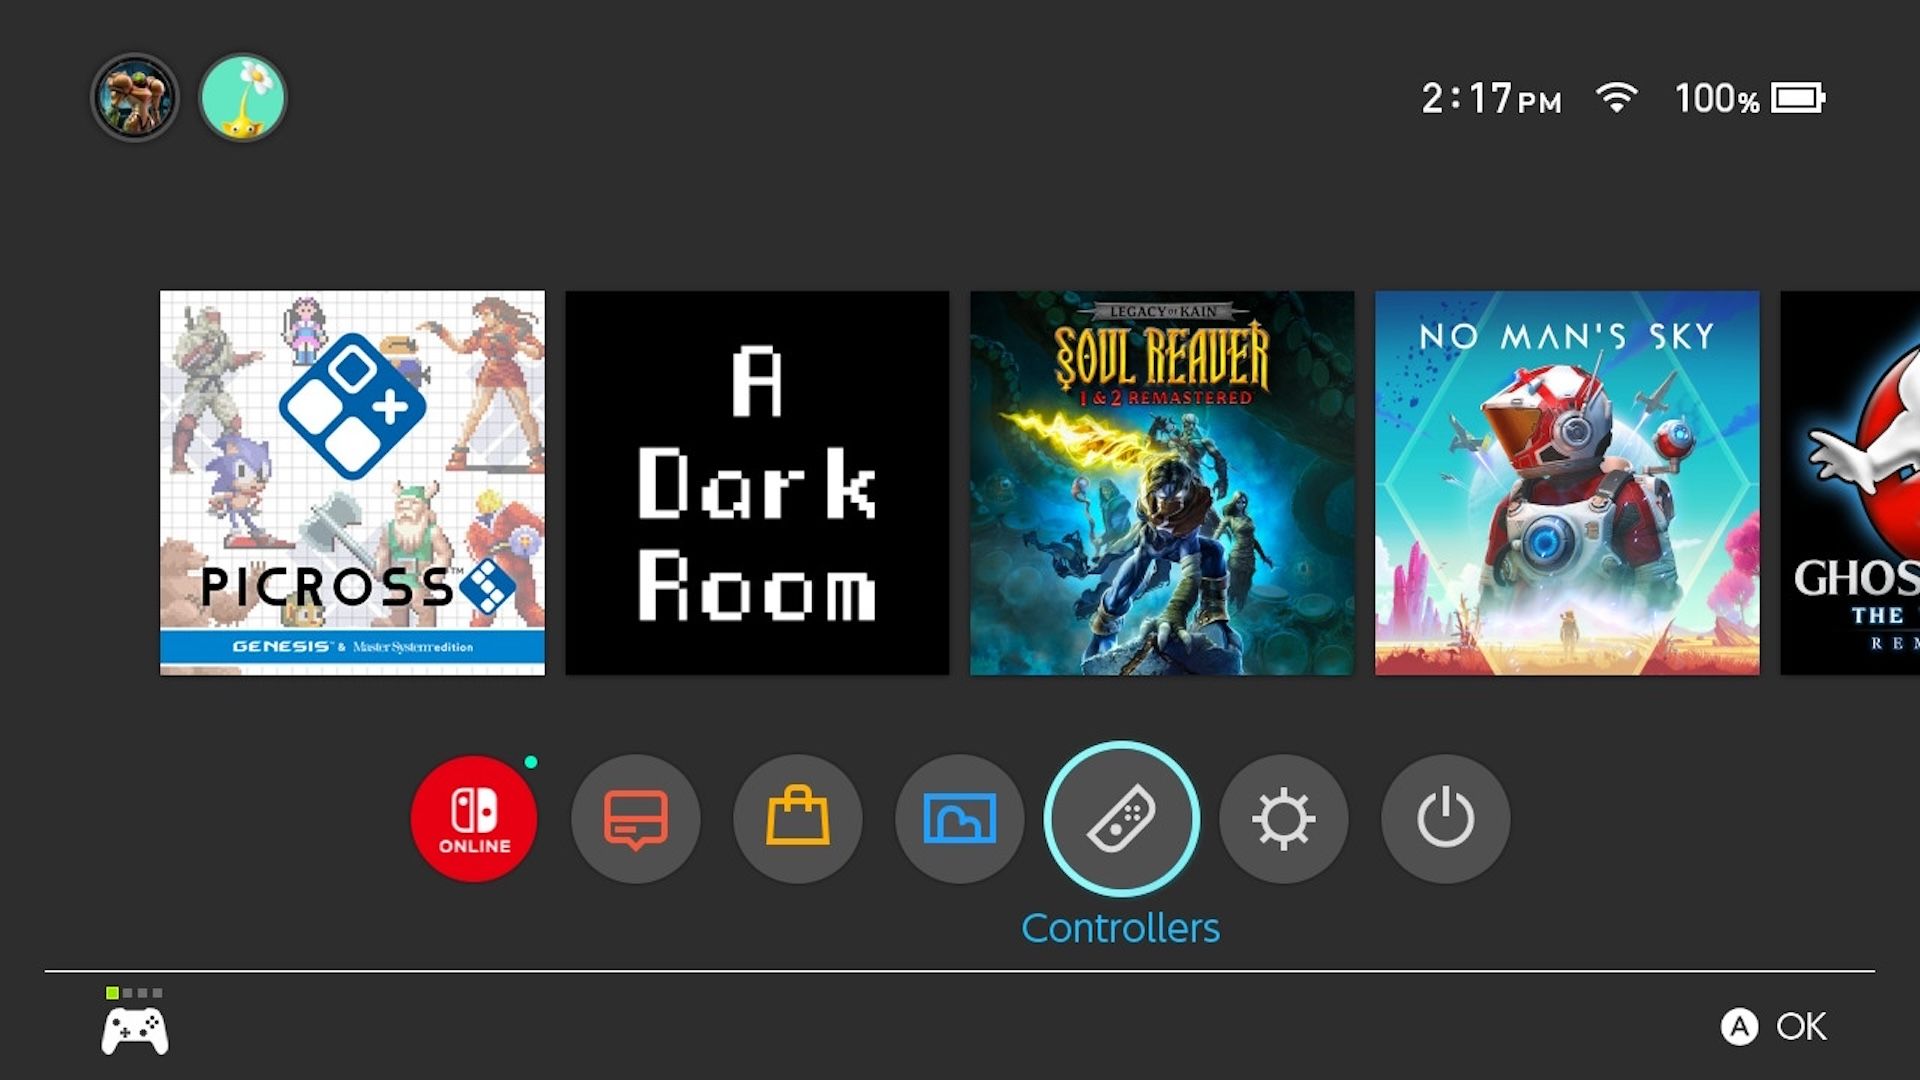
To pair the Pro Controller wirelessly, either use an already paired controller or the Switch’s touch screen to dive into the controller settings. From the Home screen, select “Controllers” and then choose “Change Grip/Order.”
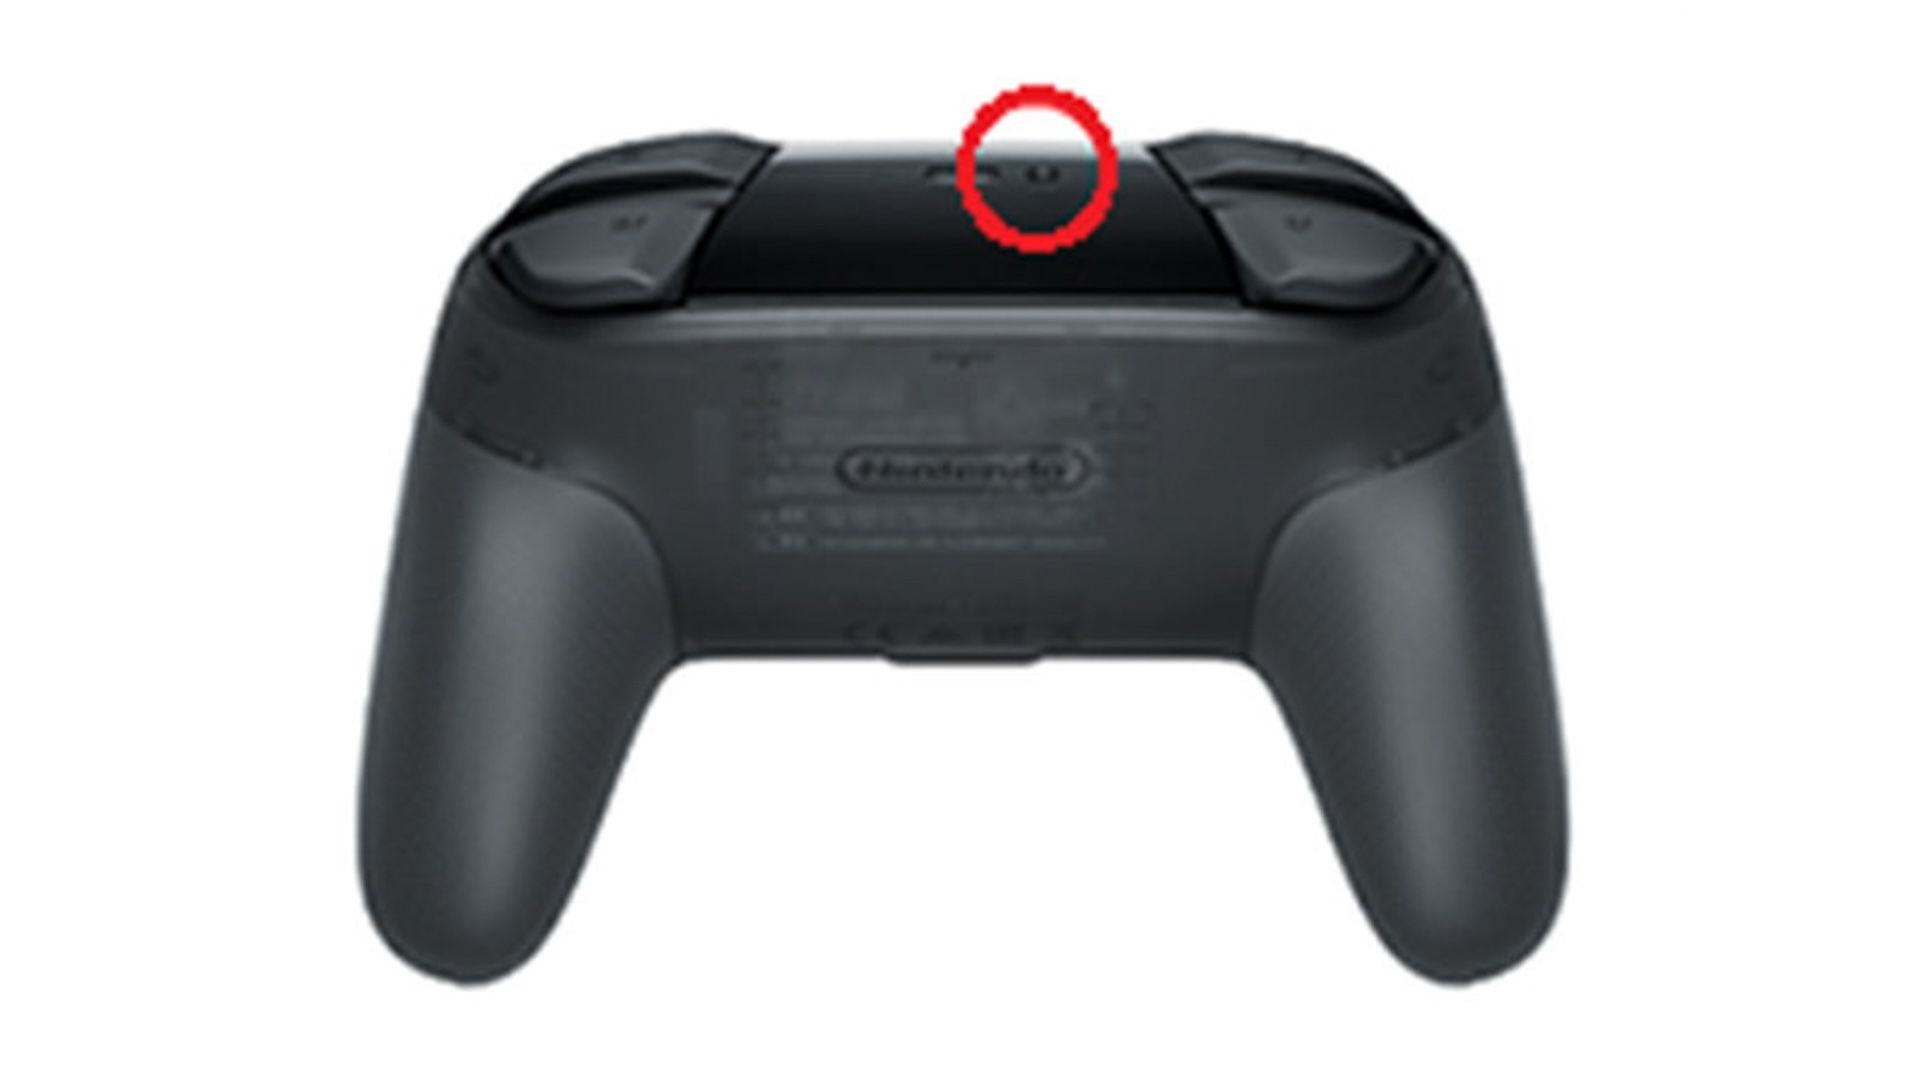
Next, push and hold the Sync button on the Pro Controller—located next to the controller’s USB port—for a few seconds, until the lights along the bottom of the controller begin to turn on in sequence.
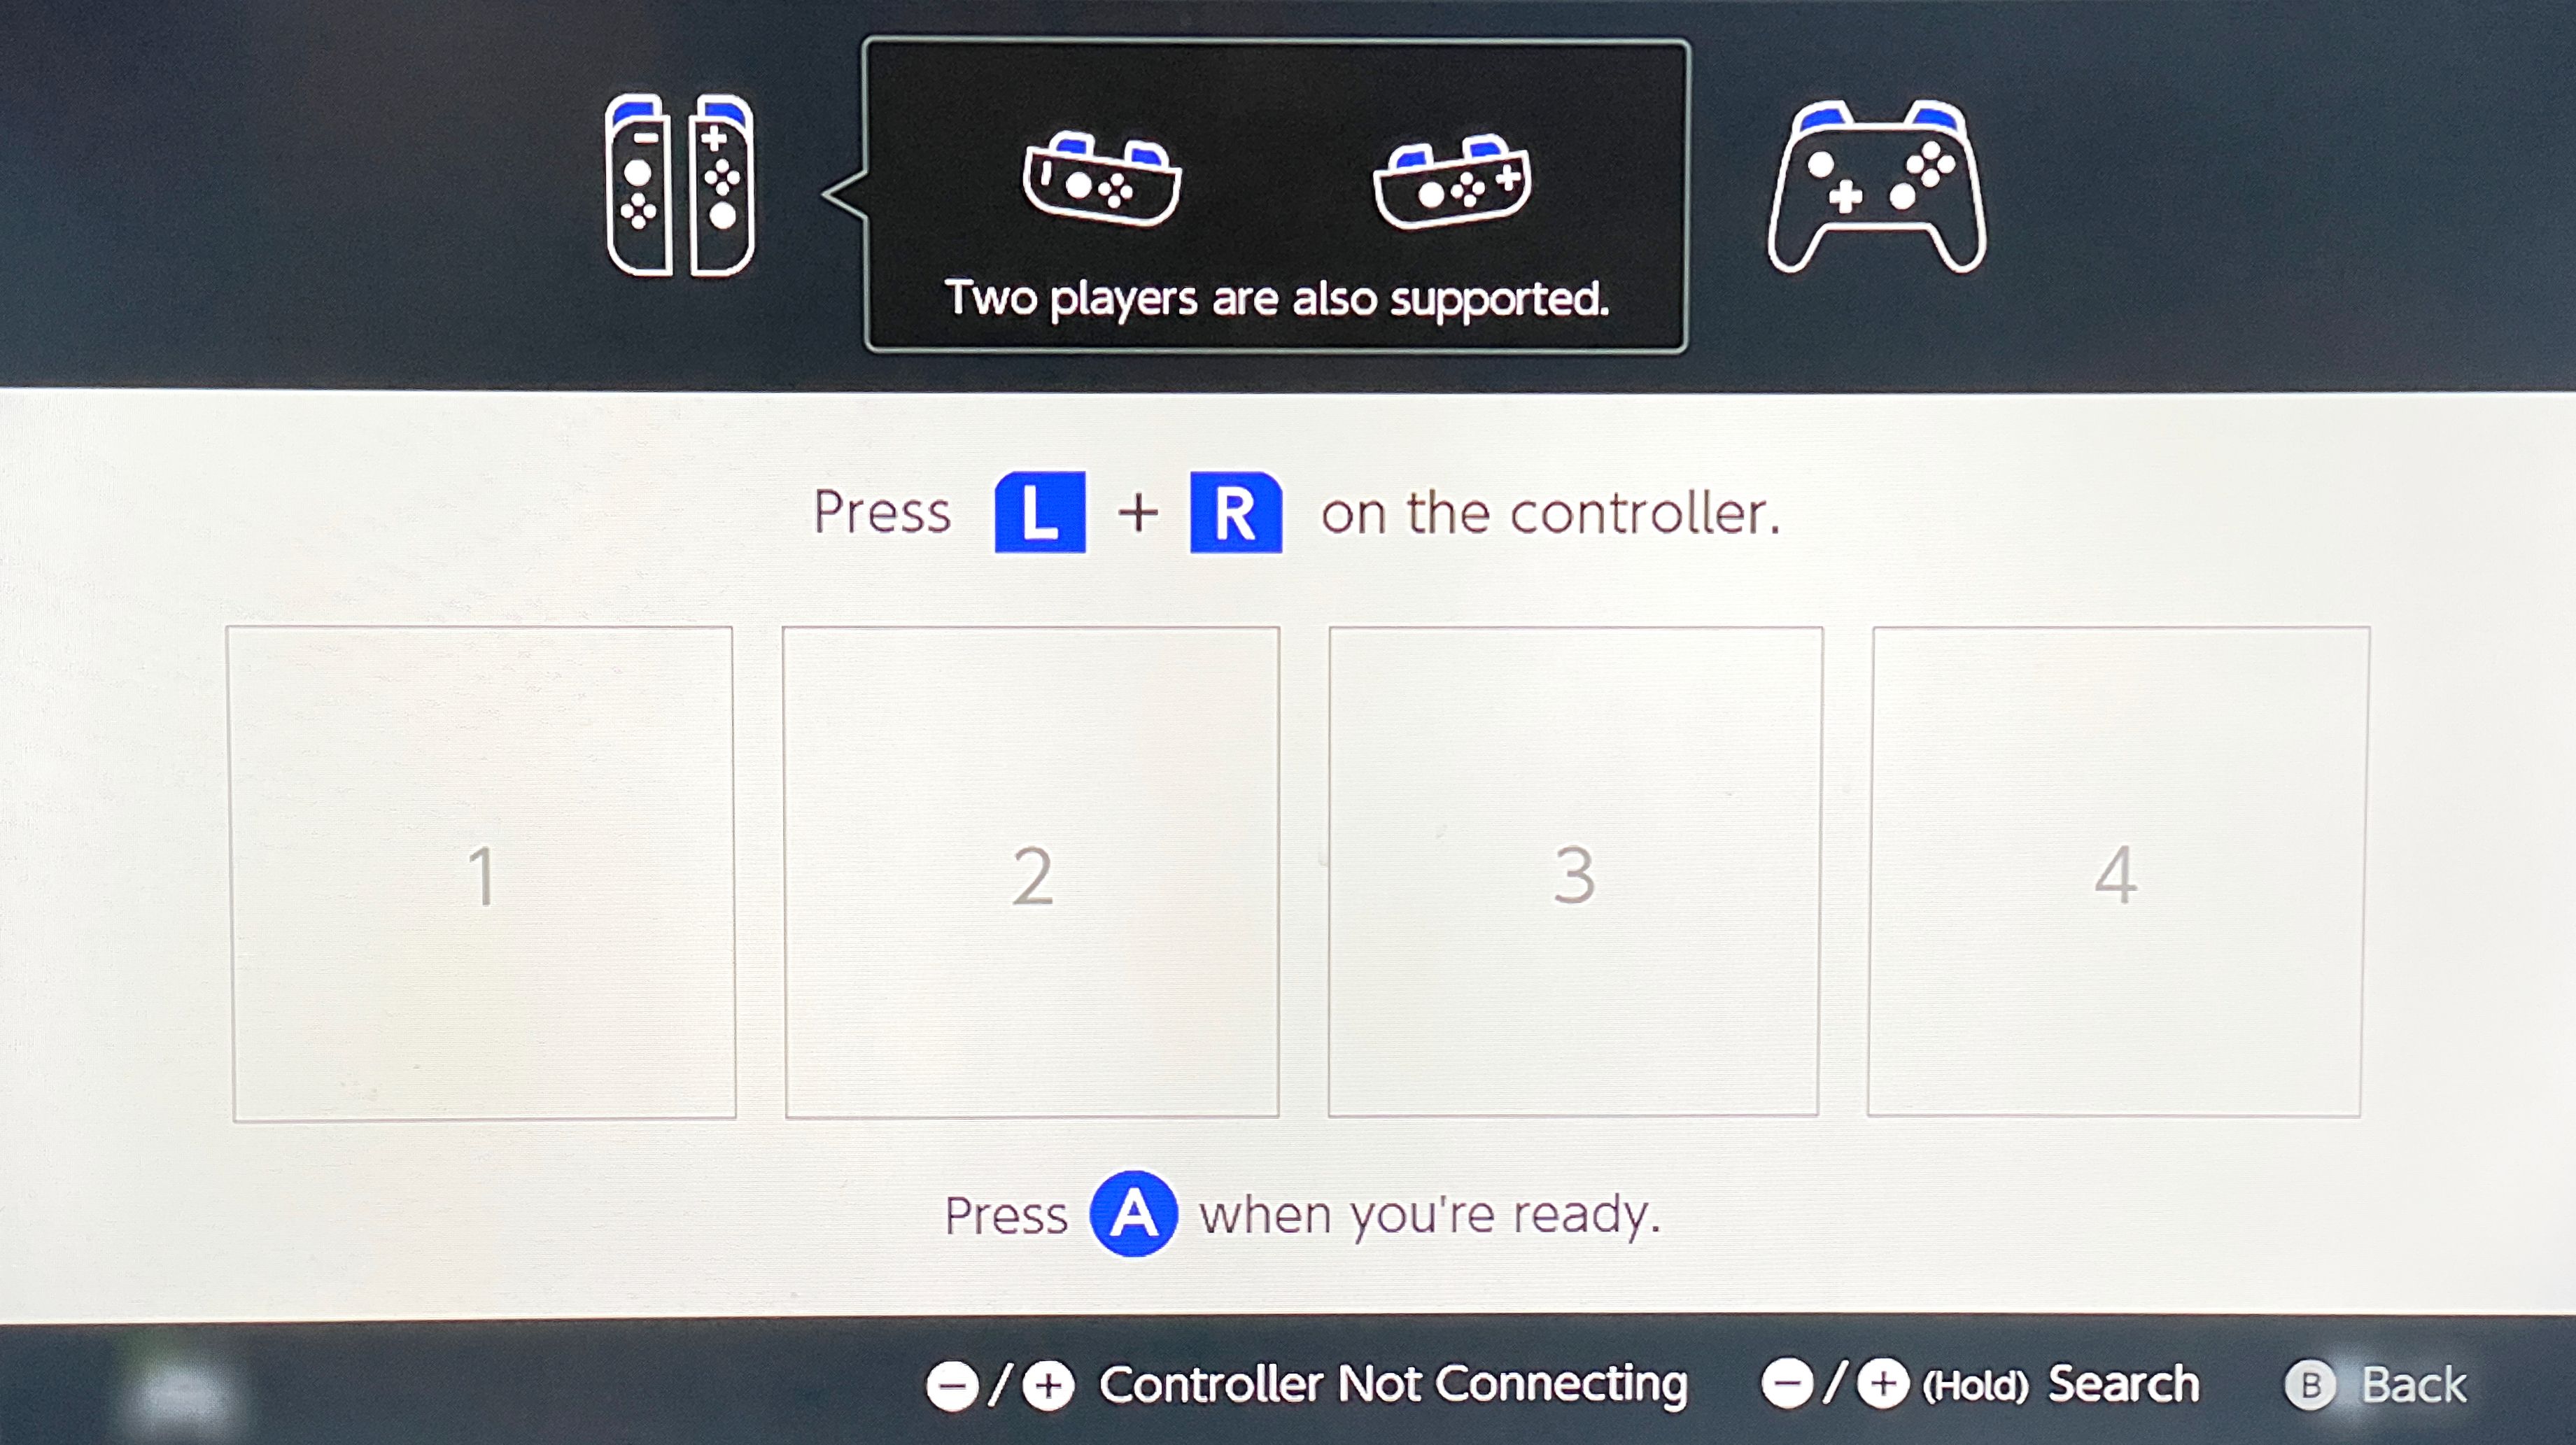
Push both the L and R shoulder buttons at the same time, as displayed on the Switch’s screen, to finish pairing and activate the Pro Controller for the console.
Be aware that it might take a second or two for a connection to happen, so don’t give up if there are no results after one or two presses.
Another possible cause for a de-pairing between the Switch and Pro Controller is using the console in handheld mode—particularly if you tend to leave the Pro Controller unplugged while not in use.
If this ever happens, turn off the Switch or return it to Sleep Mode by pushing and holding the Power button along the top of the console for approximately three seconds. Then select either “Sleep Mode” to suspend activity, or “Power Options” followed by “Turn Off” to shut it down.
Plug the USB cable into the Switch console, or dock if you’re using it in docked mode, and plug the other end of the cable into the Pro Controller. Push and hold the Power button on the top of the Switch until you see the Nintendo logo, or until the green light on the side of the dock lights up, to turn the console back on.
Once the console is on, push a button on the Pro Controller to re-establish the connection. After that point, you can unplug the USB cable and use it wirelessly again.
Switch Pro Controller Refuses to Work With Specific Games
In situations where your Pro Controller isn’t working when trying to play a particular game, but works with other games or when navigating around the Home screen, menus, or eShop, the game itself is probably the issue.
It’s not very common, but some Switch games simply haven’t been designed to work with the more traditional control scheme provided by a Pro Controller—instead focusing on touchscreen controls, Joy-Con motion and pointing features, or a combination of the two.
For these kinds of scenarios, the only thing you can really do is put down the Pro Controller and either use Joy-Cons in docked mode or start playing in handheld mode.
Reaching out to the game’s developer to ask about the problem or request Pro Controller support is also a possibility, provided you’re polite about it. However, whether the developer addresses Pro Controller functionality or how long it may take to patch in is ultimately out of your hands.
Buttons, Control Stick, or Gyro Not Responding Correctly
There are a few potential causes behind a Pro Controller’s inputs failing to register properly or otherwise acting up. If you start to notice a delay between button presses and on-screen actions, or discrepancies between control stick or gyro movement, start with the basics.
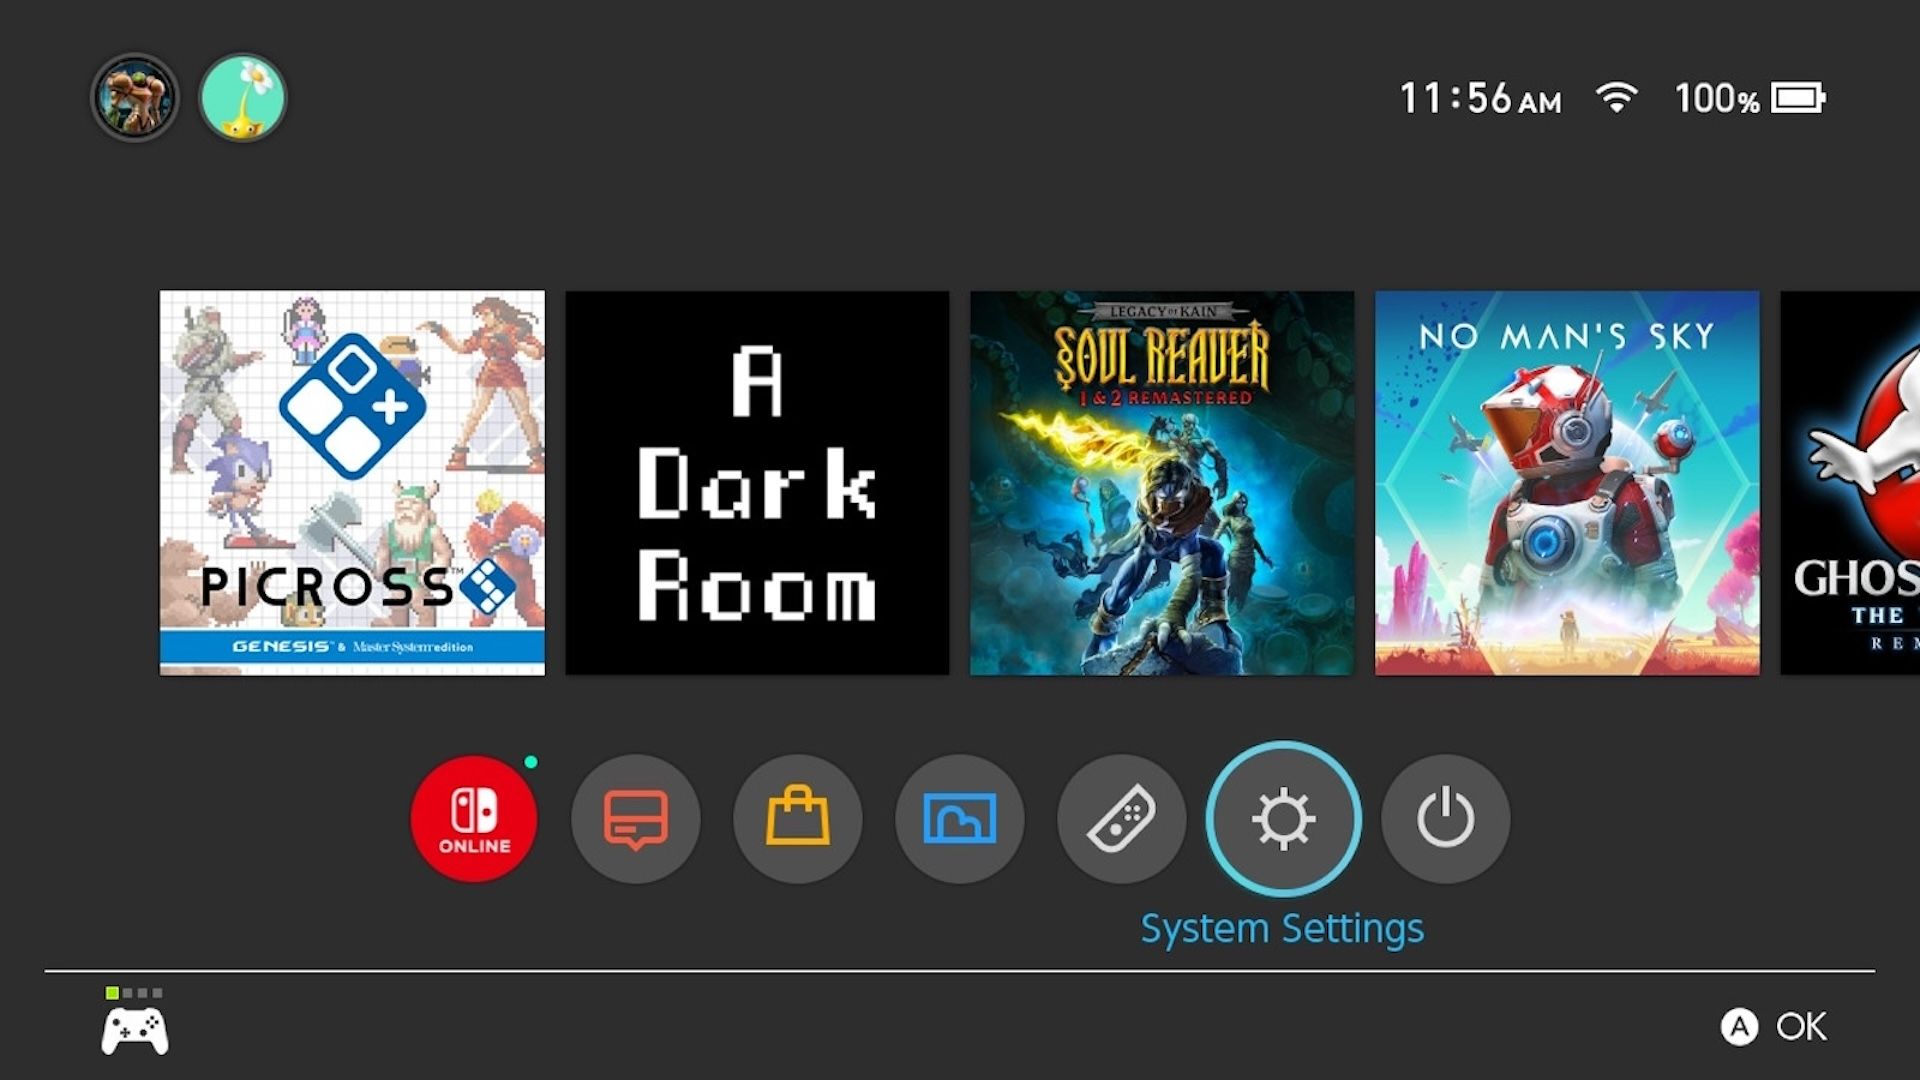
While it would be understandable to suspect something like Joy-Con drift, the control sticks or gyroscope might only need a recalibration. From the Home screen, open the “Settings” menu.
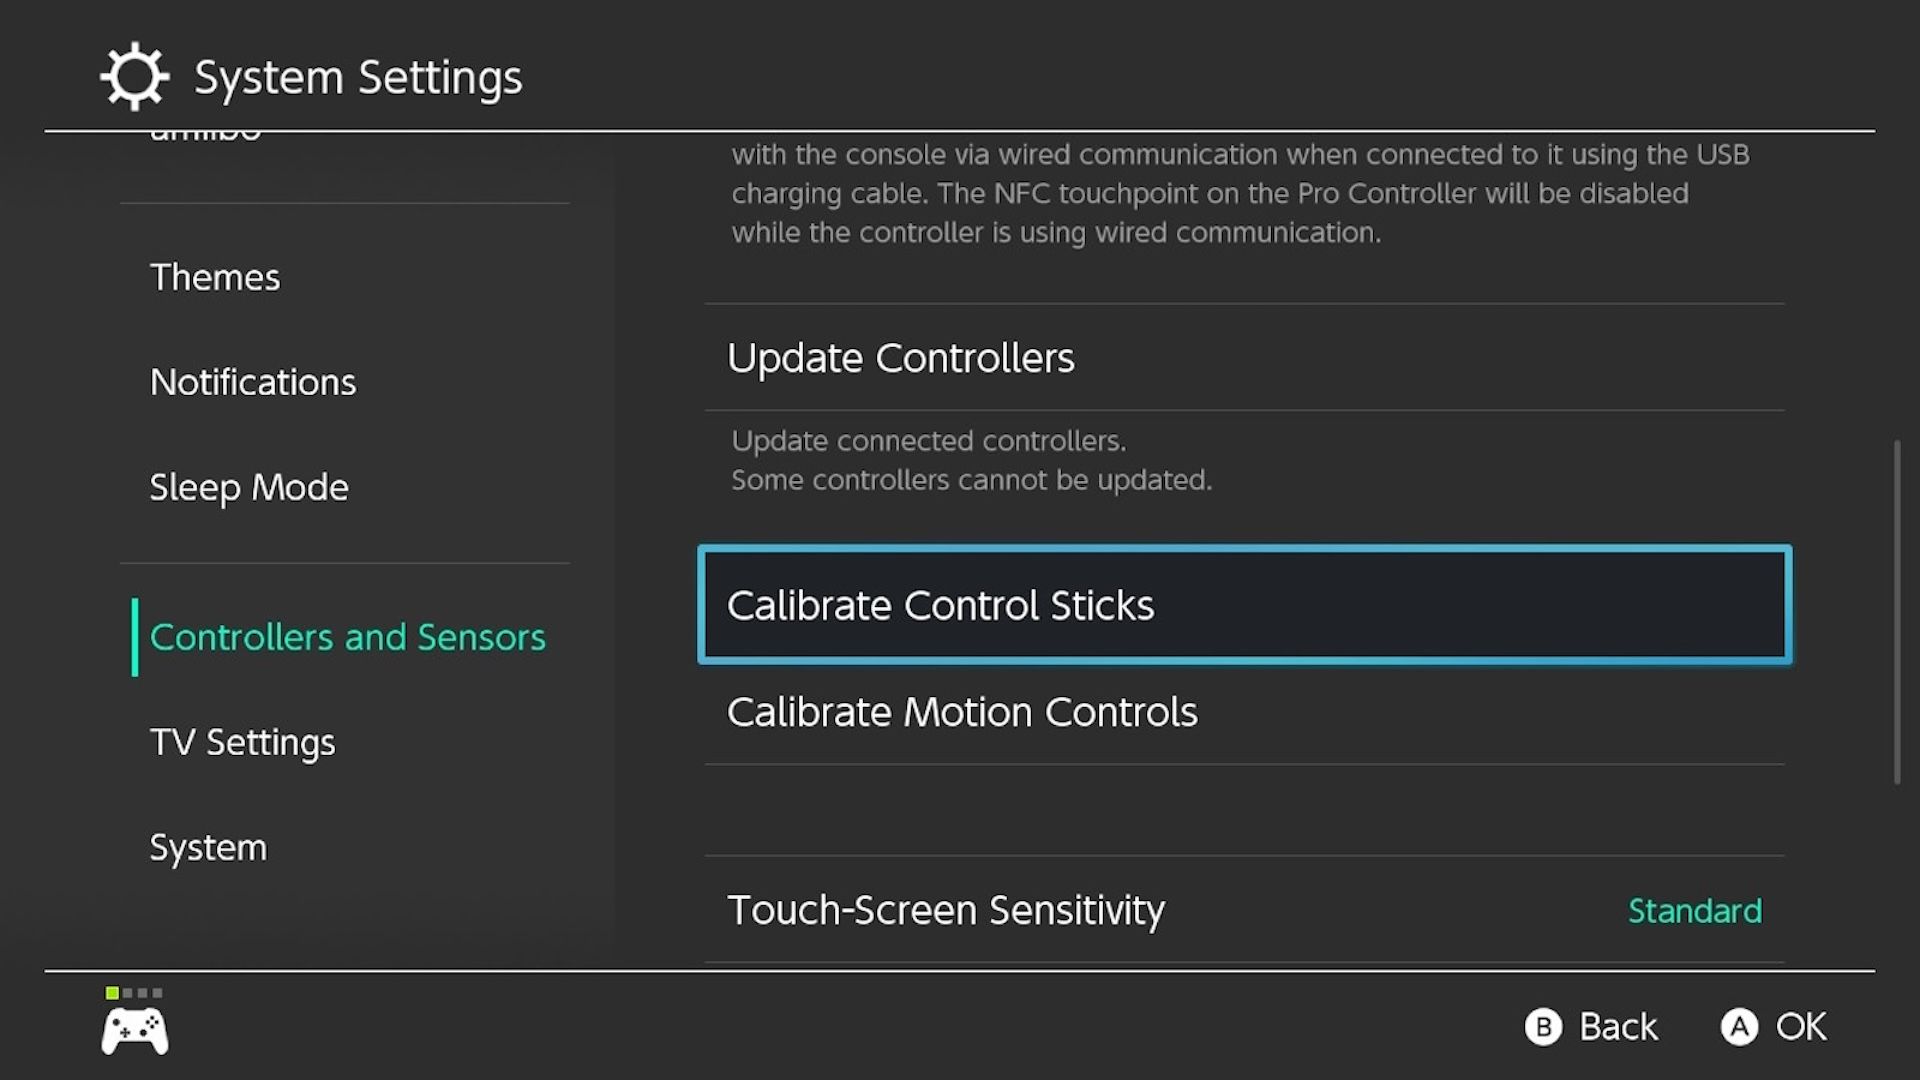
Scroll down and select “Controllers and Sensors” then choose “Calibrate Control Sticks” and follow the on-screen instructions to recalibrate. If the gyro is the problem, select “Calibrate Motion Controls,” then “Calibrate Controllers,” and follow those prompts instead.
If a calibration doesn’t work, you’ll want to check for a controller firmware update. The Switch typically updates controllers automatically by default, but a change in settings, keeping it turned off rather than in Sleep Mode, or a lapse in internet connection could necessitate a manual installation.
Open “Settings” from the Home screen and select “Controllers and Sensors.”
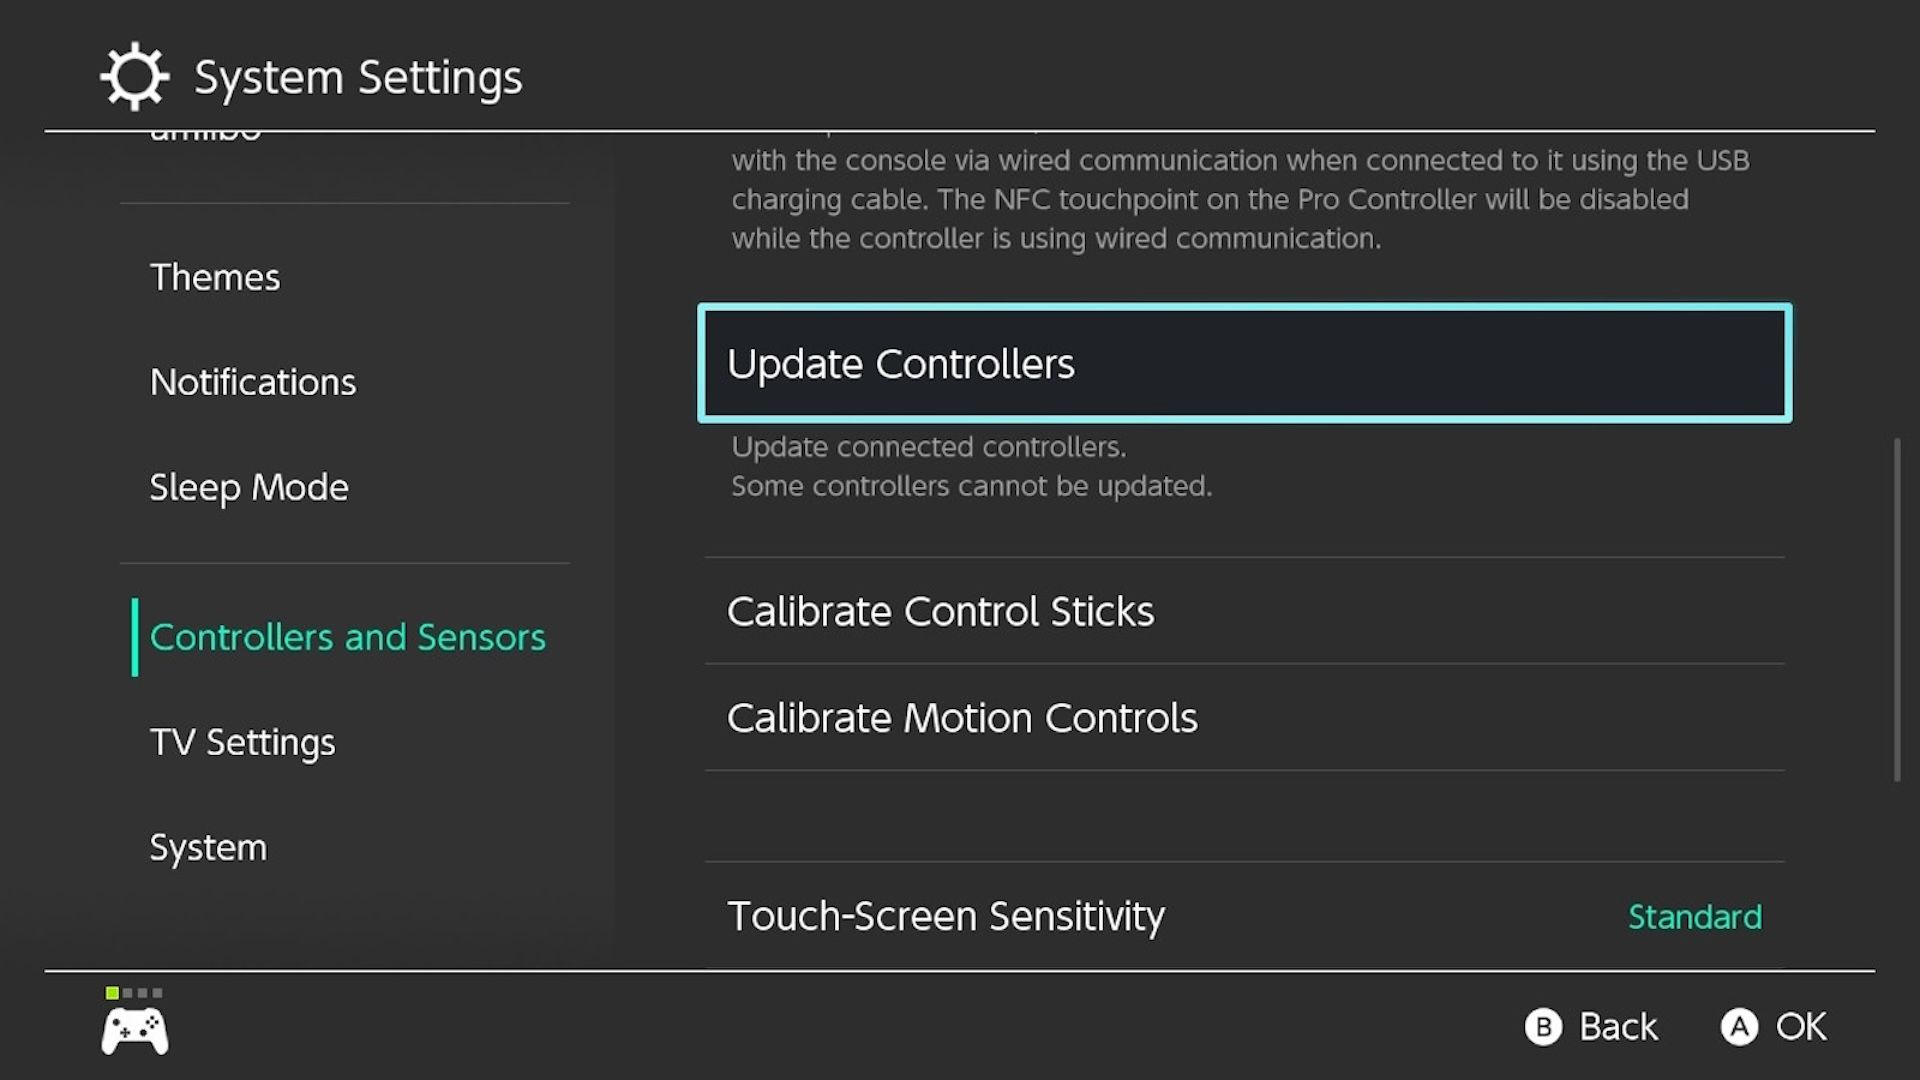
Make sure the Pro Controller is connected to the Switch, then select “Update Controllers.” If any updates are available, the installation process will begin.
In the event that recalibration and updating the firmware still don’t fix the problem, the last thing to try is cleaning your Switch—or more specifically, the Pro Controller itself.
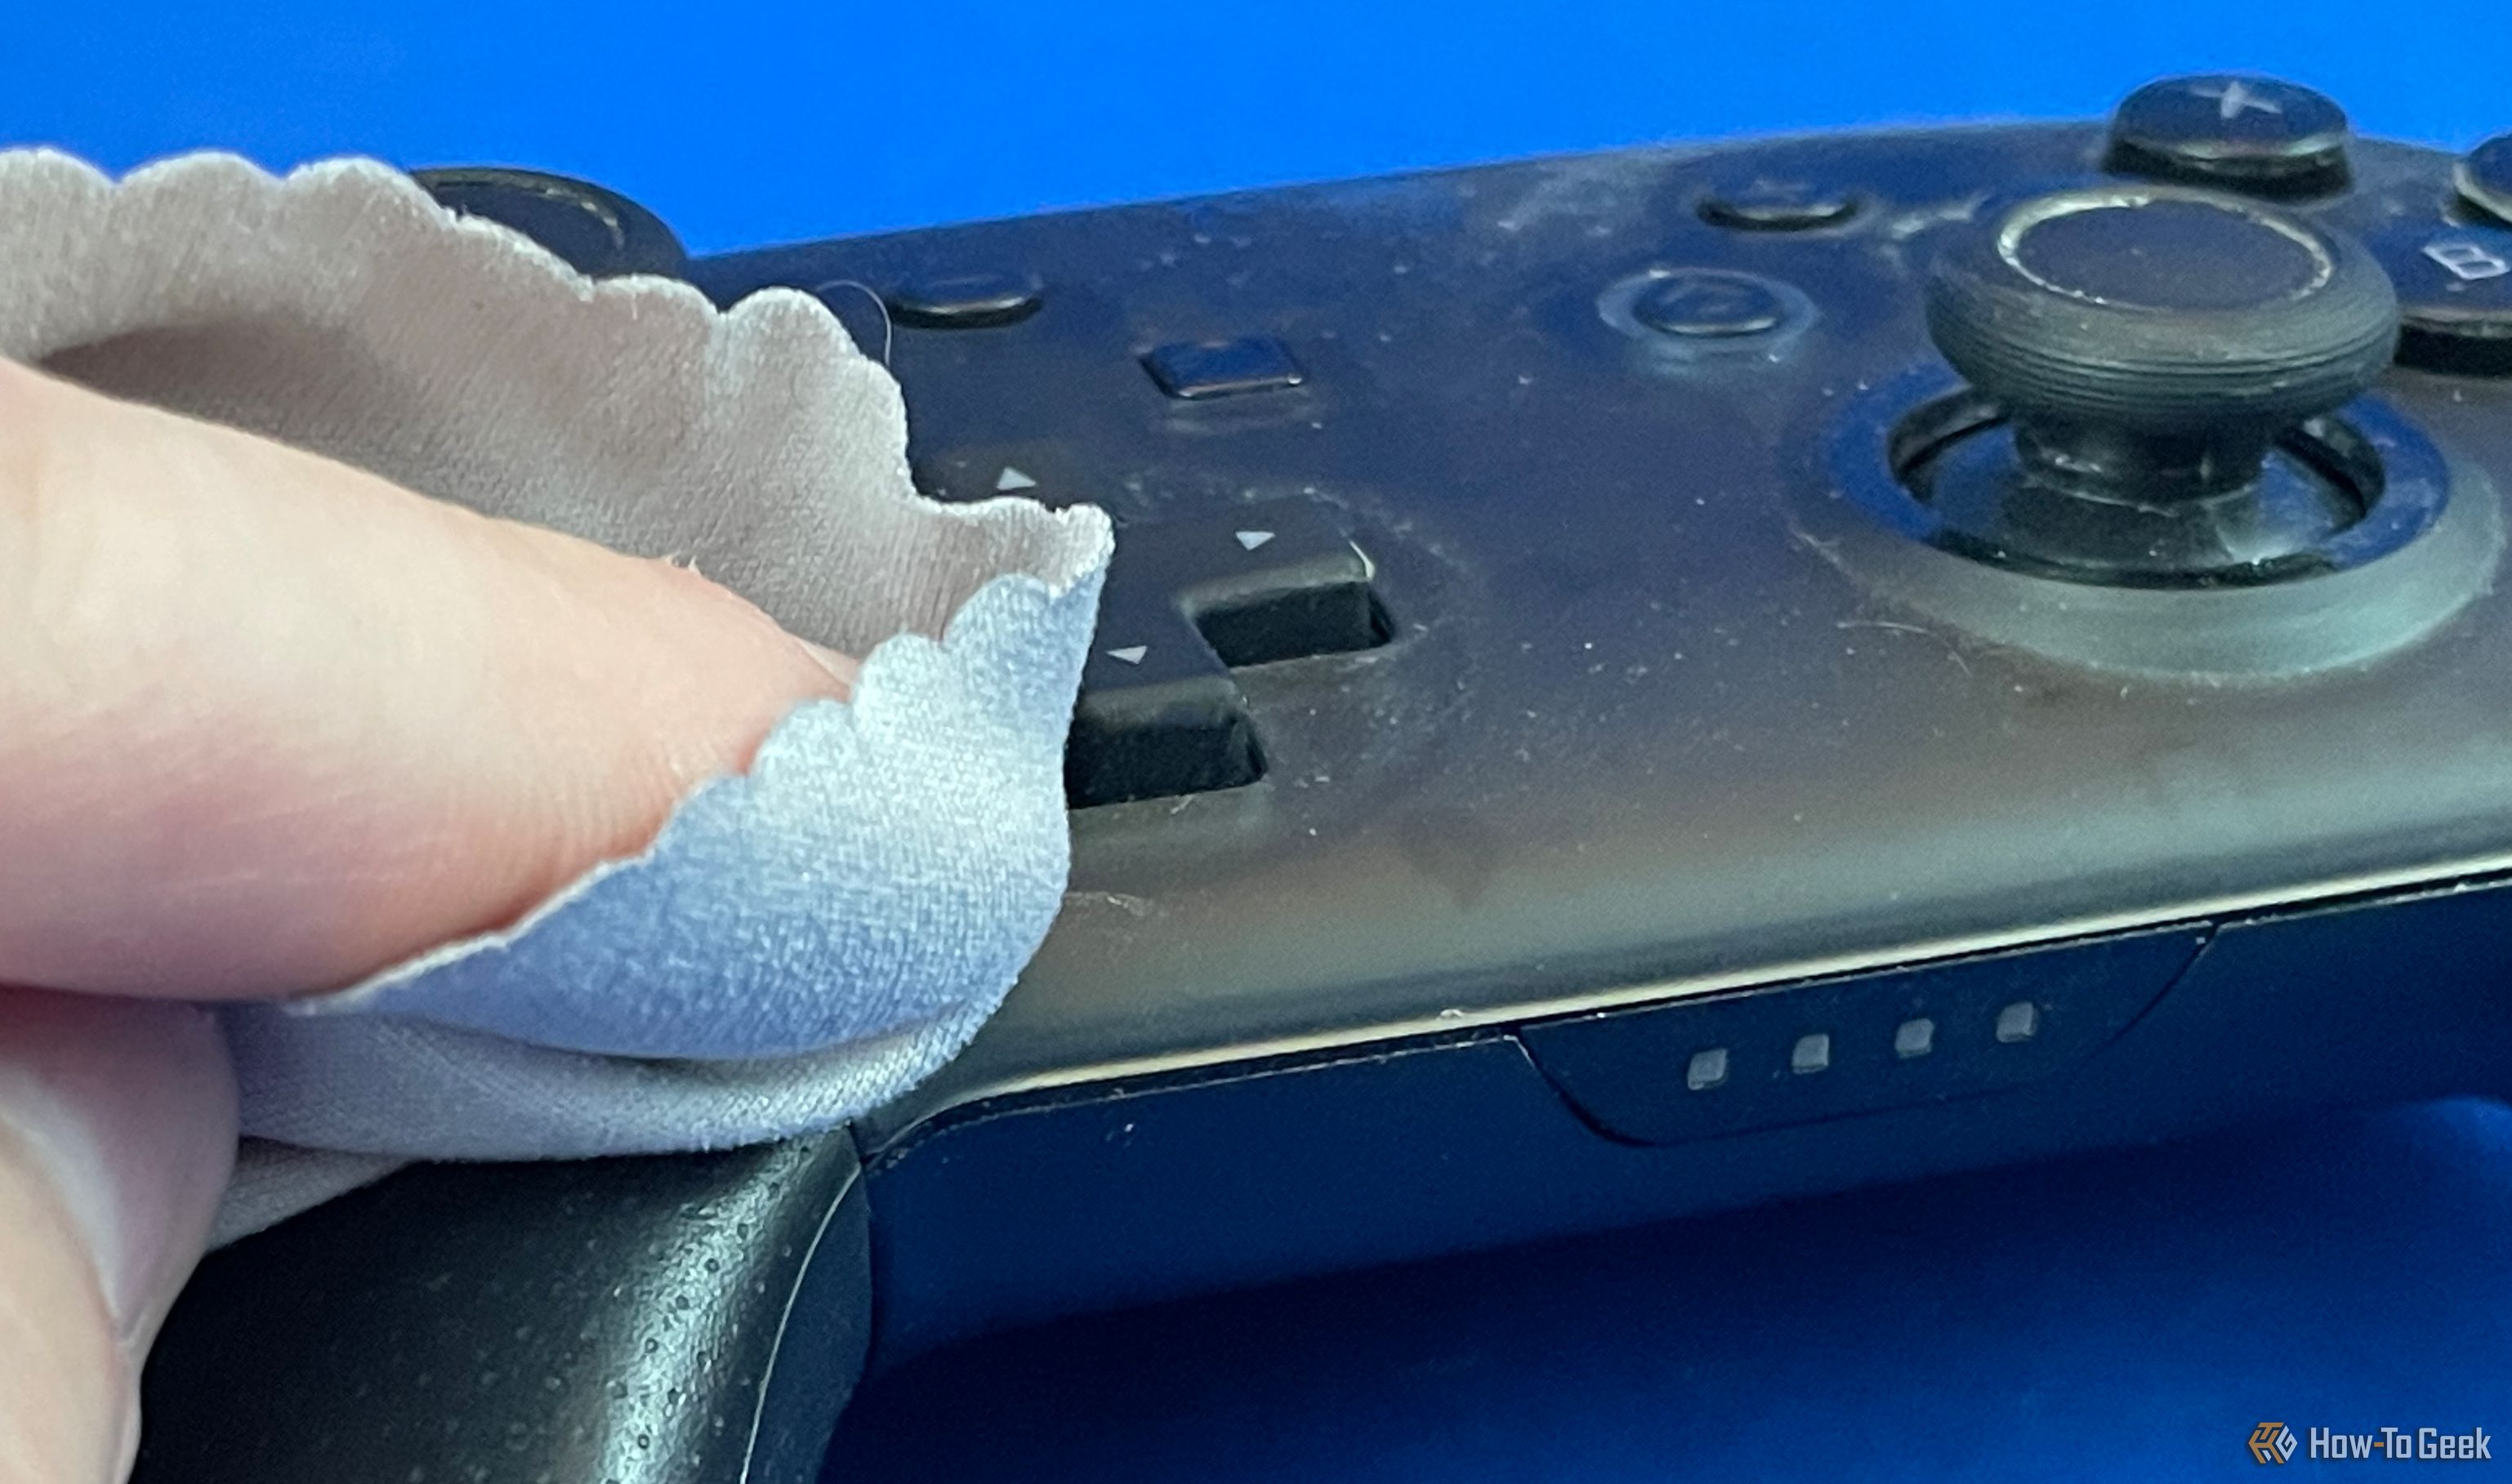
Grab a microfiber or polishing cloth made for electronics and dampen it with water, then wring it out until it stops dripping. Scrub the controller down with the dampened cloth to get rid of any built-up dirt and grime you can see.
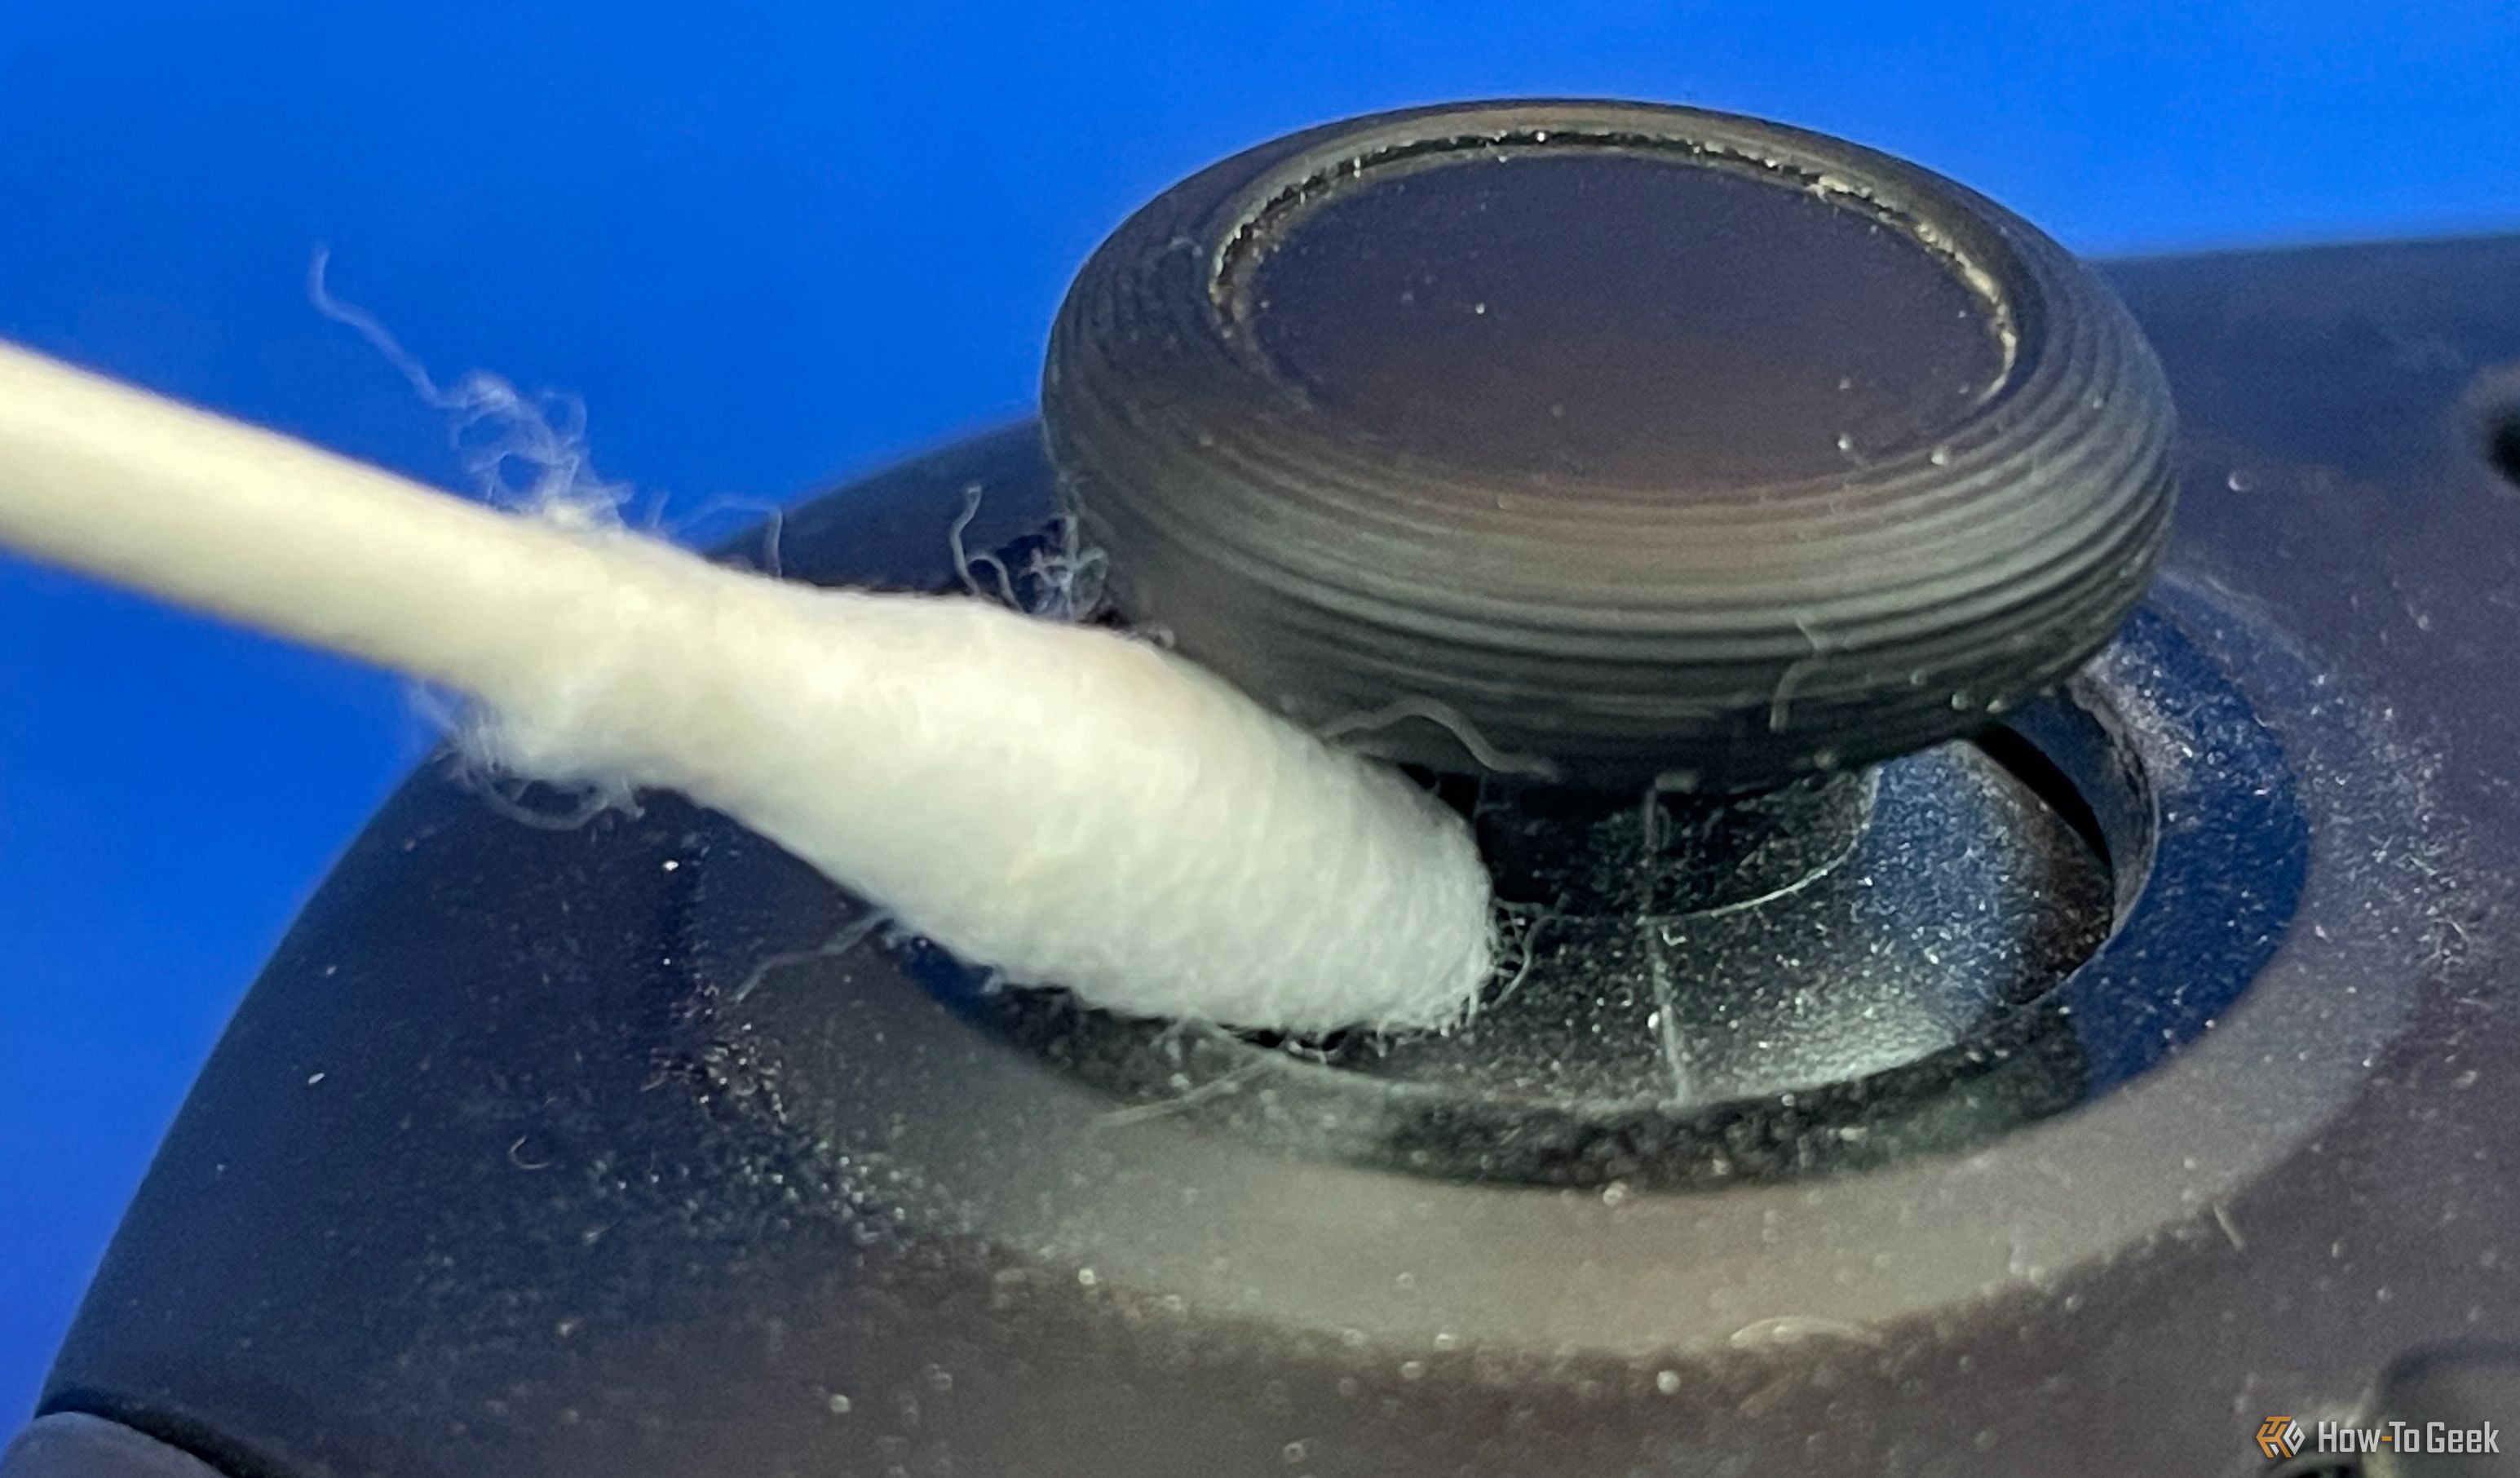
Next, gently rub a dry cotton swab around and into the base of each control stick and along the edges of the buttons to try and pull up additional gunk that might have collected over time. You might need to swap in a fresh swab if the old one gets too dirty.
Once the buttons and control sticks are cleaned out, you may also want to give recalibration another shot. After that, if the problems continue to persist, you can request a repair or replacement from Nintendo directly.
Diminished Battery Life or the Controller Keeps Shutting Off
A Pro Controller running out of battery power too quickly, or regularly shutting off on its own, can be an indication of a couple of potential issues.
First and foremost, make a note of whether the Pro Controller is left unplugged when not in use. If so, the problem might be a simple matter of it just not charging up between play sessions, in which case you should be able to fix things by plugging the controller into the dock with the USB cable to recharge—and be sure to plug it in to charge after future play sessions.
Barring a basic need for charging, the problem could be related to the firmware. The Switch should normally update controller firmware automatically, but just in case, you can perform a manual update as well.
With the Switch in docked mode, plug the Pro Controller into the dock via a USB cable. If you’re not in docked mode, plug the USB cable into the controller and the Switch itself.
From the Home screen, open the “Settings” menu and select “Controllers and Sensors.”
Scroll down and choose “Update Controllers,” then wait for any available updates to install.
If the Pro Controller is still having battery problems, the battery itself might need to be replaced. You can try setting up a repair through Nintendo directly, but if you have the right tools and follow iFixit’s thorough instructions, it’s also something you can do on your own.
You’ll need a JIS #00 screwdriver (avoid using a regular Phillips screwdriver, or you might strip the screws) as well as a replacement battery. You can buy a replacement 1300mAh Nintendo CTR-003 battery from iFixit for $13.99, or a full replacement kit from Amazon for $12.99.
Use the JIS #00 screwdriver to remove a screw from the bottom of both grip sections of the Pro Controller—two screws total. Then pull the grips down and off of the controller itself.
Removing the grips will expose four more screws on the back of the controller—two on each grip side. Remove those four screws and then use a fingernail or thin plastic tool to gently pry the back of the controller off along the seam.
Carefully use a fingernail or plastic tool to pop out the old battery, pop in the replacement, and then reverse the above steps to close the controller back up. Do not throw away the old battery!
Once you’re finished, take a moment to inspect the old battery for warping or swelling. If you see any, take it to a proper battery disposal site as soon as possible.
You can also store the bulging lithium-ion battery for a couple of days—or even weeks, if necessary—until you can bring it in for disposal. Just be sure it’s in a cool (not cold) and dry place where it’s not at risk of being dropped or punctured.
More often than not, troubleshooting your Pro Controller will be a simple matter of checking a few settings or plugging it into the Switch or dock. Good luck and happy gaming!
Source link


