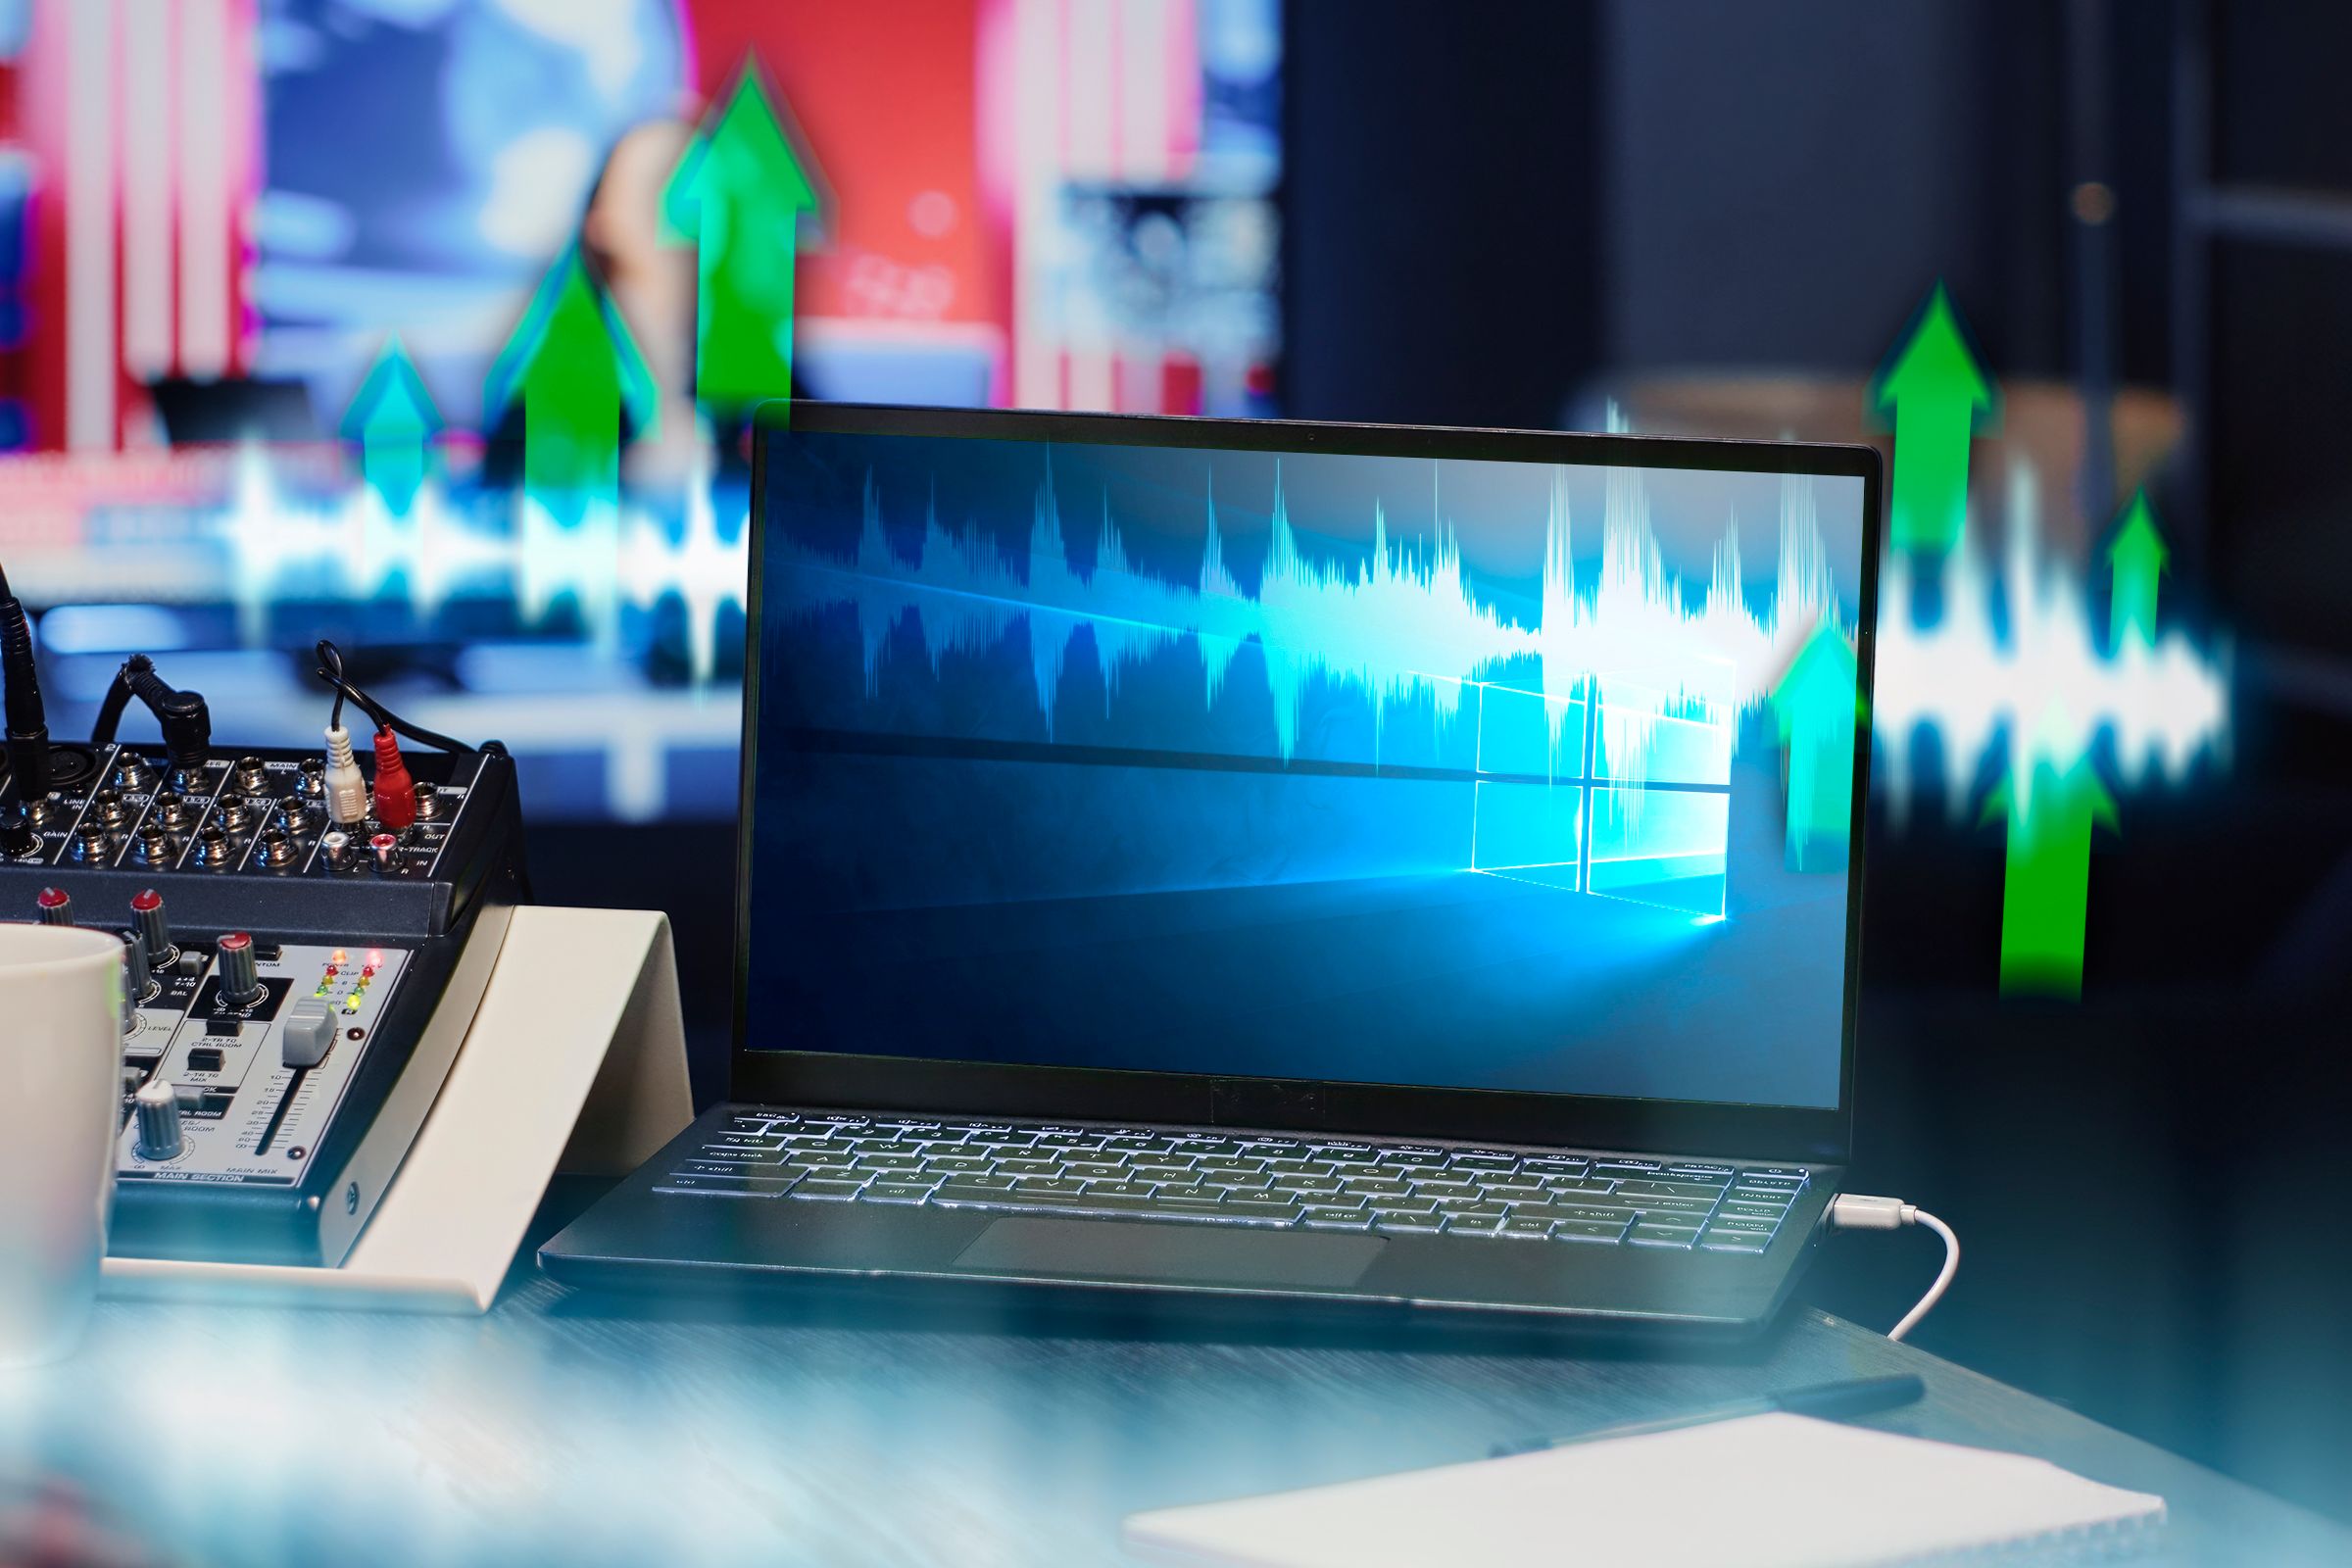
Poor audio quality used to take the enjoyment out of watching my favorite movies, listening to music, or gaming. That all changed when I tweaked a few default audio settings on my Windows PC. If you’re an audiophile who can’t tolerate subpar audio, here’s how you can improve the sound quality.
Enable Audio Enhancements
Windows offers several audio enhancements that can significantly improve your computer’s sound quality when used correctly for different use cases. For instance, you can turn on Bass Boost to amplify low-frequency sounds. It’s an ideal enhancement for genres like hip-hop or rock that feature heavy bass.
You can also enable Virtual Surround, which is especially useful when gaming, as it improves directional audio cues like footsteps or gunfire. Likewise, if you find volume fluctuations in movies or videos annoying, you can turn on Loudness Equalization, which maintains a consistent volume level.
To enable these enhancements, go to Settings > System > Sound > More Sound Settings. Next, navigate to the “Playback” tab, right-click your audio output device, and select “Properties.” Then, go to the “Enhancements” tab, enable the enhancements supported by your headphones or speakers, click “Apply,” and hit “OK.”
Adjust the Sample Rate and Bit Depth
Increasing the sample rate and bit depth can also improve overall audio quality. A higher sample rate captures more detail from the original sound, while higher bit depths reduce distortion and noise. These adjustments make audio playback clearer and more accurate, which improves the overall sound quality.
However, you can’t just set both of these settings to the highest possible levels. Instead, you should match these settings to the audio file quality you’re playing to prevent unnecessary upscaling or downscaling. If you set your system to a higher sample rate and bit depth than the file’s native quality, it’ll likely introduce artifacts that degrade the audio.
For example, if you’re playing a CD-quality file, a 44.1 kHz – 16-bit setting is ideal. If you have a higher-resolution file, you can opt for a higher bit depth and sample rate combination. To adjust these settings, go to the “Advanced” tab in the properties window and select your desired sample rate and bit depth from the drop-down menu.
This is also a decent place to start troubleshooting if you’re experiencing strange audio glitches, especially if you’re actually hearing strange noises.

Enable Spatial Sound
Spatial Sound improves your audio by adding a sense of direction and space. It makes it feel like the sound is coming from various directions, like raindrops falling all around you. By default, Windows offers only Windows Sonic, a free spatial sound technology. For an advanced audio experience, you can install Dolby Atmos.
Unlike Windows Sonic, Dolby Atmos requires a subscription if you want to use it with standard headphones. If you want to try its free trial or are willing to pay for it, download the Dolby Access app from the Microsoft Store, follow the on-screen instructions to set it up and enable it in your sound settings.
To select your preferred spatial sound format, go to the “Spatial Sound” tab and select either “Windows Sonic for Headphones” or “Dolby Atmos for Headphones” from the drop-down menu.

Check the Sound Quality in the App
Some applications come with built-in features to adjust sound quality. For instance, many media players have an equalizer feature that allows you to fine-tune the frequency response and apply additional audio effects. Streaming services like Spotify also come with an equalizer, which can even bring studio-quality audio to your car.
Similarly, many modern games provide options to adjust sound quality, surround sound, and dynamic range. Communication apps like Discord feature noise suppression and echo cancellation settings for clearer audio. So, check if the app you’re using has sound customization options.
If it does, experiment with the settings to find the combination that delivers the best audio quality per your preferences.
Get a High-Quality Audio Files
The quality of the source audio file impacts your audio experience. For example, MP3 files, due to compression, can lose considerable audio quality, especially if their bitrate is below 192 kbps. In contrast, lossless formats like FLAC and ALAC maintain high audio quality and deliver the best listening experience.
To ensure optimal audio quality, you should always download files from reputable music stores, use streaming services that support lossless and high-resolution formats, and always check the file quality before downloading. For a more detailed check, tools like Audacity can help you verify that the file has been unsampled from a lower-quality source.
Update Audio Drivers
Although updating your audio drivers may not drastically improve the audio quality, you should keep them up-to-date to get optimal performance out of your hardware. If you use headphones from a specific brand, regularly check their official website for updates and install them as they become available.
If you use your laptop’s built-in speakers, you can update the driver through Device Manager. Download the latest drivers from the manufacturer’s website. Then, open Device Manager, expand the “Sound, Video and Game Controllers” section, right-click on your audio device, and select “Update Driver.”

Choose “Browse My Computer for Drivers,” select the downloaded drivers, and follow the on-screen instructions.
Use Equalizer Software
You can customize your sound using equalizer software, which allows you to adjust specific frequency bands to match your preferences. An equalizer app can help offset hardware limitations if you have lower-end headphones or speakers. However, don’t expect it to make a significant difference if your hardware is too subpar.
You can use preset filters for activities like music, movies, and games or create custom profiles if you have some experience tweaking audio settings. Equalizer APO, FXSound, and Boom3D are solid equalizer options for Windows, and they’re all available on the Microsoft Store. Download them and experiment with different profiles.
Use an External Digital-to-Analog Converter or Amp

A digital-to-analog converter (DAC) converts digital audio signals into analog signals for playback through headphones. Although built-in DACs do this job well, they are prone to electrical interference. This can introduce noise and distortion, which affect audio quality. An external DAC can help address this issue.
The impact of using an external DAC on audio quality is a matter of debate. In my view, its effectiveness depends on your PC’s built-in audio quality. If your PC’s sound is already clear and well-balanced, an external DAC may not significantly improve it. However, an external DAC could make a noticeable difference if the audio quality is subpar.
Likewise, you can use an amplifier that takes a low-level analog signal and increases its amplitude, boosting the signal’s power. It also maintains the audio quality at higher volumes.
You deserve the best audio quality from the premium headphones or speakers you’ve invested in. Hopefully, you now better understand how you can improve the audio quality on your Windows PC. By following these steps, you should see some improvement in the audio output quality.
However, these changes might not have much effect if you have low-quality headphones or speakers. So, you should consider investing in a high-end gadget.
Source link
