Extend the life our your pruning shears — here’s how to keep them clean and sharp
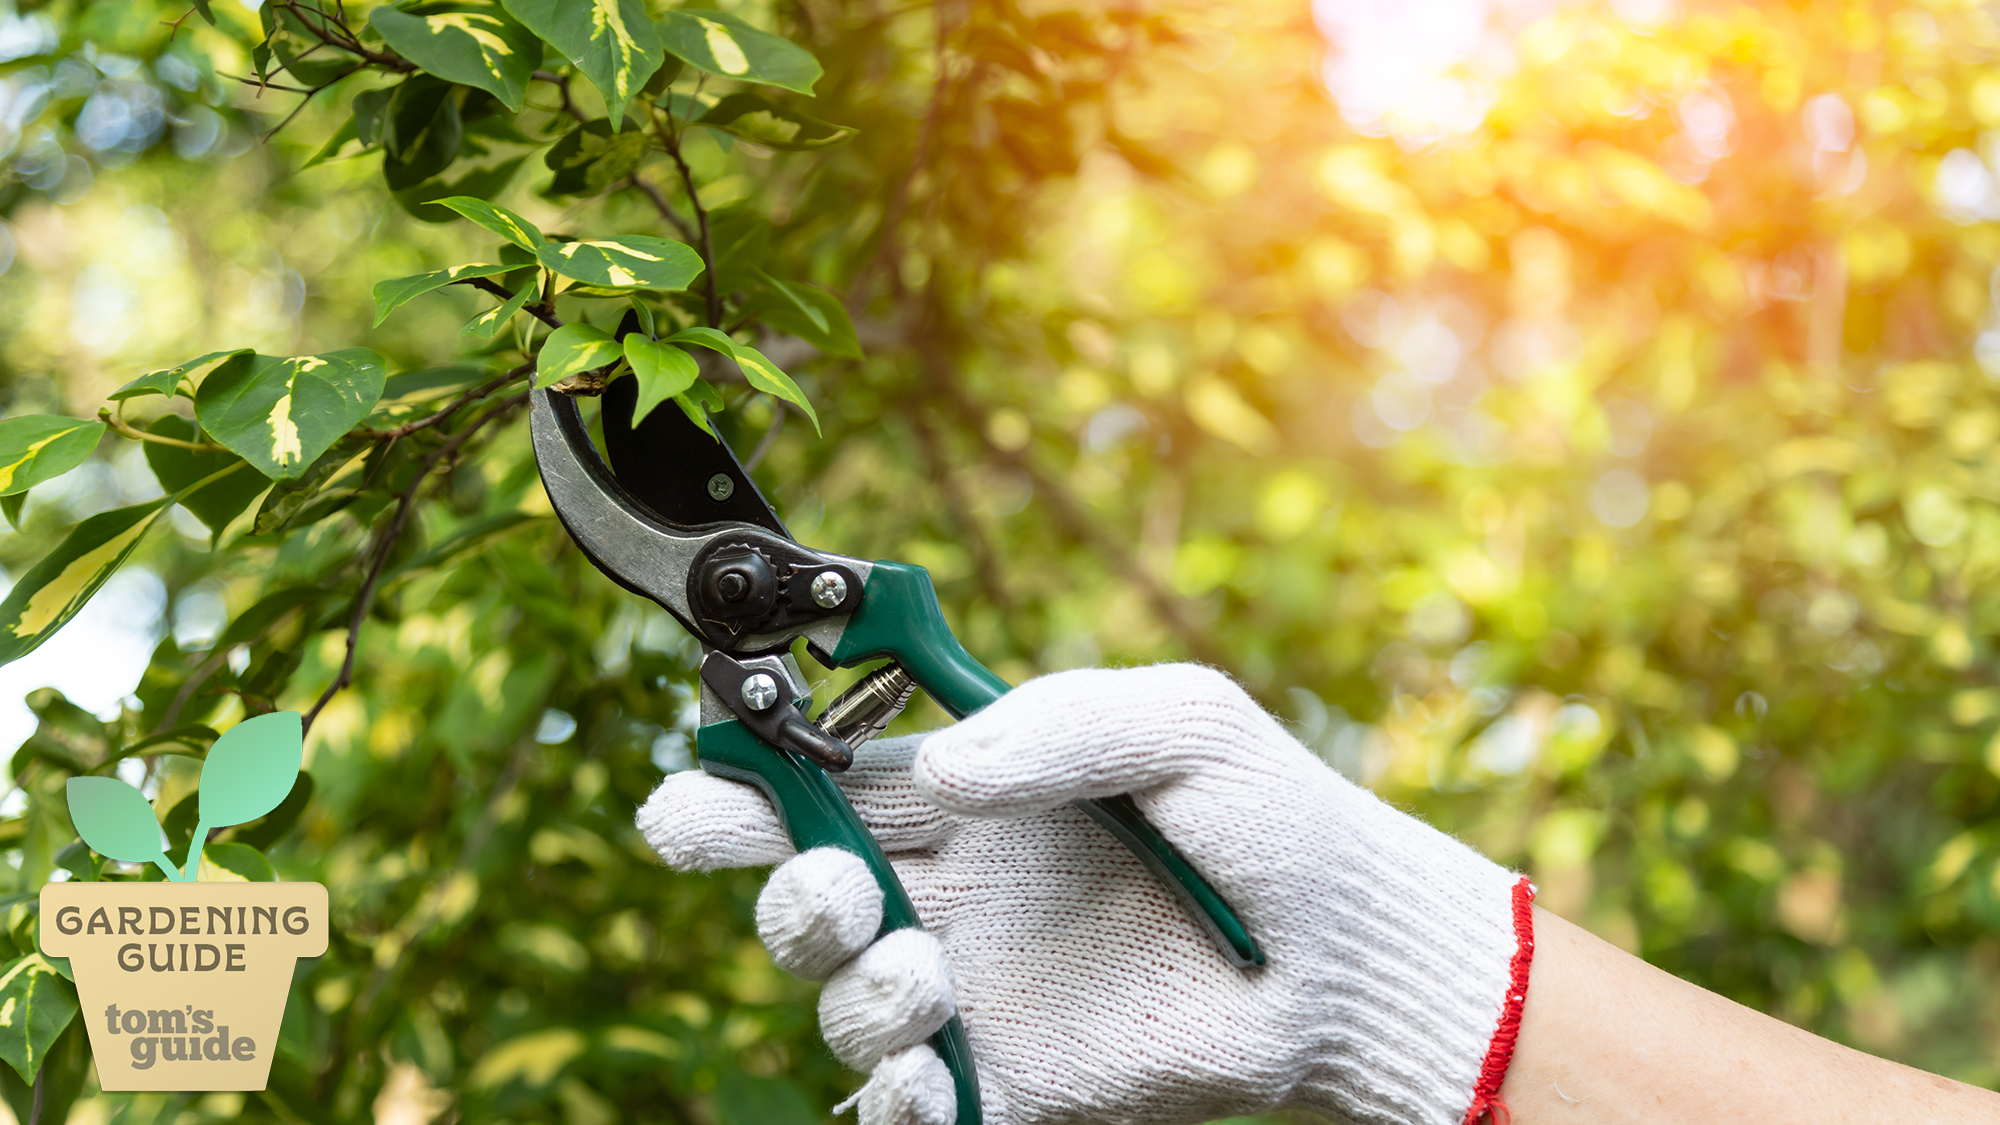
I use my pruning shears more than any other garden tool, and although it may seem strange to admit, I have a fondness for them. My pruning shears get used almost every time I step into my garden, and I wouldn’t want to be without them.
From pruning hedges and plants to deadheading flowers and taking cuttings — pruning shears are an essential tool for any gardener, whether you are just starting out or are a professional.
However, just like any garden tool that’s used regularly, they need to be maintained to keep them in tip-top condition. Apart from extending the life of your pruning shears, by maintaining them, you’ll also be ensuring your plants and cuttings are cared for, too.
Why you need to maintain your pruning shears
Over time pruning shears can get clogged with plant sap and debris. If they are not cleaned there’s a chance that diseases will be passed onto healthy plants. Dirty blades will also become dull, and instead of performing a clean, healthy cut, they will damage plant stems, leaving them susceptible to disease. There’s also the likelihood that the blades will become rusty, and will become too damaged to be revived.
To extend the life of your pruning shears, they must be kept clean, sharp, and well-oiled. And rather than leaving the task until they seize up, I recommend they are cared for regularly.
It’s also highly likely that you have more than one pair to maintain. Although I have my favorite bypass pruning shears, which I use for most gardening jobs, I also own several other pairs, including a pair of anvil pruning shears, which are designed for heavier jobs.
How to clean your pruning shears
Quick maintenance
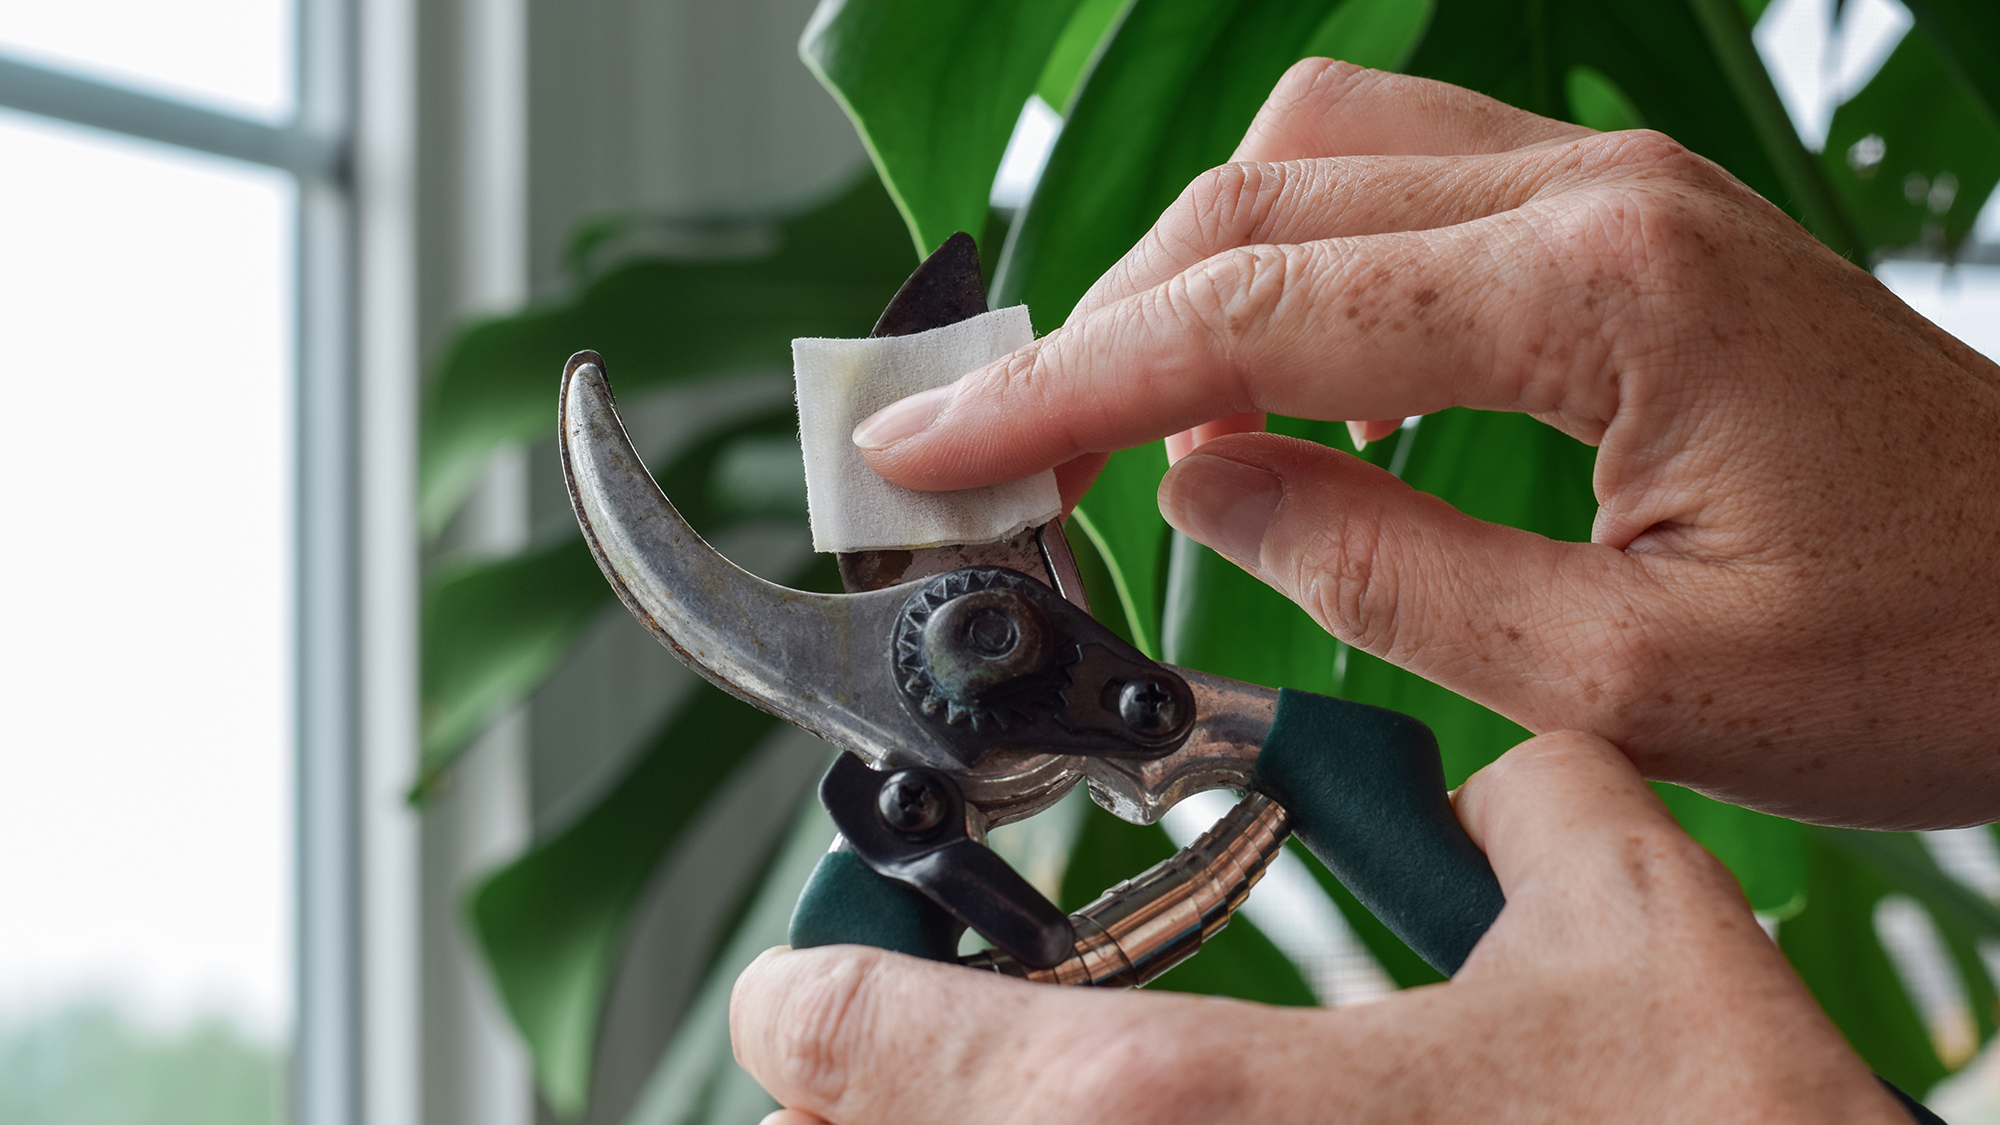
For a quick clean, wipe down your pruning shears after each use. I grab a cotton pad soaked in rubbing alcohol that cleans and disinfects them in one. If any sap remains, you can use a disinfecting wipe to remove the remnants.
Finish off by adding a drop of oil onto the blades and joints and rub it in using wire wool. WD-40 or a mineral oil will do and will help lubricate the blades and prevent rust.
Although, after a stint of gardening, I’m always keen to get inside for a brew, I find spending a few minutes caring for my pruners after each use, saves me time in the long run.
Deep clean
Apart from giving your pruning shears a quick clean after each use, they will also benefit from a deep clean. But, hopefully, if you’ve followed the steps above, it won’t be too much of a chore.
It’s best to take your pruning shears apart when giving them a proper deep clean. However, to help you put them back together again, you might find it helpful to take a photo of each stage. You’ll probably find that your pruners are joined with a screw or bolt, and can be taken apart using a key (that accompanied the pruners), a screwdriver or allen key.
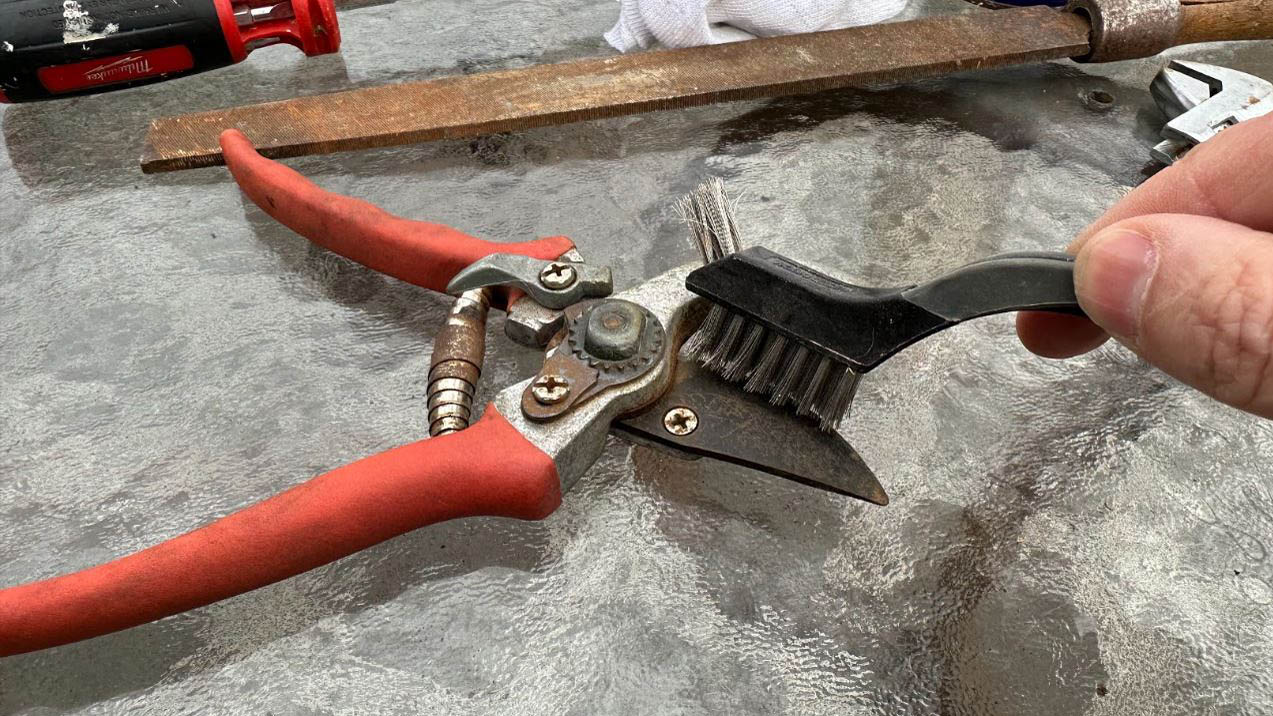
But don’t worry if you can’t take them apart, you can still sharpen the blades even if you can’t disassemble your pruners. Begin by removing any ground-in grime with a scrubby pad or wire wool. If it won’t budge, spray the blades with WD-40 and leave to soak for a good 10 minutes, or come back in an hour or two. You can then remove the oil with a clean cloth and get back to work with the wire wool to remove what remains.
Once clean, wash the pruning shears in warm soapy water, but make sure they are wiped clean and completely dry before you reassemble the parts. Although, instead of putting them back together again at this stage, it’s worth sharpening the blades.
How to sharpen pruning shears
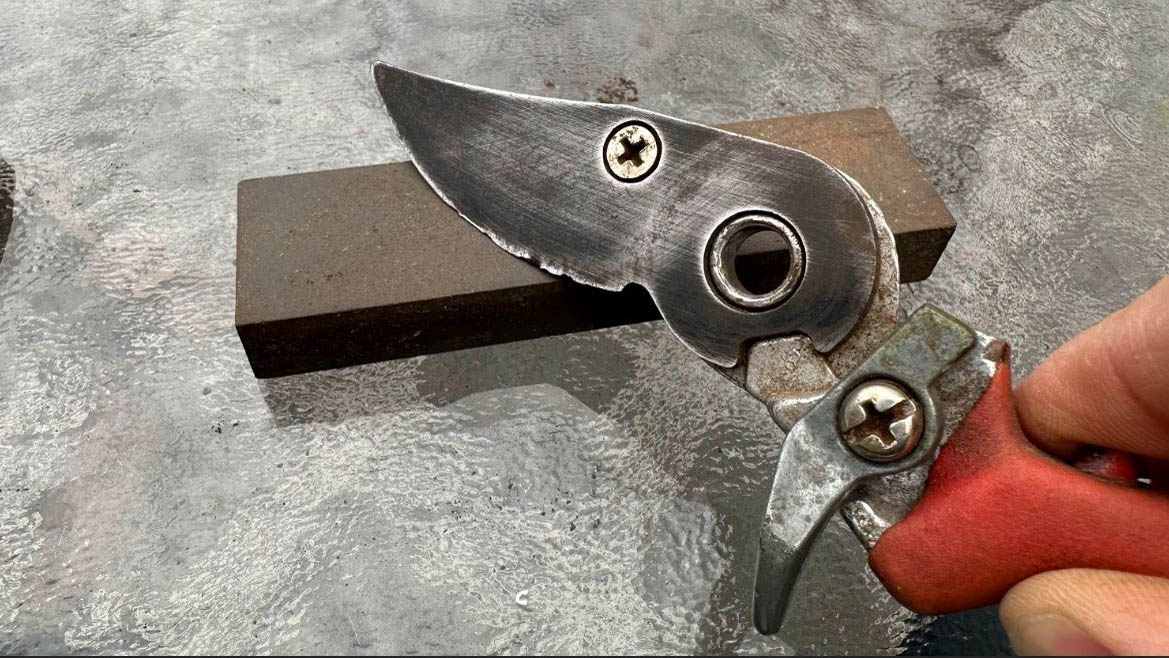
You’ll soon be able to tell when your pruning shears need sharpening — they won’t give a clean, neat cut. Instead, you’ll see a ragged edge, which can damage your plants, leaving them susceptible to disease.
You can use several sharpening tools, including a diamond tool, whetstone or metal file. It’s best to disassemble your printing shears first, so if you’ve just cleaned them, it’s a good opportunity to follow through with sharpening. Sharpening them disassembled exposes more of the blade and gives you greater control as the opposite blade isn’t in the way.
How you sharpen your pruning shears will depend on the type, as bypass and anvil pruners have different blades. Bypass blades are like scissors, and the sharp blade is on the beveled edge. However, on anvil pruning shears, the sharp edge is on both sides of the cutting blade — so remember to sharpen both edges!
To sharpen the blades, draw your chosen sharpening tool along the edge of the cutting blade. Use a medium pressure and keep your sharpening tool at the same angle as the cutting edge. Start from the inside of the blade and work outwards, always working in one direction. If you’ve used a coarse file, finish off with a finer file to remove any burrs. Once complete, wipe away any residue with a microfiber cloth.
Testing your blade
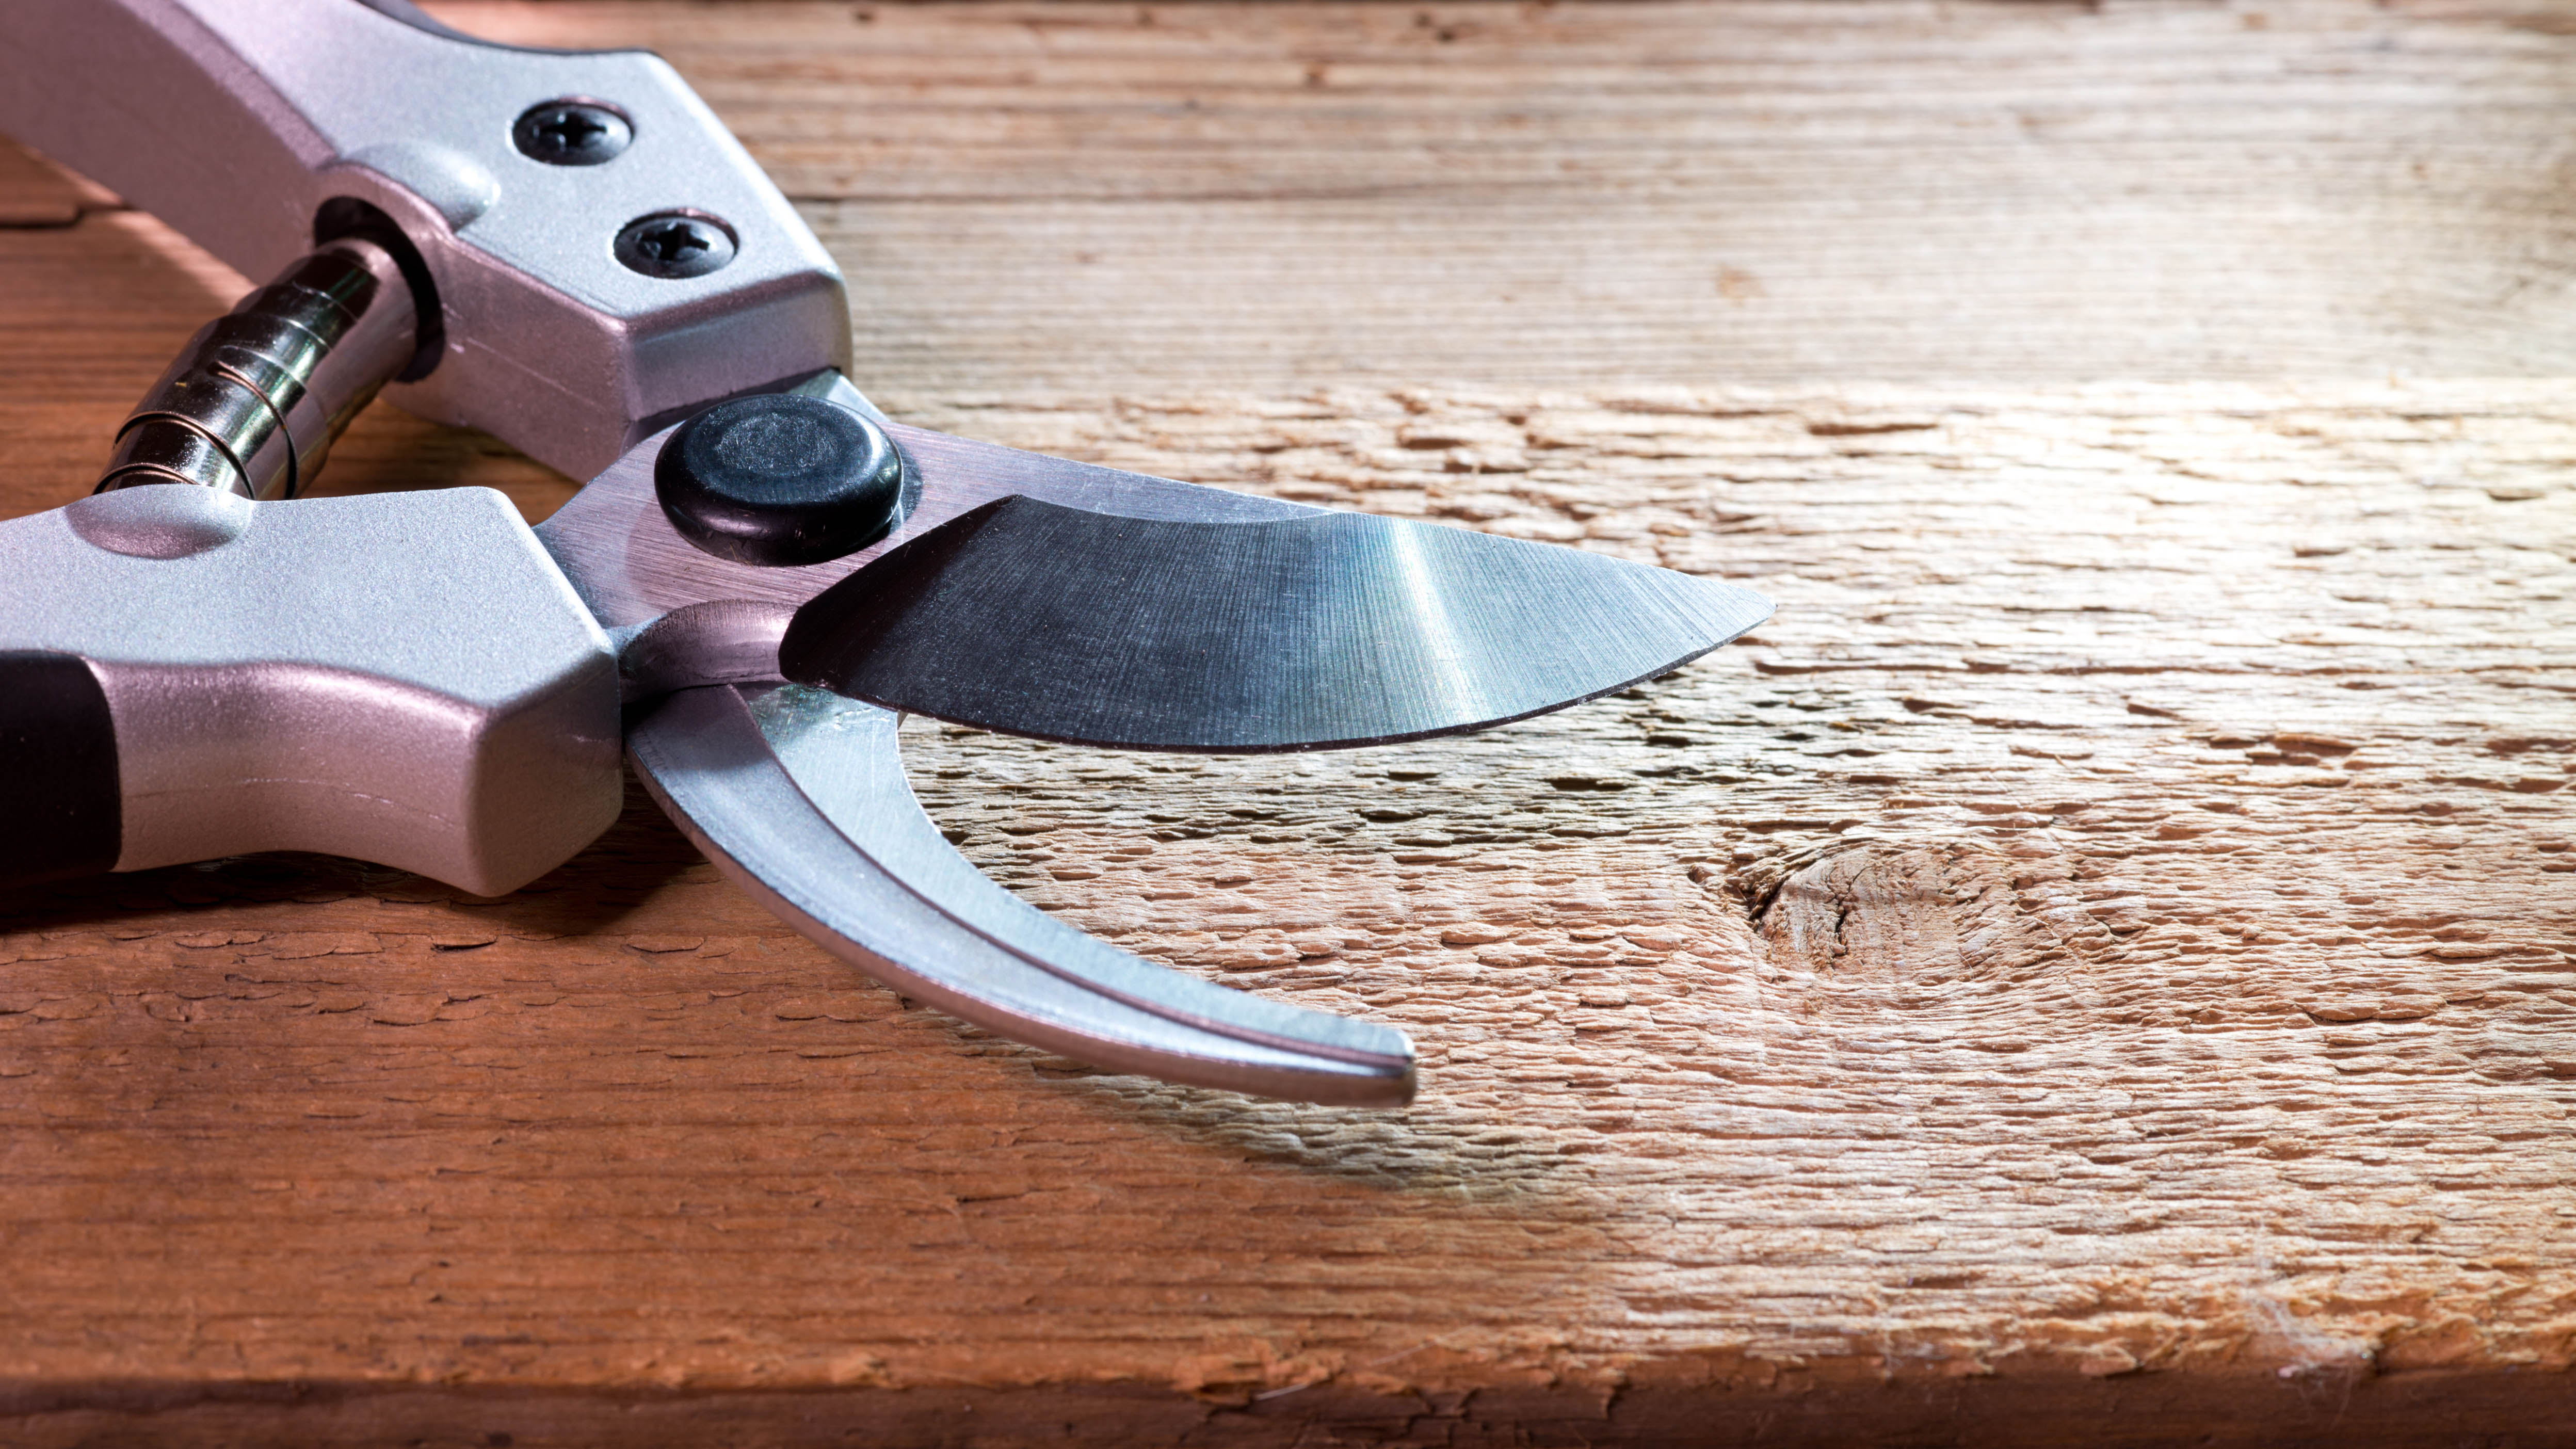
There’s no exact science to say how long it will take to sharpen a blade, but you can try a simple test. Take a piece of paper and make a cut with your pruning shears. If the cut is clean your pruning shears are ready for action.
You can now put your pruners back together, but before storing them, give them an oil, wiping any excess away with a cloth. This will help lubricate their parts and prevent rust.
More from Tom’s Guide
Source link


