Key Takeaways
- You can use Steam overlay for basic stats like an FPS counter.
- MangoHud offers detailed GPU info, and you can install it fairly simply, depending on your Linux distribution.
- Goverlay simplifies setup using MangoHud and other tools, providing customization options for GPU stat monitoring.
Want to monitor your frame rates or GPU temperatures while gaming on Linux? It takes a little bit of setup, but it’s a simple process that you’ll have up and running in no time.
Getting Basic Stats With the Steam Overlay
If you game on Linux and you’re not using Steam, you probably should be. It’s simple to download and install Steam on Linux, and many popular games offer native Linux versions.
For any games you run via Steam, you can enable rudimentary stats, which basically means a frame rate counter. If all you’re doing is looking to measure the performance of a certain game or games on your card, this may be all you need.
To enable the FPS counter, open Steam, then navigate to to the Steam menu, then select “Settings.” On the left side of the window, select the “In Game” menu. In the settings on the right, you’ll find the “In-game FPS counter” option.
The dropdown menu here lets you select where you want the FPS counter to display on the screen. To make it more visible, enable the “In-game FPS counter high contrast color” option below.
Unfortunately, this is a Steam-wide setting, so you can’t toggle it on for some games but not others.
Detailed GPU Info With MangoHud
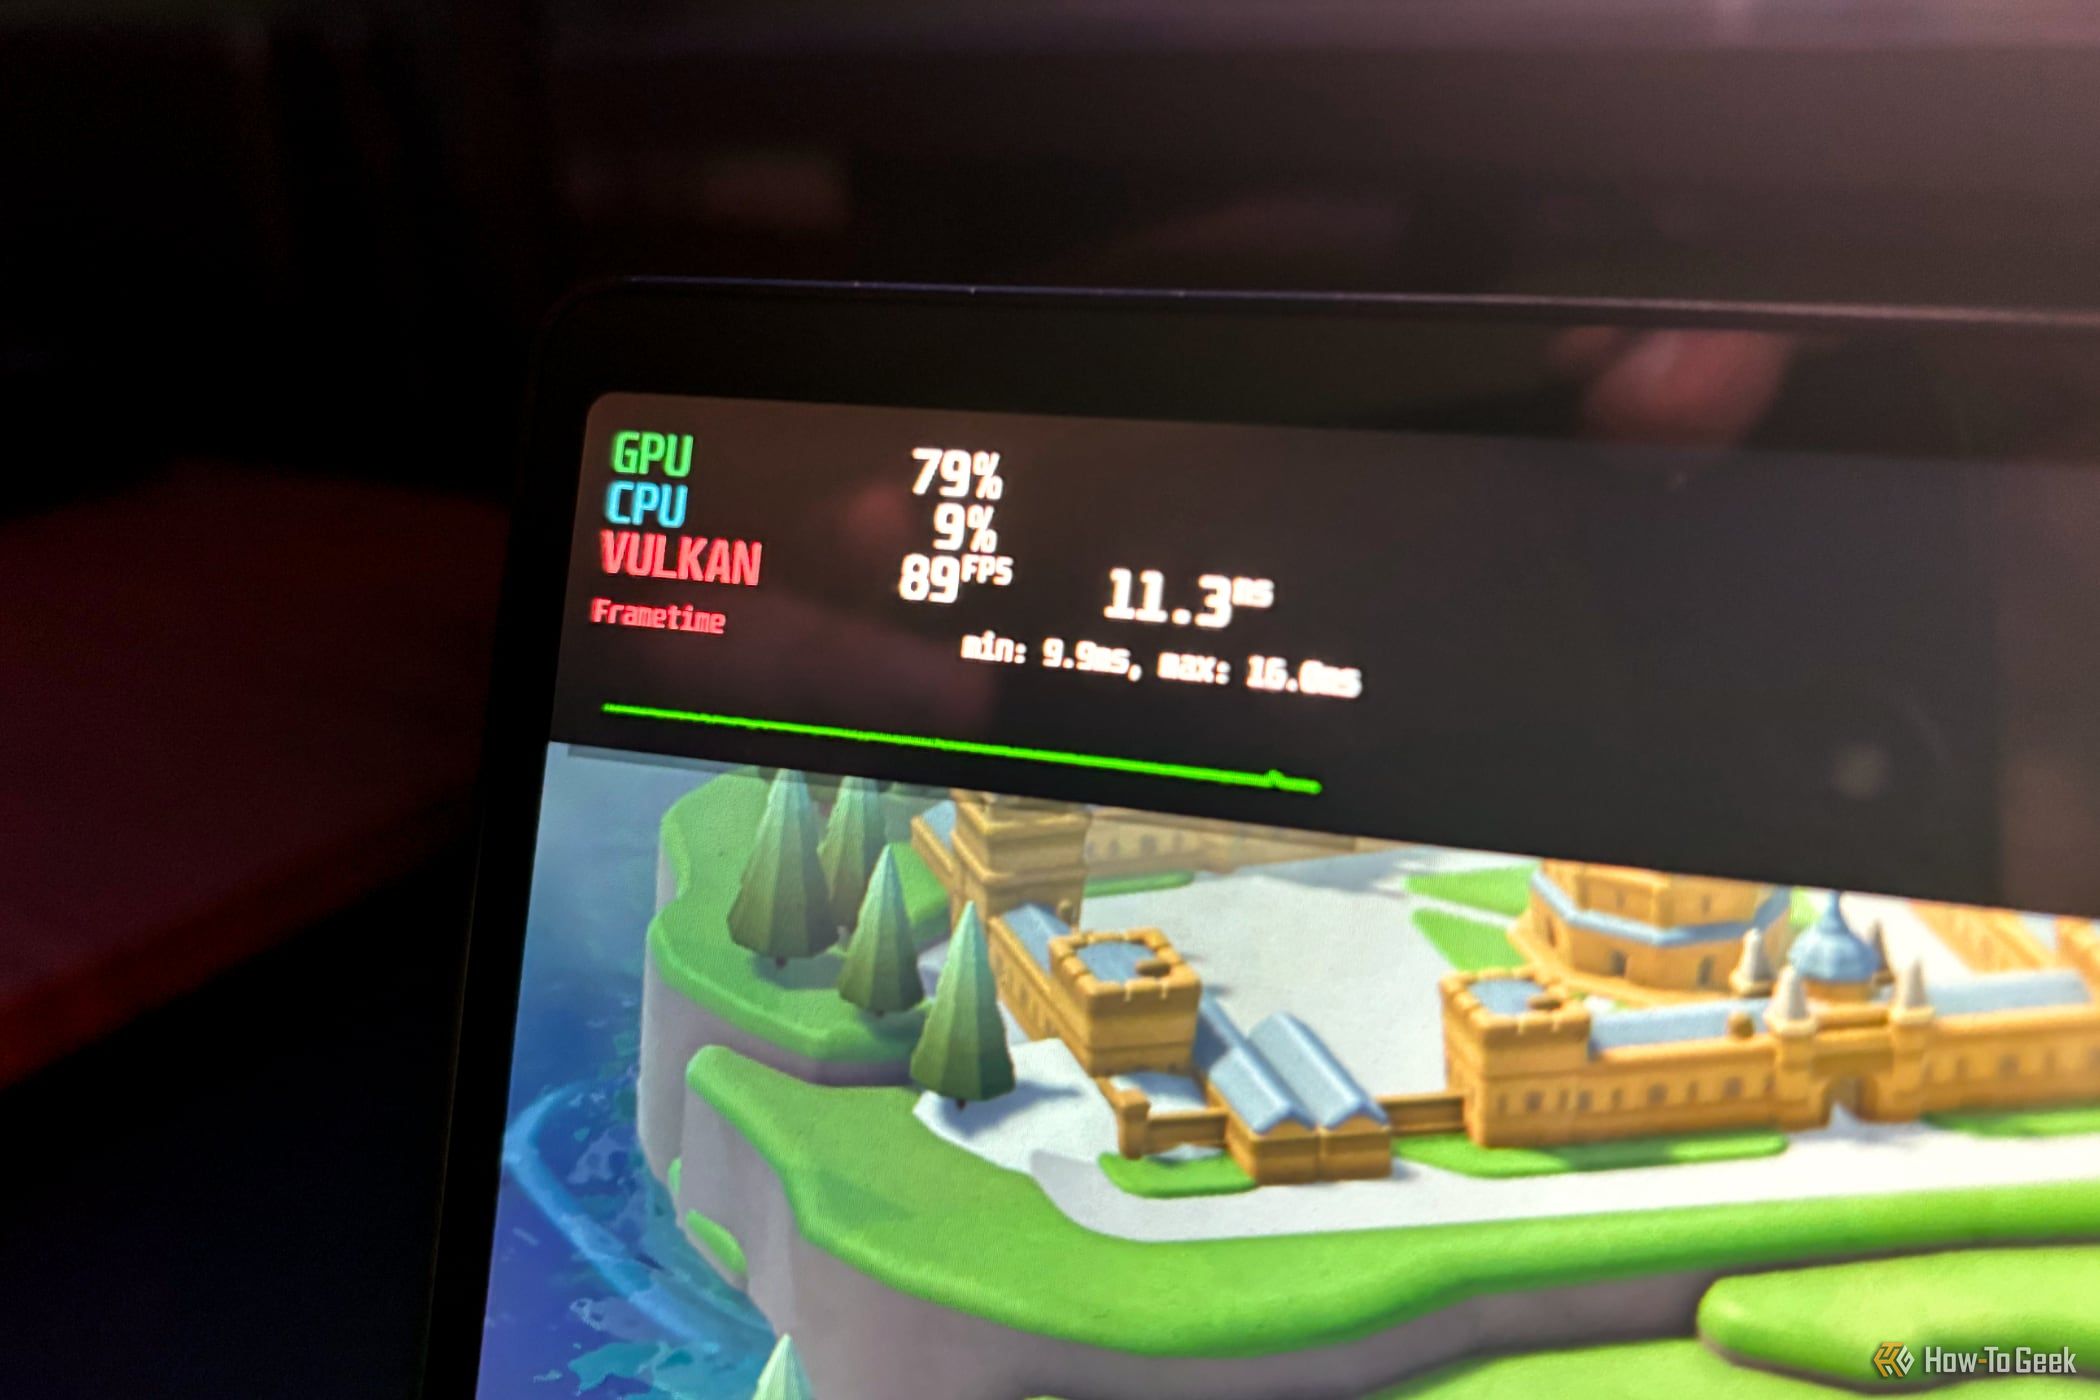
MangoHud is the go-to method for keeping an eye on frame rate, GPU temperature, and countless other stats on Linux. Even the other major method we look at in this article uses MangoHud in the background. By default, MangoHud doesn’t show you everything, but it does show you every stat you need to know.
Installing MangoHud is simple on most distributions, as it’s fairly widely distributed. To install on Ubuntu or Debian systems, run the following:
sudo apt install mangohud If you’re running Fedora, run the following:
sudo dnf install mangohud On Arch-based systems, it’s slightly more complicated.
First, you need to enable the multilib repository, which you can find instructions for on the Arch wiki.
Then run the following:
sudo pacman -Syy
sudo pacman -S mangohud lib32-mangohud
Using MangoHud is fairly simple, especially if you’re happy with the basic frame rate and other info it shows by default.
To get started, simply run the following:
mangohud /path/to/game Of course, you’ll need to replace the path above to the actual path to a game. If you’re running games through Steam, you can edit the launch options with the following:
mangohud %command% Note that this should read exactly as above. You don’t need to replace %command% with anything else.
By default, MangoHud runs on top of the Vulkan graphics backend. This has benefits, like running by default on many Windows games running via Proton. That said, if you’re running games that rely on the older OpenGL, you’ll need to slightly tweak your MangoHud command. Simply run it as the following:
mangohud You can also adjust your Steam launch options accordingly for any games that aren’t running with Vulkan.
Customizing Your Info and Layout With Goverlay
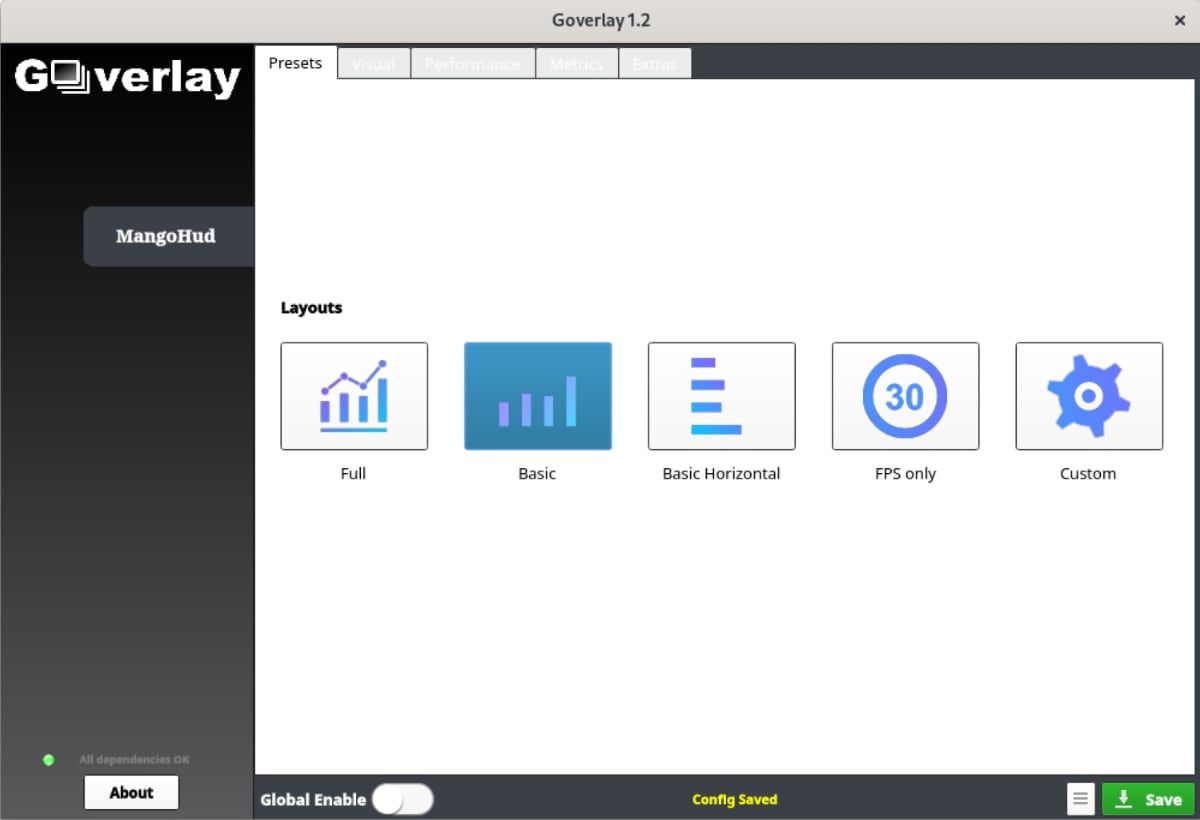
As mentioned above, Goverlay uses MangoHud as well as some other tools in the background, but simplifies much of the setup. It also provides easy access to many of the more powerful features that you’d otherwise need to spend hours tweaking your MangoHud config by hand to get.
Goverlay also has another handy feature known as Global Enable. This does exactly what it says it does, and prevents you from having to run special commands or tweak Steam launch options to get GPU stats visible during gameplay.
Installing Goverlay is simple on most systems, but convoluted on Ubuntu. You’ll need to download the latest release, then run the following from the same directory containing the folder you downloaded:
sudo apt-get update
wget https:
sudo dpkg -i libqt6pas6_6.2.8-1_amd64.deb
tar -zxvf goverlay*.tar.gz
./goverlay
On Debian Sid, it’s a much simpler install:
sudo apt install goverlay Installation is equally simple on Fedora:
sudo dnf install goverlay Arch is a simple one-command install as well:
sudo pacman -S goverlay Once you have the app installed, you should be able to find it via your desktop’s app launcher. If you can’t find the app this way, simply run:
goverlay When the app launches, it will also launch a demo giving you a demonstration of how you currently have MangoHud configured. There are far too many options to go into about Goverlay, but you’ll be able to tweak what info is displayed, its position on the screen, the shape of the overlay corners, and more.
If you want to try measuring basic statistics while gaming, but don’t really feel like installing and configuring extra software, you may not have to. This is especially true if you’re using an AMD video card with open source drivers, or if you’re using other open source video drivers.
The MESA software that Linux uses for much of its 3D functionality comes with an option built-in, known as GALLIUM_HUD. This lets you add an info-packed HUD to a game with a simple command prefix. You can use it as follows
GALLIUM_HUD=help glxgears The above will give you more information about how to run GALLIUM_HUD, while also giving you a demonstration of how it works.
If you have an Nvidia video card, and you’re interested in tweaking it on your Linux system, you might be interested in GreenWithEnvy. This is only meant for Nvidia cards, but that isn’t the only limitation.
The project currently only works on Xorg, with Wayland support lagging behind. This also isn’t likely to change in the near future, for multiple reasons. First, some of this is due to issues with Nvidia drivers and Wayland. Second, the project is looking for a new maintainer and hasn’t been updated much over the last few years.
Still, if none of the above options have worked for you yet, and you don’t feel the urge to run Wayland on your system in the near future, it may be worth trying out.
Source link


