Key Takeaways
- To back up photos and videos on Android, launch the Google Photos app, tap the profile picture, select “Backup is Off,” and turn on the “Back Up Photos & Videos On This Device Automatically” toggle.
- You can change various backup options, like the quality of the backups, when the backups are uploaded to the cloud, adding additional backup folders, and locking private items.
- You can access Google Photos from your desktop as well by visiting the site and logging in to your Google account.
If you use an Android phone, you can back up your phone’s photos and videos to Google Photos to ensure you have a safe copy and your phone has free storage space. It’s quick and easy to set this up—I’ll show you how to do that.
Before Backing Up Items, Know Google Photos’ Storage Limit
Any items you upload to Google Photos count toward your Google account storage. A free Google account gets 15GB of storage space, which is shared across Gmail, Google Drive, and other Google services.
If your photos and videos will occupy more space than that, you can upgrade your storage limit with Google. Paid plans start at $1.99/month or $19.99/year for 100GB, $9.99/month or $99.99/year for 1TB, and so on. You can visit the Google One site to choose a paid package.
Back-Up Photos and Videos to Google Photos
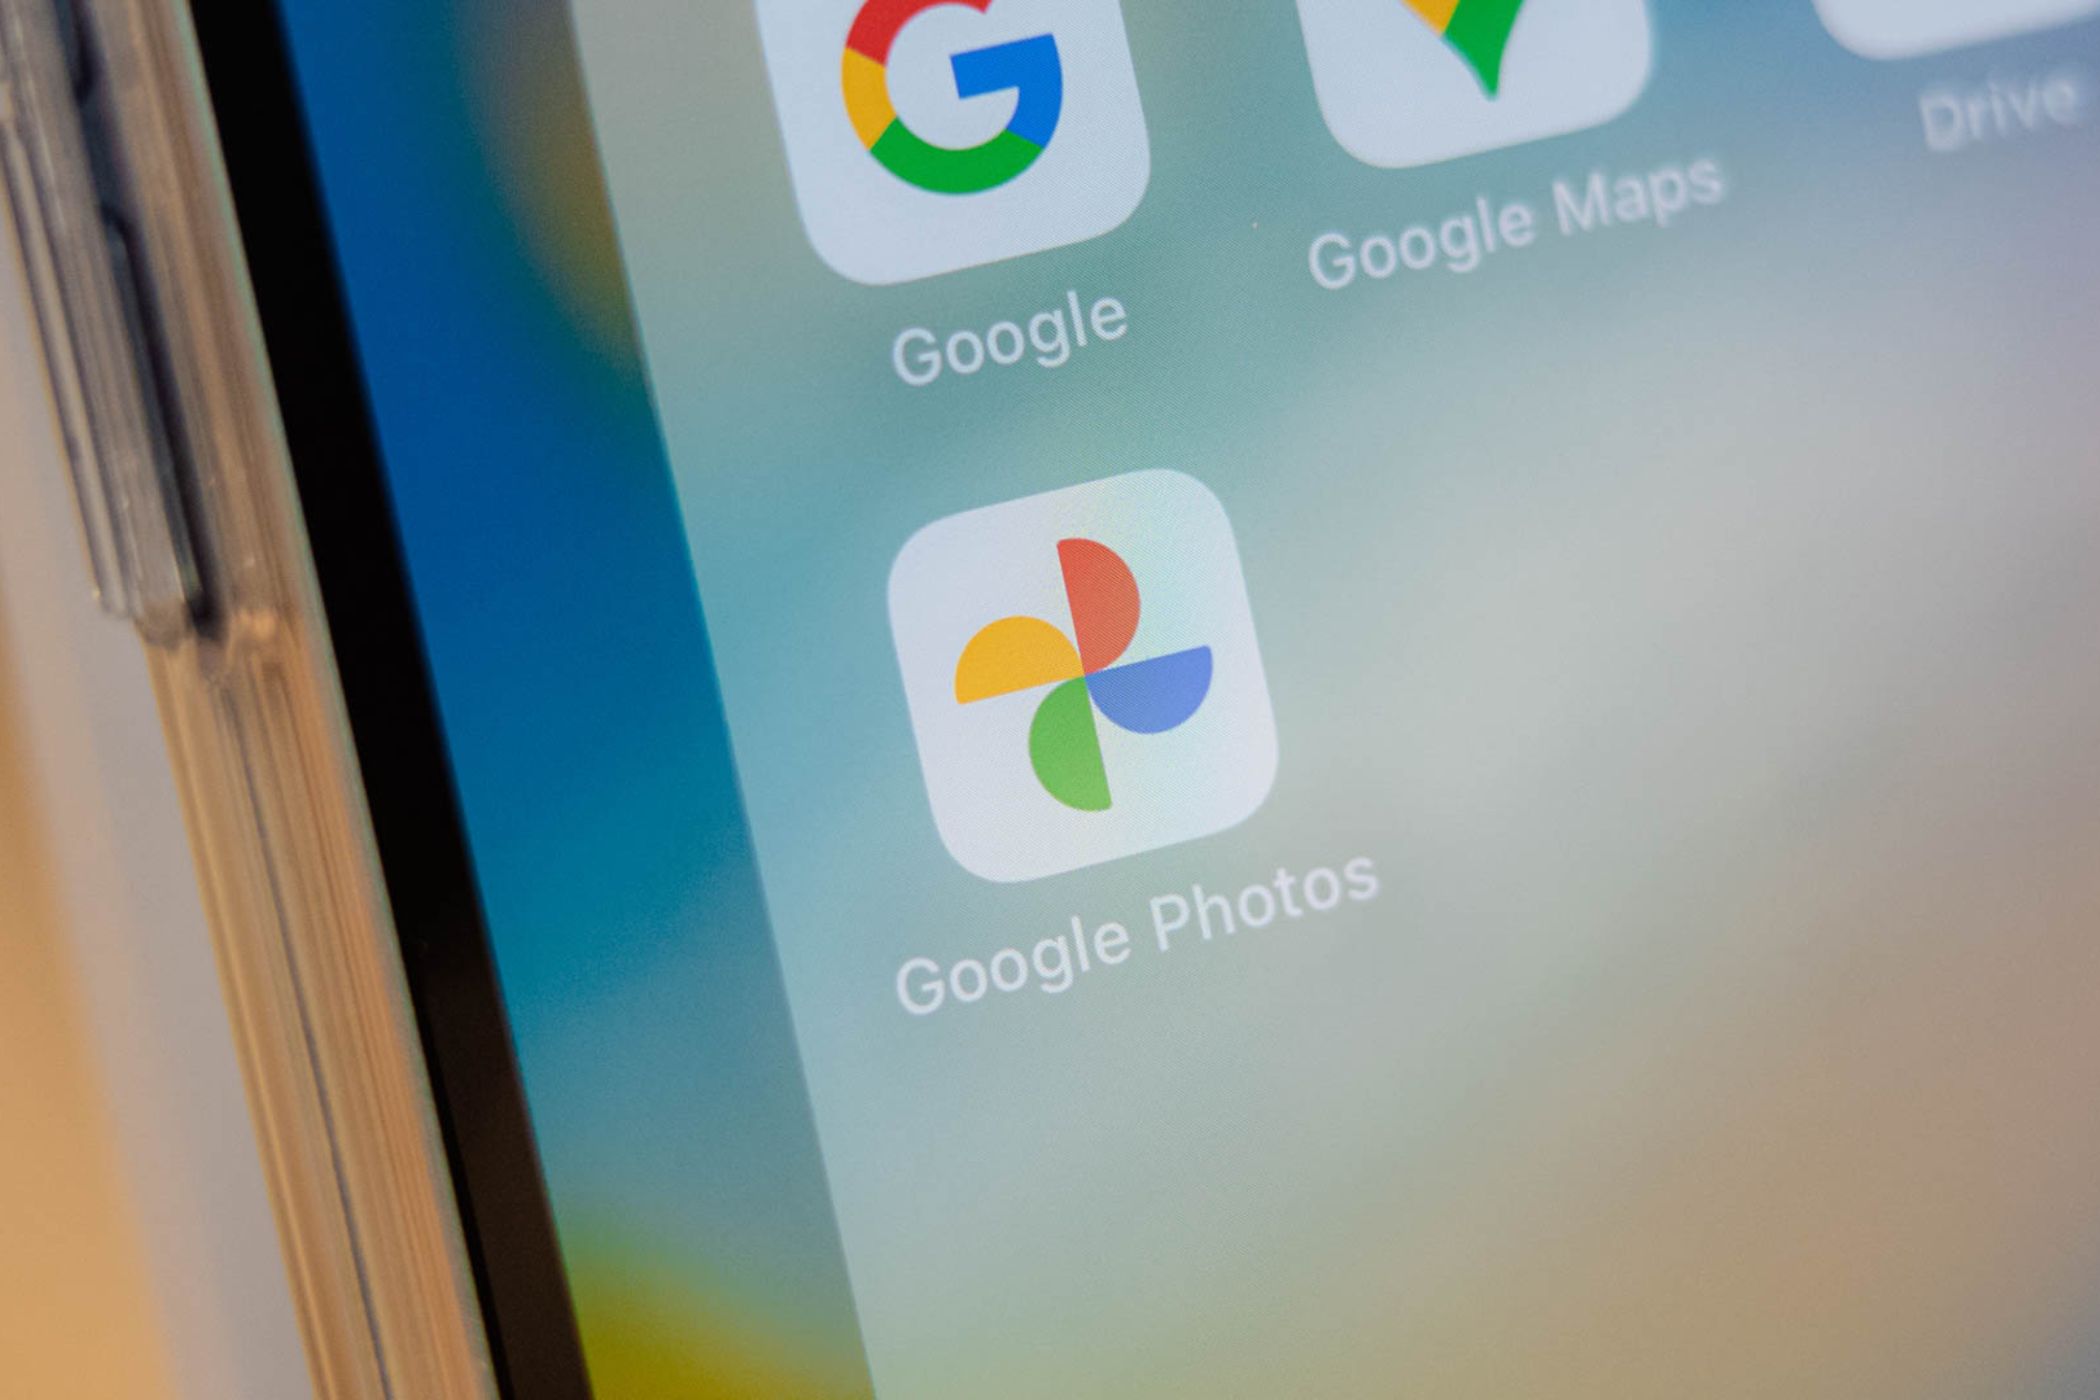
To start backing up your photos and videos, launch the Google Photos app on your Android phone. If you don’t have it, download it from the Google Play Store.
When the app opens, in the top-right corner, tap your profile picture. From the open menu, select “Backup is Off.”
On the open screen, turn on the “Back Up Photos & Videos On This Device Automatically” toggle. You’ll see the header text changing to “Backup is On.”
Google Photos will begin uploading your phone’s photos and videos to the cloud. This process can take anywhere from a few minutes to a few hours, depending on the size of your files and the speed of your internet connection.
Configure Various Google Photos Settings
Google Photos offers various setting options that you can tweak to customize your backup experience. This lets you ensure that your files are backed up exactly as you want them.
First, you can change the quality of the files you upload online. To access this option, tap the profile picture in the top-right corner, choose “Backup,” select the gear icon in the top-right corner, and choose “Backup Quality.” Select “Original Quality” to upload your photos and videos in their original quality (this will use more storage space). Or, choose “Storage Saver” to save your items at a slightly reduced quality (this uses less storage space).
In the Storage Saver mode, photos are compressed to 16MP and videos are compressed to high-definition. This offers good-quality prints up to 24 x 16 in.
By default, Google Photos only uploads files when you’re on a Wi-Fi network. If you want to change that and let the app upload files even when you’re on mobile data (not recommended if you have a limited data plan), tap “Mobile Data Usage” on the Backup screen. In the “Daily Limit for Backup” section, choose the data amount the app can use. This turns on the “Back Up Videos Over Data” toggle. To enable backups on roaming, turn on the “Back Up While Roaming” toggle as well.
Google Photos automatically backs up photos and videos from your phone’s camera folder. To add content from other folders, tap “Back Up Device Folders” and turn on the toggles for the folders you want to include in the backup.
After the app has uploaded your files online, you can remove those files from your phone’s local storage to free up space. Google Photos has a built-in option to help you do that. Access it by tapping the profile picture and choosing “Free Up Space on This Device.” Tap the “Free Up X MB” (or GB), where X is the amount of storage to be freed up. You can always redownload any items you want to your phone.
If you have private photos or videos that you don’t want others to see, you can put those items in a locked folder in Google Photos. To do that, in Photos’ bottom bar, tap “Collections.” Choose “Locked,” select “Set Up Locked Folder,” and follow the on-screen instructions to configure the folder.
Find Your Android Phone’s Backed Up Photos and Videos on Desktop
Google Photos is accessible from many device types, including desktop computers. You can view any files you upload from your Android phone on your computer.
To do that, launch your favorite web browser on your computer and open the Google Photos site. Sign in to the same account that you use on your phone. You’ll see all your photos and videos on your screen. You’ll see any albums you’ve created on the left of the site. You can search for items using the search box at the top, which is extremely useful when you’re looking for something specific.
You can also download photos and videos to your computer if you want. To do that, open a photo or video, click the three dots in the top-right corner, and choose “Download.”
The file will begin downloading to your computer.
You can even back up photos and videos from your computer using the Google Photos for Windows app. This app automatically finds the multimedia content on your machine and uploads those files to your Google account.
And that’s how you ensure the precious photos and videos you make on your Android phone are stored safely somewhere on the cloud. The next time you need access to these items on a new or different device, simply access Google Photos, and all your favorite moments will be right in front of you. Happy taking pics and making videos!
Source link


