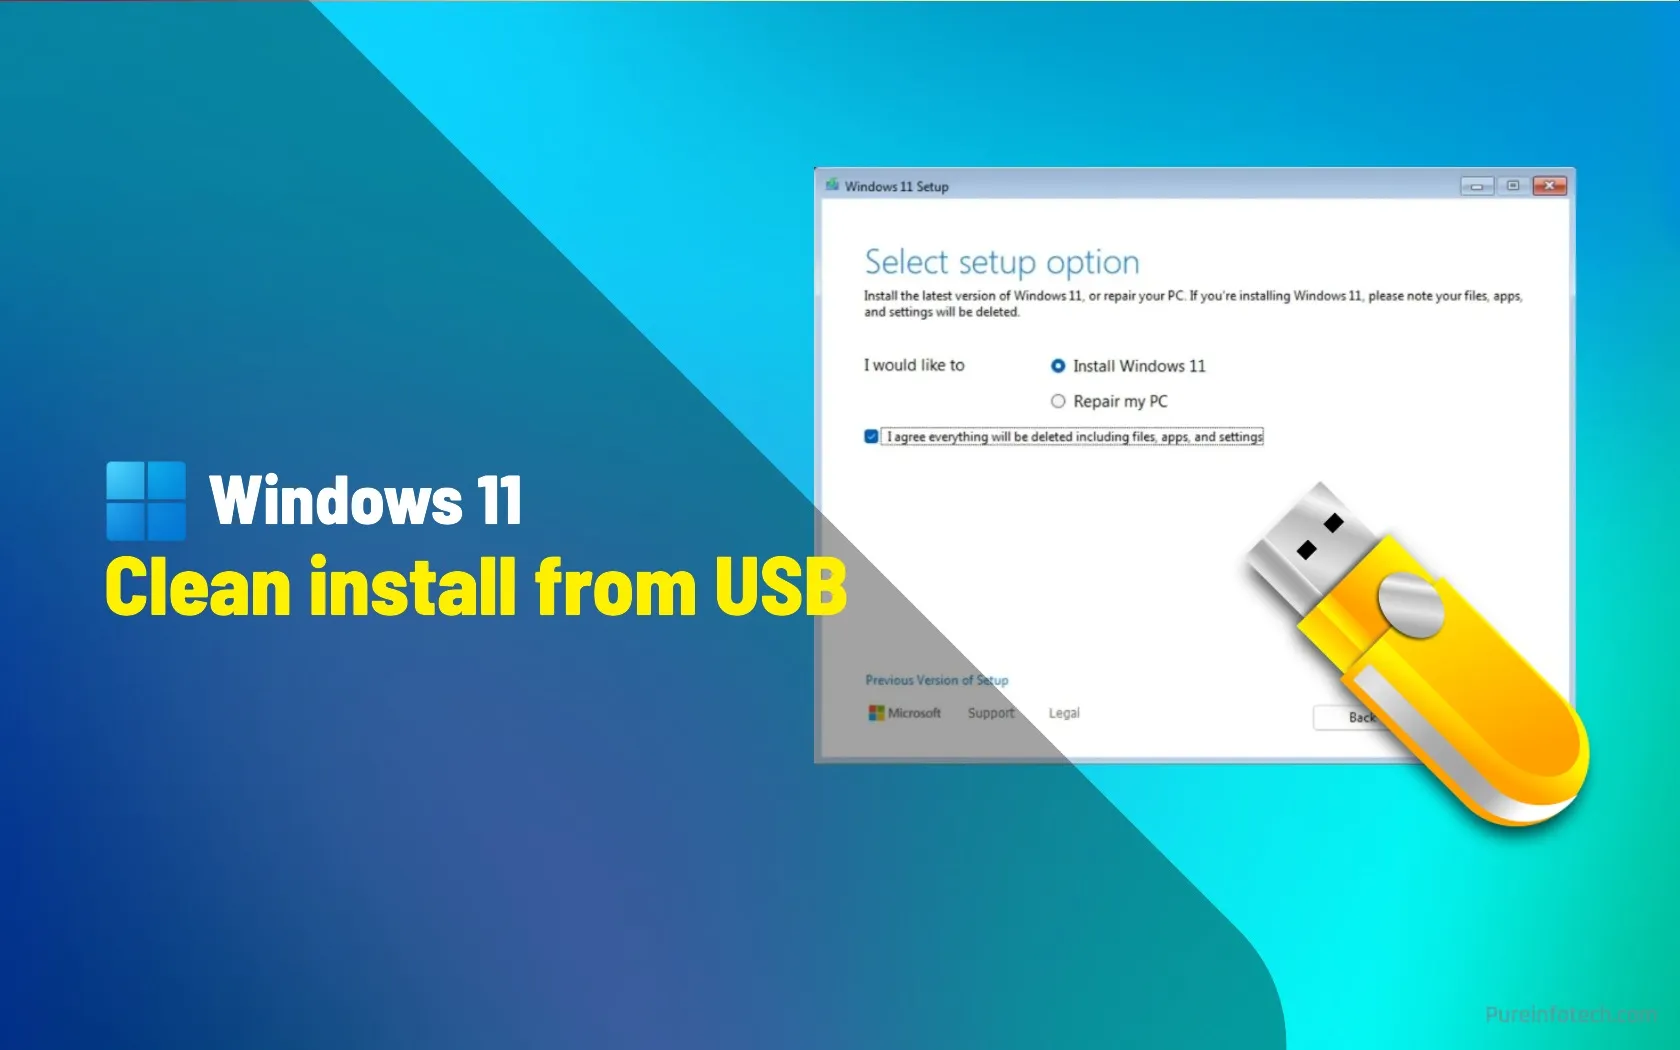
How to clean install Windows 11 from USB

A clean installation of Windows 11 using a USB flash drive offers several key advantages over an in-place upgrade or system reset. This process involves wiping the hard drive and installing a fresh copy of the operating system, which helps ensure optimal performance, stability, and a clean slate free of existing issues.
While Microsoft officially recommends performing an in-place upgrade to preserve settings, apps, and files, I always prefer to start with a clean installation. Over the years of helping users troubleshoot upgrade issues, I’ve seen how modifying an existing installation can introduce unexpected problems, often caused by compatibility conflicts, old drivers, or custom system customizations.
A clean installation reduces the likelihood of errors by eliminating leftovers from the previous setup. Removing everything and starting from scratch makes you less likely to inherit problems from your old installation. If your current Windows setup has been running for years, this method can also resolve persistent performance issues, improve memory usage, and provide a faster and more reliable experience overall.
Will you lose your files?
Yes, this process erases everything on the computer, meaning that you will lose all your personal files, apps, and settings. The solution is to create a backup of your files before proceeding:
- Back up files — Save personal documents, photos, and other important data to an external drive or cloud storage, such as OneDrive or Google Drive. You can also perform a full backup of your computer to an external storage device.
- Note installed apps – Create a list of essential programs so you can reinstall them later.
- Save product keys and passwords – Ensure you have access to software licenses, email accounts, and other important credentials.
The backup process only applies when trying to reinstall or upgrade the operating system. If you’re installing Windows 11 on a new computer or on an empty hard drive, you don’t have to worry about creating a backup.
Will Windows 11 remain activated?
Yes. If the previous setup was running an activated version of Windows 11 or Windows 10, the new installation of the operating system will reactivate automatically after installation. You do not need to enter a product key.
If the device was never activated, you will have to activate Windows 11 Pro or Home during or after the setup.
What are the hardware requirements?
These are the new system requirements to install Windows 11:
- Processor: 1GHz or faster CPU or System on a Chip (SoC) with two or more cores.
- Memory: 4GB (8GB or even 16GB is recommended).
- Hard drive: 64GB or larger.
- System firmware: UEFI, Secure Boot capable.
- TPM: Trusted Platform Module (TPM) version 2.0.
- Graphics: Compatible with DirectX 12 or later with WDDM 2.0 driver.
- Display resolution: High definition (720p) display greater than 9″ diagonally, 8 bits per color channel.
- Networking: Internet connectivity and a Microsoft account are required for Windows 11 Home and Pro.
If the device was already running Windows 11, the chances are that the newest version will be compatible with your hardware configuration. However, you can always check the tech specs of your computer from the Settings app, System Information, or using Command Prompt and PowerShell.
Windows 11 also requires the Trusted Platform Module (TPM) 2.0 in the Unified Extensible Firmware Interface (UEFI). If your computer was previously running a different version of the operating system, you may need to enable the TPM 2.0 feature manually.
What type of USB flash drive do I need?
You’ll also need a USB flash drive of at least 8GB of available storage. The operating system doesn’t require a specific type, meaning that you can use a Type-A or Type-C USB, and you can use virtually any brand, such as ScanDisk, PNY, or Samsung. However, in my experience, using a known brand will offer the best experience.
Furthermore, consider that many brands pre-configure their flash drives with security software and tools, which can sometimes cause problems. If the USB flash drive is not working correctly, you can clean and reformat it to ensure it works with the Media Creation Tool.
It’s worth noting that you cannot use a USB external hard drive. It has to be one of the tiny thumb drives.
In this guide, I’ll outline the steps to set up a fresh installation of Windows 11 using a bootable USB flash drive. You can also find a guide detailing all the available methods to install Windows 11.
Perform a clean install of Windows 11 using a USB flash drive
To perform a clean installation of Windows 11 from a USB drive, you first need to download the Windows 11 ISO file to create bootable USB media, and then proceed with the free installation process.
If you choose this method, you’ll also need to ensure that your computer can boot from USB. This requires changing the UEFI (also known as BIOS) settings. Since every computer is different, check your manufacturer’s support website for specific steps on accessing and adjusting these settings.
Create Windows 11 USB
To use the Media Creation Tool to create a bootable Windows 11 USB flash drive, follow these steps:
-
Click the Download Now button under the “Create Windows 11 installation media” section.
-
Double-click the MediaCreationTool.exe file to launch the tool.
-
Click the Accept button.
-
Click the Next button.
Quick note: Clear the “Use the recommended options for this PC” option to select the correct language, architecture, and edition to create a Windows 11 USB for another device.
-
Select the USB flash drive option.

-
Click the Next button.
-
Select the USB flash drive from the list, but ensure it doesn’t contain any important files, as this process will erase everything on it.

-
Click the Next button.
-
Click the Finish button.
Once you complete the steps, you can start a device using UEFI with the USB drive to install Windows 11.
You can also create a bootable USB media to install Windows 11 with third-party tools, such as Rufus and Ventoy. You can even create the installer with Command Prompt.
Install Windows 11 from USB
To install Windows 11 from a USB bootable media, follow these steps:
-
Start the PC with the Windows 11 USB flash drive.
-
Press any key to continue.
-
Choose the installation language and format.

-
Click the Next button.
-
Choose the keyboard and input method.

-
Click the Next button.
-
Select the “Install Windows 11” option.

-
Check the “I agree everything will be deleted including files, apps, and settings” option.
-
Click the “I don’t have a product key” option.

-
Select the “Windows 11 Pro” or “Windows 11 Home” option, depending on whether the license key that activates.

-
Click the Next button.
-
Click the Accept button
-
Select each partition on the hard drive where you want to install Windows 11 24H2 and click the Delete button. (Usually, “Drive 0” is the drive that contains all the installation files.)

-
Select the hard drive (Drive 0 Unallocated Space) to install the operating system.

-
Click the Next button.
-
Click the Install button.

-
Choose your region setting on the first page of the out-of-the-box experience (OOBE) after the installation.
Quick note: The initial setup experience may be slightly different as Microsoft is constantly making changes and offering different options, depending on your region and the capabilities of the device.

-
Click the Yes button.
-
Select your keyboard layout setting.

-
Click the Yes button.
-
Click the Skip button if you do not need to configure a second layout.
-
The computer will automatically connect to the network using an Ethernet connection. You must set up the connection manually on a wireless connection (a security key may be required).
-
(Optional) Confirm a name for the computer.

Quick note: This is an optional step, but I recommend setting a name to make it easier to identify the device in the network, on your Microsoft account, and when restoring your computer from backup. Also, after completing this step, the setup will restart to apply the new name, but it’ll start where you left off to continue with the settings.
-
Click the Next button. (The device will restart automatically.)
-
Select the “Set up for personal use” option for Windows 11 Pro. This option is not available for the “Home” edition.

-
Click the Next button.
-
Click the Sign in button.
-
Confirm your Microsoft account email to create a Windows 11 account.

-
Click the Next button.
-
Confirm your Microsoft account password.
-
Click the Next button.
-
Click the Create PIN button.
-
Create a new four-digit Windows Hello PIN.

-
Click the OK button.
-
Turn on or off the toggle switch for each privacy setting to confirm the one that best suits your situation.
-
Click the Next button.
-
Click the Next button again.
-
Click the Accept button.

-
Click the More options setting.
 Quick tip: You can also click the “Restore from this PC” button to restore your files, apps, settings, and credentials from the system backup available in your OneDrive account. You can learn more about the Windows Backup app in this guide.
 -
Click the “Set up as a new PC” option.

-
Click the “Set up as a new PC” option again.
-
(Optional) On the “Let’s customize your experience” page, select one or more ways you plan to use the device to allow the operating system to suggest tools and service customization during this experience.

-
Click the Accept button to continue. Or click the Skip button to skip this part of the setup.
-
(Optional) Use the code to link your Android phone, or click the “Skip” option.
-
(Optional) Use the code to download OneDrive on your phone, or click the “Skip” option.
-
Click the “Not now” button if you will be using a browser other than Microsoft Edge.

Once you complete the steps, Windows 11 will finish the clean installation on the computer.
Check for system and driver updates
After the installation process, check for and install any available updates to ensure the computer has the latest version of its hardware drivers.
Check for system updates
To install Windows 11 updates manually, follow these steps:
-
Open Settings on Windows 11.
-
Click on Windows Update.
-
(Optional) Check the “Get the latest updates as soon as they’re available” toggle switch to download updates before they are automatically rolled out to everyone.
-
Click the “Check for updates” button.

-
(Optional) Click the “Download and install” option to apply a preview of an upcoming update of Windows 11.
Quick note: Optional updates usually include non-security changes that Microsoft plans to release in the next Patch Tuesday rollout.
-
Click the Restart now button.
Once you complete the steps, if an update is available, it will download and install automatically on Windows 11.
Check for driver updates
To update the hardware drivers on Windows 11, follow these steps:
-
Open Settings.
-
Click on Windows Update.
-
Click the Advanced options page.
-
Click the Optional updates setting under the “Optional updates” section.

-
Click the Driver updates setting.
-
Select the device driver your computer is missing.

-
Click the “Download & install” button.
Once you complete the steps, the system will download and install the available updates for the hardware drivers.
When it comes to using the Windows Update settings, manufacturers usually only provide the generic and basic drivers. If you want the most up-to-date driver version with all its functionalities, it’s best to download the package from the device manufacturer’s support website and then use the Device Manager to install the driver.
At this point, you can proceed with installing your applications, such as your preferred web browser, Microsoft 365 (Office) apps, and other specific programs.
Finally, it’s now also time to restore your files from backup. If your files are in OneDrive, signing into the app will make your documents, pictures, and other files available automatically through File Explorer.
If you exported the files to an external USB hard drive, you will need to connect the storage device and transfer the files manually.
Did you encounter any issues during the installation process? Let me know in the comments.
Source link


