How to correctly install graphics drivers when upgrading to a new GPU on Windows 11

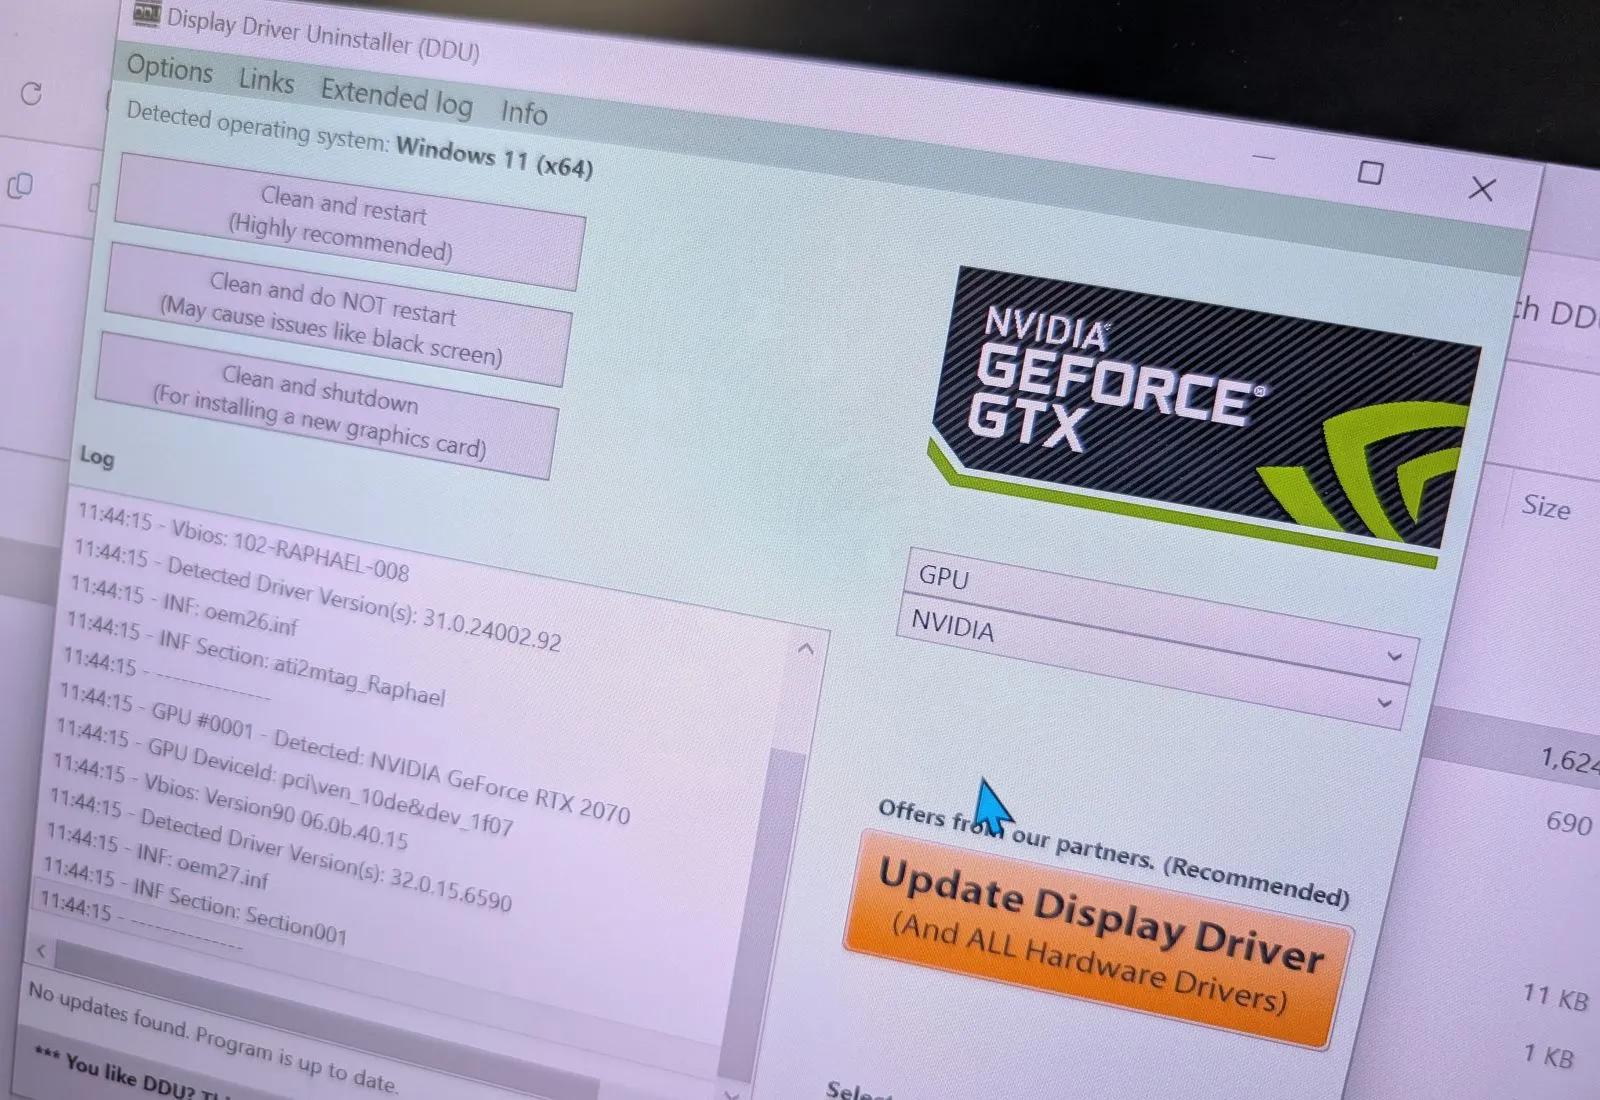
- To change the GPU while correctly installing the graphics drivers on Windows 11, you must download and extract the Display Driver Uninstaller (DDU) tool, boot your computer into Safe Mode, and run the DDU tool to remove the graphics card drivers completely.
- Once you complete these steps, you can proceed to open the computer and replace the graphics card from Nvidia, AMD, or Intel.
- The last step is to install the GPU drivers from Windows Update or using the manufacturer download.
If you have a new GPU (Graphics Processing Unit) from Nvidia, AMD, or Intel, you first want to remove the existing drivers completely, open the computer case, change the graphics card, and then download and install the latest graphics driver from the manufacturer on Windows 11.
Although you can simply change the GPU on your computer and then let the system detect and install the necessary drivers, you want to proceed by first removing the drivers and changing cards to avoid problems down the road, such as Blue Screen of Death and stability issues.
The only problem is that the manufacturer uninstaller and the option to uninstall the graphics driver from Device Manager can sometimes not work as expected, or they can leave behind files and configurations that can cause issues after installing the new card. However, you can use the Display Driver Uninstaller (DDU) tool to help you with this process.
“Display Driver Uninstaller” is a tool that does a clean uninstall of the drivers from Nvidia, AMD, and Intel without leaving any registry keys, files, or folders behind. It can also help to remove leftover files when the uninstaller fails to remove the card.
In this guide, I’ll outline the steps to use the DDU tool on Windows 11 to upgrade your computer to a new GPU.
Correct way to install a new GPU and drivers on Windows 11
To install a new GPU and drivers on Windows 11, use these steps:
-
Open the Guru3d website.
-
Click the Download Mirror button to save the tool on your computer.
-
Right-click the Guru3D “.zip” file and choose the Extract all button.
-
Click the Extract button.

-
Double-click the DDUvxx.x.x.x.exe file.
-
Click the Extract button.

-
Open Settings.
-
Click on System.
-
Click on Recovery.
-
Click the Restart now button for the “Advanced startup” setting.

-
Click the Restart now button again.
-
Click the Troubleshoot button.
-
Click on Advanced Options.
-
Click on Startup Settings.

-
Click the Restart button.

-
Select the “Enable Safe Mode” option (F4) to boot Windows 11 in Safe Mode.

-
Open the “DDU vxx.x.x.x.exe” folder with the extracted files in Safe Mode.
-
Click the OK button (if applicable).
-
Right-click the “Display Driver Uninstaller.exe” file and choose the Run as administrator option.

-
Select the components to remove from the system.

Quick tip: The default selection should be enough for most users. If you know what you’re doing, choose the elements that you want to remove. In my case, I checked all the settings for the Nvidia graphics, and I cleared the default selections for AMD and Intel. Also, I didn’t touch any of the “General Options.” If you have a system that also includes integrated graphics from another manufacturer, such as AMD, then you don’t have to remove these components. Only remove the necessary components for the card you’re replacing.
-
Click the Close button.
-
Choose the GPU option from the menu on the right.
-
Choose the Nvidia, AMD, or Intel option, depending on the graphics card currently installed on the computer.

-
Click the Clean and shutdown button.
Once you complete the steps, the tool will thoroughly delete the current Nvidia or AMD driver, and the computer will automatically shut down.
After the computer is off, unplug the main power cord, and now you can open the case, disconnect the power cable from the card, and remove the screws holding the card into the case.
Next, remove the old graphics card and install the new one using the release button on the motherboard (if applicable). Now, reinsert the screws to secure the card to the computer case, connect the correct power cable for the graphics card, close the case, connect the main power cable, and turn on the computer.
The startup process may be longer than usual. The computer may even turn off automatically. If this is the case, power on the computer again, and then Windows 11 should start correctly.
Now, you can open the “Windows update” settings to check for updates or download and install the graphics drivers from the manufacturer’s website.
If you choose to download the graphics drivers from the manufacturer’s website, you can use the link to find the drivers for Nvidia, AMD, and Intel. Once you downloaded the package, double-click it to run and follow the instructions directly from the manufacturer.
Source link


