How to delete user accounts on Windows 11
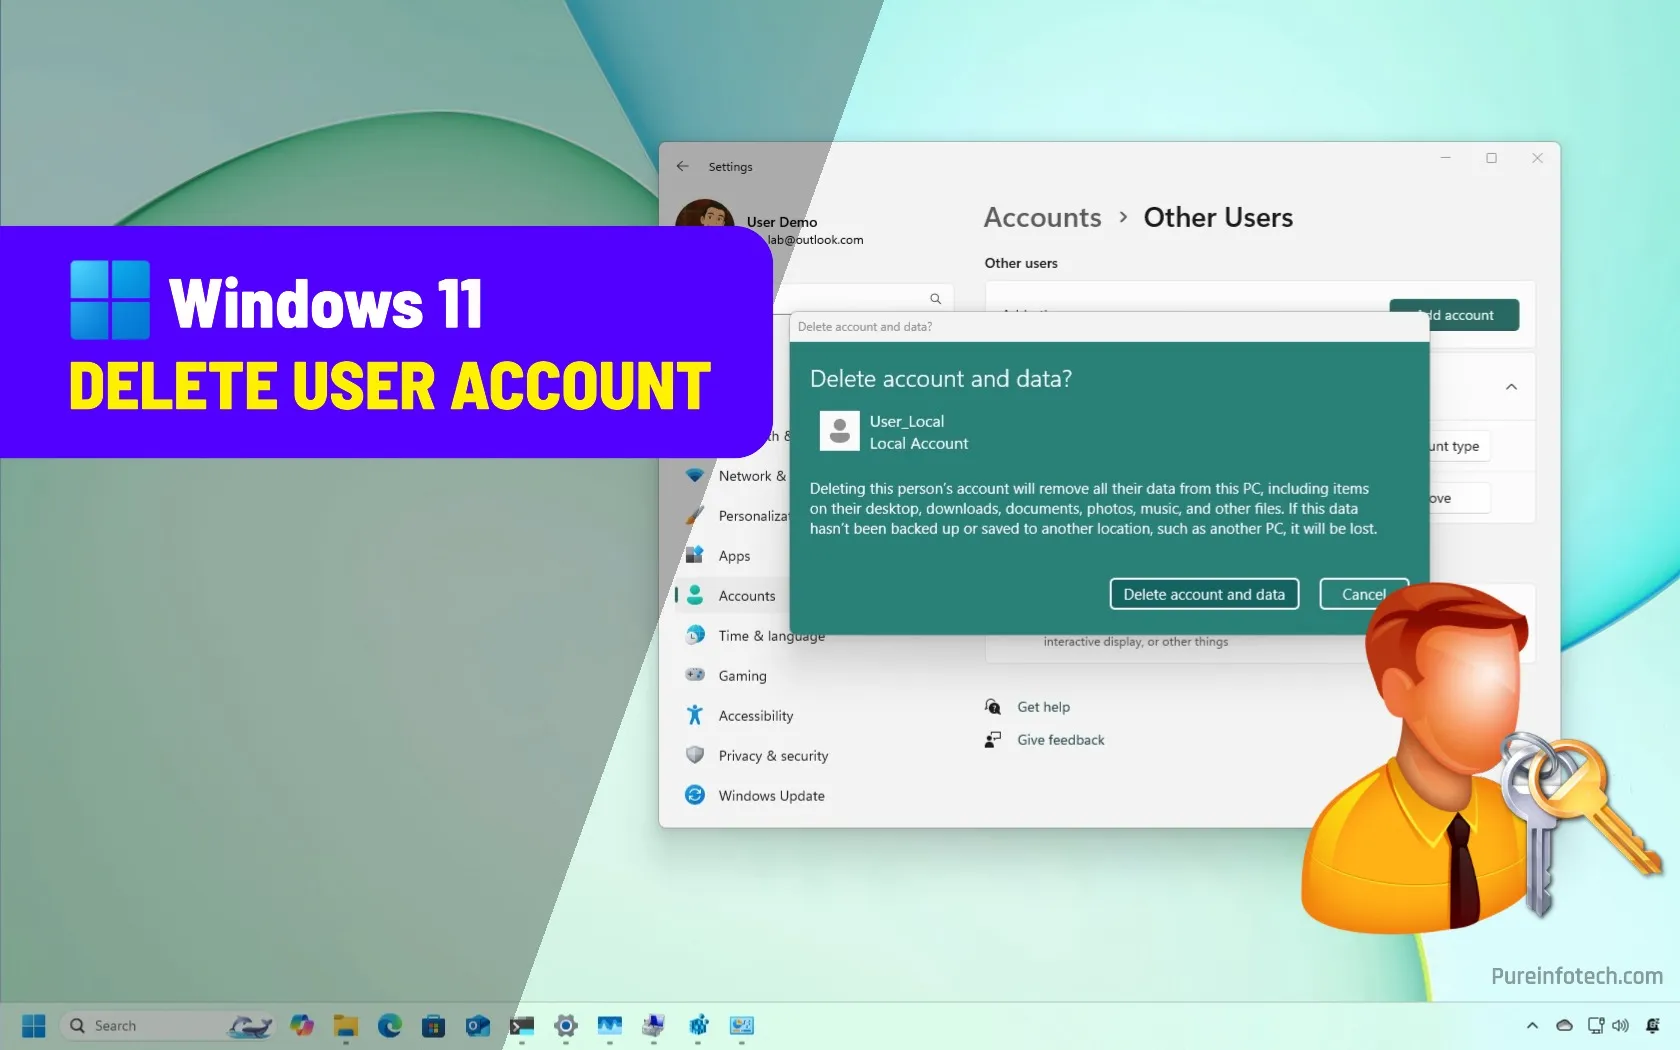
On Windows 11, if your computer has multiple user accounts that are no longer needed, you can delete them in more than one way, and in this guide, I’ll explain how to complete this configuration.
If you share a device with various users, you probably have configured a different account for each person so that they have their own space to organize their files and personalize their accounts separately from the other users.
However, if one day you decide you no longer need to have a specific user configured on the device, you can delete them to free up space and keep your setup organized.
Regardless of the reason, Windows 11 offers multiple ways to remove an account. However, the Settings app and Control Panel method are the only ones that provide the option to delete the account as well as the data from the computer.
On the other hand, when using the Computer Management console or commands with the PowerShell and Command Prompt, you will have to delete the files and remove the leftover Registry entries manually.
In this guide, I’ll outline the steps to remove accounts on Windows 11.
Delete user accounts from Settings
To delete a user account with the Settings app, follow these instructions.
-
Open Settings on Windows 11.
-
Click on Accounts.
-
Click the Other Users page.
-
Select the account and click the Remove button.
-
Click the “Delete account and data” button.

Once you complete the steps, the account and files will be removed from the current setup.
You cannot delete the account while it’s signed in. You can only delete an account from another account with administrator privileges.
If the user is still signed in, you can open Task Manager (Ctrl + Shift + Esc), and from the “Users” tab, right-click the user and choose the “Disconnect” option.
If you are part of a family group on your Microsoft account, the users will be listed under Settings > Accounts > Family, but you won’t be able to delete the accounts from this page. In this case, you will have to change the settings from the “Your family” page on your Microsoft account.
Delete user accounts from Control Panel
To delete an account using the Control Panel, follow these instructions:
-
Open Start.
-
Search for Control Panel and click the top result to open the app.
-
Click on user accounts.
-
Click the “Remove user accounts” option.

-
Select the account to remove from Windows 11.
-
Click the “Delete the account” button.

-
(Option 1) Click the Delete Files button to delete the account and data.

-
(Option 2) Click the Keep files button to delete the account and keep the data.
-
Click the Delete Account button.
After you complete the steps, the account and data will be completely removed from the operating system.
Delete user accounts from NetPlWiz
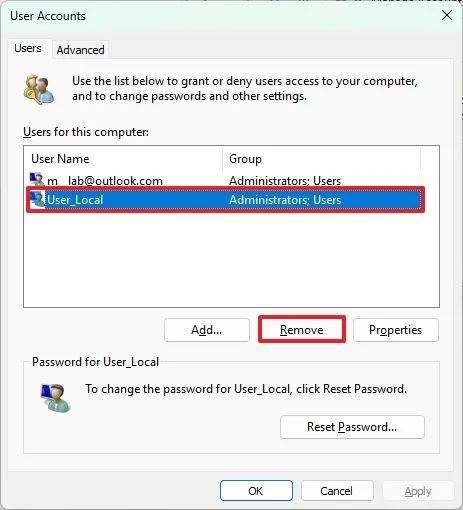
To remove an account with a legacy user account (netplwiz) dialog, follow these steps:
-
Open Start.
-
Search for netplwiz and click the top result to open the account manager.
-
Click the Remove button.
-
Click the Yes button.
Once you complete the steps, the user accounts will be removed from the system, but the user files and leftover settings will remain in the system.
Delete user accounts from Computer Management
To remove an account using Computer Management, follow these steps:
-
Open Start.
-
Search for Computer Management and click the top result to open the console.
-
Navigate to System Tools > Local Users and Groups > Users.
-
Right-click the desired account and choose the Delete option.

After you complete the steps, the account will no longer be available on Windows 11, but the settings and files will remain on the computer.
Delete user accounts from Command Prompt
To delete an account with Command Prompt on Windows 11, follow these steps:
-
Open Start.
-
Search for Command Prompt, right-click the top result, and select the Run as administrator option.
-
Type this command to view all users and press Enter:
net user
-
Type this command to delete the user and press Enter:
net user "Username" /delete
In the command, replace “Username” with the account name.

After you complete the steps, the Windows 11 account will no longer be available on the computer, but the files and account settings will remain in the setup.
Delete user accounts from PowerShell
To delete a Windows 11 account using PowerShell, follow these steps:
-
Open Start.
-
Search for Command Prompt, right-click the top result, and select the Run as administrator option.
-
Type this command to view all users and press Enter:
Get-LocalUser
-
Type this command to delete the user and press Enter:
Remove-LocalUser -Name "Username"
In the command, replace “Username” with the account name.

Once you complete the steps, the PowerShell command will remove the account, but the account files and other settings won’t be deleted from the system.
Delete account files and settings on Windows 11
If you’re removing an account using the user accounts dialog, Computer Management, PowerShell, or Command Prompt, follow these steps to delete the account files and Registry settings.
To manually delete the user’s data, follow these steps:
-
Open File Explorer.
-
Click on This PC on the left pane.
-
Open the
C:\Usersfolder location. -
Right-click the user folder and choose the Delete option.

Quick note: Ensure that any important data is backed up before deletion, as this action is irreversible.
To get rid of the residual profile settings from the Registry, follow these steps:
-
Open Start.
-
Search the Registry and click the top result to open the Registry Editor.
-
Open the following location:
HKEY_LOCAL_MACHINE\SOFTWARE\Microsoft\Windows NT\CurrentVersion\ProfileList
-
Click on each subkey and look for the
ProfileImagePathentry in the right pane to identify the name of the deleted account. -
Right-click the account key from the right pane and choose the Delete option.

After you complete the steps, the files and settings from the deleted account will no longer be available on the computer.
Source link


