How to disable Lock Screen on Windows 11
- To disable the Lock Screen on Windows 11, open Group Policy > Computer Configuration > Administrative Templates > Control Panel > Personalization, and enable the “Do not display the lock screen” policy.
- Another way to disable this feature is to open the Registry in HKEY_LOCAL_MACHINE\SOFTWARE\Policies\Microsoft\Windows\Personalization, create the “Nolockscreen” DWORD, and set its value to “1.”
On Windows 11, it’s possible to disable the Lock Screen, but not through the Settings app or legacy Control Panel. Instead, you have to use the Group Policy Editor or Registry, and in this guide, I will explain how to complete this configuration.
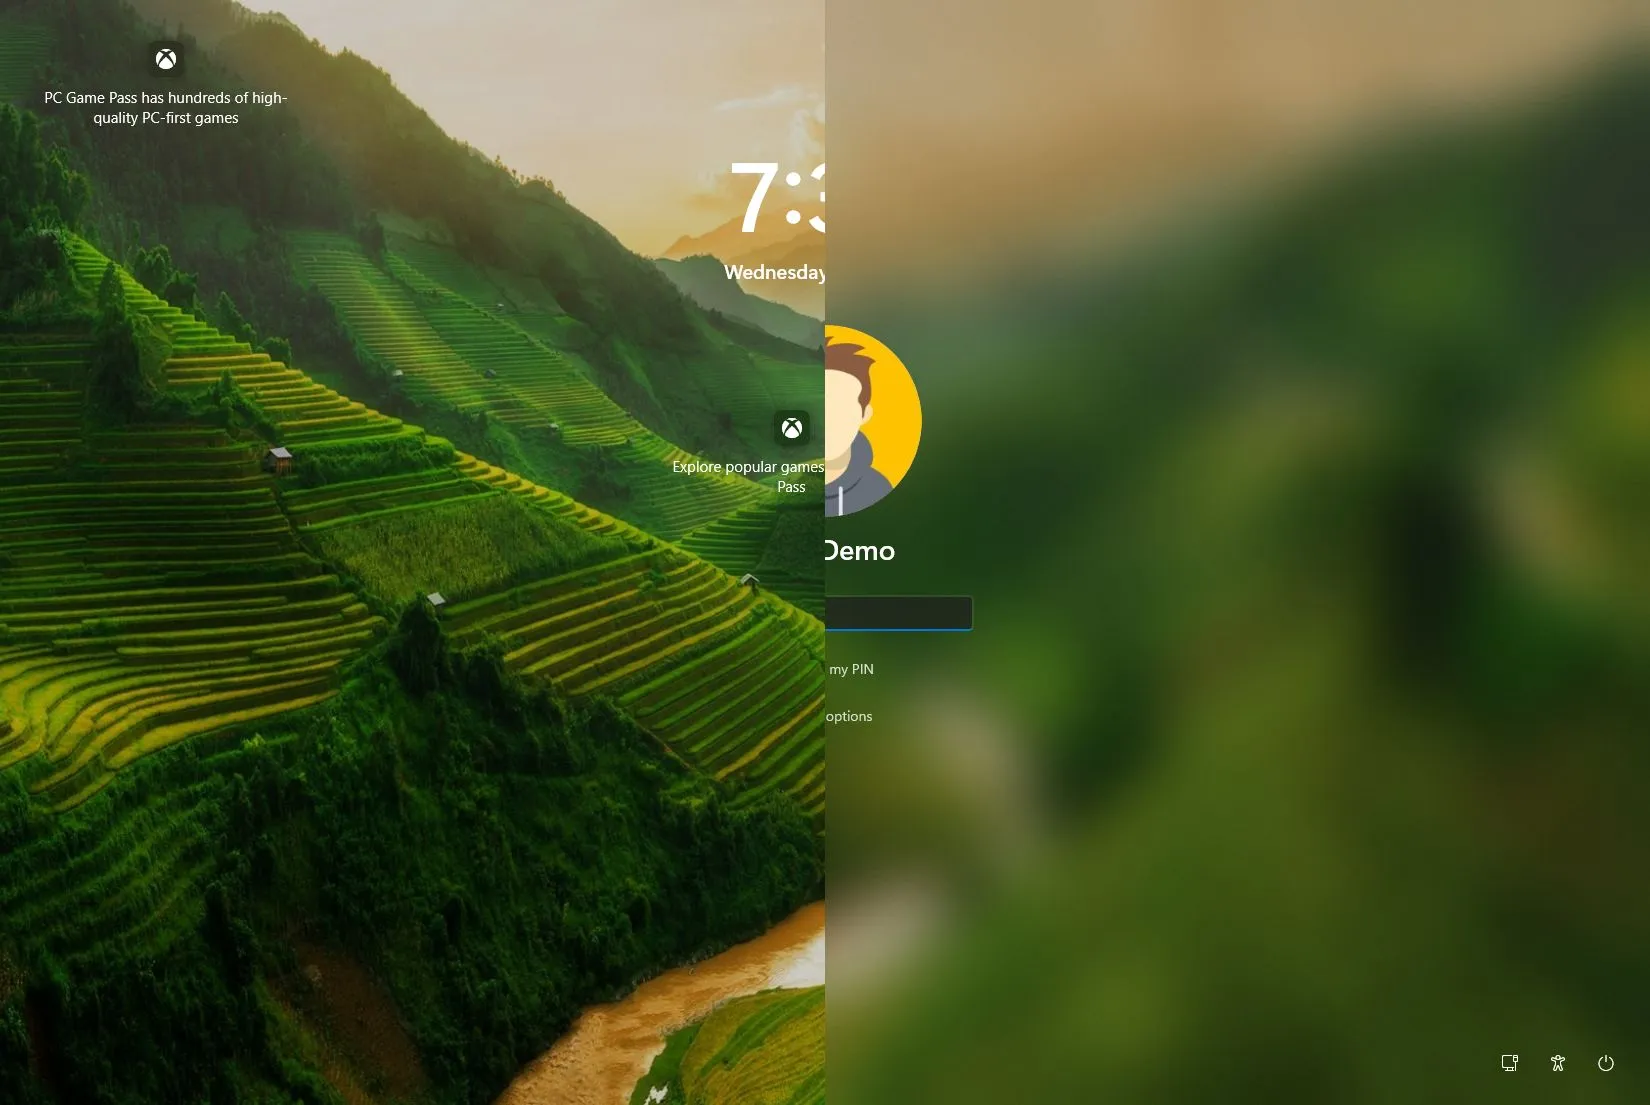
The Lock Screen is the first visual experience when the operating system starts. It provides a customizable background that makes the screen a little more visually appealing. The screen also displays the current time and date, notifications, weather information, and the latest traffic, finance, and sports updates.
The only caveat is that it can add an extra step to the sign-in process. However, you can disable the feature if you don’t find it useful by enabling a policy or modifying a Registry key.
In this guide, I will teach you how to skip the Lock Screen directly to the Sign-in screen on Windows 11.
Disable Lock Screen from Group Policy on Windows 11
On Windows 11 Pro, Enterprise, or Education, you can use the Local Group Policy Editor to disable the feature.
To disable the Lock Screen on Windows 11, use these steps:
-
Open Start on Windows 11.
-
Search for gpedit, and select the top result to open the Local Group Policy Editor.
-
Browse the following path:
Computer Configuration > Administrative Templates > Control Panel > Personalization
-
Double-click the “Do not display the lock screen” policy.
-
Select the Enabled option.

-
Click the Apply button.
-
Click the OK button.
-
Restart the computer.
Once you complete the steps, the next time the laptop or desktop computer starts, the Sign-in screen will appear instead of the Lock Screen.
Disable Lock Screen from Registry on Windows 11
Although Windows 11 Home does not have the Local Group Policy Editor, you can still disable the feature by editing the Registry. This method also works for the Pro, Enterprise, and Education editions of Windows 11.
To remove the Lock Screen from the Registry on Windows 11, use these steps:
-
Open Start.
-
Search for regedit, and select the top result to open the Registry.
-
Browse the following path:
HKEY_LOCAL_MACHINE\SOFTWARE\Policies\Microsoft\Windows
-
Right-click the Windows key (folder), select the New submenu, and choose the Key option.

-
Name the key Personalization and press Enter.
-
Right-click the Personalization folder, select the New submenu, and choose the DWORD option.

-
Name the key Nolockscreen and press Enter.
-
Double-click the “Nolockscreen” key and set its value data from 0 to 1.

-
Click the OK button.
-
Reboot the computer.
After you complete the steps, the Lock Screen will be removed, and the Sign-in screen should appear instead.
When you remove the Lock Screen, you won’t be disabling the Sign-in Screen, meaning that you will still have to enter your password (or PIN) to sign in to the account. If you want to start the device directly on the desktop, bypassing these experiences, you will have to remove the login password on Windows 11.
Also, if you want to prevent the computer from showing the Lock screen after resuming sleep, you should disable the option to require a password after waking up on Windows 11.
Update August 14, 2024: This guide has been updated to ensure accuracy and reflect changes to the process.
Source link