How to fix any Wi-Fi problems easily on Windows 11

UPDATED 4/30/2025: Wi-Fi connectivity issues are among the most common problems reported on Windows 11. After installing a feature update, users often encounter slow speeds, random disconnections, or error messages such as “Limited access,” “Unidentified Network,” or “No internet access.”
These issues typically arise from driver incompatibilities, corrupted network configurations, or bugs introduced during the upgrade process. For instance, a feature update may corrupt the wireless adapter driver, cause compatibility issues, or reset the network settings. In some cases, the system may apply changes that conflict with your existing network configuration.
If your computer won’t connect to a Wi-Fi network, frequently drops the connection, or delivers unusually slow speeds, Windows 11 includes several built-in tools to help you resolve these problems efficiently.
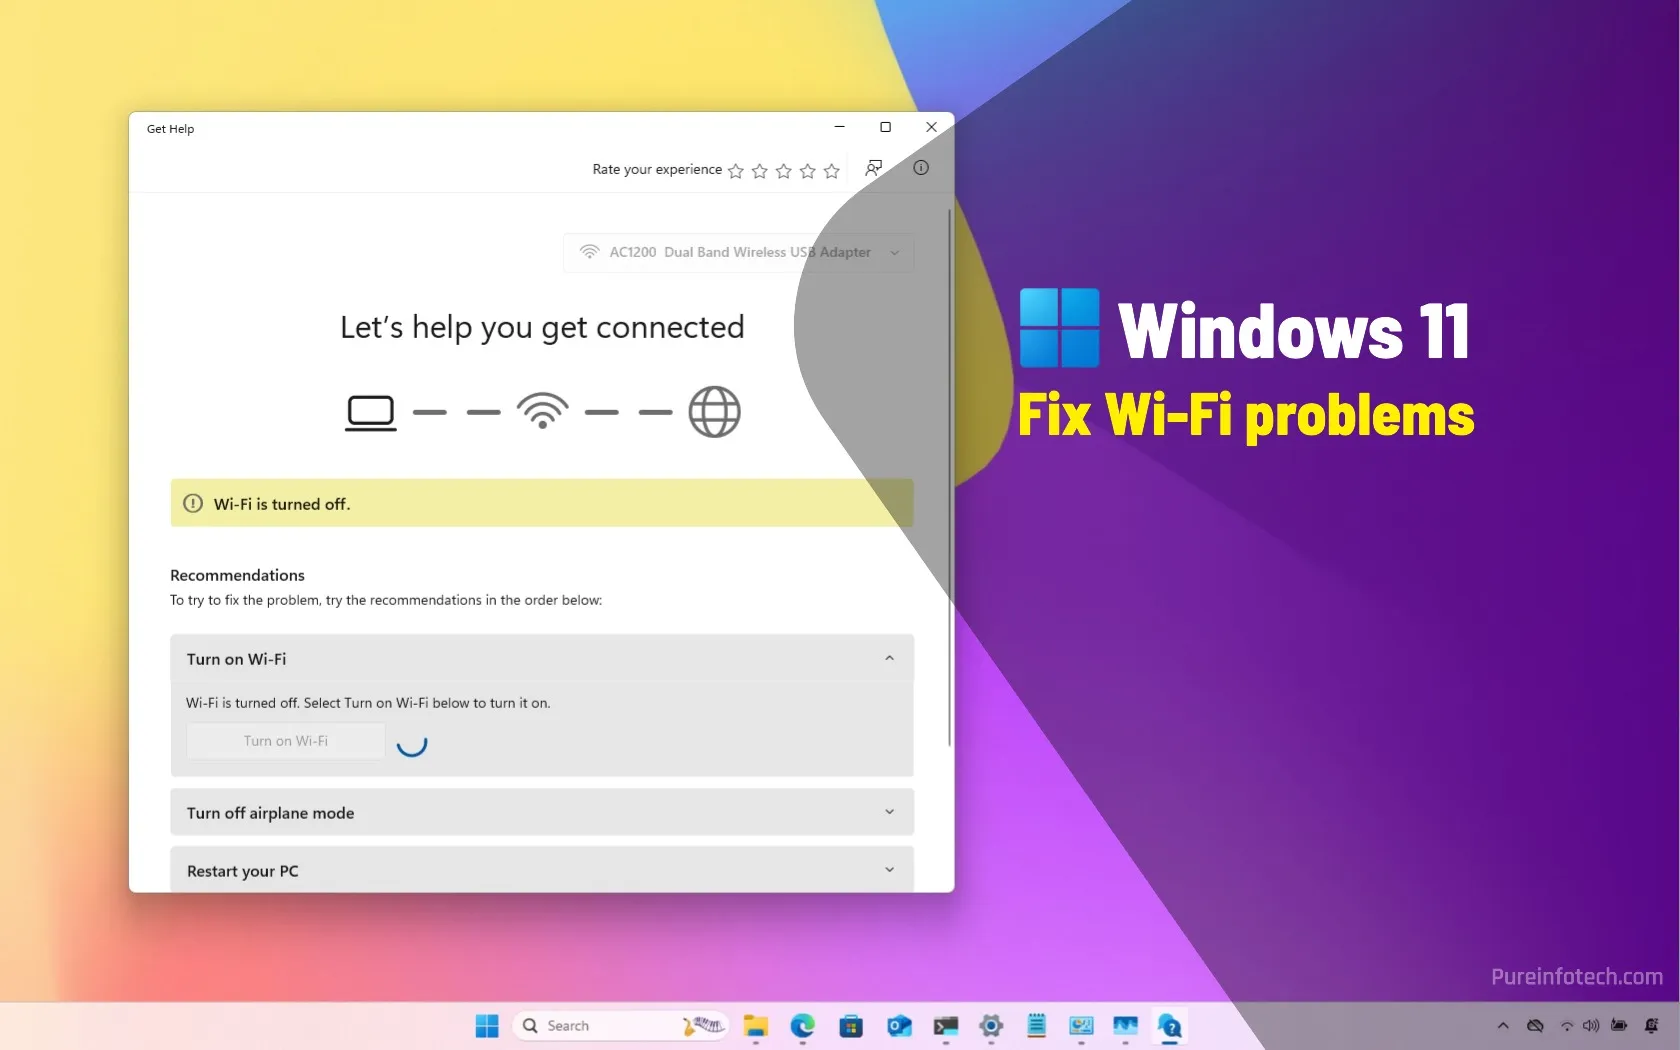
For example, the Get Help app uses automated diagnostics to detect and fix common connectivity issues. It’s a quick way to identify problems without having to navigate multiple settings manually.
Windows 11 also includes a Network Reset feature. This option resets all network adapters, both Wi-Fi and Ethernet, by removing their current configurations, restoring factory defaults, and reinstalling the adapter drivers. It’s a comprehensive fix for most networking issues. (After the reset, you might need to reinstall VPN clients or reconfigure custom networking settings.)
If problems began after a recent upgrade, updating the network adapter driver through Device Manager can help. Alternatively, if the issue started immediately after the update, rolling back the driver to the previous version may restore stable connectivity until a permanent fix is available.
In this guide, I’ll teach you the steps to resolve network adapter issues on Windows 11.
Warning: These steps will reset your wireless credentials, which means you will need to know the Wi-Fi password before proceeding so that you can reconnect to the network.
Fix Wi-Fi using Get Help
To resolve Wi-Fi issues using the Get Help app, follow these steps:
-
Open Settings on Windows 11.
-
Click on System.
-
Click on Troubleshoot.
-
Click the Other troubleshooter page.
-
Click the Run button for the “Network and Internet” troubleshooter.

-
Select the wireless adapter from the top-right (if applicable).
-
Choose and apply the recommended fix for the Wi-Fi problem on Windows 11, including enabling Wi-Fi, turning off airplane mode, restarting your computer, and resetting the network adapter.

Once you review each recommendation, the device should be able to connect to the wireless network.
Fix Wi-Fi using new network connection
You can also delete (or “forget”) a Wi-Fi network and then reconnect to it, which can often resolve various connectivity issues on Windows 11. This process clears any corrupted or outdated network configurations, allowing your system to establish a fresh connection with the network.
To forget and reconnect to a Wi-Fi network on Windows 11, follow these steps:
-
Open Settings.
-
Click on Network & internet.
-
Click the Wi-Fi page.
-
Click the Manage known networks setting.

-
Click the Forget button for the wireless network causing the problem.

-
Click the Add network button for the “Add a new network” setting.
-
Confirm the wireless network name.
-
Select a security option, such as WPA2-Personal AES, in the “Security type” setting.

-
Confirm the security key, also known as the wireless password.
-
Check the Connect automatically option.
-
(Optional) Check the “Connect even if this network is not broadcasting” option.
-
Click the Save button.
After you complete the steps, you may be able to address and resolve the Wi-Fi connectivity issue on Windows 11.
Fix Wi-Fi using Network reset
As the Get Help app recommends, you can use the network reset feature to remove and reinstall the network adapters. This will usually resolve most wireless problems, including slow speeds or other issues when trying to connect to the internet.
To reset the wireless adapter to fix connectivity issues on Windows 11, follow these steps:
-
Open Settings.
-
Click on Network & internet.
-
Click the Advanced network settings page.

-
Click the Network Reset setting under the “More settings” section.

-
Click the Reset now button to fix the Wi-Fi problems on Windows 11.

Note: This feature automatically removes and reinstalls all your network adapters (Wi-Fi and Ethernet). After you complete the process, you may need to reinstall or reconfigure other networking software, such as VPN client software.
-
Click Yes to confirm.
-
Click the Close button.
-
Restart your computer.
After you complete the steps, you may need to reinstall any necessary networking software. Also, you will need to reconnect to the wireless network manually.
If the Wi-Fi problem is resolved, you’re all done. If the issue persists, try the method below.
In addition to resetting the network adapters, consider many factors that can cause networking problems. For instance, it could be a driver issue, a misconfiguration, a problem with a router or access point, and more.
Fix Wi-Fi updating network adapter driver
The reason the Wi-Fi adapter isn’t working correctly and dropping the connection could be that the device is using an outdated driver. You can resolve this by installing the latest driver from the manufacturer’s support website.
Alternatively, you could use an older adapter driver version, which may help mitigate the problem until a permanent resolution becomes available through Windows Update or the manufacturer.
Quick tip: If you cannot find a new update for the network adapter, check for a beta version of the driver. Sometimes, it might work with a new version of Windows 11. Using the manufacturer’s instructions to install the driver package is also recommended. If you can’t find the instructions, the steps below will help you complete the task.
To update the wireless adapter driver on Windows 11, follow these steps:
-
Open Start.
-
Search for Device Manager, and click the top result to open the app.
-
Expand the Network adapters branch.
-
Right-click the Wi-Fi adapter and select “Update driver.”

-
Click the “Browse my computer for driver software” option.

-
Click the Browse option to locate the adapter driver.

-
Check the Include subfolders option.
-
Click the Next button.
Once you complete the steps, Windows 11 should connect to the access point and the internet.
Fix Wi-Fi using rollback feature
If you’ve tried everything and the problem persists, it could be a bug in the new version of the operating system. In that case, you will need to wait until the next system or driver update.
Alternatively, you can roll back to the previous version of Windows 11 by using the “Go back” option on the “Recovery” settings page until the Wi-Fi problem is resolved. You can only use this option during the first 10 days after an upgrade. After ten days, the system will delete the previous version to free up space on the computer.
In addition, it’s recommended that you open Settings > Network & internet > Advanced network settings, then select Wi-Fi adapter. Click the “Edit” button to open the network adapter properties and confirm that the settings haven’t been modified after an update.
Finally, it’s a good idea to restart the router and access point to confirm these devices are not the problem.
Update April 30, 2025: This guide has been updated to ensure accuracy and reflect changes to the process.
Source link


