Quick Links
-
Making My Own Portable Backup Solution
-
Choose Your SSD Enclosure
Backups are one of those things that everyone knows is necessary, plans to make, but usually don’t worry about until it is too late. Here is a quick, easy way to make a portable backup solution that you can connect to any PC you want.
Making My Own Portable Backup Solution
Throwing together your own portable backup is actually extremely easy; you really only need four things.
- A spare SSD. It could be NVMe or SATA.
- An external SSD enclosure
- A USB Cable
- A bit of time to configure the drive how you like it
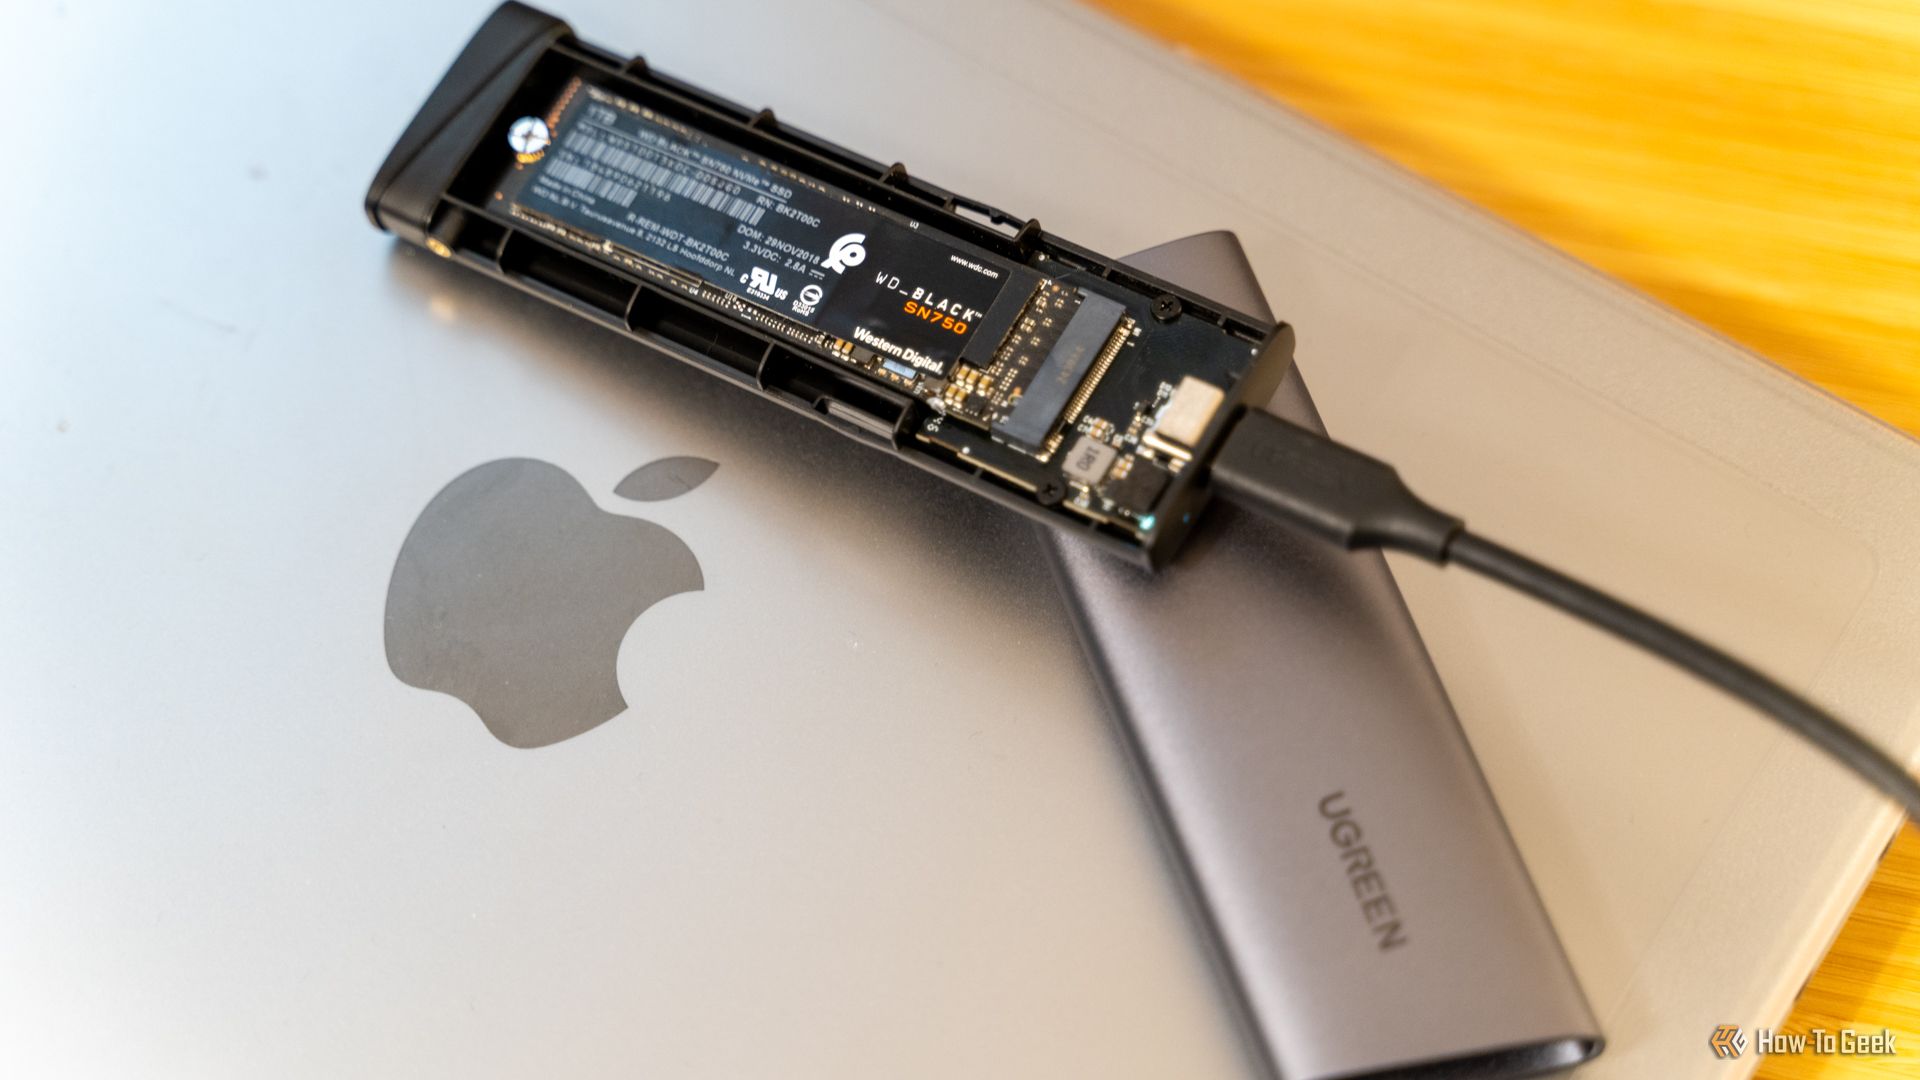
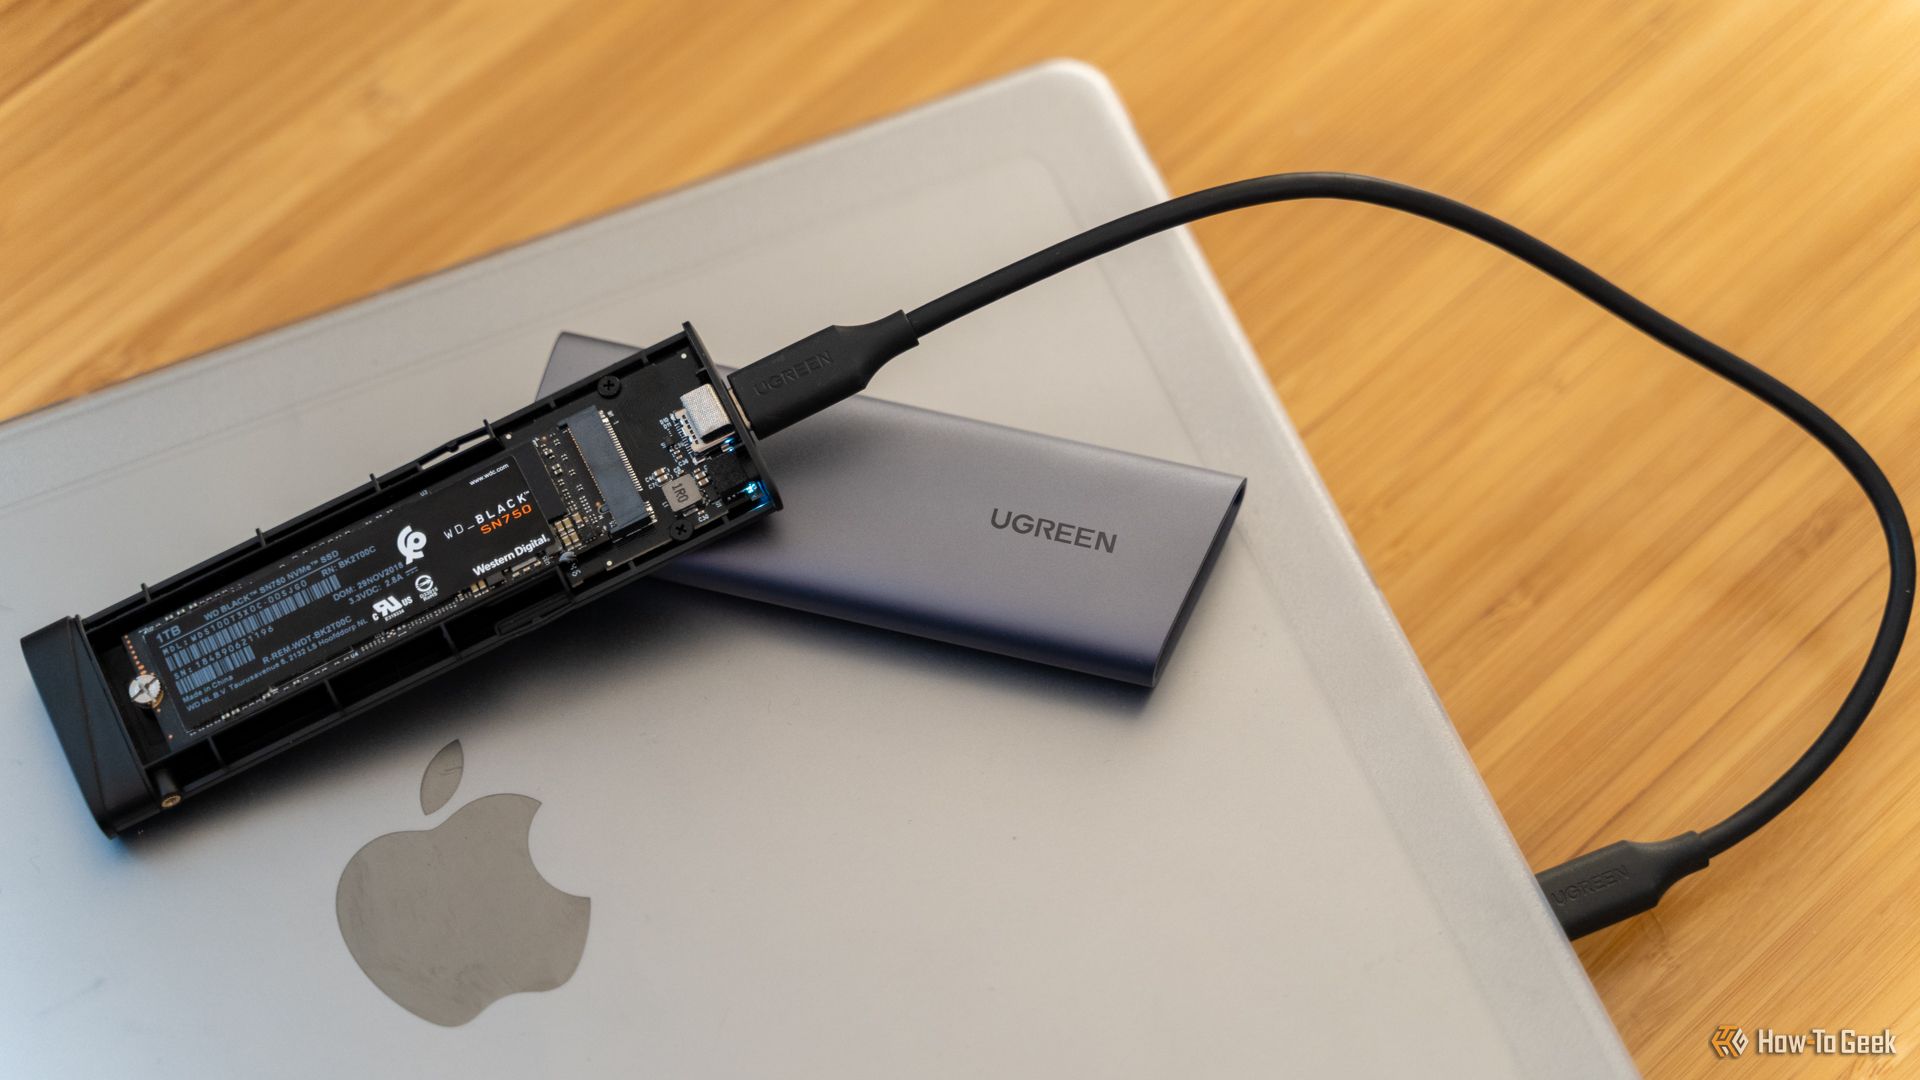
I had a spare NVMe SSD lying around (a Western Digital’s SN850x) and plenty of USB-C cables. All I needed to do was pick an enclosure that let’s the SSD connect to my PC through a USB port. Ultimately, I settled on an enclosure from UGREEN that has a maximum transfer rate of 10Gbps.
At the time, that was the speed of the fastest USB-C Port on my PC, so it didn’t make sense to spend extra on speed I couldn’t use.
All I had to do was format the drive and plug it in, then use whichever backup software was right. On Linux, I use rsync; on Windows, I use Robocopy.
Choose Your SSD
If you’re making your own external backup, the first thing you need to do is get an actual SSD if you don’t have one.
You could use a SATA SSD or an NVMe SSD, but I’d recommend buying an NVMe SSD if you’re buying new—the cost of NVMe drives is about the same as SATA drives these days, and they’re much faster and more compact.
The big thing to pay attention to is their speed.
The read and write speeds of drives are usually expressed in gigabytes per second (GB/s), while data transfer rates are usually expressed in terms of gigabits per second (Gb/s or Gbps—the lowercase b is the important part). There are 8 bits per byte, so any time you see a read or write speed given in gigabytes per second, you can just multiply by 8 to get your transfer speed in gigabits per second.
NVMe drives normally connect to your PC using the PCIe interface, which means they’re extremely fast. Even PCIe 3.0 NVMe drives can have data rates above 3 GB/s (or 24 Gbps), PCIe 4.0 drives can reach a bit over 7GB/s (56 Gbps), and PCIe 5.0 drives regularly exceed 13GB/s (104 Gbps).
In practice, that means you’re almost definitely going to be limited by the speed of the USB or Thunderbolt port on your PC rather than the speed of your drive. USB 3.2 2×2 has a maximum speed of 20 Gbps, USB 4 and Thunderbolt 4 have a maximum speed of 40Gbps, and Thunderbolt 5 and USB 4 v2 have maximum speeds of 80Gbps under normal conditions.
Related
Thunderbolt 5: What Is It, and How Much Faster Is It?
More power, more speed, and more possibilities.
That means that even the most sluggish PCIe 5.0 drives are going to be way faster than even the most cutting-edge USB-C ports on your PC, and there is no point in spending top dollar for extra speed you can’t use. PCIe 5.0 drives also run extremely hot and sometimes even require active cooling, which adds cost and complexity to your drive enclosure.
Stick to PCIe 4.0 drives. I’ve been using an SN850x I picked up on sale and have been very pleased with its performance.
Choose Your SSD Enclosure
Once you pick out your SSD, you need to pick an enclosure.
Why I Built My External SSD Instead of Buying a Premade One
Building your SSD is easy, fun, and can be cheap too!
Just like with the SSD itself, you should only buy an enclosure that matches what you’re actually going to use. At the time I threw my enclosure together, the fastest USB port on my PC topped out at 10Gbps, so I purchased a 10Gps enclosure.
You can consult your motherboard manual to figure out what the fastest port on your PC is, but once you do, here is a small chart showing what enclosure speed is worth buying if you have any given port.
A red X indicates that the port in question won’t be able to handle the speed of the enclosure, and that you should consider buying something else. A green and white check indicates that the port is at least as fast as the enclosure.
|
USB 3.2 1×1 |
USB 3.2 2×1 / USB 3.2 1×2 |
USB 3.2 2×2 |
USB 4 / Thunderbolt 4 |
USB 4 v2 / Thunderbolt 5 |
|
|---|---|---|---|---|---|
|
Enclosure Speed 5Gbps |
✅ |
✅ |
✅ |
✅ |
✅ |
|
Enclosure Speed 10Gbps |
❌ |
✅ |
✅ |
✅ |
✅ |
|
Enclosure Speed 20Gbps |
❌ |
❌ |
✅ |
✅ |
✅ |
|
Enclosure Speed 40Gbps |
❌ |
❌ |
❌ |
✅ |
✅ |
|
Enclosure Speed 80Gbps |
❌ |
❌ |
❌ |
❌ |
✅ |
Put Everything Together
Once you have your enclosure and SSD in hand, all you need to do is put them together. Usually you don’t need any tools for this, but you may need a small screwdriver.
In my case, it was as simple as sliding open the enclosure, slotting in the SSD, turning the small silicone retainer to hold the drive in place, and then closing it back up again.
Setting Up Your Backups
Once you’ve physically assembled the drive and the enclosure, the only thing left to do is format the drive.
Related
How to Format a Hard Drive or SSD on Windows 11
Wipe and prepare your drive for an exciting life of data storage adventures.
I’m going to be moving the drive between a Windows desktop PC and a Linux laptop, so I opted to format the drive as exFAT, which is compatible with all major operating systems. If you’re going to exclusively use the drive on Windows PCs, you should probably use NTFS instead.
I don’t care too much about backing up my operating system settings, so I just set up rsync on my laptop to back up a few important folders, and I configured robocopy to back up my files on Windows 11.
If you do want to create restore points for your operating systems, you’ll need to create two separate partitions on your portable SSD. One will be formatted as NTFS and will be used to save Windows 11 restore points, and the other needs to be ext4, so that you can use Timeshift on Linux.
Remember, SSDs don’t fare well if they’re left unpowered for a long period of time. You run a real risk of losing data.
If you’re looking to store information for longer, a mechanical hard drive kept in a cool, dry place is probably safer. And if you want really long-term backups, then I’d suggest printing physical copies and storing them somewhere safe.
Source link


