How to recreate Recovery Partition for WinRE on Windows 11
On Windows 11, you can recreate the Recovery Partition if the partition is corrupted, doesn’t have enough space, or you need to move it to the end of the drive. In this guide, I’ll explain how to complete this process.
What’s the Recovery Partition?
A recovery partition is a dedicated section of the hard drive that contains files to access the Windows Recovery Environment (WinRE), which you can use to recover your system in case of critical errors or system failures or if you need to restore your computer to its factory settings.
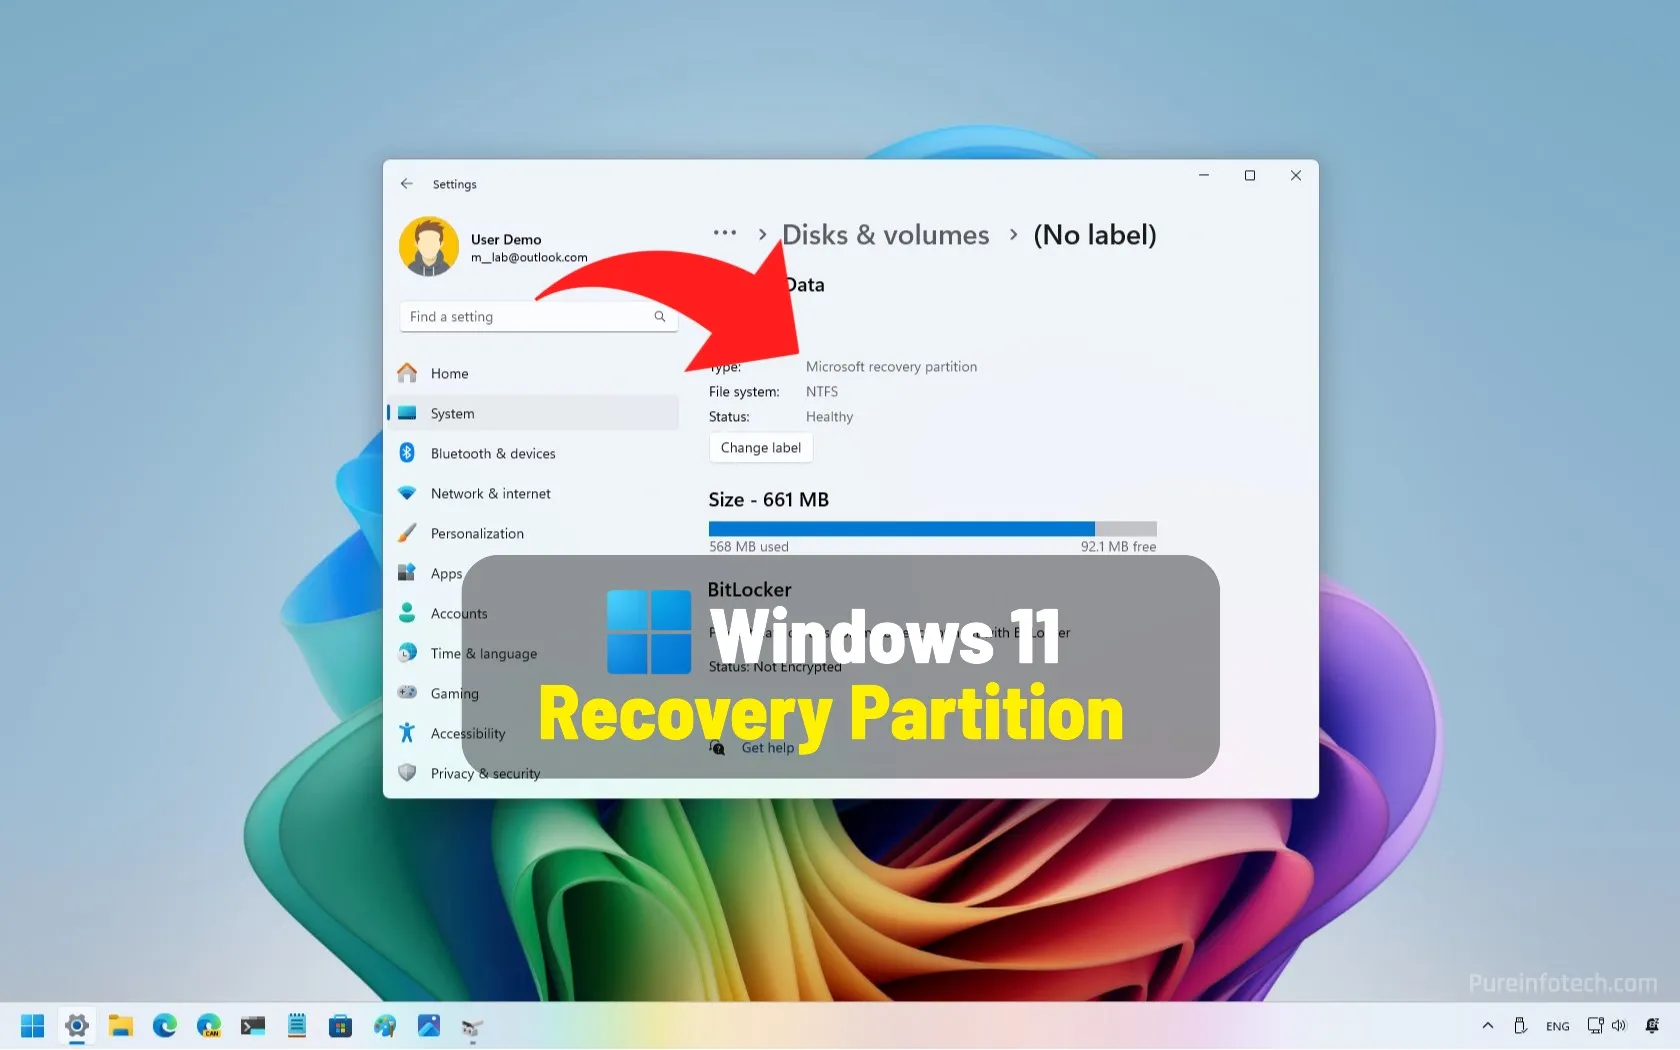
For example, when you open Settings > System > Recovery, and you click the “Restart now” button for the “Advanced startup” feature, at that point, you’re accessing the Recovery Partition.
What size the Recovery Partition should be?
According to various Microsoft support pages, the partition must be at least 300MB, but the size will depend on different factors, including the file system, the size of the winre.wim file (the Windows Recovery Environment image), the languages, customizations, and additional free space that the partition may need to have for other system tasks.
Usually, the system will create and decide the partition size automatically. For example, checking on my computer, I noticed different sizes, including 822MB, 692MB, and 660MB. However, if you have to recreate the Recovery Partition manually, the recommended size is to use 1GB of storage.
Why delete and create a new Recovery Partition?
There are a few key reasons why you might choose to delete and recreate a Recovery Partition on Windows 11. For example, if the existing recovery partition becomes corrupted, it might be necessary to delete it and create a new one to restore recovery functionality.
In some cases, a recovery partition might be located in a position that restricts the ability to extend other partitions, such as the installation drive (C:). Deleting it might be necessary to reorganize partitions.
After installing an update or upgrade, it’s possible to have multiple recovery partitions. This can be redundant, and users might want to consolidate or remove the unnecessary ones.
Also, sometimes, a recovery partition may not have enough space to perform specific system tasks, and in this case, you have to create a bigger partition.
Regardless of the reason, Windows 11 doesn’t include a tool to manage the Recovery Partition, but you can follow a number of the steps to successfully delete and create a new partition.
In this guide, I’ll outline the steps to recreate the Recovery Partition of Windows 11.
Recreate Recovery Partition from existing files on Windows 11
If you need to move the Recovery Partition to another section of the hard drive to expand the current setup volume or you want to make the partition bigger to avoid errors and other problems, you can reuse the existing “winre.wim” from the old Recovery Partition.
To create a new Recovery Partition by reusing the existing files from the current partition, use these steps:
-
Open Start on Windows 11.
-
Search for Command Prompt, right-click the top result, and choose the Run as administrator option.
-
Type the following command to disable the Windows Recovery Environment (WinRE) and press Enter:
reagentc /disable
Quick note: This command disables the recovery environment and moves the “Winre.wim” image from the “Recovery Partition” to the “Recovery” folder in the “C” drive.
-
Type the following command to launch DiskPart and press Enter:
diskpart
-
Type the following command to list the system drives and press Enter:
list disk
-
Type the following command to select the “C” drive and press Enter:
select disk 0
-
Type the following command to list the partitions and press Enter:
list partition
-
Type the following command to select the Recovery Partition and press Enter:
select partition X
In the command, replace “X” with the number that corresponds to the Recovery Partition on your setup.
-
Type the following command to delete the recovery partition and press Enter:
delete partition override
-
Type the following command to create a new partition and press Enter:
create partition primary

-
Type the following command to format the partition and press Enter:
format fs=ntfs quick
-
Type the following command to register the new partition as the Recovery Partition in the system and press Enter:
set id=de94bba4-06d1-4d40-a16a-bfd50179d6ac override
-
Type the following command to lock and prevent users from modifying this partition and press Enter:
gpt attributes=0x8000000000000001
-
Type the following command to close the DiskPart tool and press Enter:
exit
-
Type the following command to enable WinRE and press Enter:
reagentc /enable
Quick note: This action will also copy the “Winre.wim” from the “Recovery” folder to the “Recovery Partition.”
-
Type the following command to confirm the Windows Recovery Environment is working correctly, and press Enter:
reagentc /info
After you complete the steps, the new Recovery Partition will be created next to the partition with the Windows 11 setup.
Recreate Recovery Partition from scratch on Windows 11
If there are problems with the existing Recovery Partition, including data corruption, you can delete and create a new partition with the recovery tools by importing the “Winre.wim” from the “Install.wim” available in the installation files of Windows 11.
To recreate the Windows 11 Recovery Partition from scratch, follow these steps:
-
Open Start.
-
Search for Command Prompt, right-click the top result, and select the Run as administrator option.
-
Type the following command to run the DiskPart tool and press Enter:
diskpart
-
Type the following command to show the available disk and press Enter:
list disk
-
Type the following command to select the main drive with the recovery partition and press Enter:
select disk 0
-
Type the following command to identify the partition on the drive and press Enter:
list partition
-
Type the following command to select the recovery partition (replace “X” with the correct number for the Recovery Partition) and press Enter:
select partition X
-
Type the following command to delete the current partition for recovery and press Enter:
delete partition override

-
(Option 1) Type the following command to create a new partition with the same size as the old partition and press Enter:
create partition primary

-
(Option 2) Type the following command to create a new partition of exactly 1GB (if the space is available after shrinking other partitions) and press Enter:
create partition primary size=1024
-
Type the following command to format the new partition as NTFS and press Enter:
format fs=ntfs quick
-
Type the following command to register the new partition as the Recovery Partition in the system and press Enter:
set id=de94bba4-06d1-4d40-a16a-bfd50179d6ac override
-
Type the following command to lock and prevent users from modifying this partition and press Enter:
gpt attributes=0x8000000000000001
-
Type the following command to exit the DiskPart tool and press Enter:
exit
-
Connect the USB bootable flash drive (or mount the Windows 11 ISO to File Explorer).
Quick tip: You can always mount the Windows 11 ISO file by right-clicking the file and choosing the “Mount” option. Also, make sure to note the drive letter of the mount point or the USB bootable media, as you’ll need this information in step 17.
-
Type the following command to create two custom folders and press Enter:
mkdir "%USERPROFILE%\Downloads\Images" "%USERPROFILE%\Downloads\Mount"
-
Type the following command to copy the “Install.wim” image to the “Images” folder (this command may take a while to complete) and press Enter:
xcopy "D:\Sources\install.wim" "%USERPROFILE%\Downloads\Images\" /H /E /C /I /Y

-
Type the following command to mount the Install.wim image and press Enter:
dism /Mount-Image /ImageFile:"%USERPROFILE%\Downloads\Images\install.wim" /Index:6 /MountDir:"%USERPROFILE%\Downloads\Mount"
Important: In this step, I’m using the number “6” for index, which means that I’ll interact with the Pro edition of Windows 11. If you have another version, you will have to specify the index number within the image. You can use the
dism /Get-WimInfo /WimFile:X:\sources\install.wimcommand to determine the index number for your edition of the operating system. (Remember to change “X” for the drive letter for the drive with the installation files.) -
Type the following command to rename the existing ReAgent file in the “Recovery” folder and press Enter:
ren C:\Windows\System32\Recovery\reagent.xml Reagent.xml.bak
-
Type the following commands to copy the “Winre.wim” and “ReAgent.xml” files to the “Recovery” folder and press Enter:
xcopy "%USERPROFILE%\Downloads\Mount\Windows\System32\Recovery\winre.wim" "C:\Windows\System32\Recovery\" /H /E /C /I /Y
xcopy "%USERPROFILE%\Downloads\Mount\Windows\System32\Recovery\reagent.xml" "C:\Windows\System32\Recovery\" /H /E /C /I /Y

-
Type the following command to re-enable the recovery environment in the new partition and press Enter:
reagentc /enable

-
Type the following command to confirm the Windows Recovery Environment state and press Enter:
reagentc /info
Quick note: If the output shows as “Enabled” and you can see the location path, then everything has been configured successfully.
-
Type the following commands (one at a time) to dismount the “Install.wim” image and press Enter:
dism /Unmount-Image /MountDir:"%USERPROFILE%\Downloads\Mount" /discard
dism /Cleanup-Wim
Quick tip: At this point, you can also delete the “Images” and “Mount” folders from the “Downloads” folder.
Once you complete the steps, the new Recovery Partition will be created on your setup. You can test this configuration from Settings > System > Recovery and click the “Restart now” button for “Advanced startup.” If the recovery environment loads correctly, then the new Recovery Partition is working.
If the reagentc /enable command isn’t working, or you’re dealing with issues getting the Winre.wim image to the Recovery Partition, you may have to configure the partition and transfer the files manually.
First, you would have to run the mkdir R:\Recovery\WindowsRE command to create the necessary folder in the partition and the copy "%USERPROFILE%\Downloads\Mount\Windows\System32\Recovery\winre.wim" "R:\Recovery\WindowsRE" command to copy the Winre.wim image to the recovery partition.
Finally, you’ll have to run the reagentc /setreimage /path R:\Recovery\WindowsRE to configure the Recovery Partition followed by the reagentc /enable command to enable the Windows Recovery Environment.
It’s important to note that it’s possible to run Windows 11 without a recovery partition, but it’s necessary to access troubleshooting tools such as System Restore, Startup Repair, and the ability to reset your PC.
What method did you use to recreate the Recovery Partition? This is a tedious process. If you have any questions, let me know in the comments.
Source link
