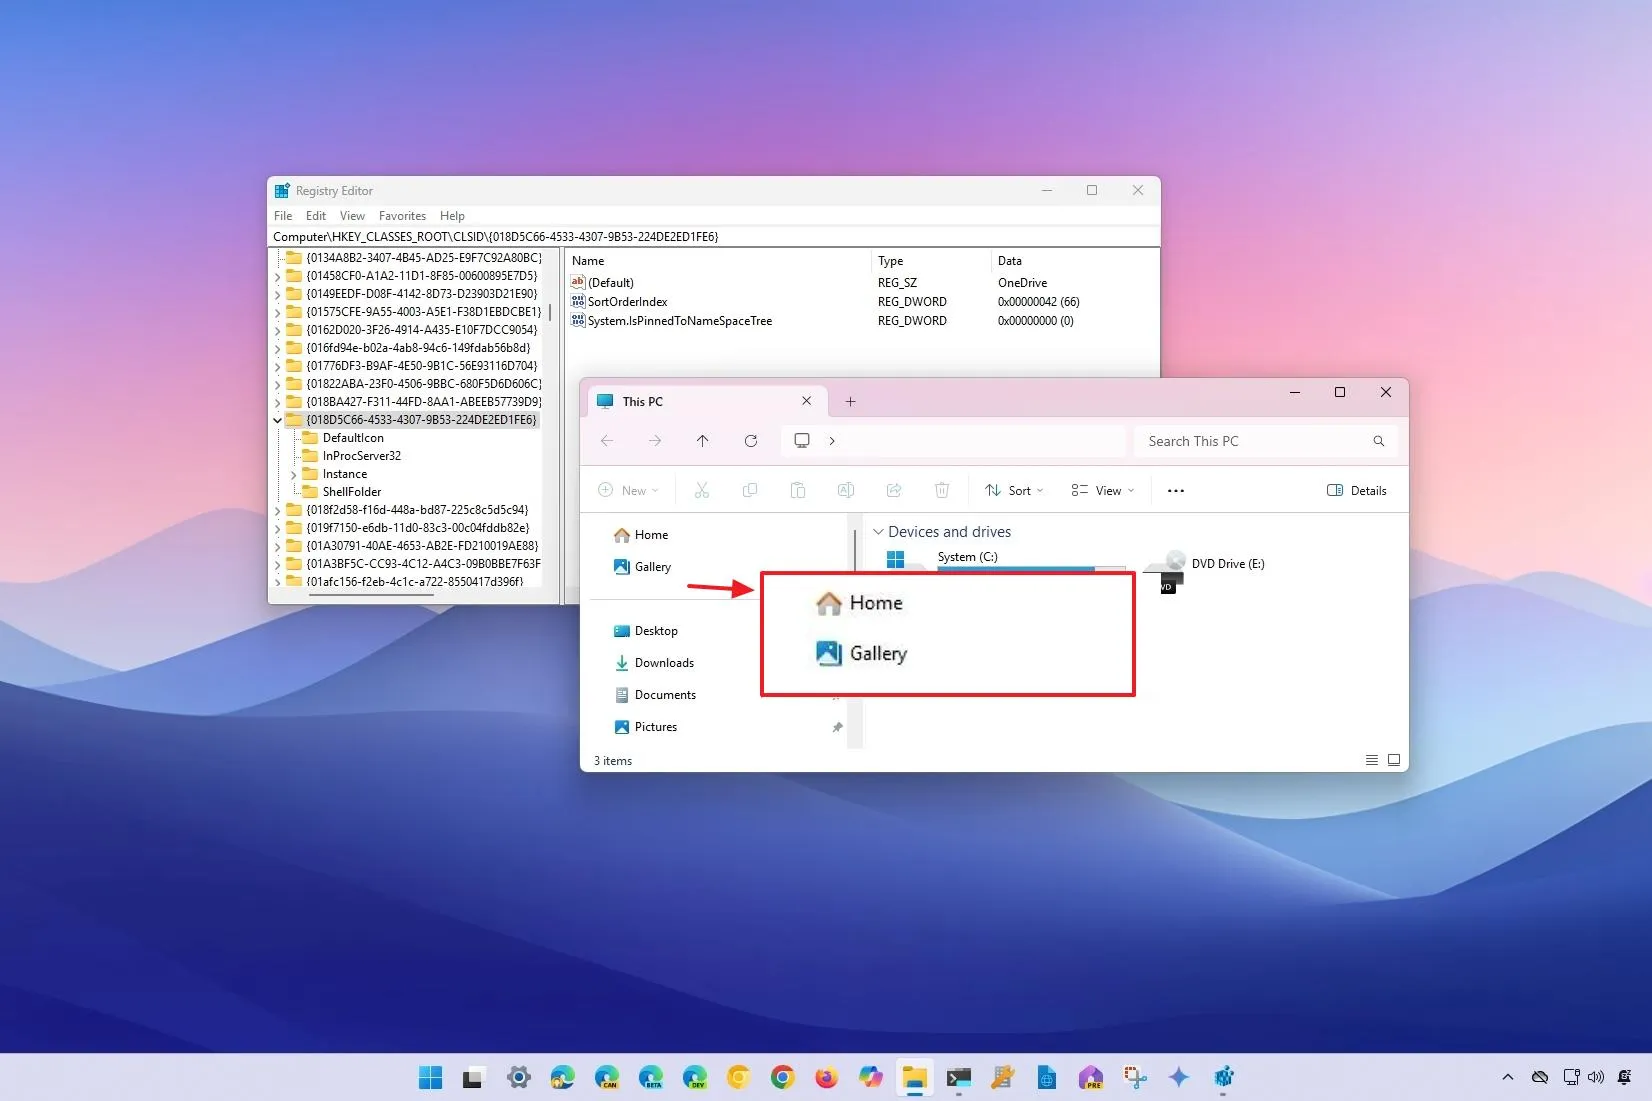
How to remove OneDrive page from File Explorer on Windows 11

- To remove the File Explorer OneDrive page on Windows 11 from the Registry, open the {018D5C66-4533-4307-9B53-224DE2ED1FE6}” key, then create a “System.IsPinnedToNamespaceTree” DWORD, and set it to “0.”
- You can also uninstall the OneDrive app to remove the entry from File Explorer.
On Windows 11, you can remove the OneDrive page from File Explorer if you don’t find it useful, and in this guide, I will show you the steps I followed to complete this configuration.
The left navigation pane on File Explorer offers access to different places, including Home, Gallery, and OneDrive. However, if you don’t use the cloud storage service, you can remove the entry from the File Manager by modifying the Registry or uninstalling the OneDrive app from your computer.
In this guide, I will outline the steps to remove the OneDrive entry on File Explorer. You can also use these instructions to remove the Gallery page.
Remove OneDrive from File Explorer modifying Registry
To remove the File Explorer OneDrive page entry on Windows 11, use these steps:
-
Open Start on Windows 11.
-
Search for regedit and click the top result to open the Registry.
-
Navigate to the following path:
HKEY_CLASSES_ROOT\CLSID\{018D5C66-4533-4307-9B53-224DE2ED1FE6} -
Right-click the System.IsPinnedToNamespaceTree DWORD and choose the “Modify” option.
-
Change the value from 1 to 0 (if applicable).
-
Click the OK button.
-
Restart the computer.
Quick tip: You can also restart the “Windows Explorer” process from the Task Manager “Processes” tab by clicking the “Restart task” button.
Once you complete the steps, the OneDrive page will no longer appear on the left navigation pane the next time you relaunch File Explorer. However, you will still have access to the folder and your files from the OneDrive folder inside your profile folder located at %USERPROFILE%.
If you want to revert the changes, you can use the same instructions, but on step 4, right-click the {e018D5C66-4533-4307-9B53-224DE2ED1FE6} key, choose the “Modify” option, and set its value from 0 to 1.
Remove OneDrive from File Explorer uninstalling app
To uninstall the OneDrive app to remove the entry from File Explorer, use these steps:
-
Open Settings.
-
Click on Apps.
-
Click the Installed apps page.
-
Click the three-dot button next to the “Microsoft OneDrive” app.
-
Choose the Uninstall option.

-
Click the Uninstall option again.
After you complete the steps, the cloud storage client will be uninstalled from your computer, removing the OneDrive shortcut from File Explorer.
You can check these instructions for more methods to uninstall and reinstall OneDrive on Windows 11.
Why You Can Trust Pureinfotech
The author combines expert insights with user-centric guidance, rigorously researching and testing to ensure you receive trustworthy, easy-to-follow tech guides. Review the publishing process.
Source link


