Night photos can be some of the most spectacular you’ll ever take, but shooting in low light does require a little bit of know-how to get the best results. In this piece, we’ll explain why night photography looks so good, the steps you need to take to prepare, and five key pieces of advice.
Why Night Photos Can Be Spectacular
Take the exact same photo in the exact same place during the day and at night, and it’s not unusual for the day shot to look very ordinary while the night shot looks spectacular. There are a couple of reasons for this.
First, photography is literally about capturing light, and night lighting is often far more varied and interesting than daylight. This is especially true in cities and when there is water involved, as we’ll see.
Second, photography is as much about what you don’t show as what you do. For example, we can have a scene that has a beautiful sunset in the background but a litter-strewn road in the foreground. Unless we deliberately want to highlight the contrast, we’ll tend to compose the shot to exclude the ugly parts. When you’re shooting at night, much of that job is done for you by the darkness.
Take These Two Steps First
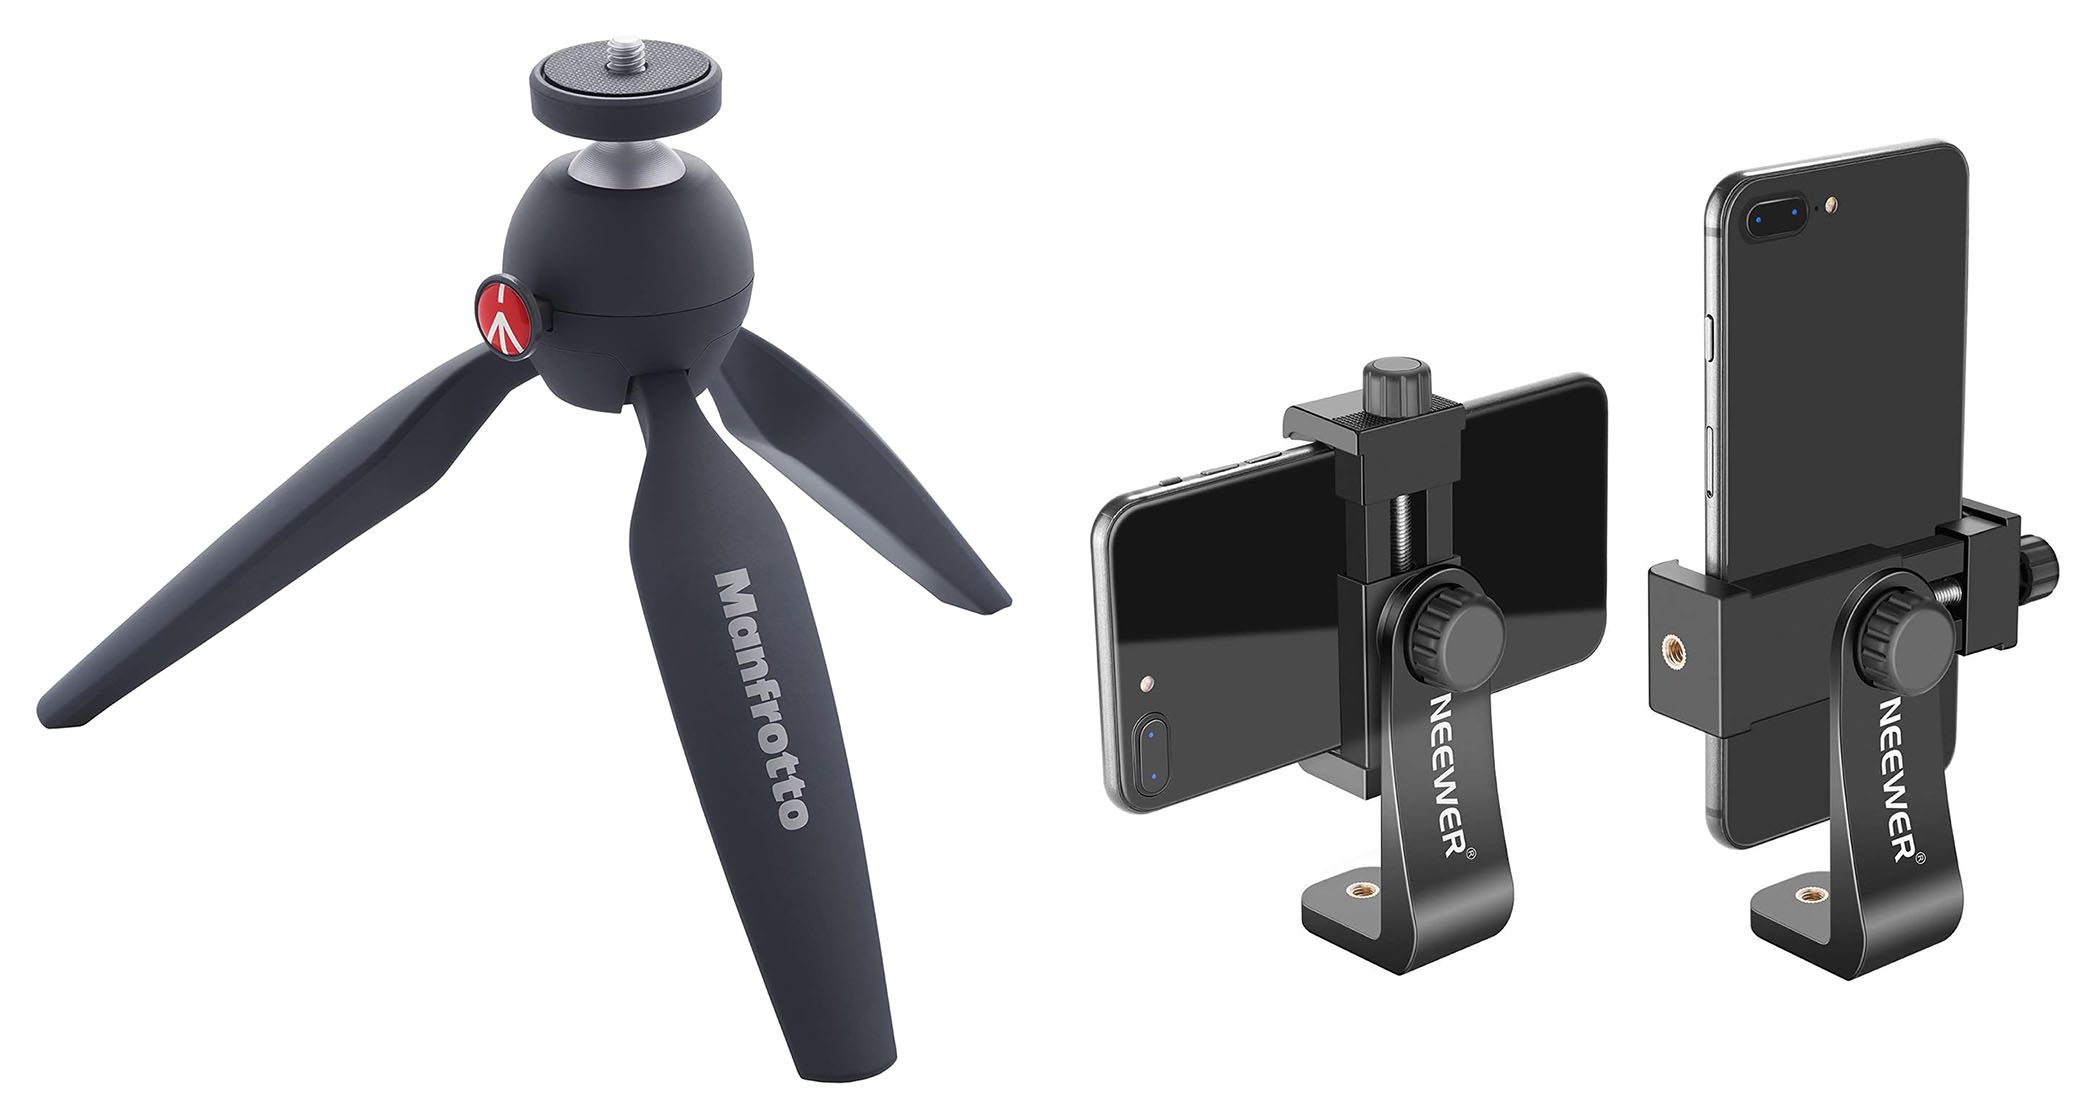
I’m generally of the view that you don’t need much to take great photos. A smartphone, some observation skills, and a little creativity. But for night photography, there are a couple of things I recommend you get to make your life much easier: a mini-tripod with a smartphone holder and a long-exposure app.
That’s because night photography typically needs an exposure of around 30 seconds for best results. This means you need a way to keep the camera perfectly still having complete control over the composition and a way to shoot a 30-second exposure, as that’s not something most smartphones can do natively.
Personally, I have this mini-tripod and this smartphone holder. The tripod is of great quality, and the ballhead mechanism makes it really easy to get the exact framing you want. The smartphone adapter is also really solid, and the screw-down mechanism is much easier to use than cheaper spring-loaded ones. However, there are very inexpensive products that will do the job, so if you want to spend a little less, it’s easy to do so.
Incidentally, it’s best not to use a full-size tripod. These are banned from many observation decks and other popular areas, while a mini one rarely attracts any attention.
On my iPhone, I use the Spectre app for long-exposure shots. You’ll need to upgrade to the pro version to take 30-second exposures, but that’s just a one-off cost of $4.99. For Android, Slow Shutter (free) seems to get good reviews.
Cityscapes Look Great at Night
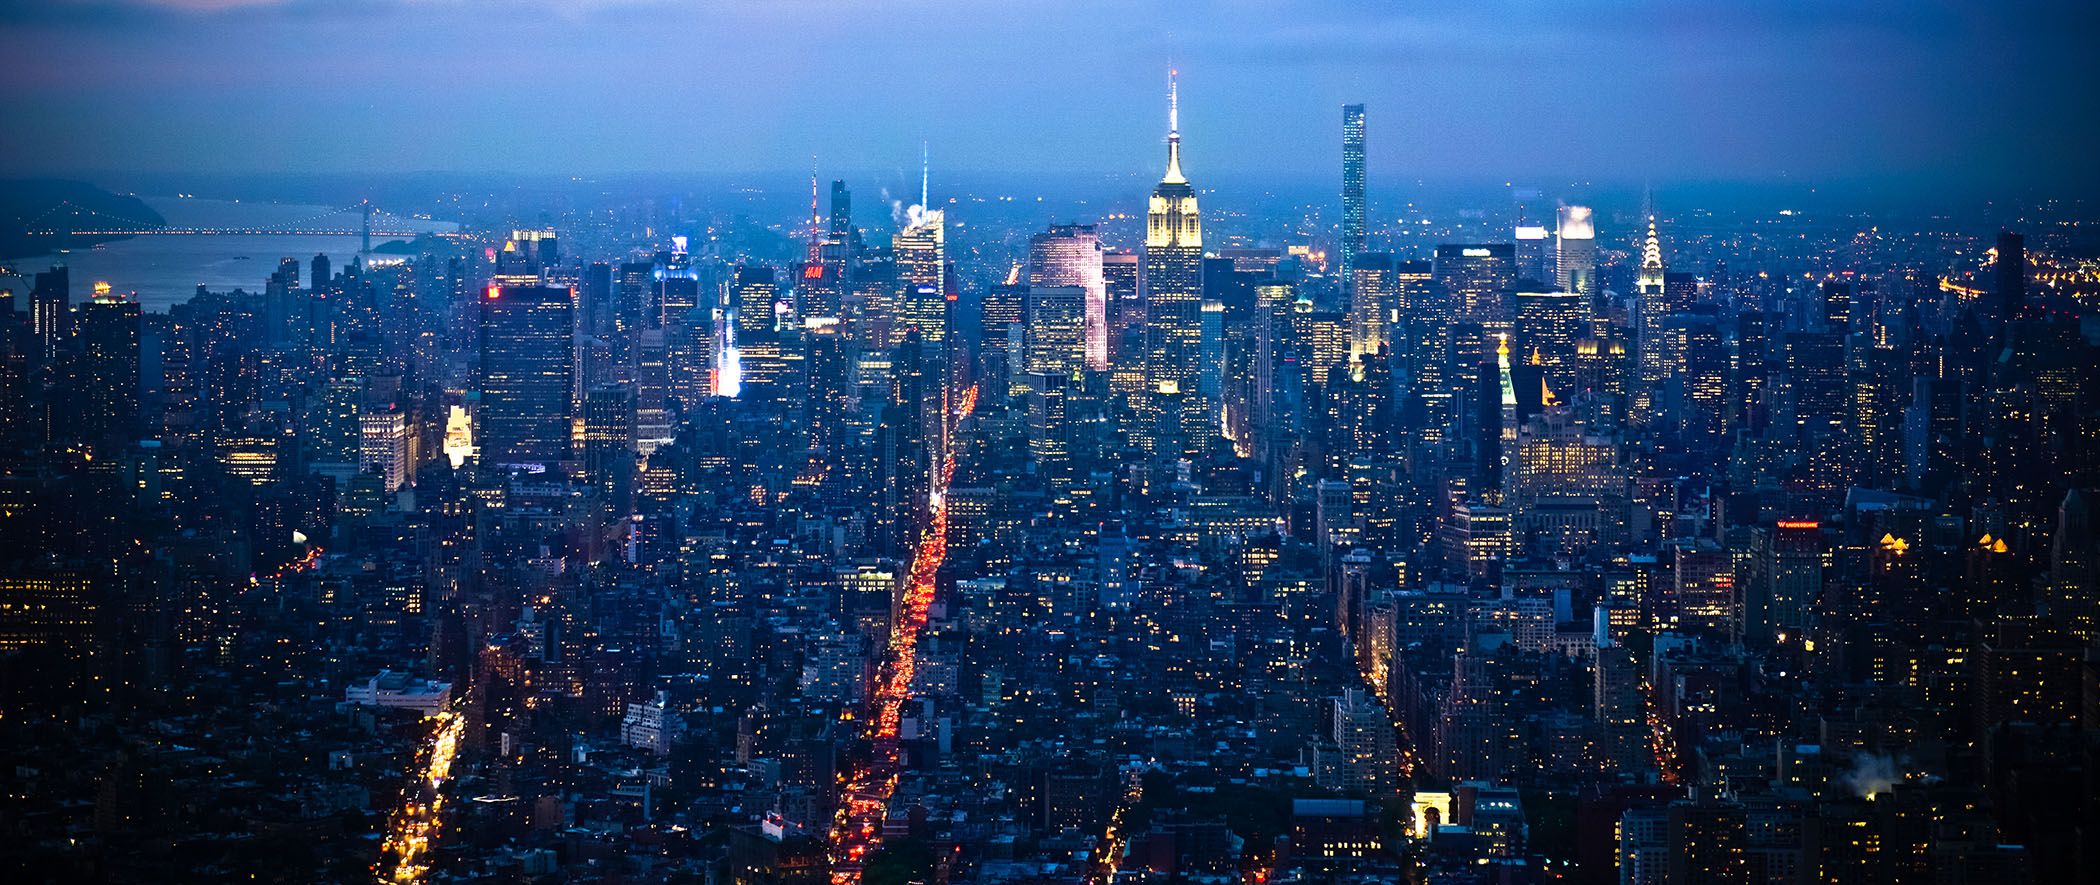
Admittedly, I’m a city guy through and through, so it’s no surprise that cityscapes are the place I’m going to recommend you start. Whether it’s your home city or you’re traveling, my top advice is to get up as high as you can and capture as much of the city as you can. An observation deck, rooftop bar, or any bar with a view is the first place I head to in any city. Here’s a 30-second exposure of Manhattan, for example:
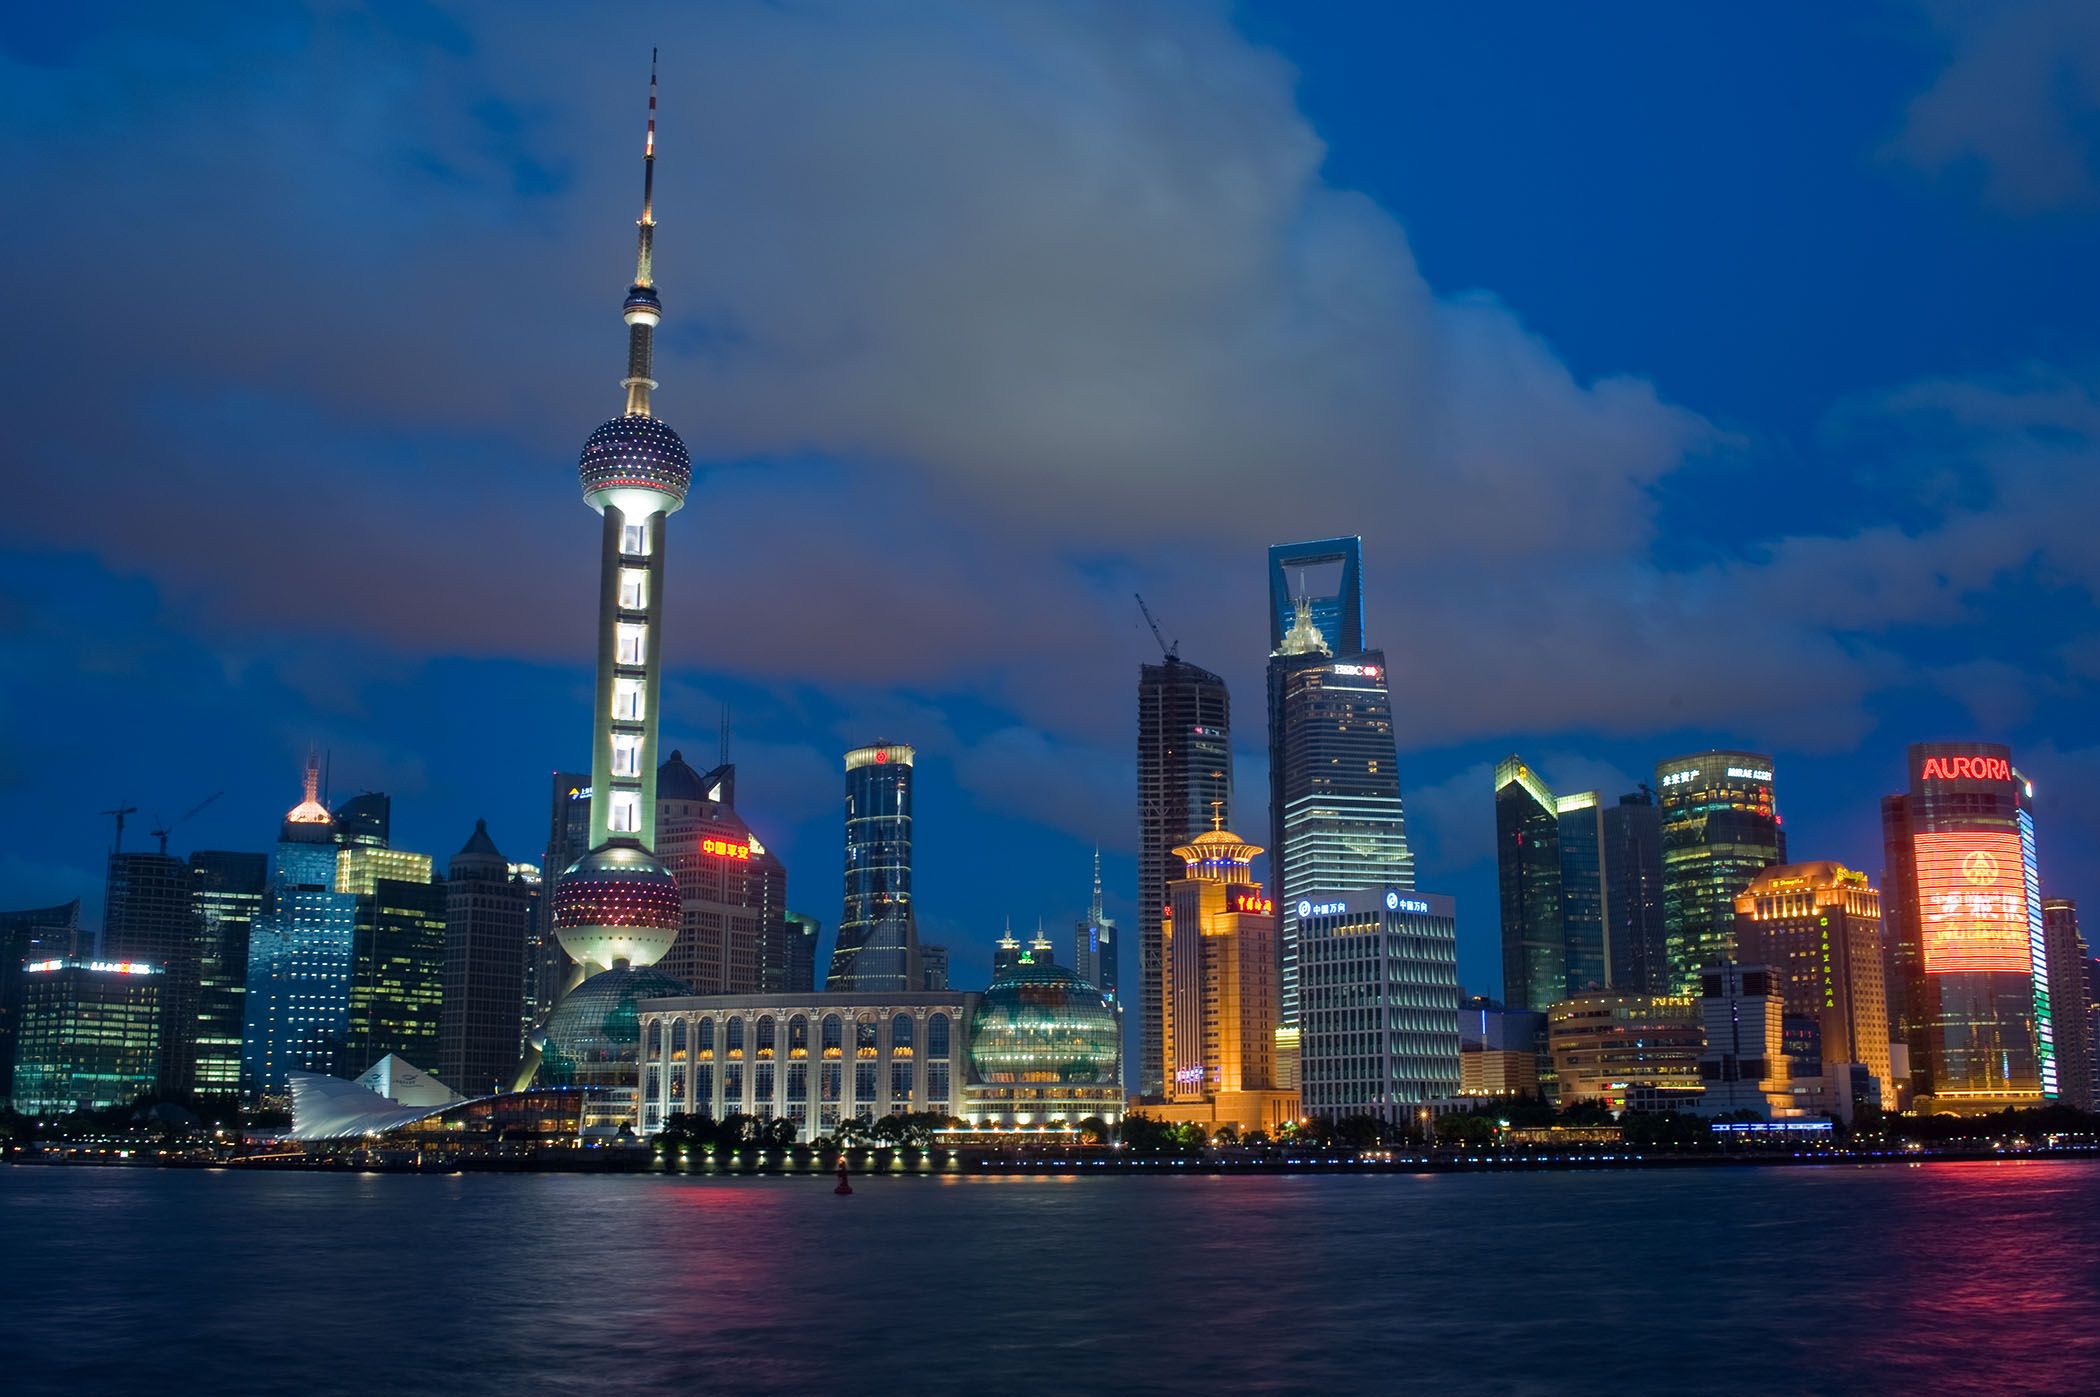
But you can also get some great shots from ground level. The secret is to find places that give you an unobstructed view of as much of the city as possible. Shooting across a wide river is another great approach, like this one of Shanghai:
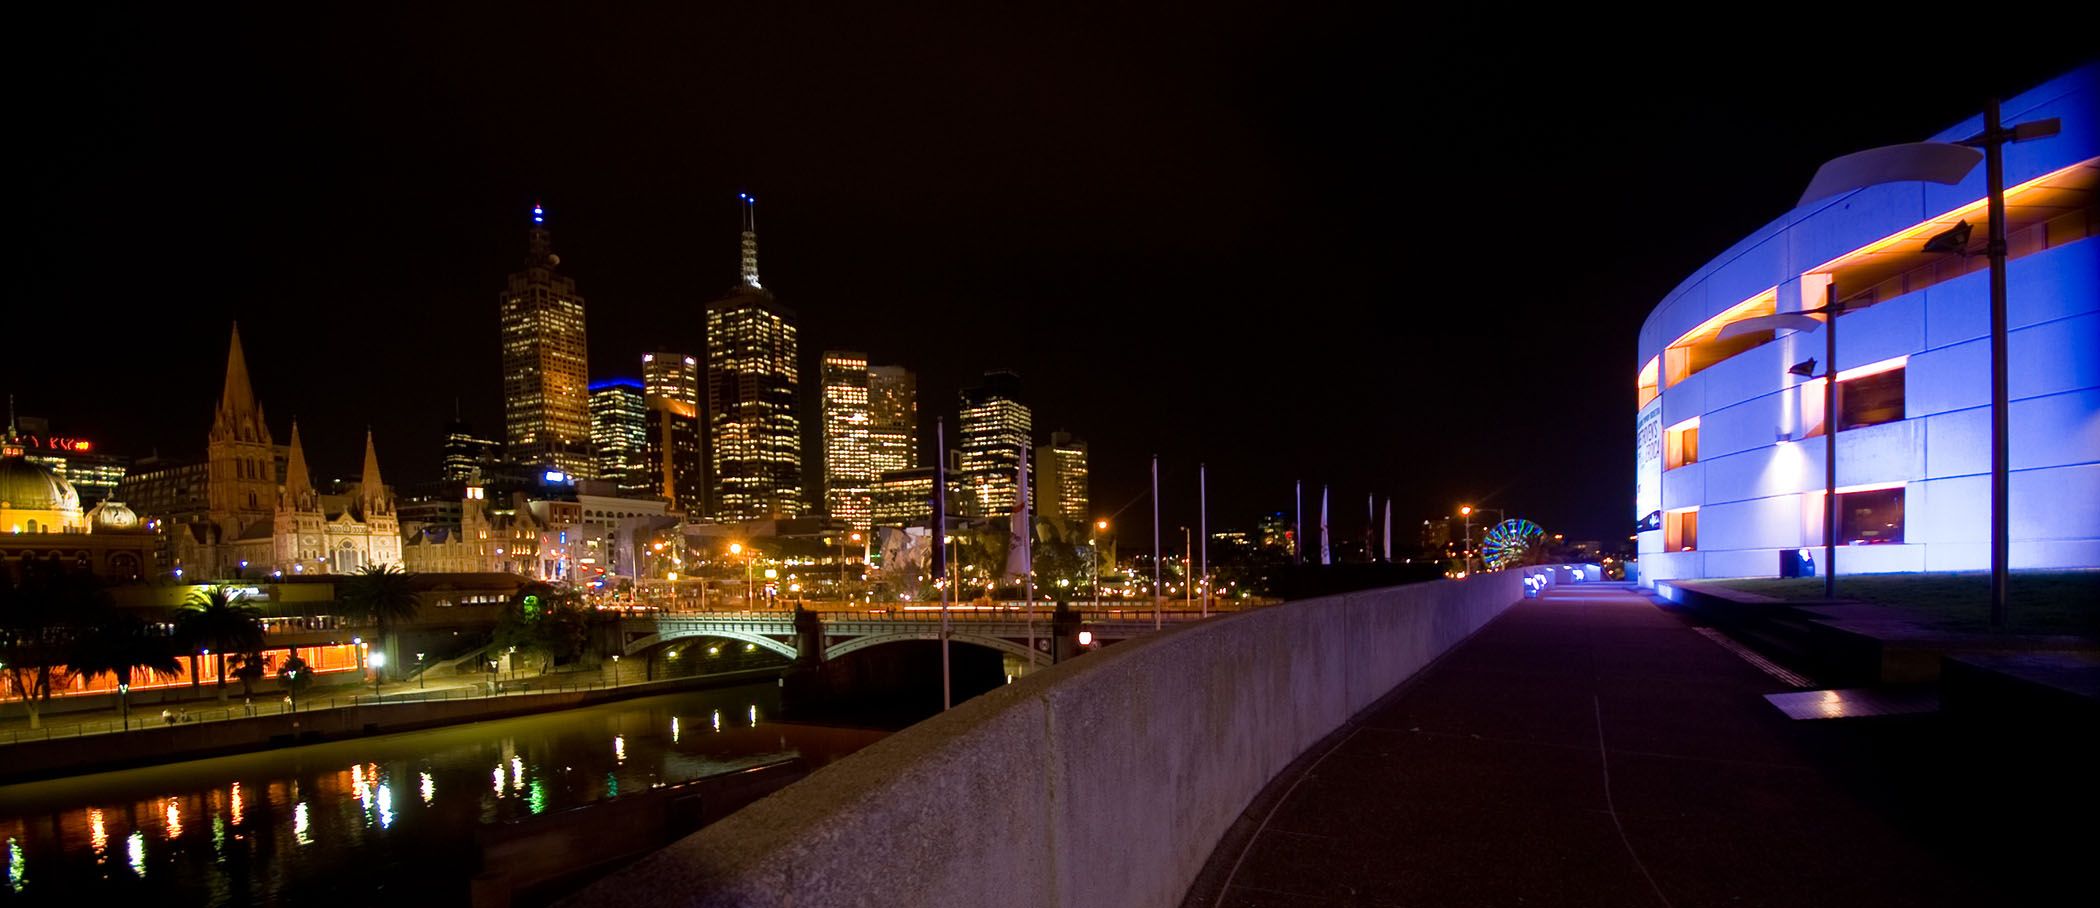
Most smartphones these days have multiple cameras, so experiment with different focal lengths. This one in Melbourne was taken with a wide-angle lens so that I could get the contrast of the single building on the right with the cityscape across the river:
Shooting Across Water Looks Wonderful
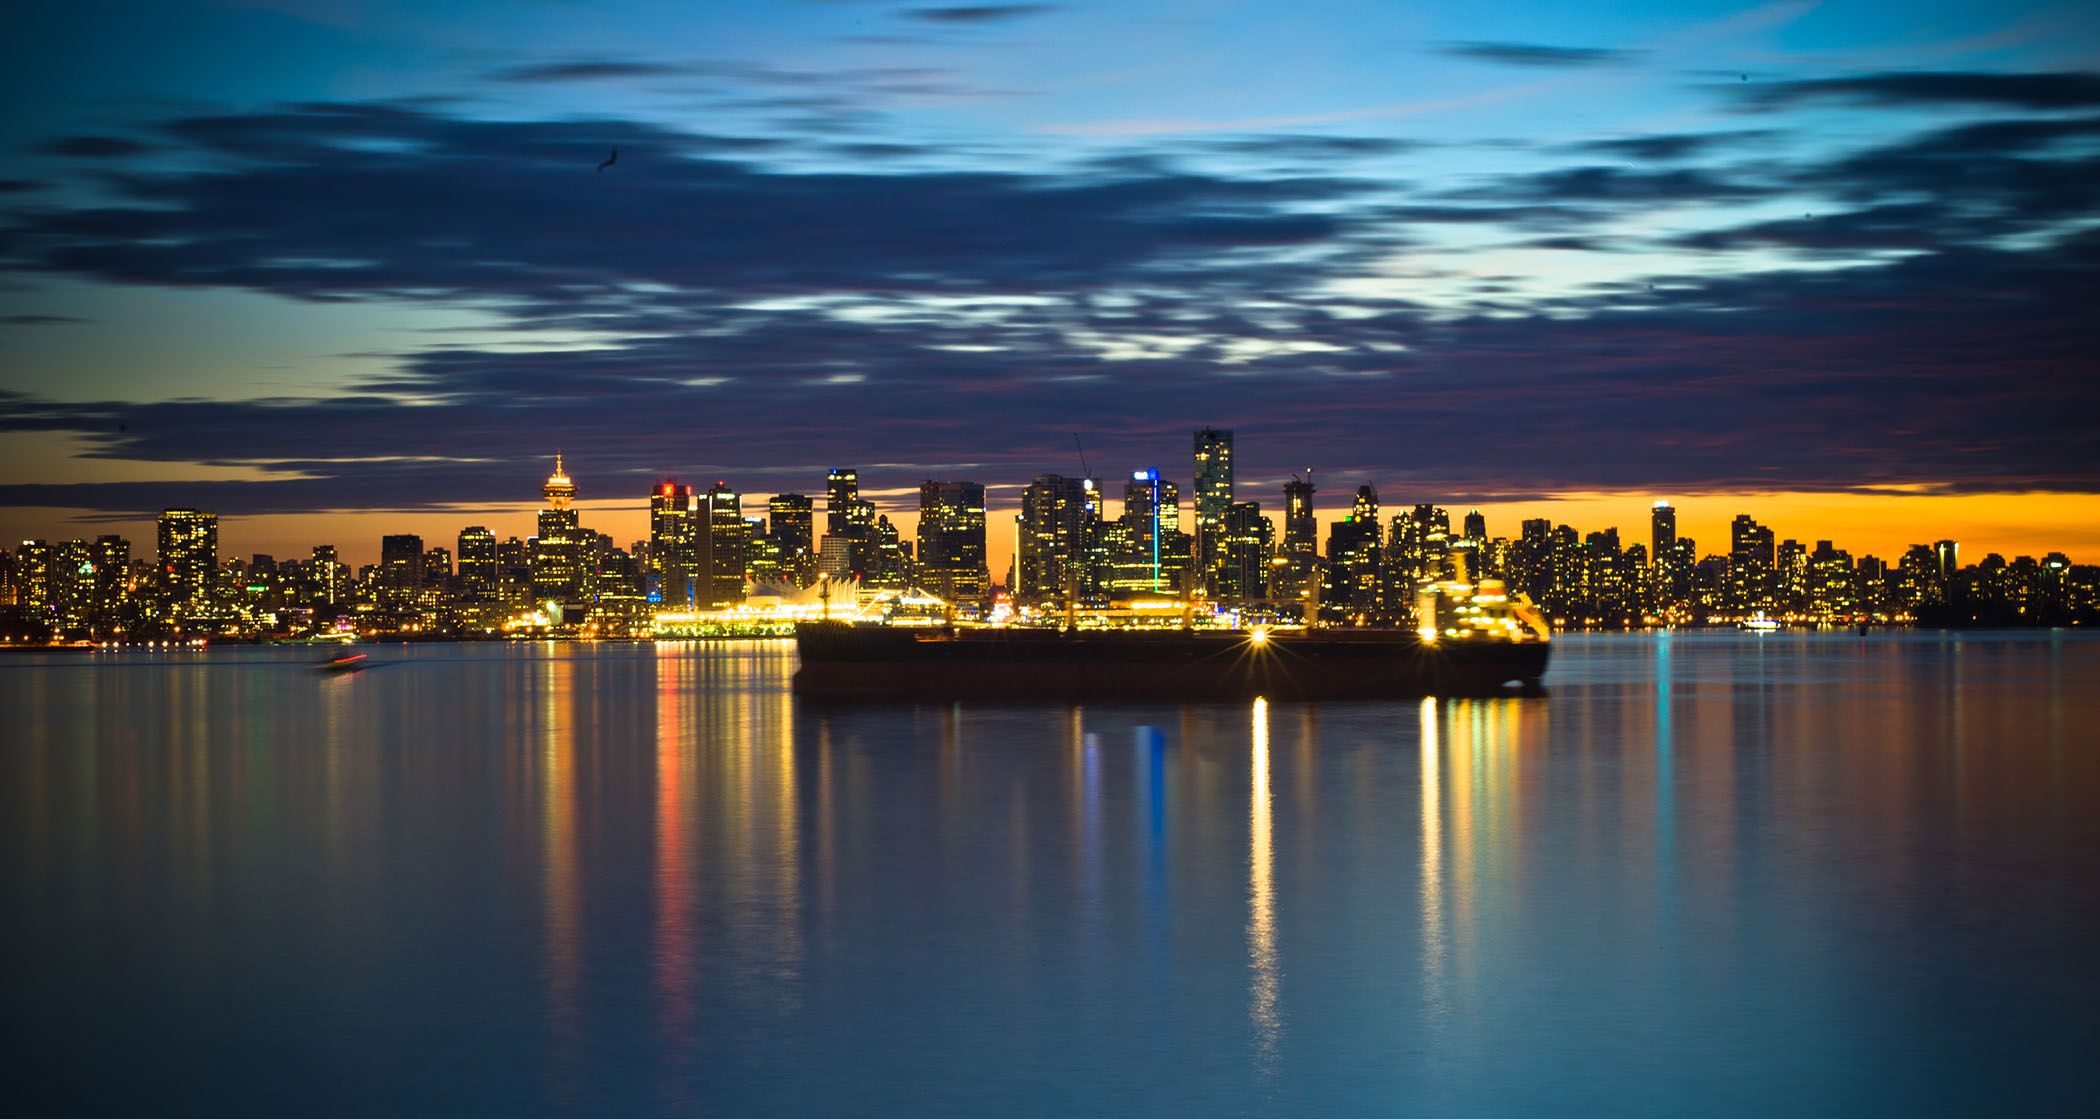
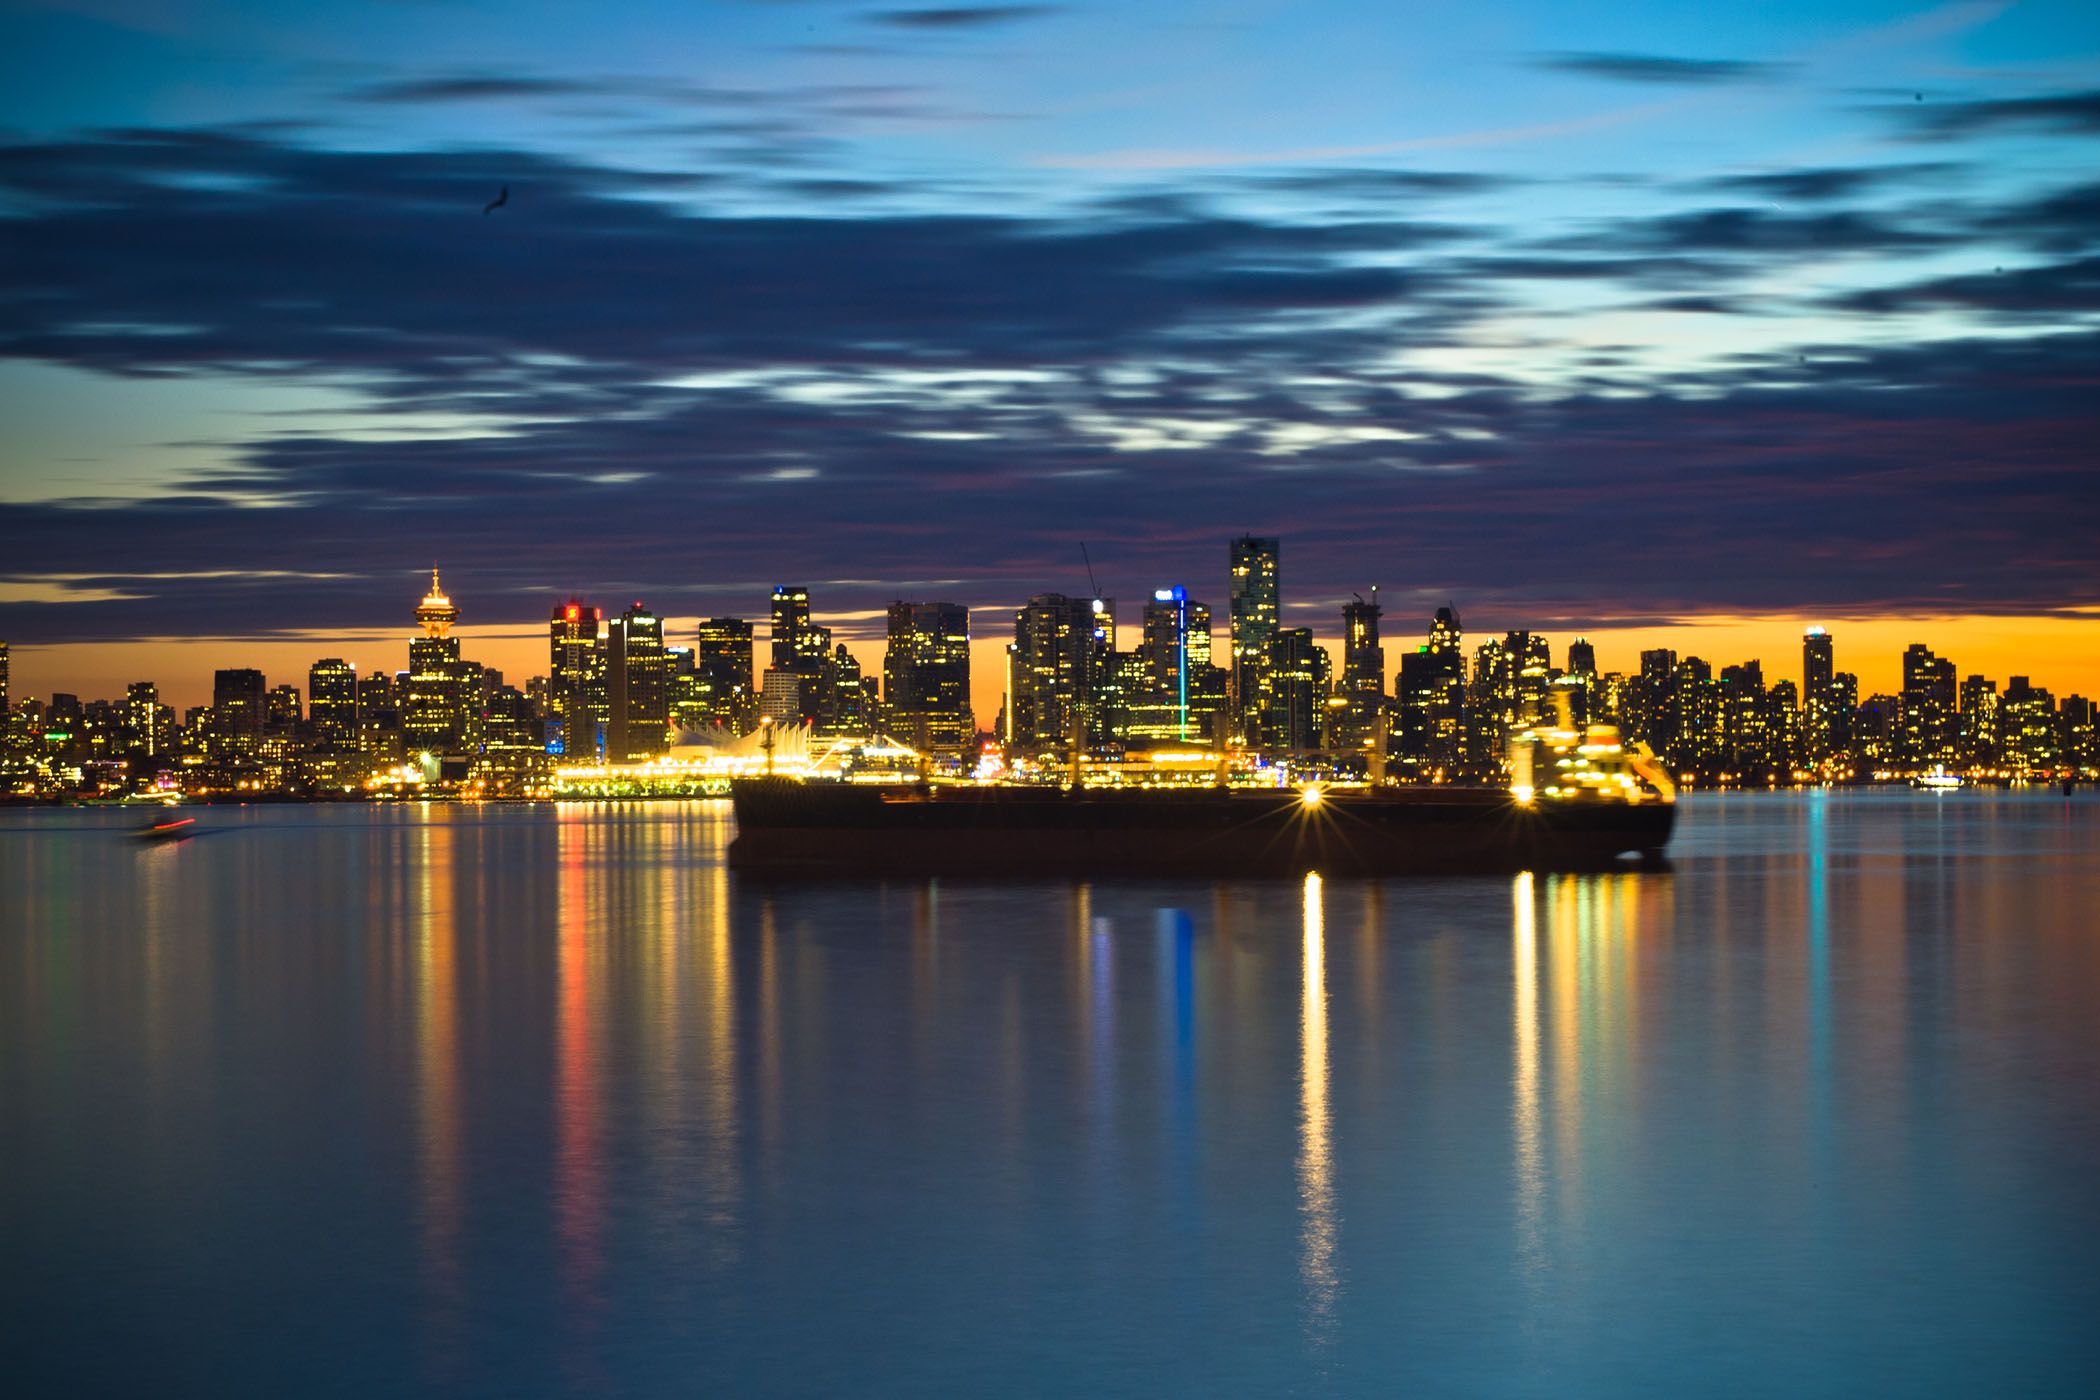
If you have the opportunity to shoot across the water, that’s a great way not only to get far enough away to capture a lot of the city, but it can often add a great sense of depth to your photos—as well as capture reflections of the light on the water. You can see this in the shot of Vancouver at the top of the piece:
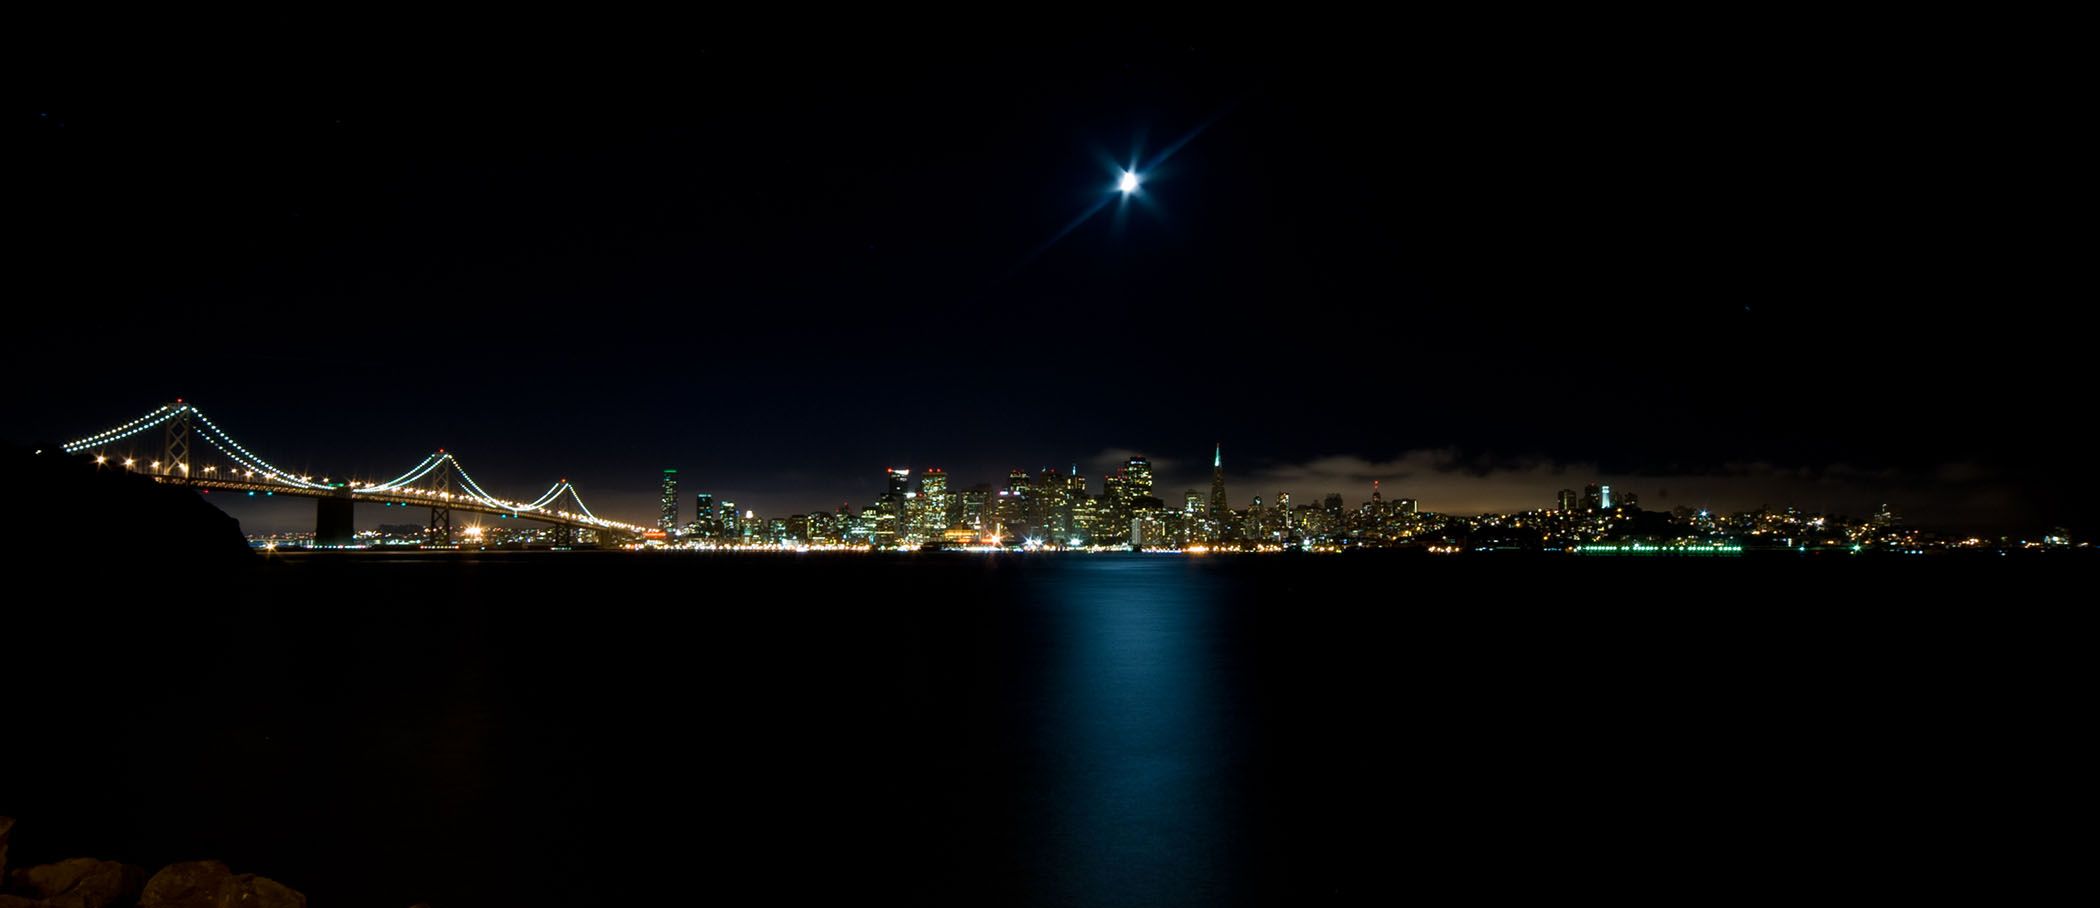
In some cities, you might need to do a little research or ask for advice on the best places to go. When I was in San Francisco, for example, a local recommended a trip across to Treasure Island. While the reflection here is much lower-key, the moonlight on the water gives it a lovely moody feel:
You can also see my favorite night shot of San Francisco in a related piece on composing your photos like a pro.
Water Generally Is Where Long Exposure Shots Really Shine
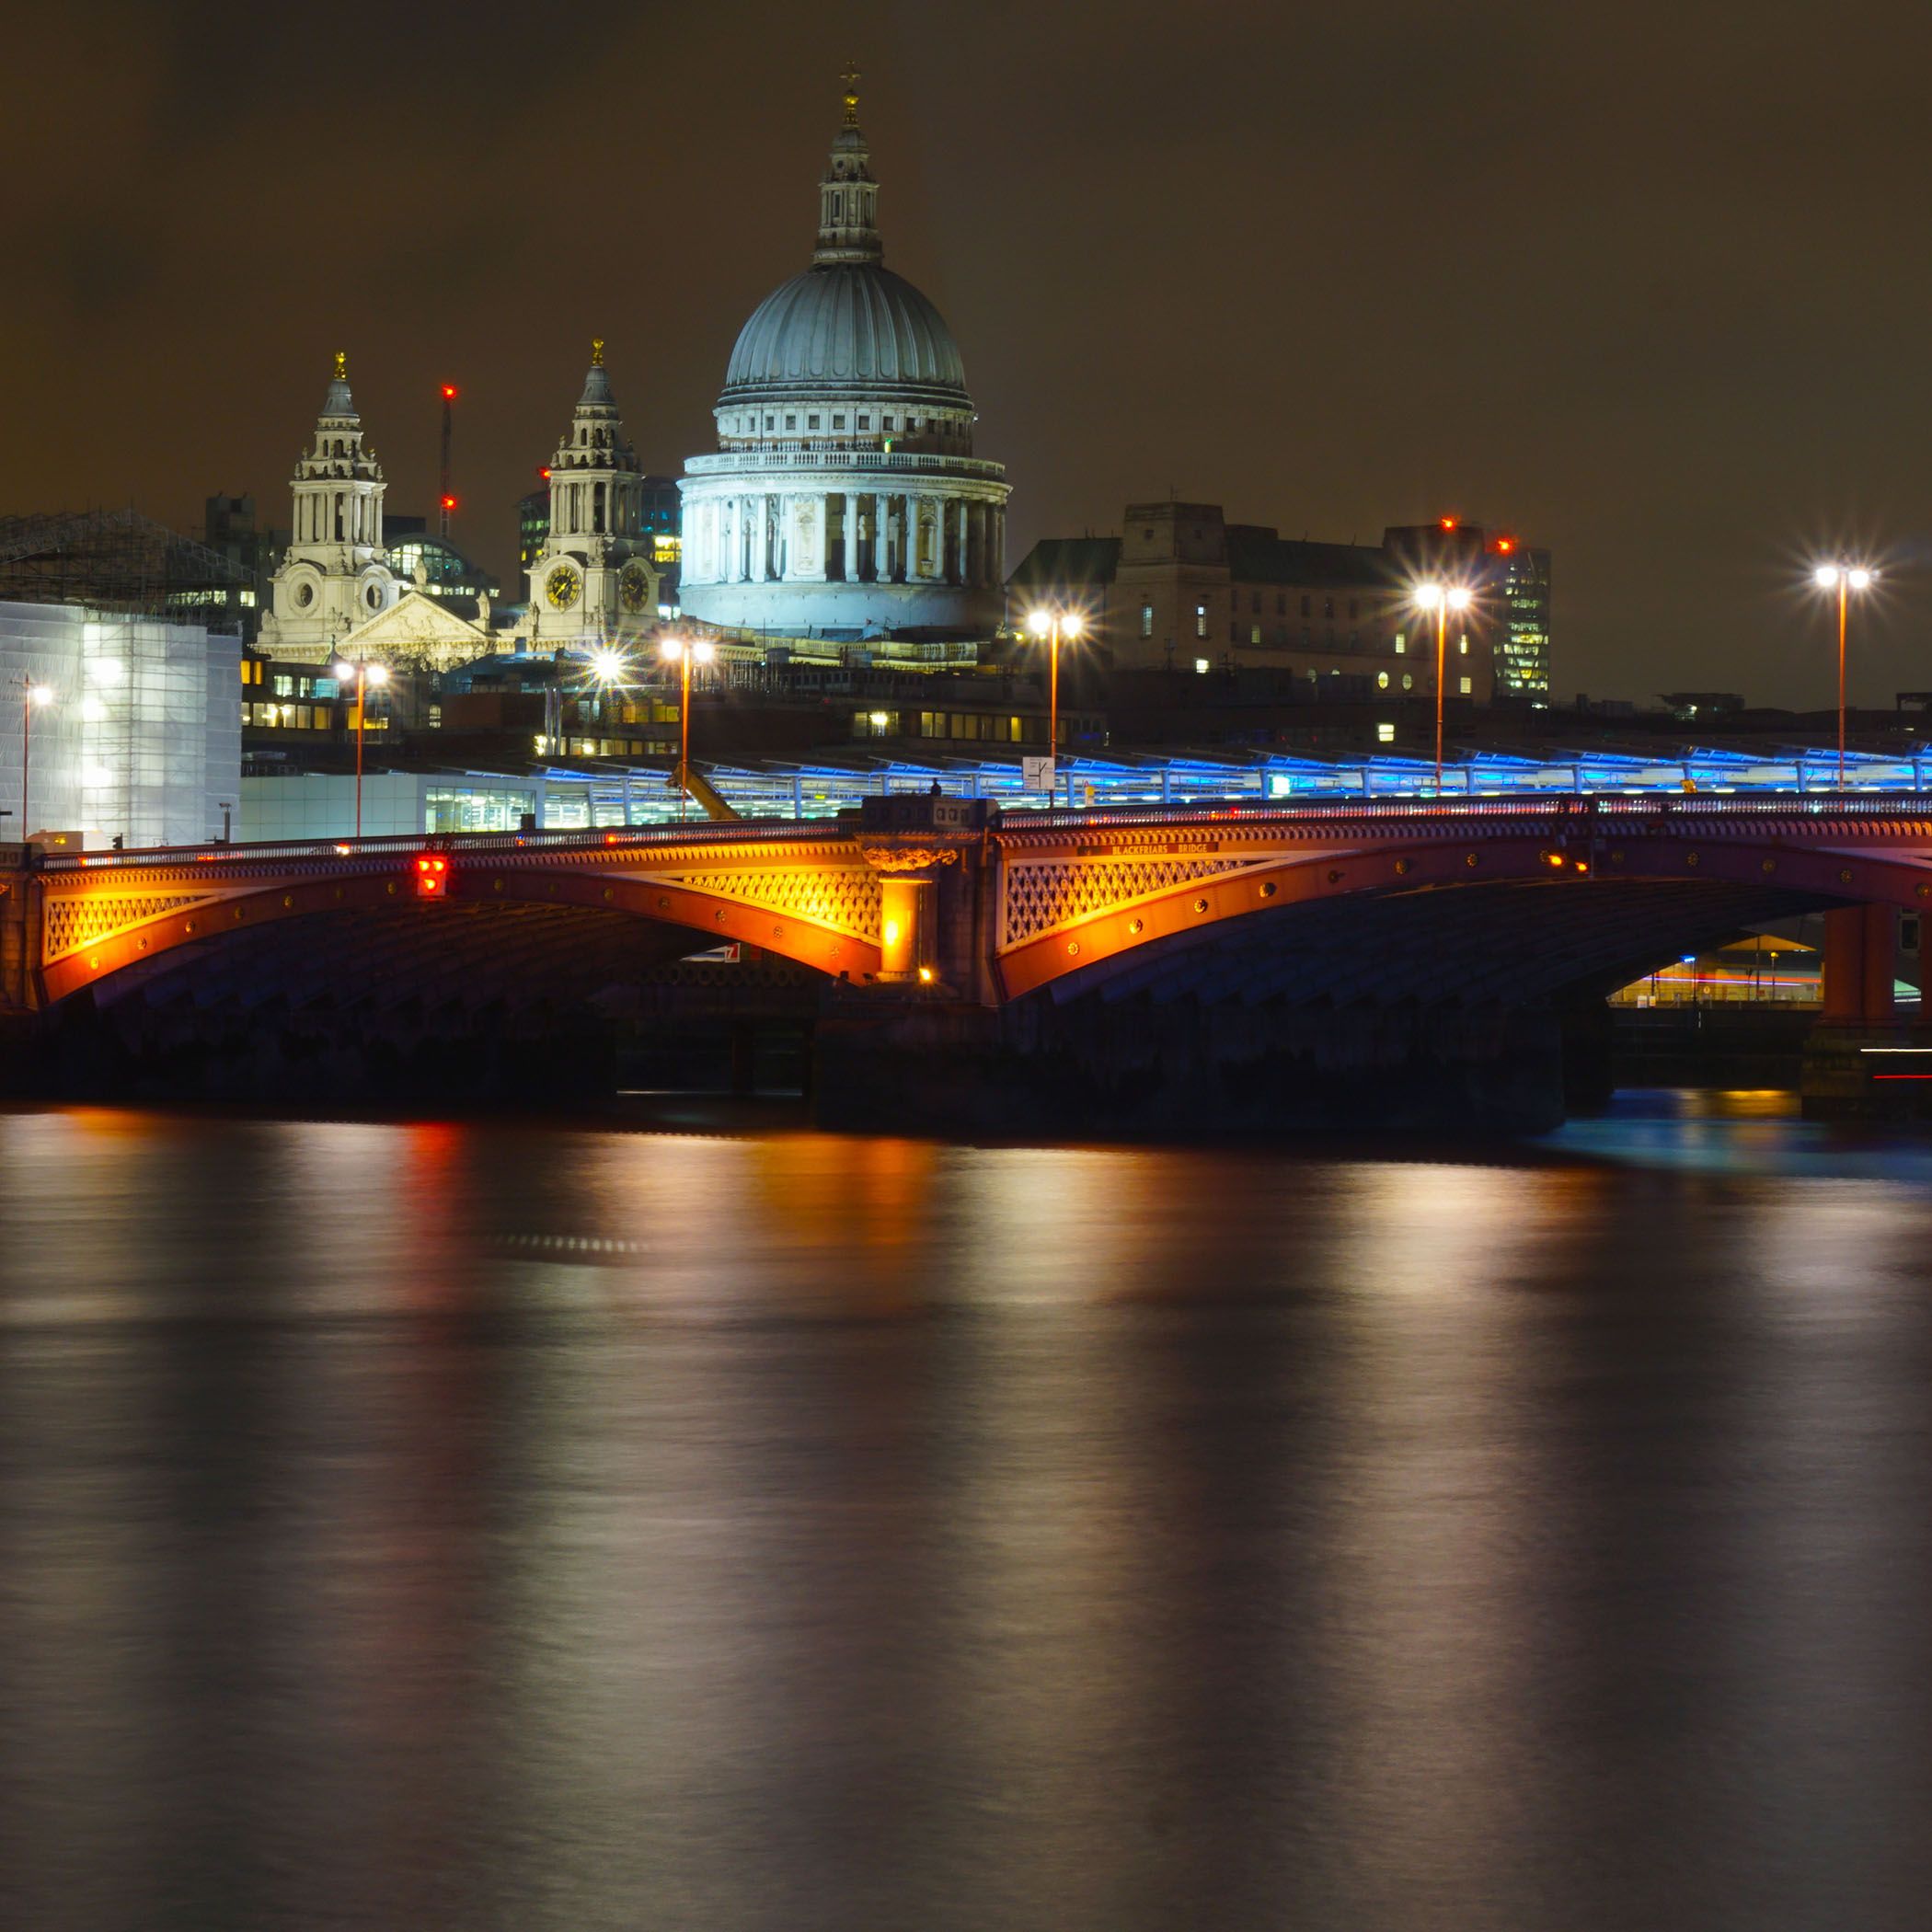
Just as I’d always look to shoot in cities at night, I’m also always on the lookout for the opportunity to include water in night shots. A 30-second exposure smooths out the surface, giving it a soft, ghostly look, as seen in this shot of St Paul’s Cathedral in London:
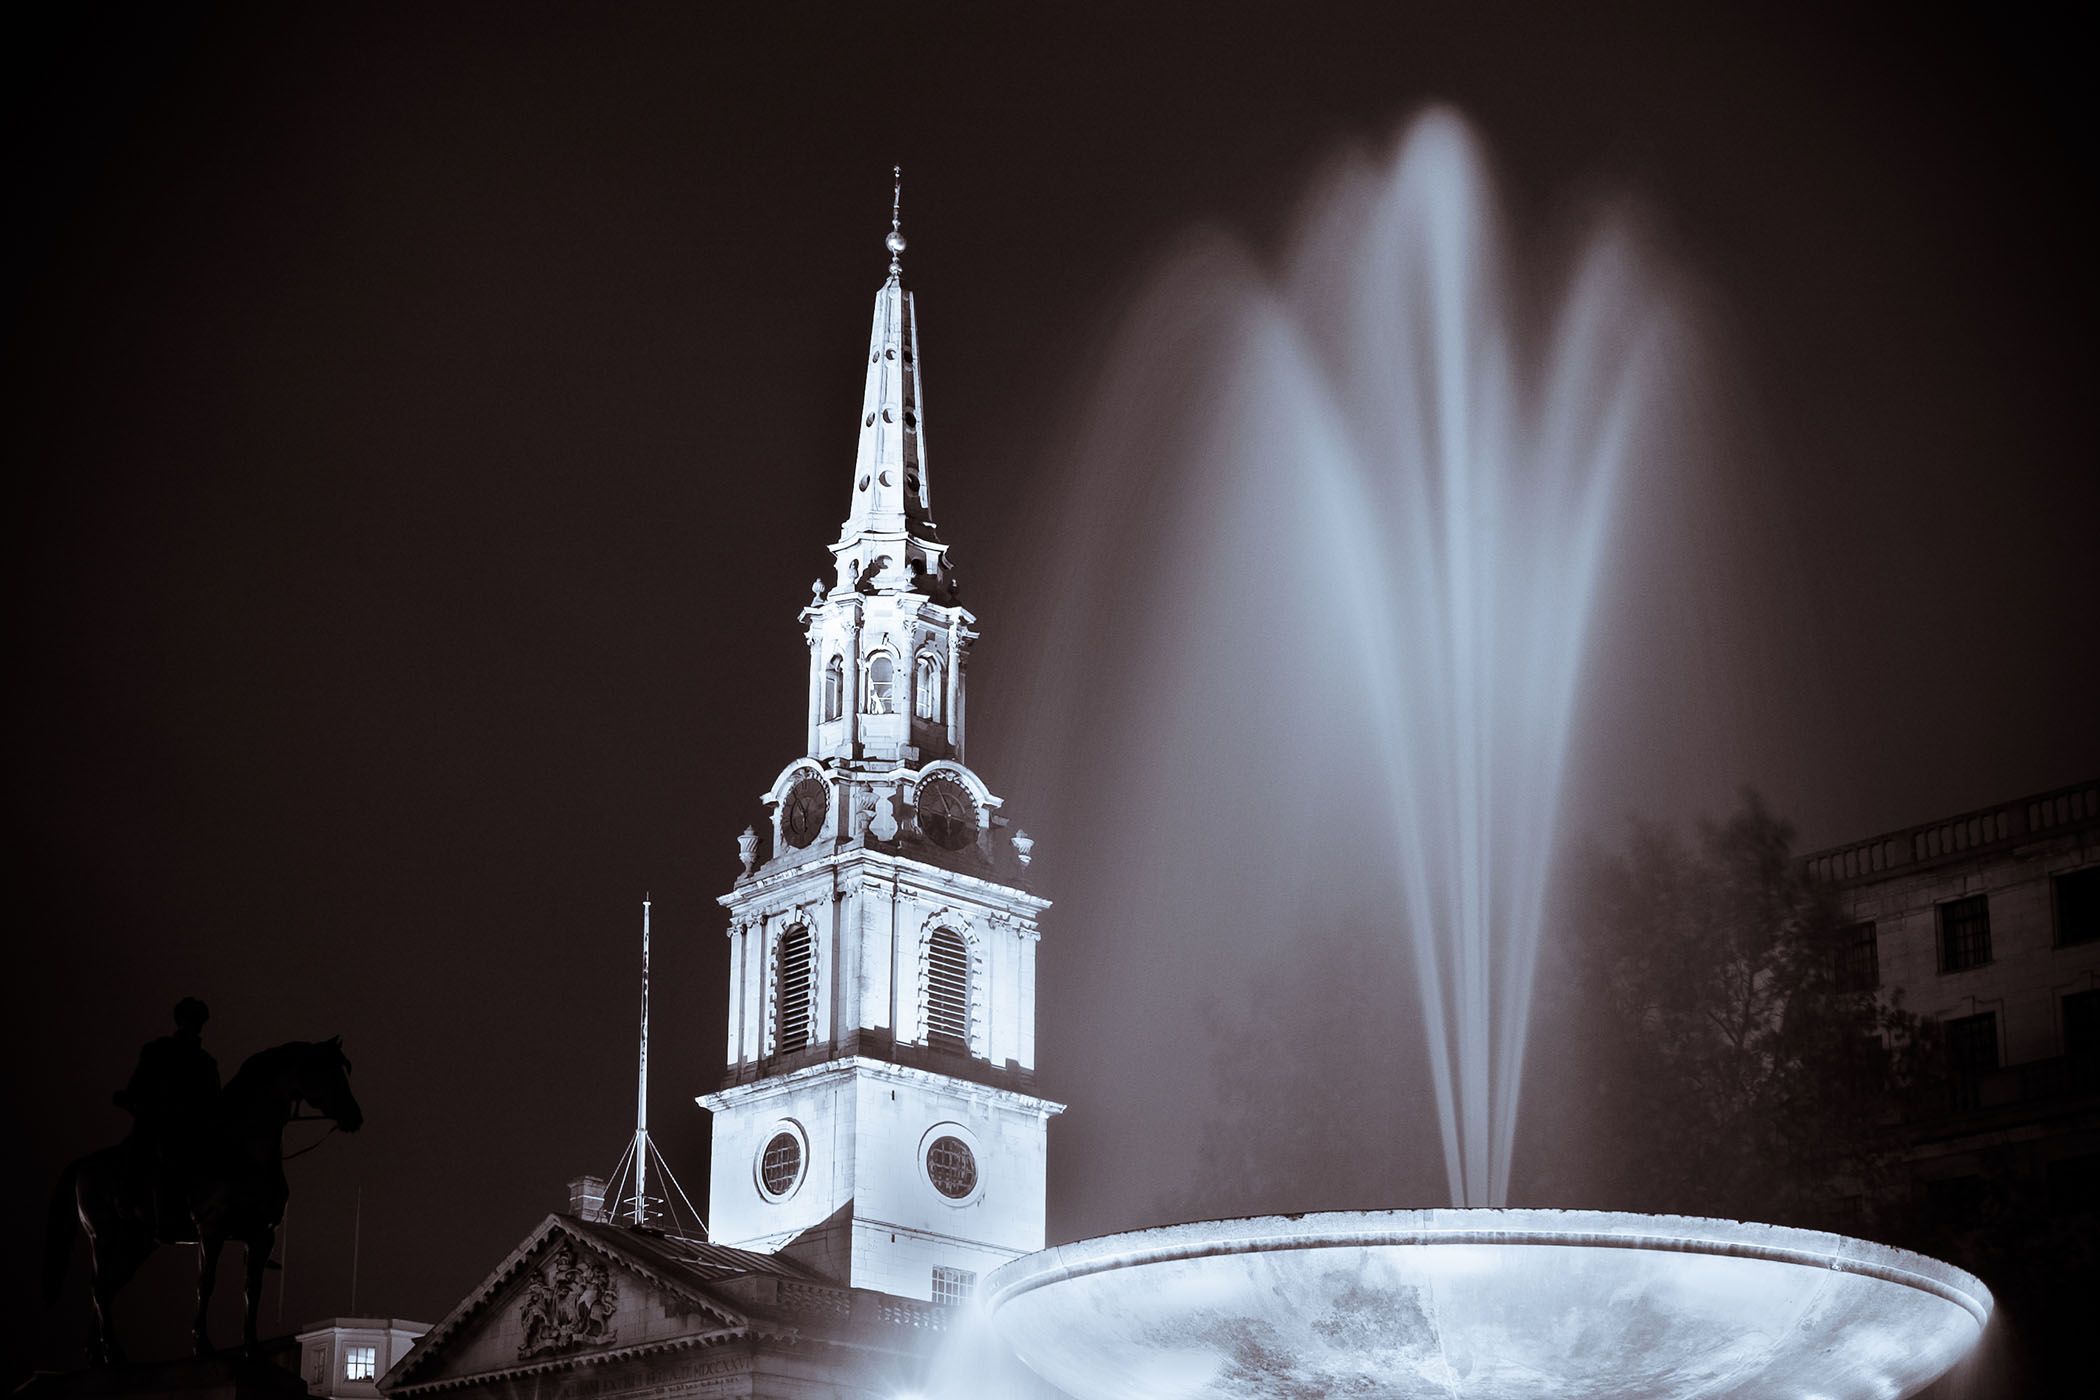
Waterfalls and fountains also look beautiful in long-exposure shots, as in this example in London’s Trafalgar Square:
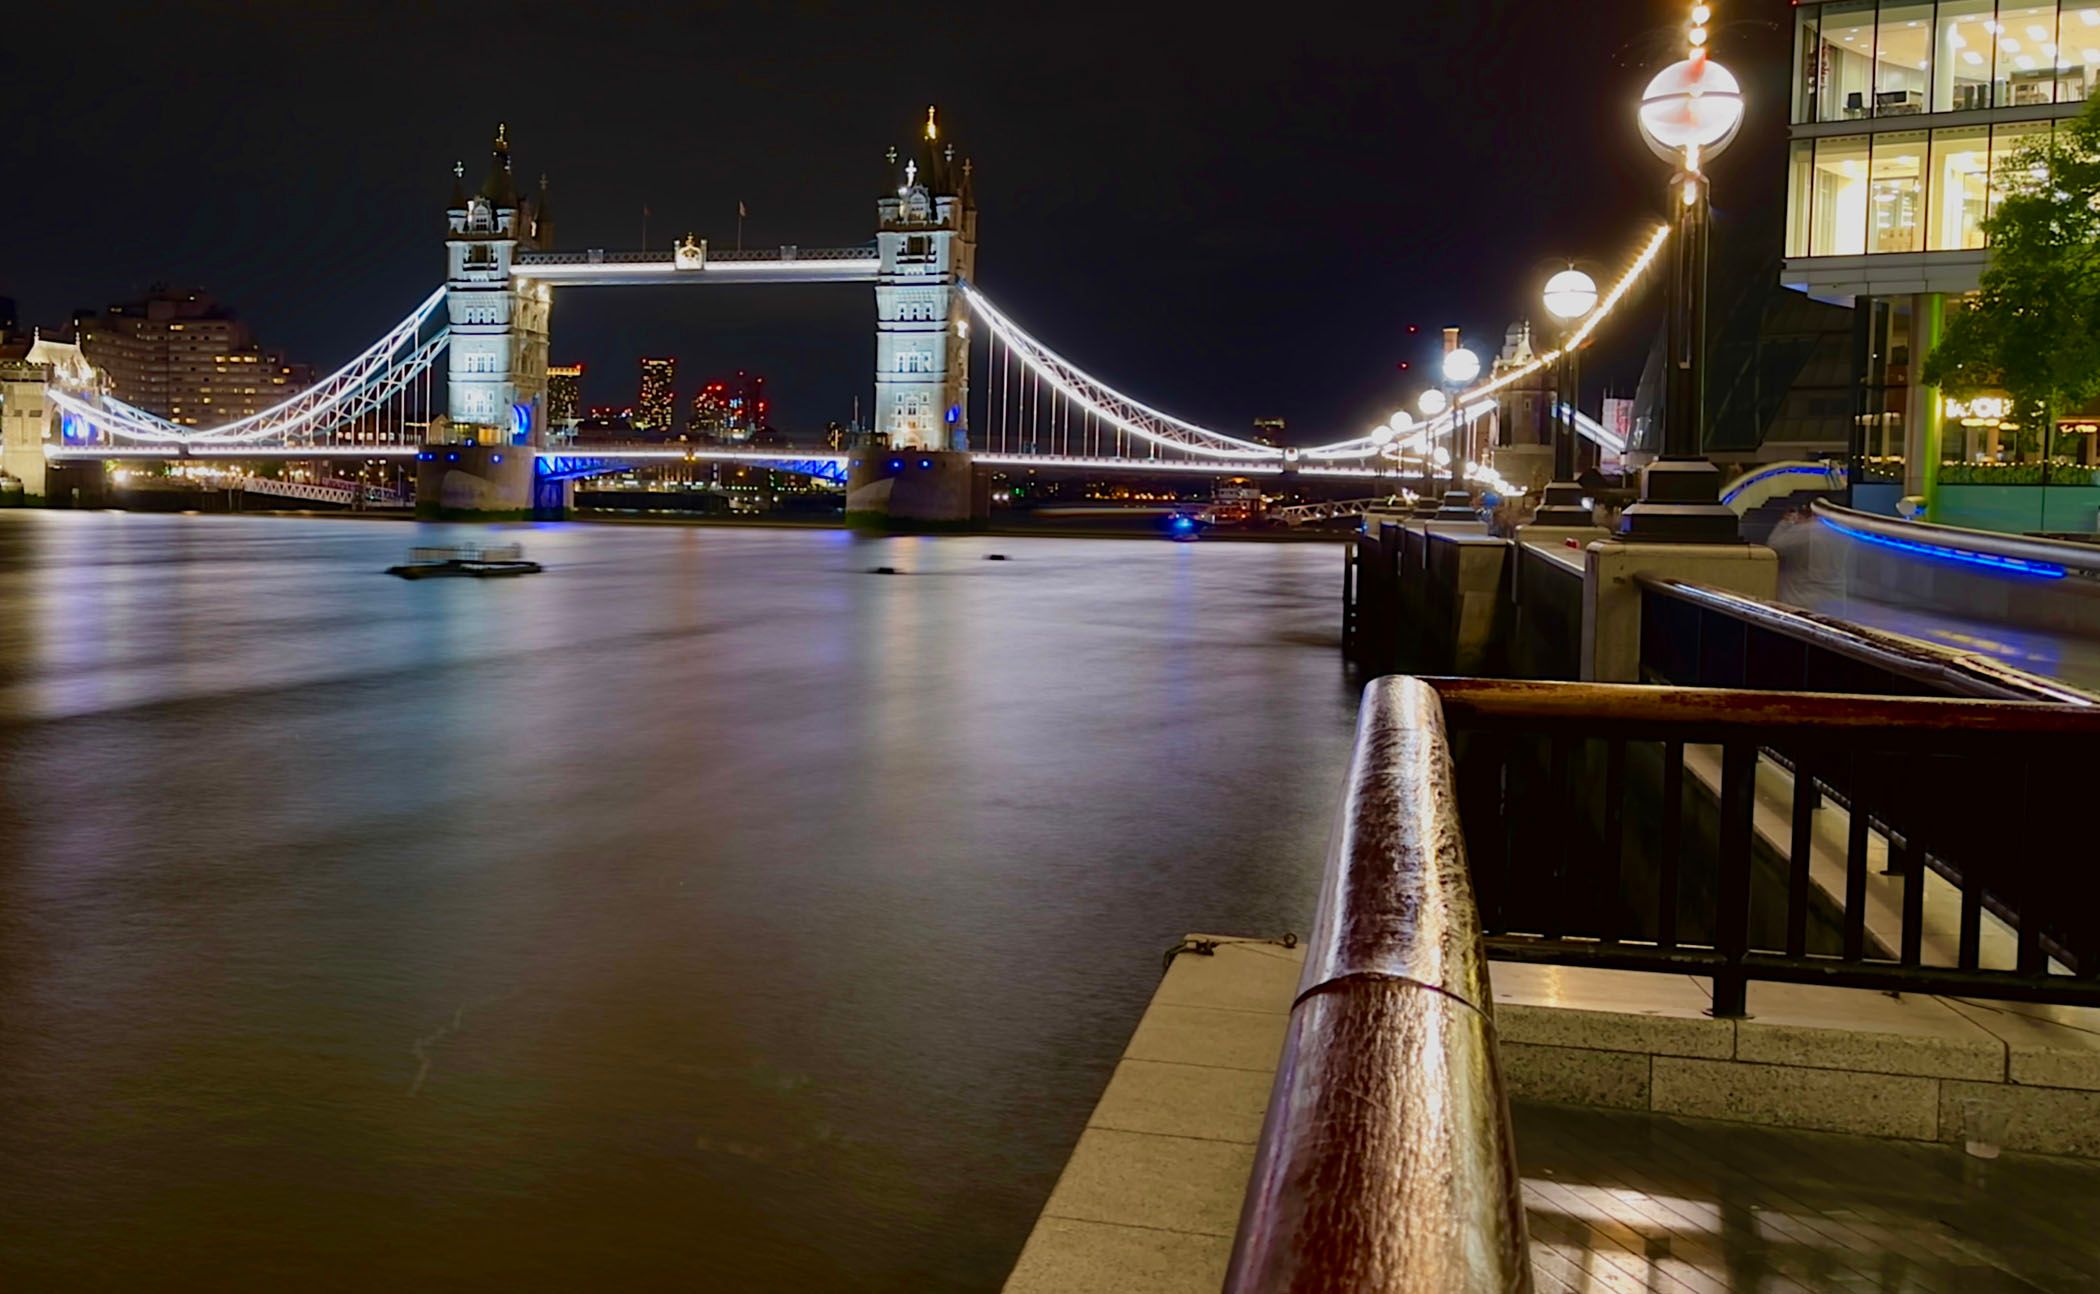
We’ve seen examples of how great color lights can look reflected in water, but even when the lighting is mostly white, it can still look gorgeous in long-exposure shots. This example is Tower Bridge in London:
Light Trails on Roads Also Looks Great
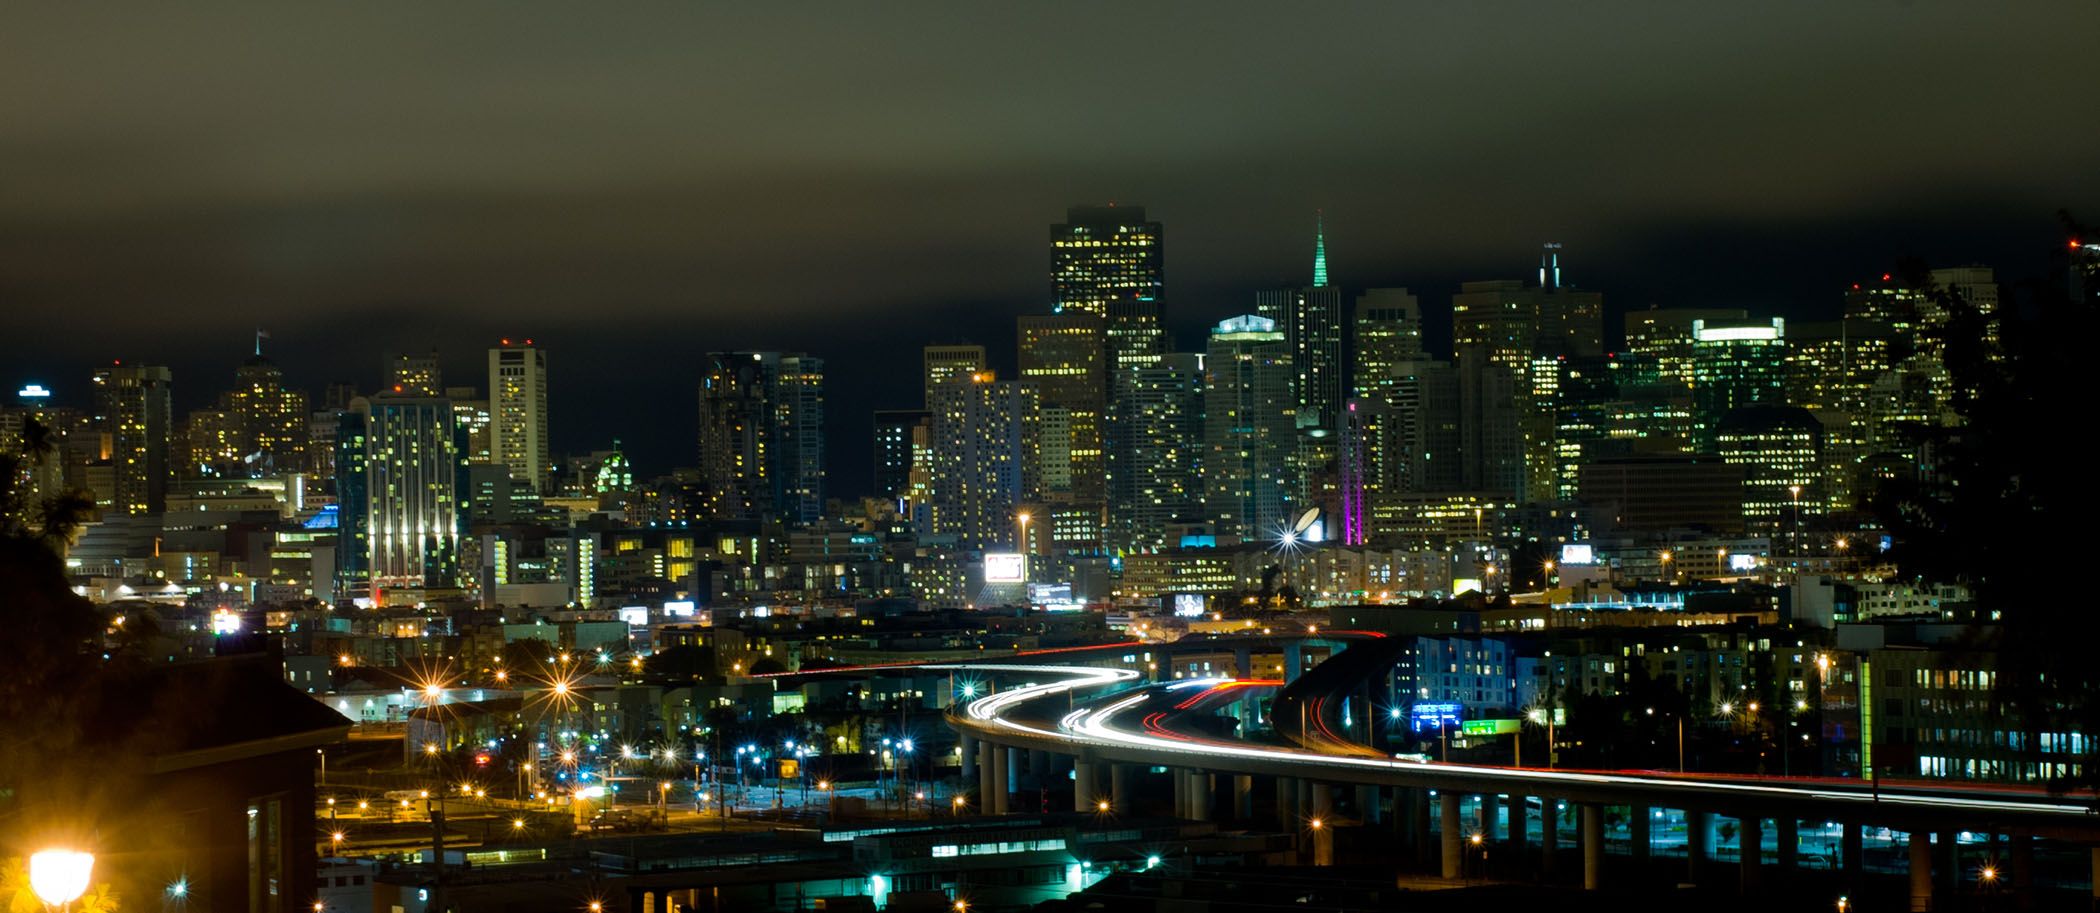
Long exposures of traffic at night turn headlights into rivers of white and tail lights into trails of red. You do, though, need reasonably fast-moving traffic to capture this in a 30-second exposure. I had to wait a while for traffic to start moving freely when taking this shot in San Francisco:
I found this spot by doing some exploring on a rented scooter during the day, and then returning at night.
The Magic of the Blue Hour
Last but not least, while you can get memorable shots at any time of the night, the best ones are often taken during what is known as “the blue hour.” This is the time just before sunrise and just after sunset.
Personally, I consider something has gone terribly wrong with my life if I’m ever out before sunrise, so my blue hour shots are generally taken after sunset. I typically find that around 40 minutes after the sun goes down gets the best results.
In busy locations like city observation decks, you’ll typically find the whole world crowding the windows at sunset, but most of them are gone long before the perfect moment for a blue hour shot.
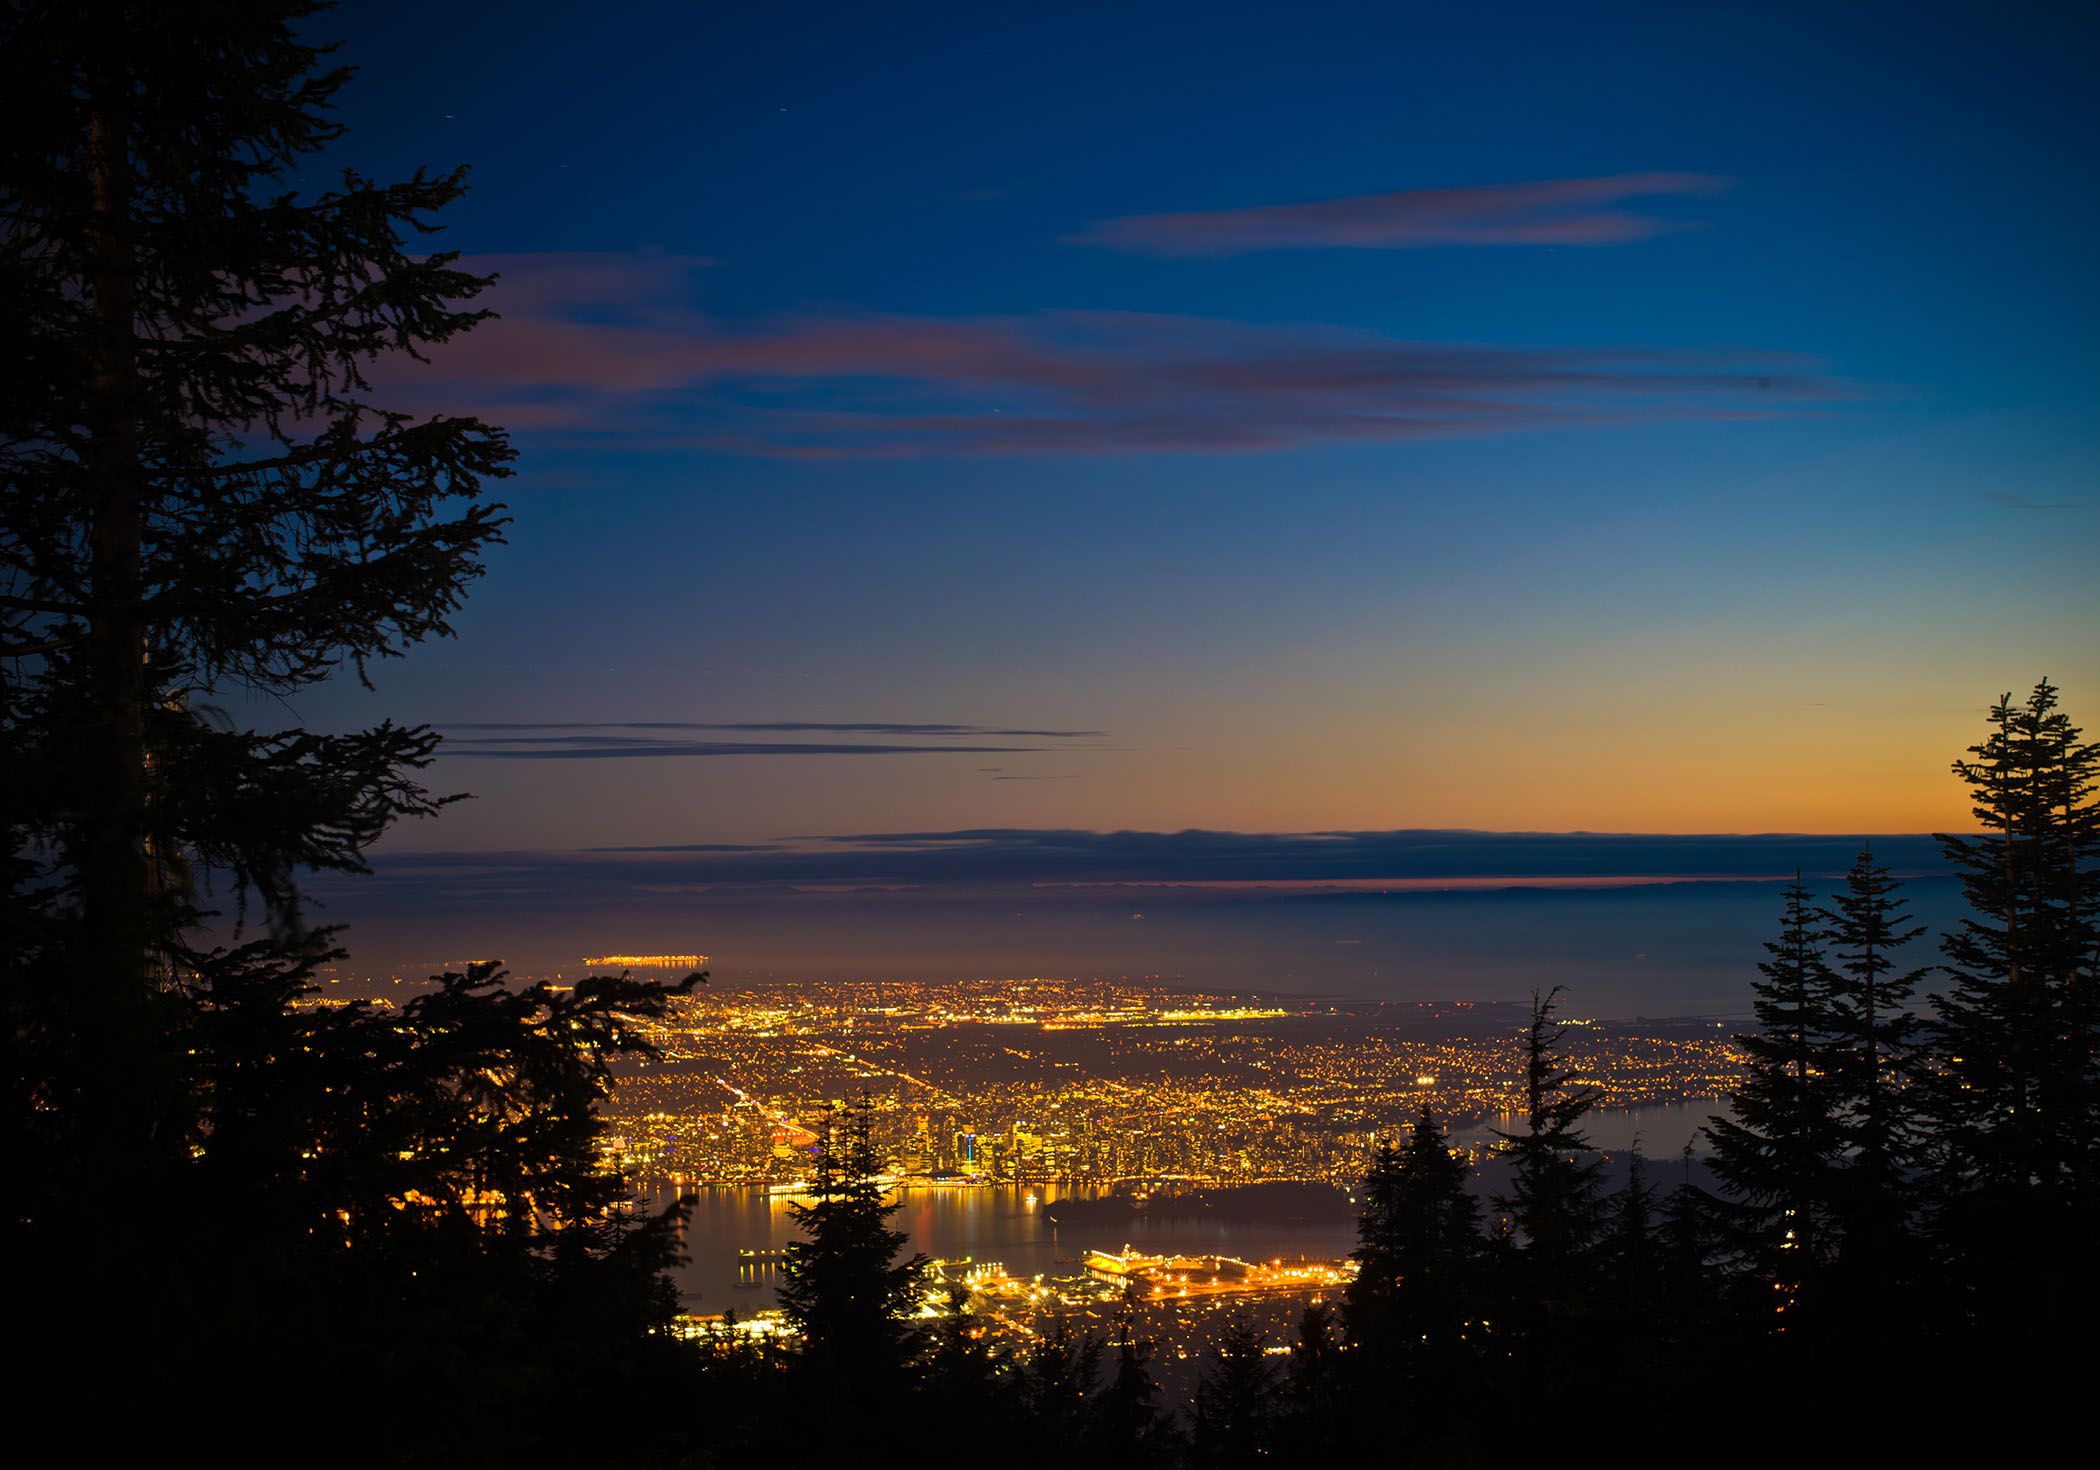
Don’t expect to see much of a blue glow in the sky with the naked eye, but a 30-second exposure captures light our eyes can’t see. You can see examples of this in the Manhattan, Vancouver, and Shanghai photos above, and here’s a couple more. This was taken from the top of Grouse Mountain, also in Vancouver:
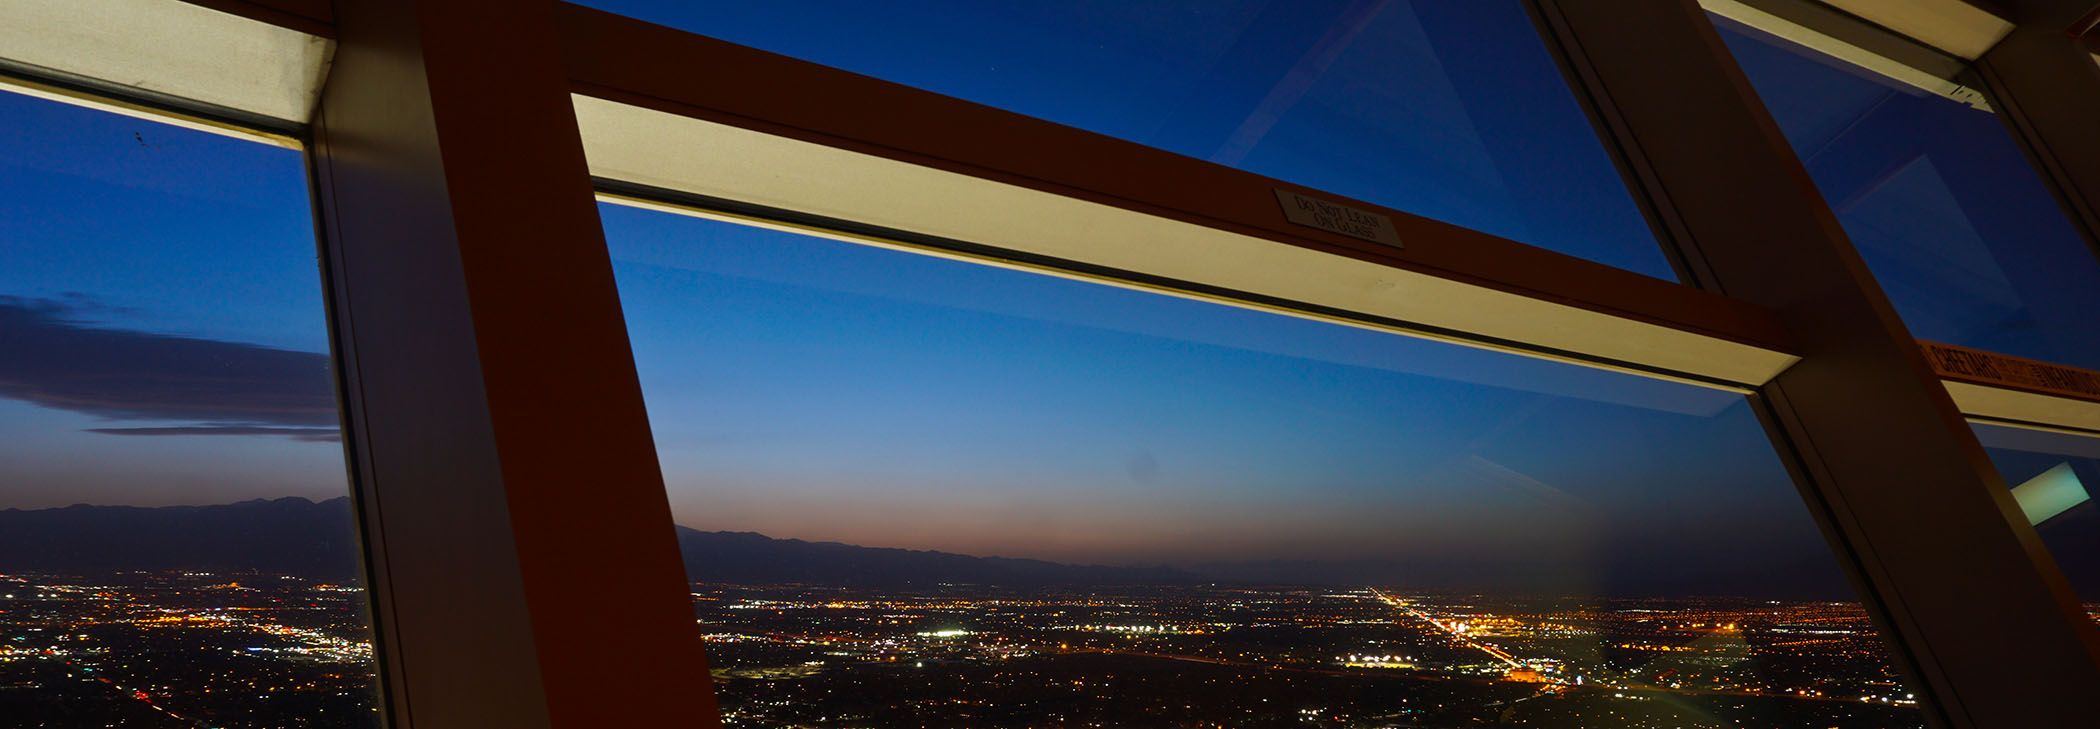
This one was taken from the observation deck of the Stratosphere in Las Vegas. I normally aim to get as close to glass as possible to eliminate reflections, but in this case thought the window frames added interest to the shot:
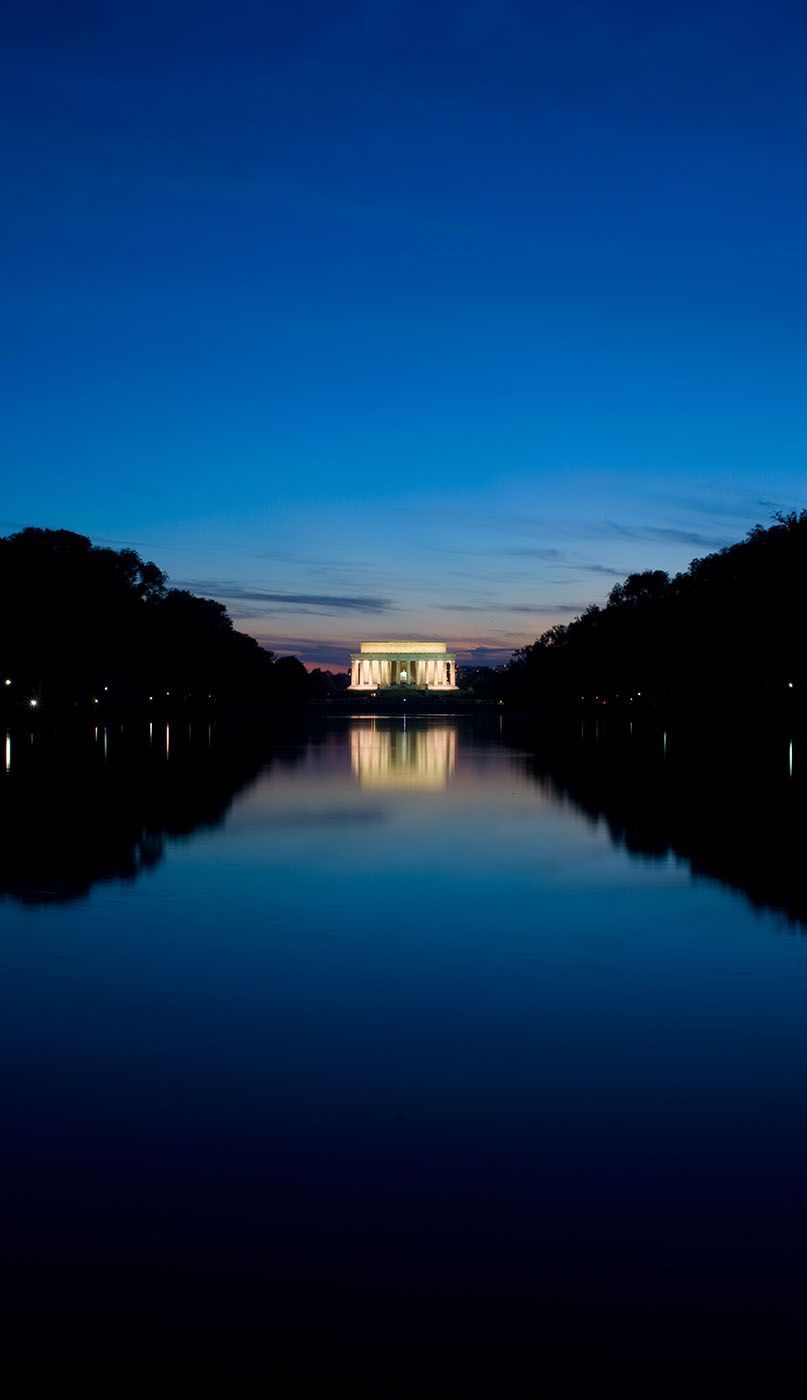
As ever, water is your friend, in this case, the Reflecting Pool in Washington, DC:
In summary, then, use a tripod and a long-exposure app to take 30-second exposures; include as much of a city as you can; include water any chance you get; and the blue hour is your friend.
Source link


