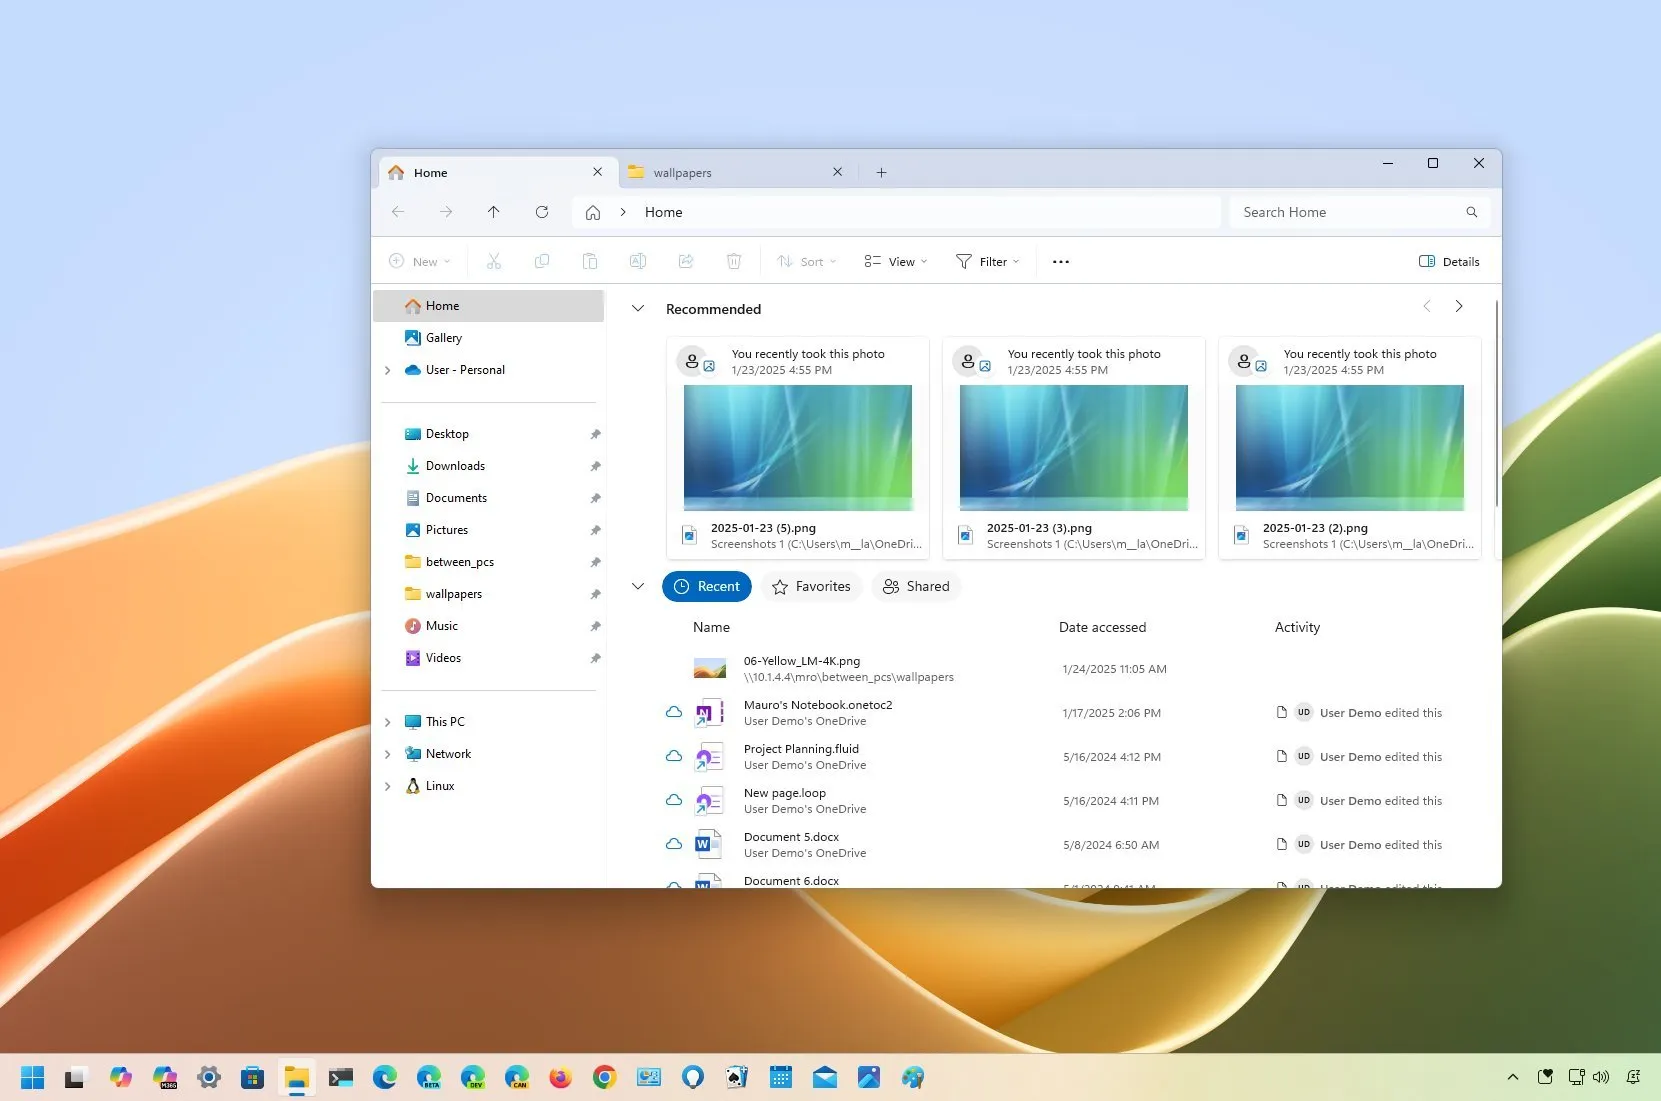
How to turn on or off the ‘Recommended’ tab on File Explorer for Windows 11

- The “Recommended” section on File Explorer’s Home has been designed to provide quick access to files that Windows 11 thinks you’ll need based on your recent activities.
- To enable the feature, open “Folder Options” on File Explorer, and turn on “Show recommended section” and “Include account-based insights, recent, favorites, and recommended files.”
- You can also turn off the previously mentioned settings to disable the feature and restore the Quick Access section.
On Windows 11, you can enable or disable the “Recommended” section from File Explorer, and in this guide, I will outline the steps to complete this configuration.
“Recommended” is a tab that appears on the Home page of File Explorer, surfacing files you may want to resume working. It was previously available only for Azure Active Directory (AAD) and Microsoft Entra ID accounts, but the software giant is also working to bring the same experience to those using a Microsoft account. In addition, the feature will not only surface cloud files but also local files.
You can always enable the feature to receive recommendations on files you want to resume. However, if File Explorer is missing the “Quick access” section or the feature isn’t for you, you can disable it from the “Folders Options” page.
This feature is already available for users with the Microsoft Entra ID, but starting on Windows 11 build 22635.4800 (Beta Channel), the tab can be enabled for users using a Microsoft account.
In this guide, I’ll explain how to enable or disable the Recommended section on File Explorer for Windows 11.
Enable the Home Recommended section on File Explorer
To enable the “Recommended” section in the Home page of File Explorer, use these steps:
-
Open File Explorer on Windows 11.
-
Click the See more (three dots) button from the toolbar.
-
Click on Options.
-
Click the General tab.
-
Check the “Show recommended section” option under the “Privacy” settings.

-
Check the “Include account-based insights, recent, favorites, and recommended files” option.
-
Click the Apply button.
-
Click the OK button.
After you complete the steps, the “Quick access” section will be replaced with the “Recommended” experience to show users the most relevant local and cloud files for those logged in with an Azure Active Directory (AAD), Microsoft Entra ID, or Microsoft account.

Enable the Recommended section in the Beta Channel
If the option isn’t available, you may be able to enable the settings using the ViveTool following these steps:
-
Download the ViveTool-vx.x.x.zip file to enable the new settings to control the Recommended section.
-
Double-click the zip folder to open it with File Explorer.
-
Click the Extract all button.

-
Click the Extract button.
-
Copy the path to the folder.
-
Open Start.
-
Search for Command Prompt, right-click the top result, and select the Run as administrator option.
-
Type the following command to navigate to the ViveTool folder and press Enter:
cd c:\folder\path\ViveTool-v0.x.x
In the command, remember to change the path to the folder with your path.
-
Type the following command to enable the Recommended section settings in the Folder Options and press Enter:
vivetool /enable /id:51721485,48895801
-
Restart the computer.
Once you complete the steps, the Folder Options page will include the settings to enable or disable the feature.
Disable the Home Recommended section on File Explorer
To disable the Recommended section, use these steps:
-
Open File Explorer.
-
Click the See more (three dots) button from the toolbar.
-
Click on Options.

-
Click the General tab.
-
Clear the “Show recommended” section option under the “Privacy” settings.

-
Clear the “Include account-based insights, recent, favorites, and recommended files” option.
-
Click the Apply button.
-
Click the OK button.
After you complete the steps, the changes will apply, bringing back the “Quick Access” tab on the Home page.

Why You Can Trust Pureinfotech
The author combines expert insights with user-centric guidance, rigorously researching and testing to ensure you receive trustworthy, easy-to-follow tech guides. Review the publishing process.
Source link


