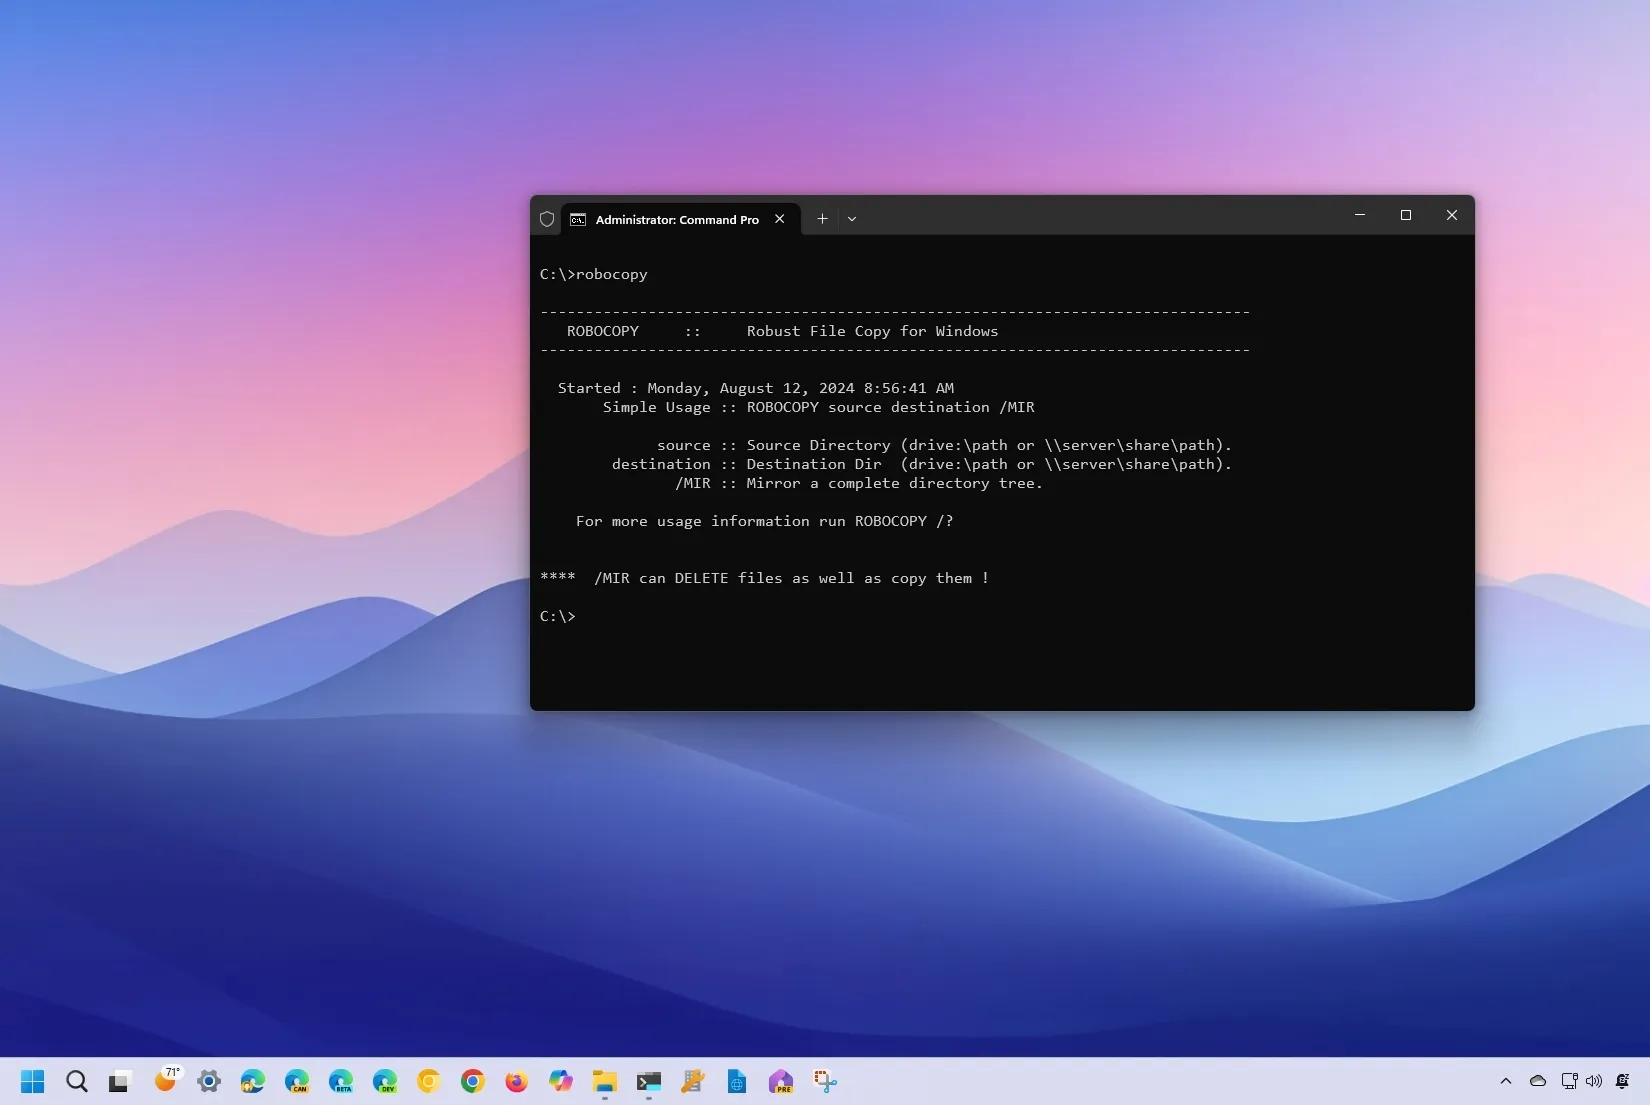
How to use Robocopy to recover and skip corrupted files from failing hard drive on Windows

- To recover files with Robocopy on Windows 11 (or 10), open Command Prompt (admin) and run the
robocopy "X:\source-path\folder" "C:\destination-path\folder" /MIR /R:0 /W:0to mirror file structure and skip corrupted files.
On Windows, you can use the “Robocopy” tool to recover files from a failing hard drive, and in this guide, I will outline the steps to complete this process.
When a hard drive starts showing failing signs and data corruption appears, we tend to replace it, reinstall Windows 11 (or 10), and we hope that we can “copy and paste” our personal files from failing to the new drive, but it’s not always that easy.
The problem is that when a drive has reading and writing problems, data corruption, or other physical issues, the traditional “copy and paste” strategy is not the best solution since it could take hours and even days to skip files with errors, and there’s a chance that this method may not even work at all.
Robocopy (Robust File Copy) is a long-standing command-line copy utility that excels at copying, mirroring, and synchronizing files and directories. If you have a drive that is failing, Robocopy can be your best shot to recover files because it’s easy to use, it can be easily configured to skip unrecoverable files with errors quickly, it’s more efficient, it copies everything within a drive, it can resume from a lost connection if you’re moving files to a shared folder in the network, and just because the utility works better.
In this guide, I will explain the steps to recover files from a failing drive on Windows.
Recovery files from failings drive using Robocopy
To recover files from a failing hard drive, replace it and use these steps:
-
Open Start.
-
Search for Command Prompt, right-click the result, and select the Run as administrator option.
-
Type the following command to copy the files and folders to another drive and press Enter:
robocopy "X:\source-path\folder" "C:\destination-path\folder" /MIR /R:0 /W:0
The above command copies files from the source (failing) drive to the destination (new) drive, but you’ll notice that I’m also using the /MIR switch that makes the copy a mirror copy, keeping the file structure between the source and destination. Then I use /R:0 to limit retries to none and /W:0 to not wait any time while copying. These switches will ensure that corrupted files or files with errors are skipped quickly, therefore making recovery faster. Quotation marks are required when the folder name includes spaces.
If you’re dealing with a bad hard drive, try copying one folder at a time instead of copying everything simultaneously, as it helps narrow down other potential problems.
Robocopy’s best feature is that it preserves all NTFS attributes found in files and folders. It also has the ability to mirror the data structure across different locations, such as from a dying hard drive to a new one. The Robust File Copy can also resume from interruptions like network outages to complete the task.
Robocopy isn’t just a good tool for recovering files, but it’s a great option to speed up file copying over the network, and it includes a multi-threaded feature to copy multiple files at the same time, making transfers even faster.
Although the Robust File Copy tool is a great tool for transferring files, you should also consider setting up and maintaining an automatic file backup to always have a way to recover your files from virtually any hardware failure.
I’m focusing this guide on Windows 11 and 10, but you can use this command in even older versions, such as Windows 8.1, 7, and Vista.
Update August 12, 2024: This guide has been updated to ensure accuracy and reflect changes to the process.
Source link


