You don’t need a high-end camera to record professional-looking videos. With the right techniques and a few affordable accessories, your smartphone can rival the quality of expensive camera equipment. So, what items should you invest in, and how can you get the most out of your smartphone camera?
1 Nail the Lighting Basics
Natural light is often enough for decent video quality, especially outdoors, where sunlight provides bright, even lighting. If you want to film indoors, you can position your setup near a window to use natural light. You can use a diffuser like a sheer curtain to soften harsh sunlight. If natural light isn’t enough in dim environments, invest in lighting equipment.
Lume Cube 18″ Cordless Ring Light
The 18-inch Lume Cube Ring Light is a cordless battery-powered ring light with varying brightness levels and temperatures to enhance your videos and photos.
For smartphone users, portable LED panels, ring lights, or clip-on lights are excellent for consistent lighting. Using reflectors alongside these can brighten the scene even more. Don’t use your smartphone’s flash; it often creates unflattering shadows and harsh lighting. Instead, use adjustable lighting tools to control brightness and color temperature.
2 Use a Tripod or Gimbal for Stability
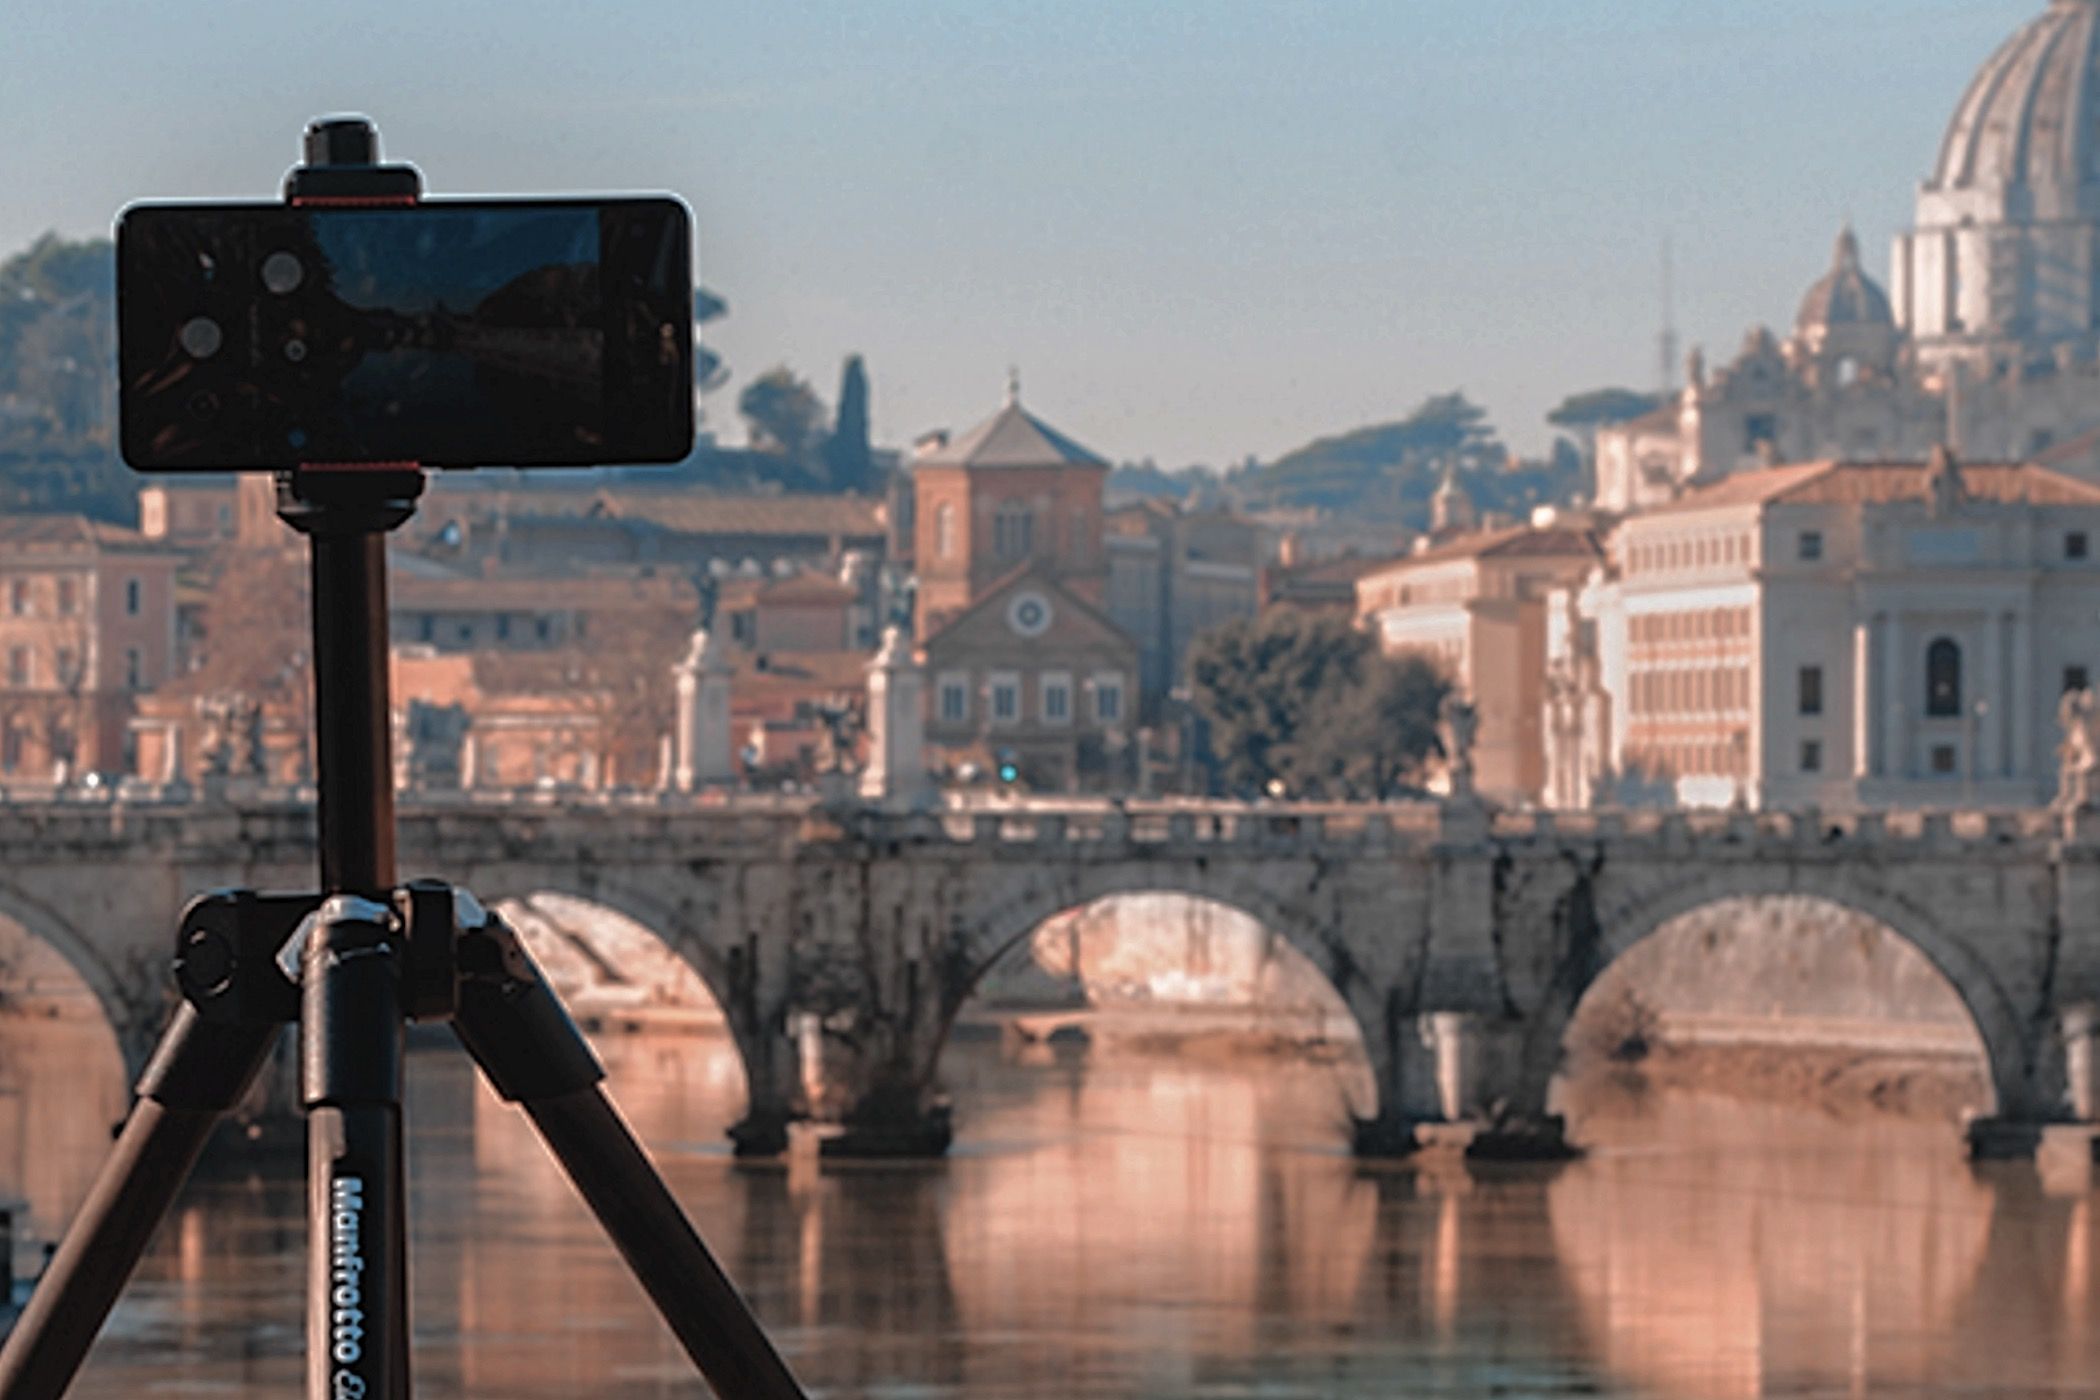
Holding your phone while shooting a video can cause shaky footage, which can ruin even the most well-planned shots. To avoid this, invest in a stability tool like a tripod or gimbal. A tripod is perfect for stationary recording, such as interviews, YouTube videos, time-lapses, or similar content, as it provides the stability needed for smooth, professional-looking results.
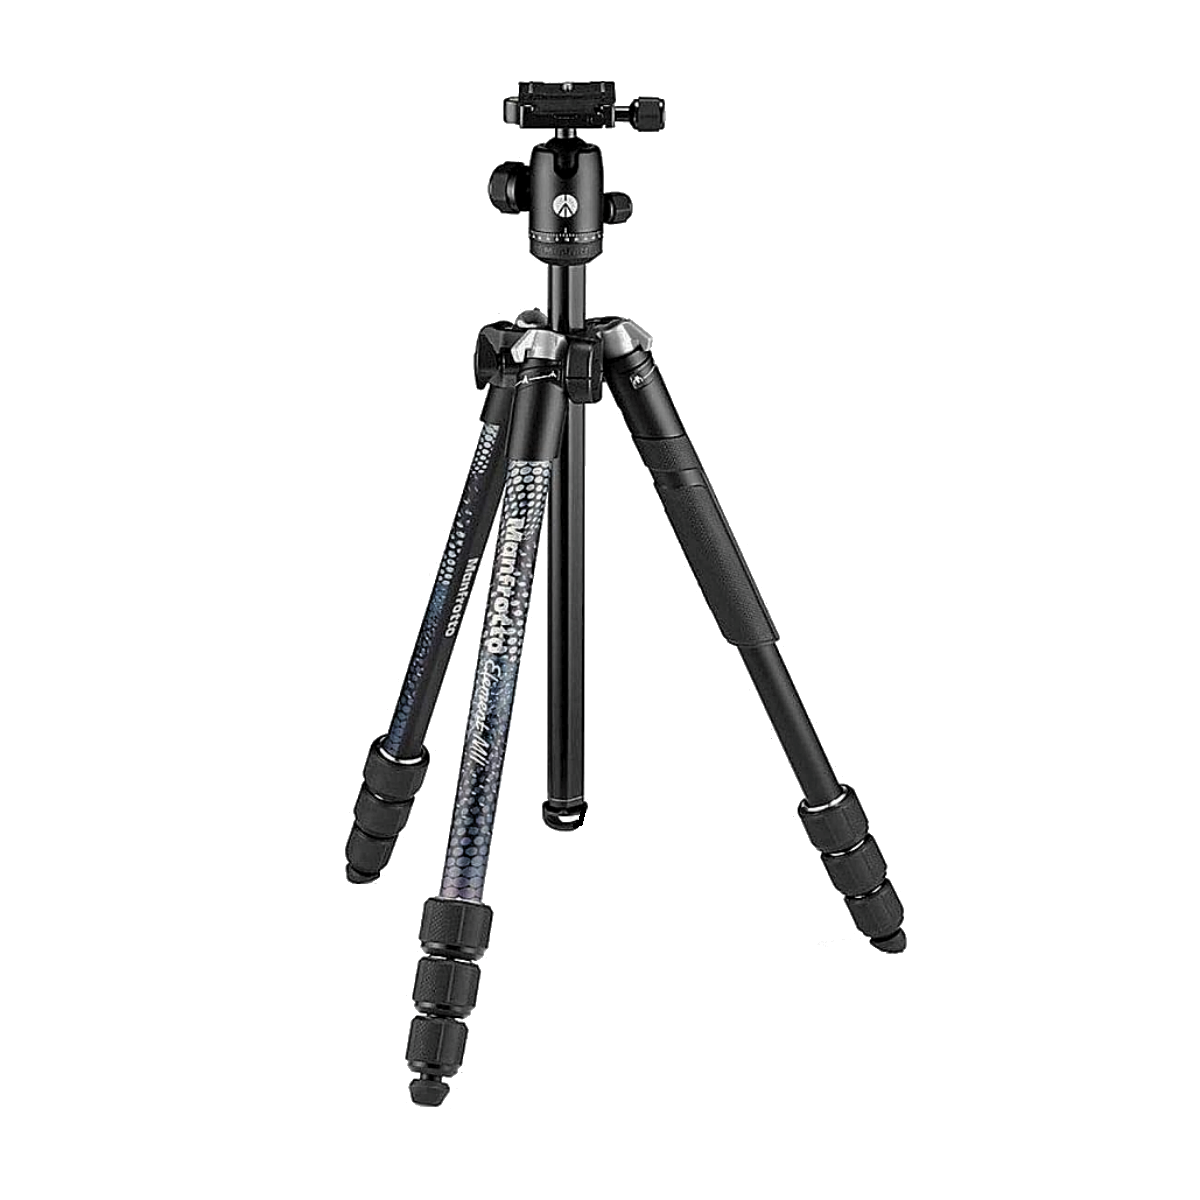
Manfrotto Element MII 4-Section Aluminum Tripod
$102 $160 Save $58
A gimbal is a better choice for dynamic or moving shots. A tripod provides stability for moving shots, but a gimbal is better at eliminating jitters from natural hand movements. You can use it for vlogging, travel videos, or action-packed scenes. Both accessories are lightweight, budget-friendly, and a must-have for creating polished videos using your smartphone.
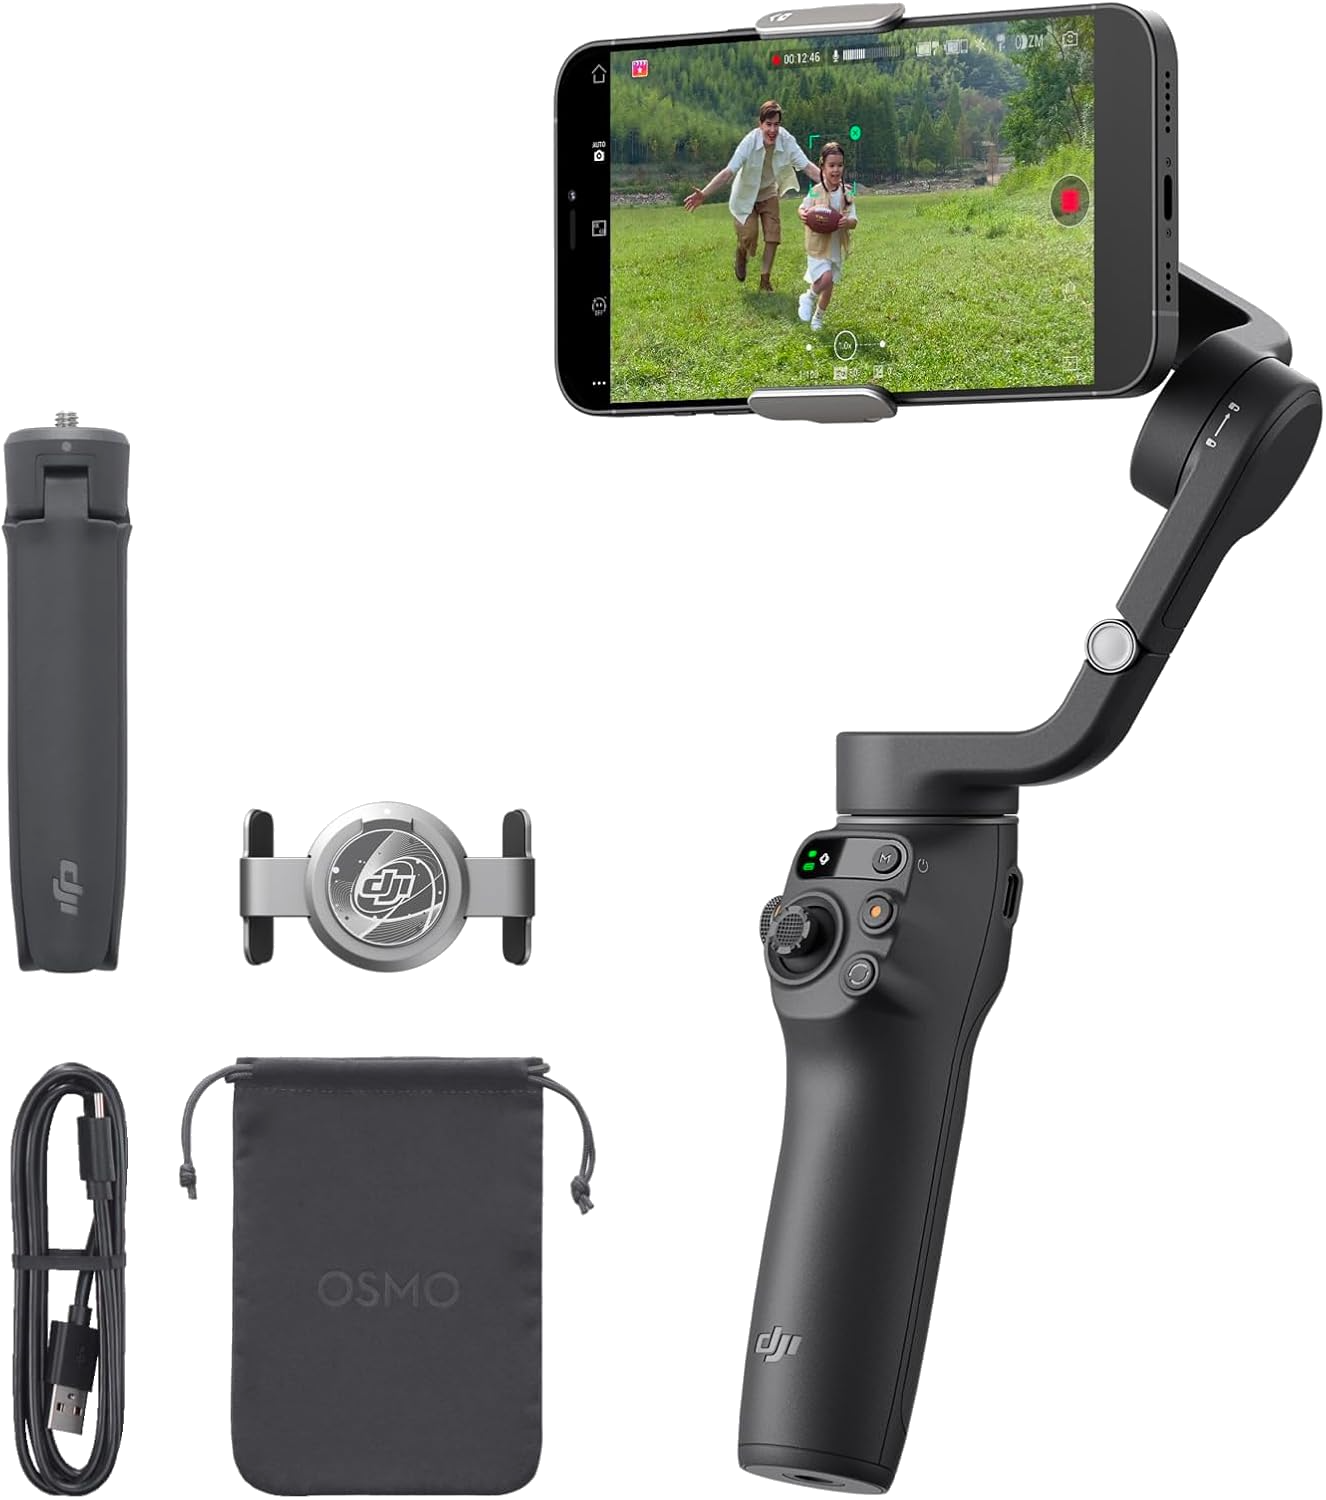
DJI Osmo Mobile 6
$132 $139 Save $7
If you have an iPhone, the DJI Osmo Mobile 6 will be a great gimbal choice. It’s also compatible with Samsung and Pixel devices.
3 Boost Sound Quality With an External Mic
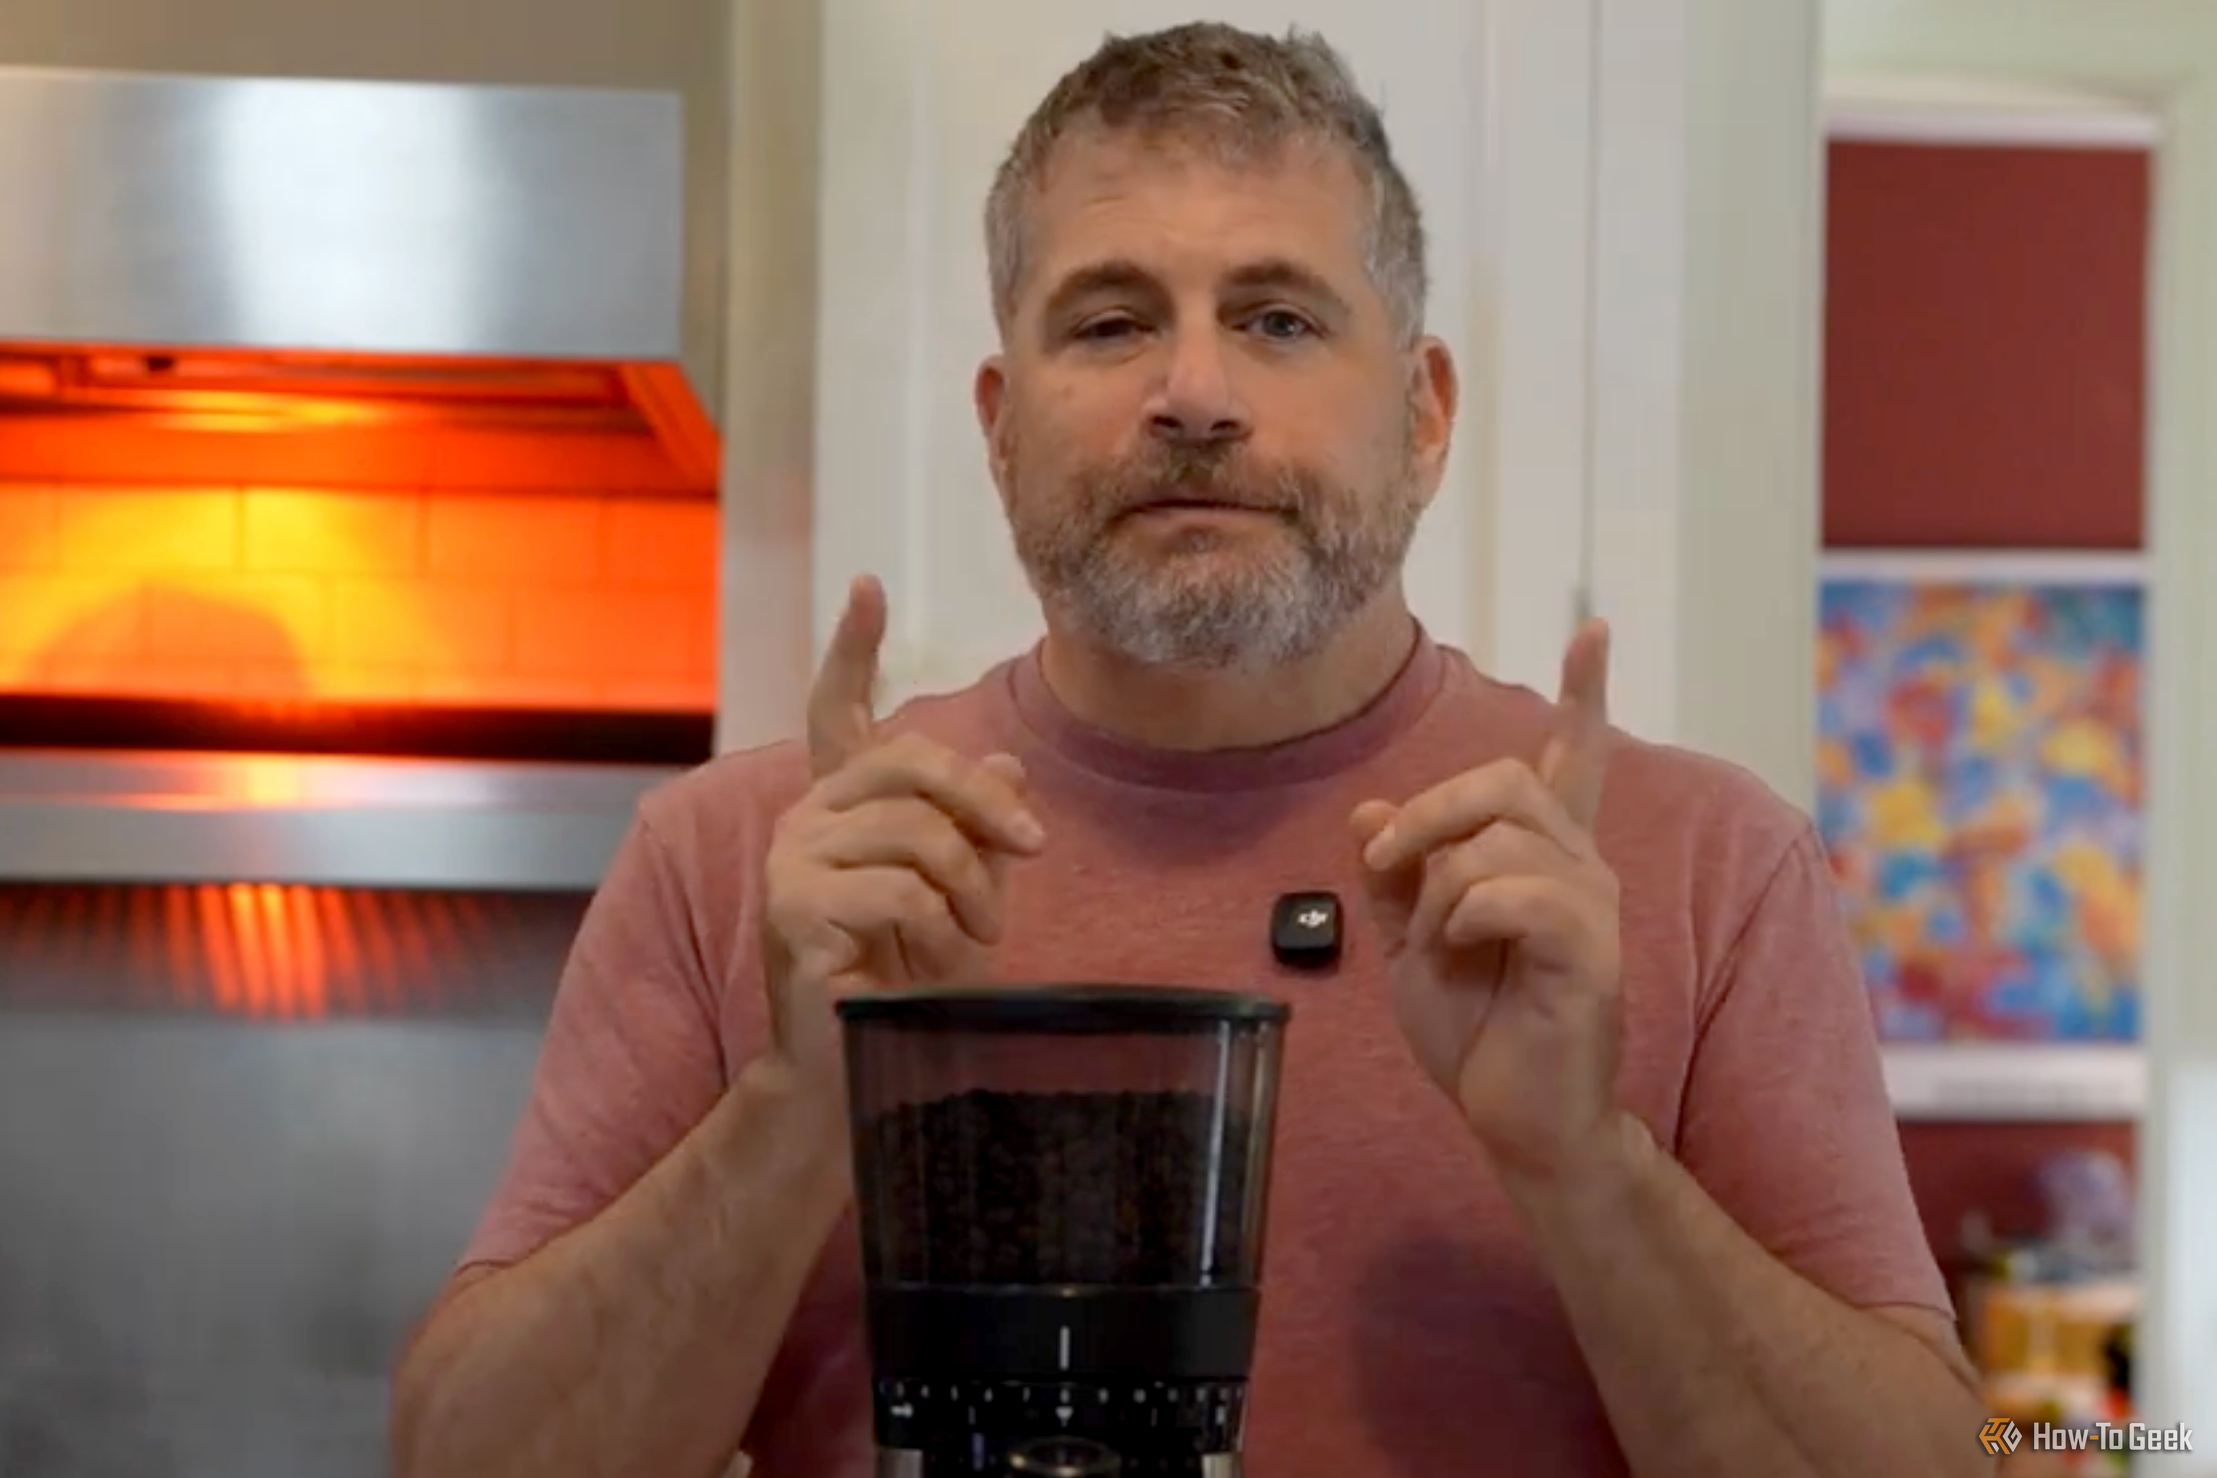
Clear audio makes your videos stand out, but your smartphone’s built-in microphone can’t deliver that. It picks up background noise or muffles voices, especially in noisy environments, which can ruin audio quality. An external microphone solves this problem. This small addition can make your sound clearer and more focused, improving your videos’ quality.
A clip-on (lavalier) microphone is ideal for interviews or talking-head videos, while a directional mic is perfect for outdoor recordings. Many of these mics are plug-and-play, making them easy to connect to your phone. If purchasing a mic isn’t an option, you can use a third-party recording app with features like noise suppression to improve audio quality.
Alternatively, you can record audio separately using your smartphone and sync it with your video during editing.
4 Pick the Right Lens: Front or Back Camera
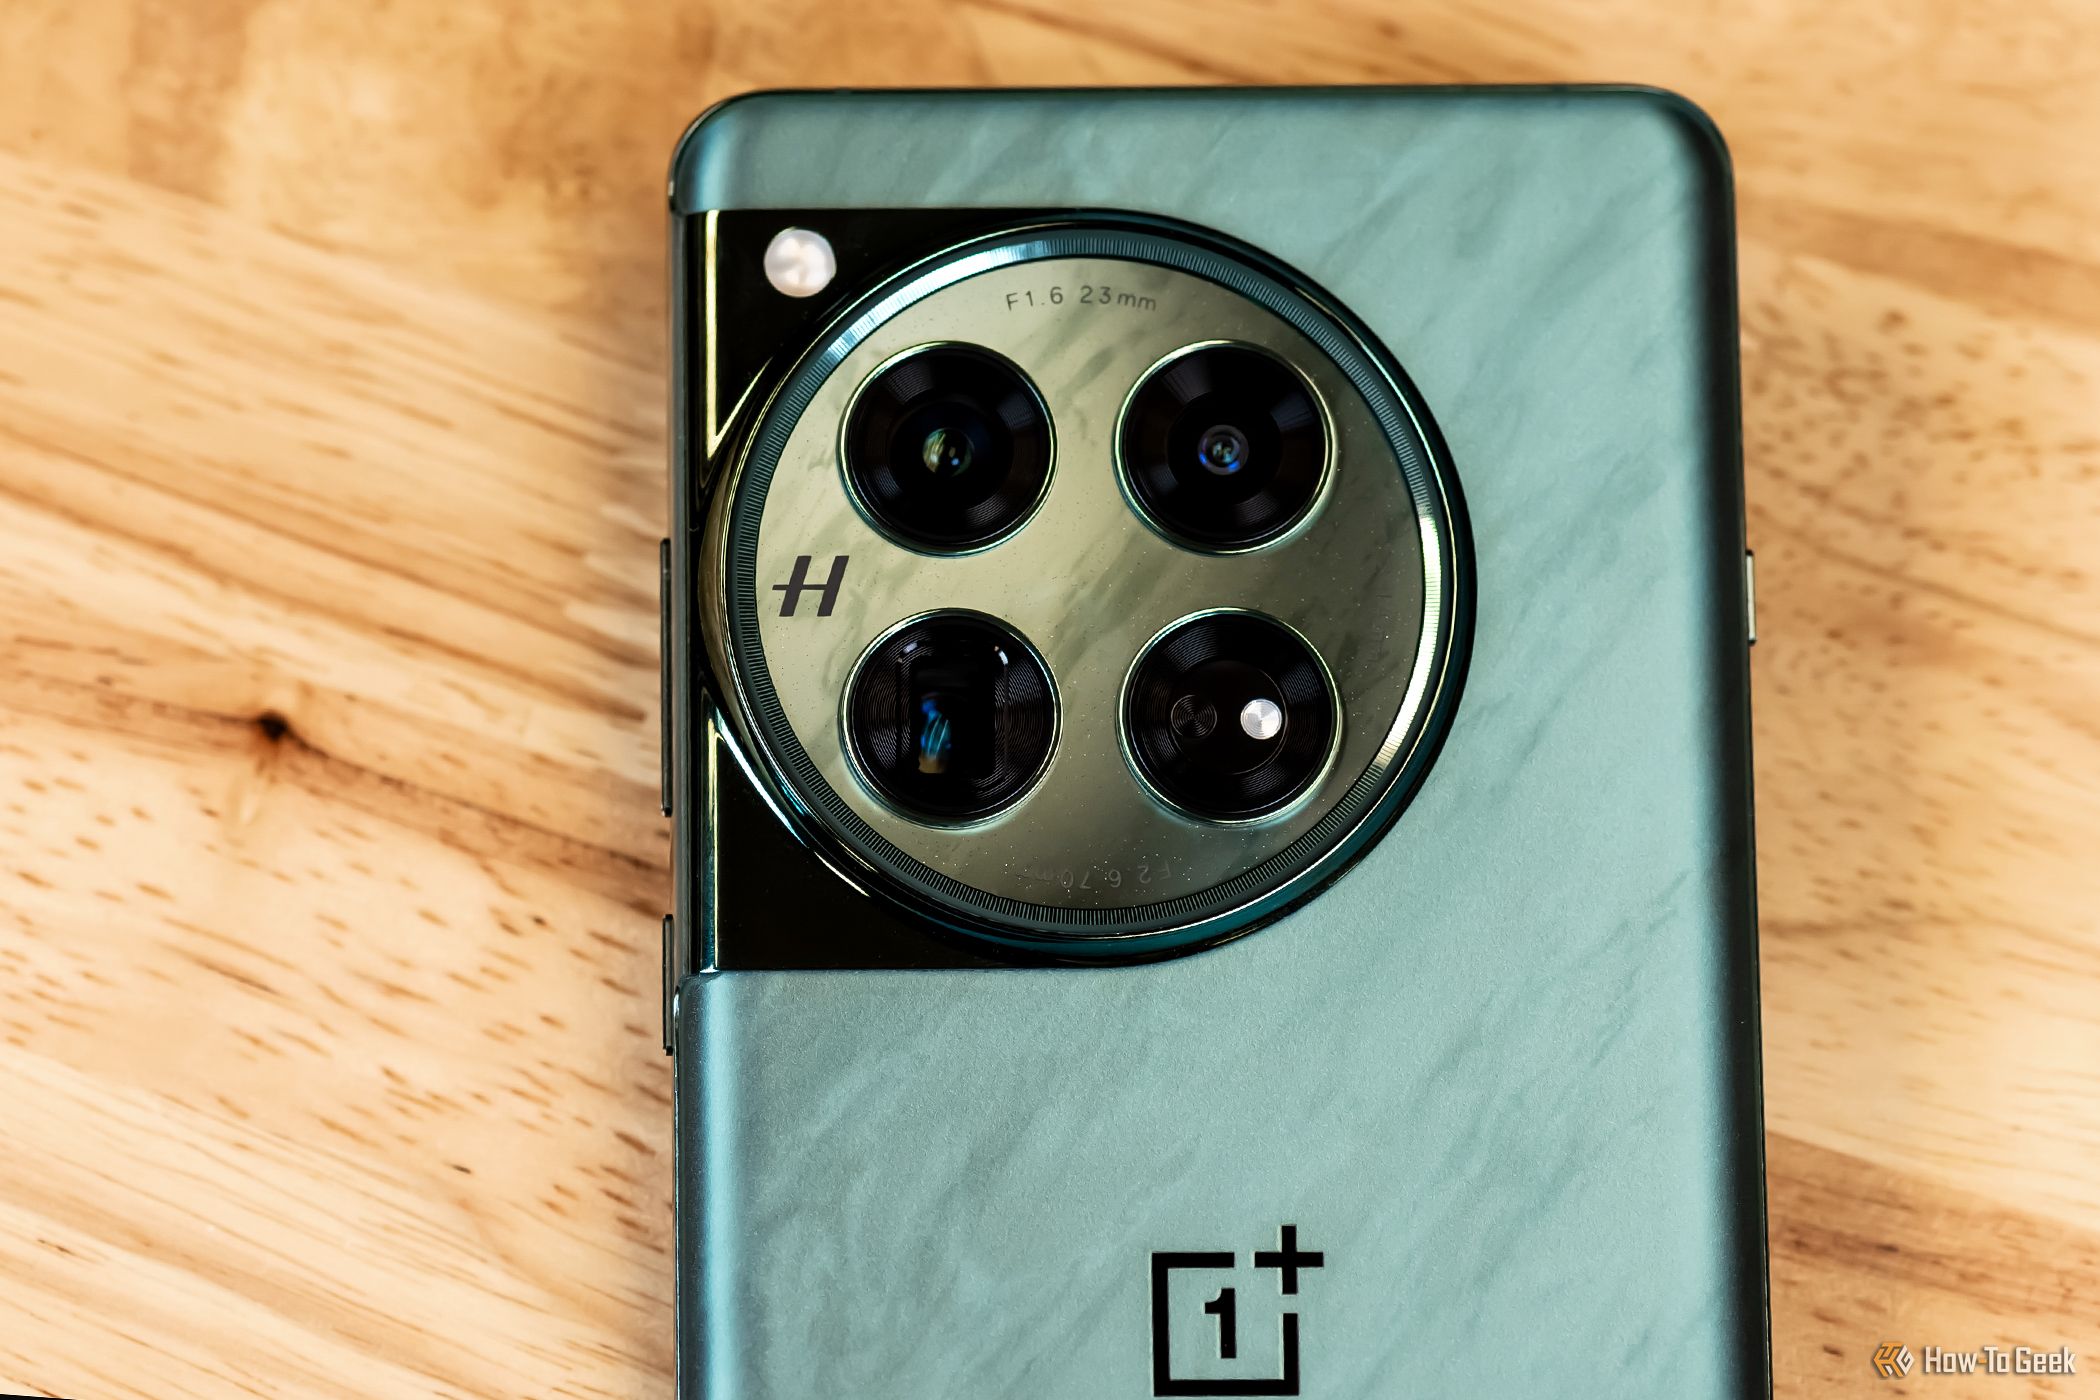
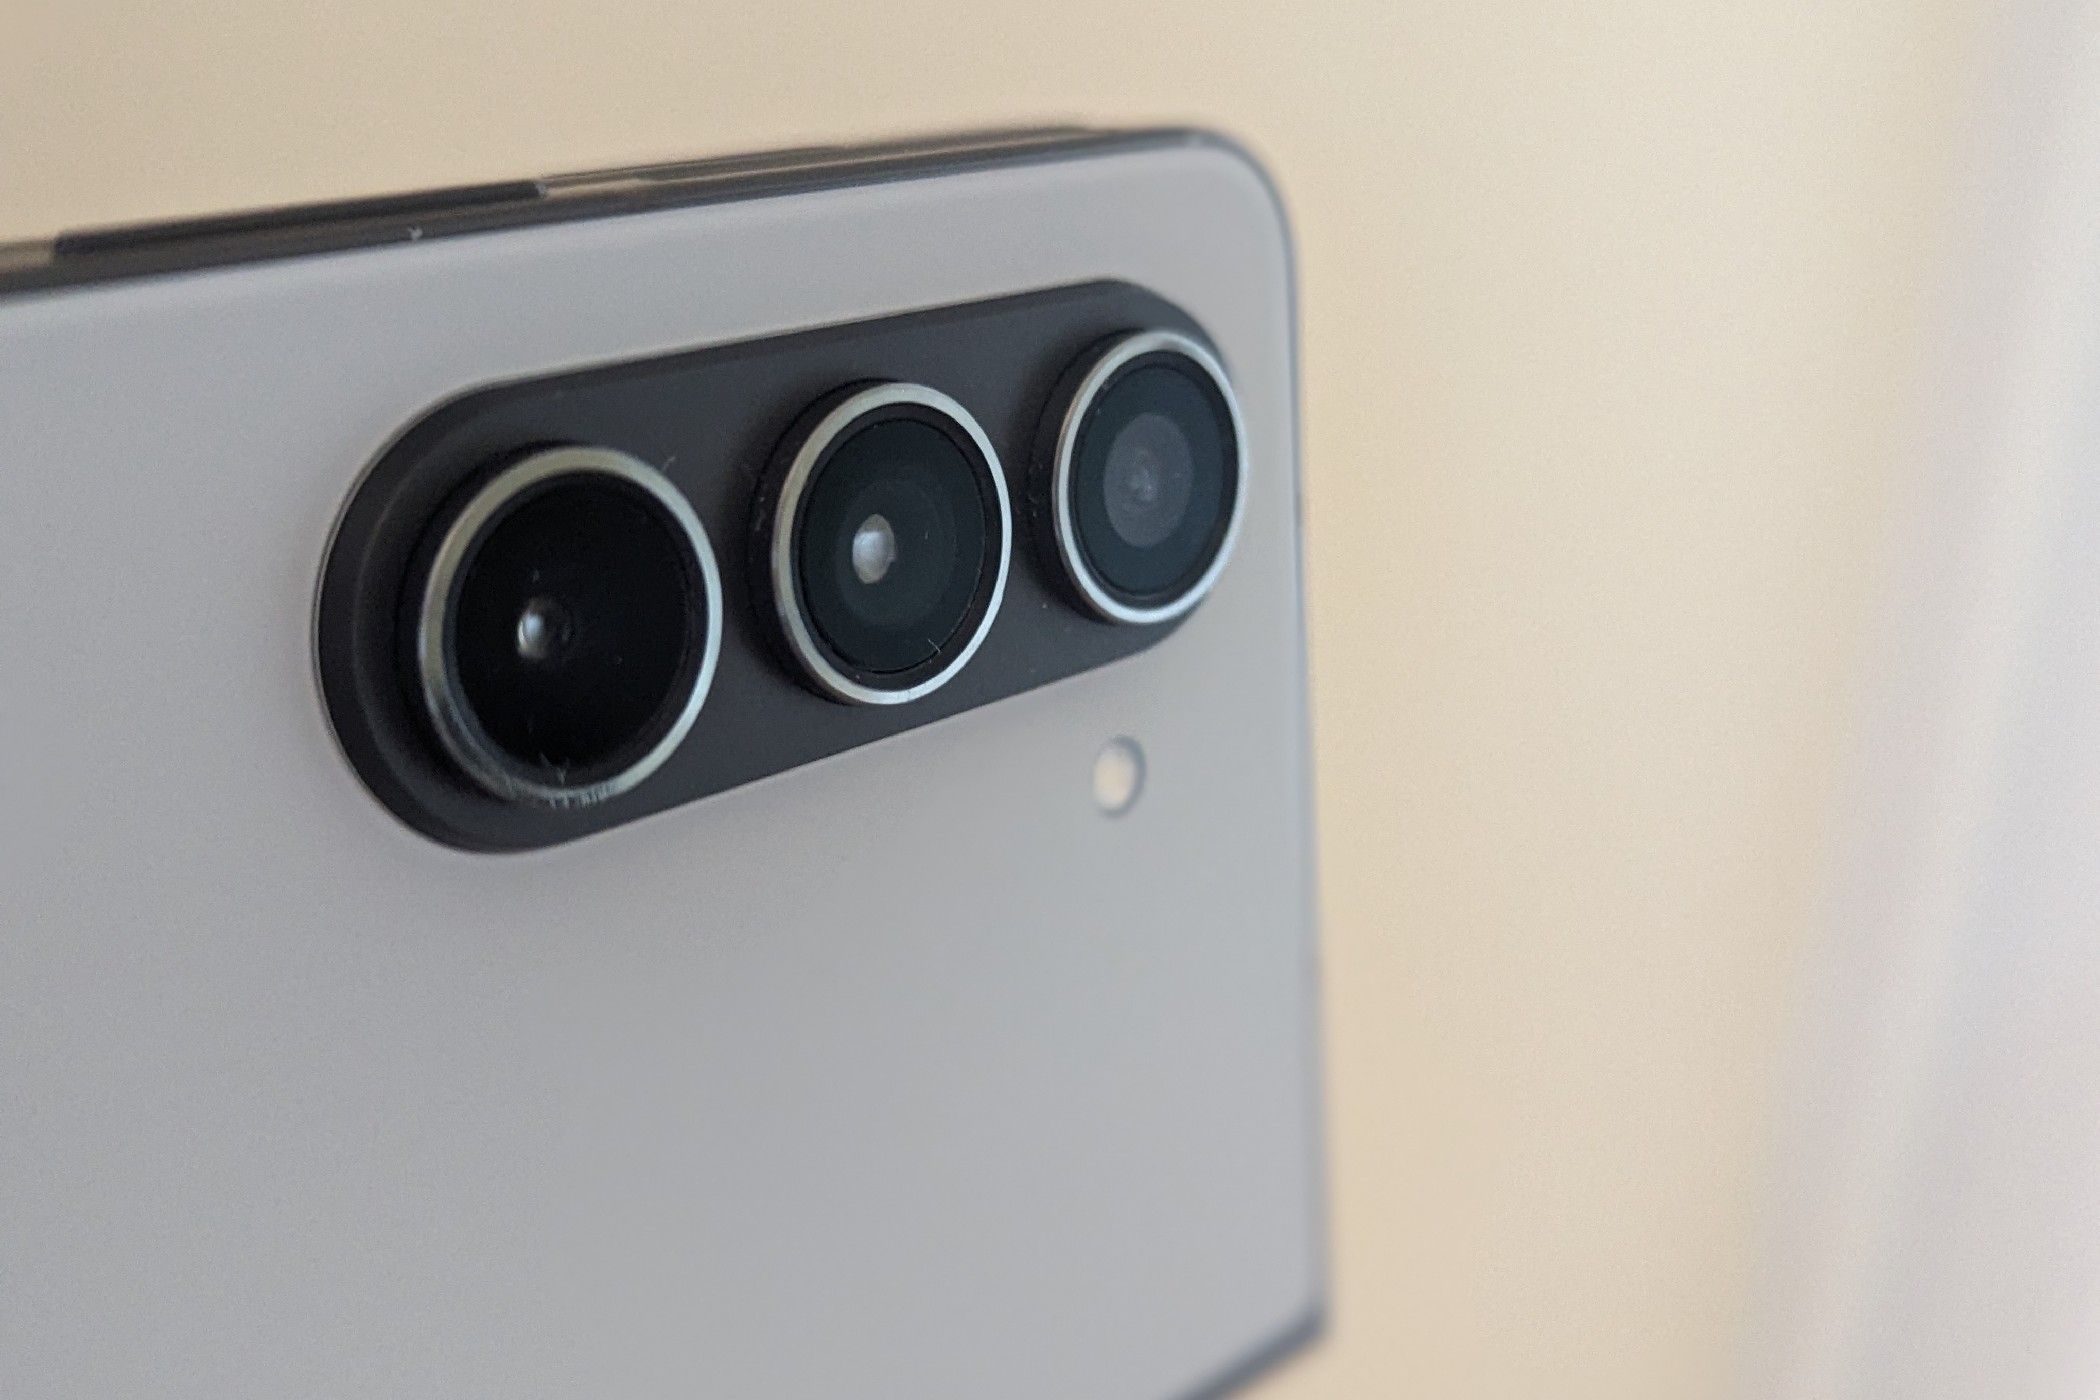
The front camera is perfect for recording yourself, especially for vlogs or talking head videos. It lets you easily monitor your shots while recording, making it especially convenient for solo filming. However, the quality is typically lower because front cameras are less powerful than back cameras.
On the other hand, the back camera provides superior video quality, making it a great choice for capturing detailed, professional-looking footage. The downside is that you won’t be able to see yourself while filming, so you’ll either need help from someone else or stream the video to a separate device to monitor its progress.
5 Compose Shots With the Rule of Thirds
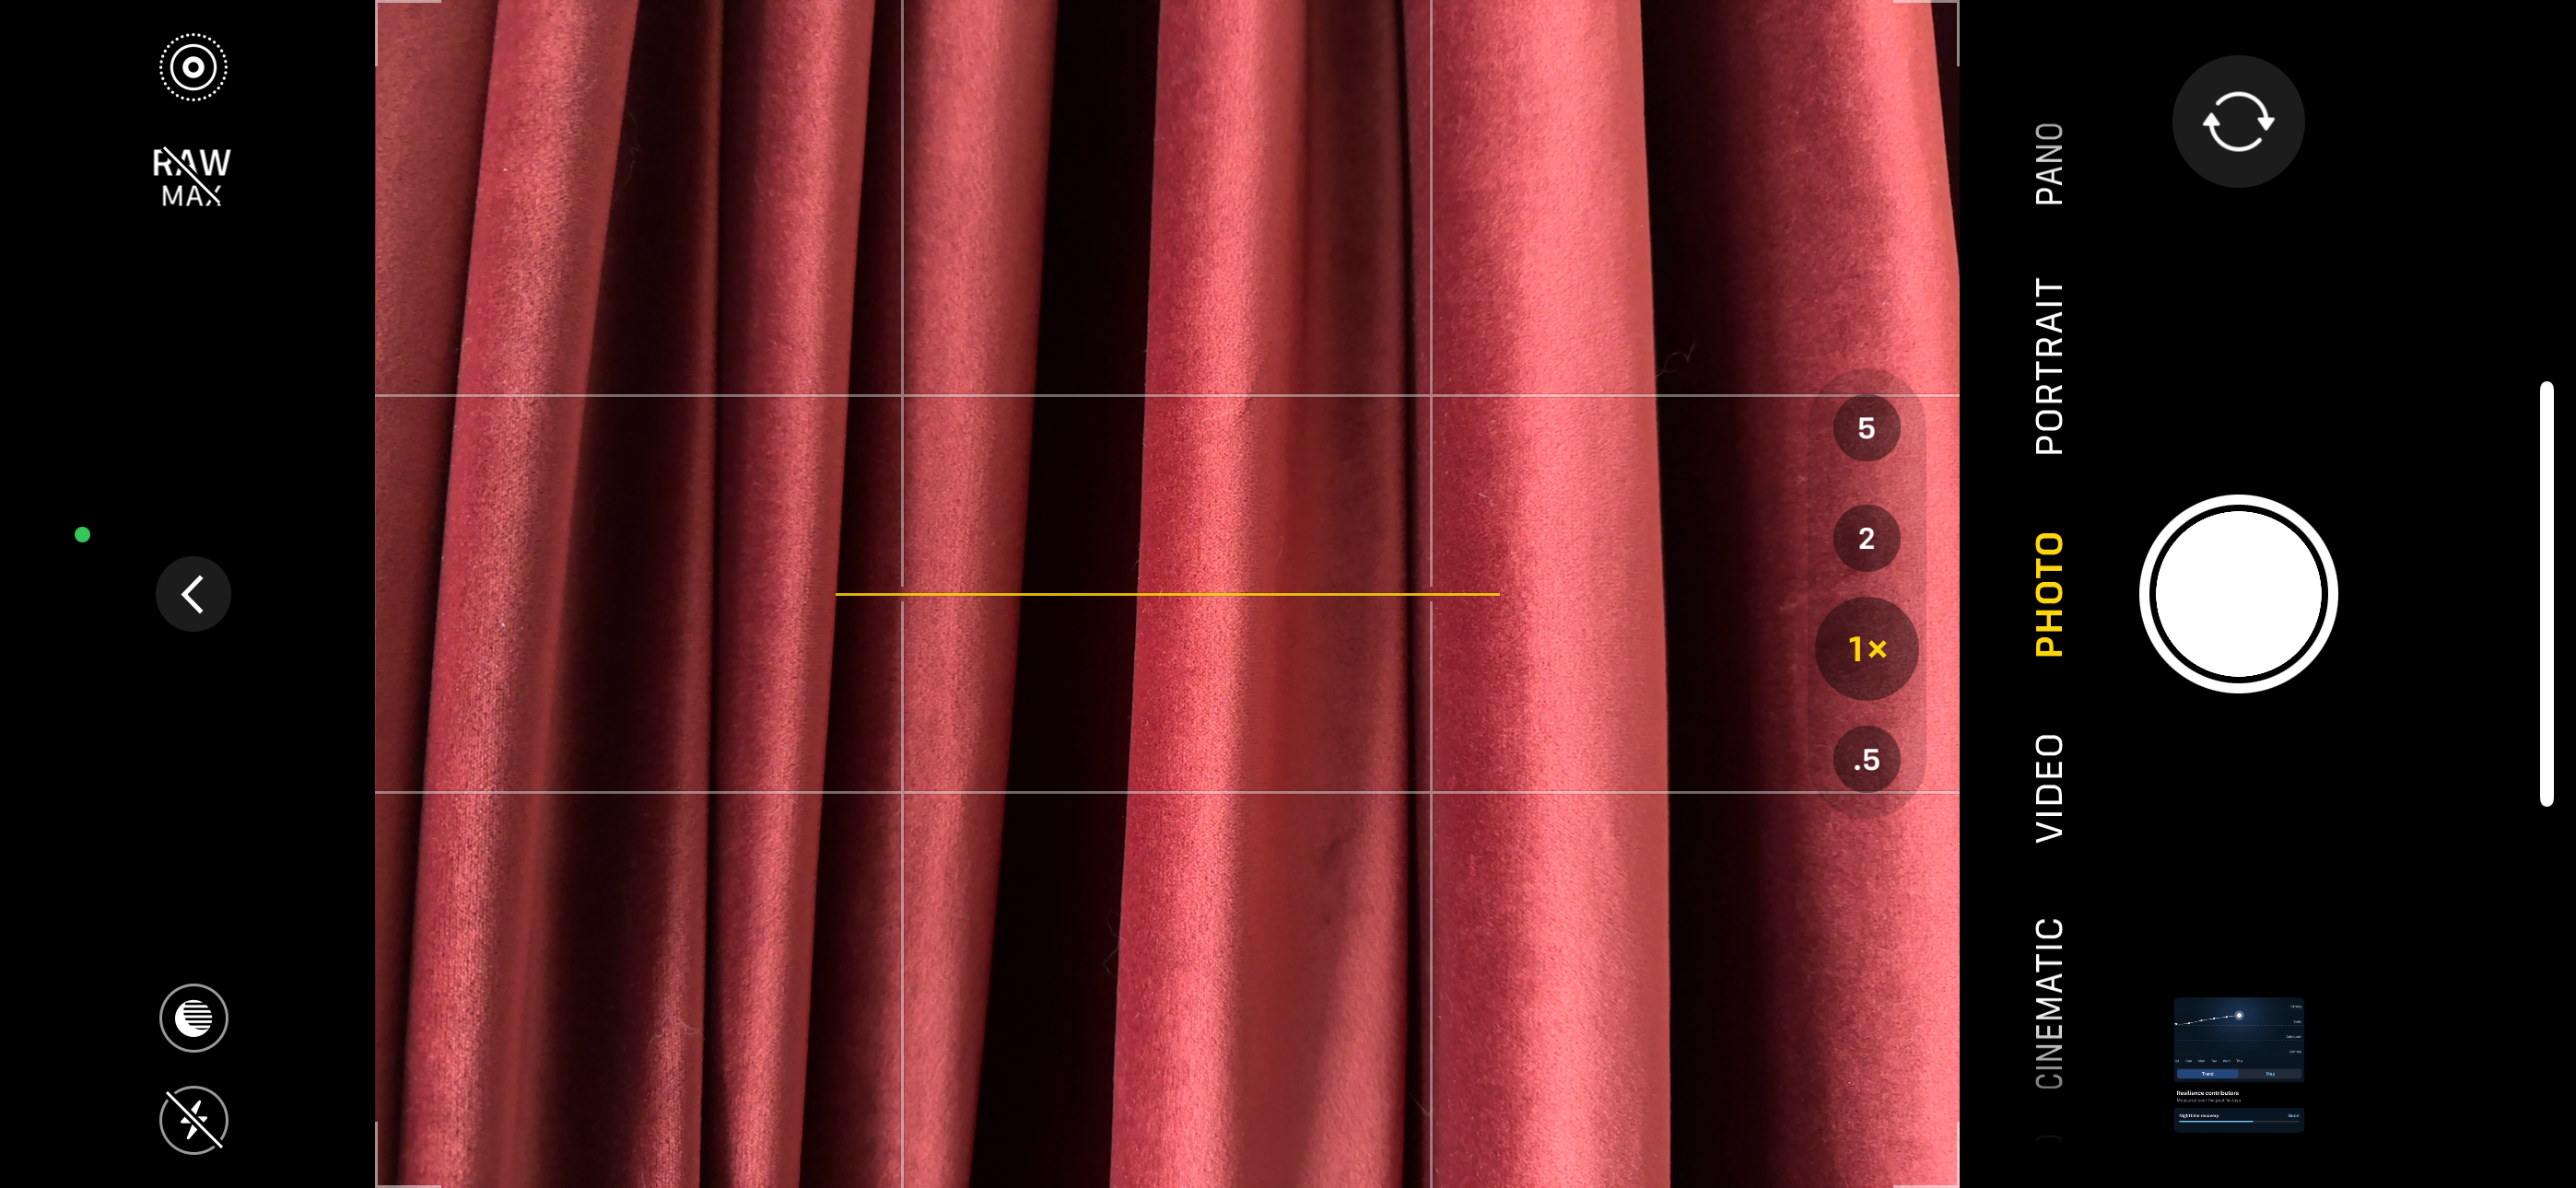
The rule of thirds divides your screen into nine equal sections, with two horizontal and two vertical lines. Positioning your subject along these lines or at their intersections creates a more balanced shot that naturally draws the viewer’s eye. This leaves more space to capture the surroundings, adding depth to your content.
For example, in a front-facing video, you can align your eyes with the top grid line to slightly offset the shot. When filming an object against a background, position the object at the left intersection of the grid and leave the rest of the frame for the surrounding scenery. This helps prevent overcrowding and ensures your subjects are placed where they have the most impact.
6 Optimize Your Camera Settings
You must lock the focus and brightness to prevent the camera from automatically adjusting these settings during your recording, set the resolution to 1080p or 4K for sharper, more detailed video, and choose 24fps for that cinematic feel. Also, set your shutter speed to double your frame rate (e.g., 1/50 for 24fps) to create smooth motion in the footage.
Adjust the white balance based on your lighting (daylight, tungsten) to avoid color issues. Keep your ISO low (100-400) to reduce grainy or noisy footage, especially in low-light conditions. Don’t forget to use the available video filters. Every camera setting influences the quality of your videos, so adjust them thoughtfully to ensure your recordings turn out well.
7 Learn Your Camera Features Inside Out
You must be familiar with advanced features and the modes your smartphone camera offers so you can use them effectively in your recordings. For example, you can use the wide-angle lens to capture a wider view, slow-motion mode for dramatic playback, time-lapse mode to condense long events, and cinematic mode to keep your subject in sharp focus.
You can leverage burst video capture mode to capture multiple stills or short clips, apply built-in filters to adjust colors and styles, and use zoom levels for better shots. You can also use dual-view mode to record from both the front and rear cameras simultaneously, macro mode for close-up shots, and low-light enhancements to improve recordings in dim settings.
You must know when to use each of these modes and features to capture better videos and achieve professional results.
8 Refine Your Footage and Audio With Post-Editing
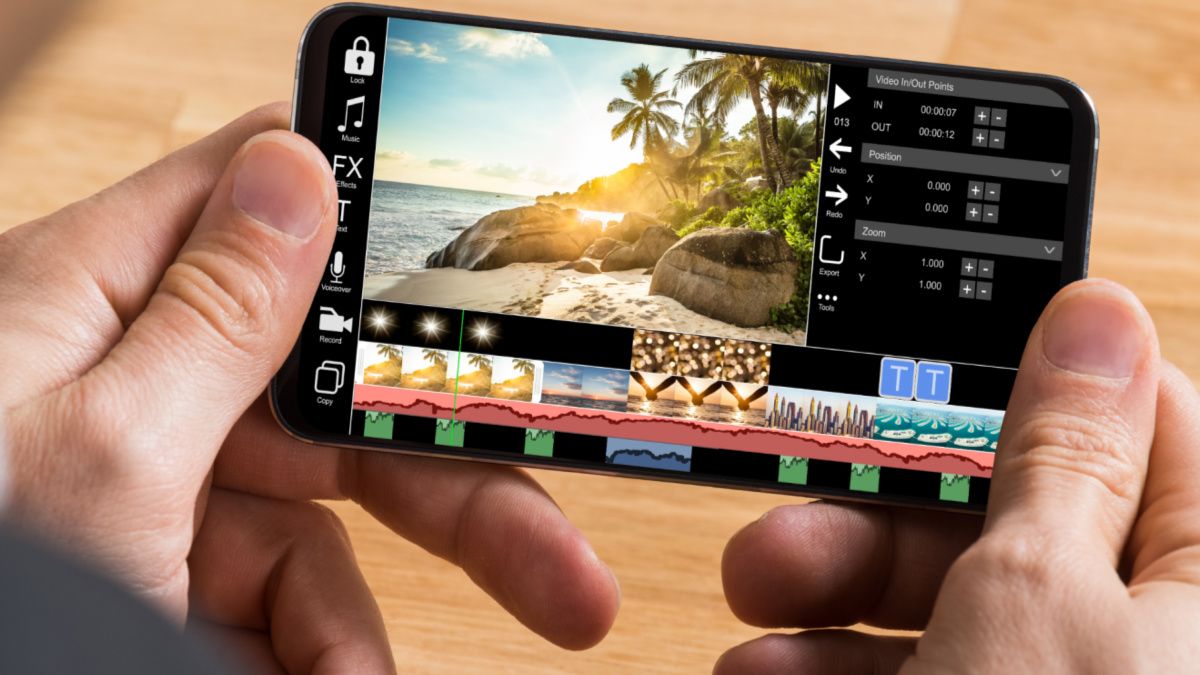
No video is ever perfect right out of the camera—it usually needs some post-recording editing to make it smooth. To make the video more engaging, you may need to trim unnecessary parts, adjust brightness and contrast, or add tweaks like transitions, text, or music. Third-party apps like CapCut make it easy to refine your recordings.
Don’t overlook improving audio clarity when editing your videos, especially if you record it with your smartphone’s mic. Use noise reduction to eliminate background sounds, apply equalization (EQ) to improve speech clarity, and use compression to smooth out volume spikes. Apps like WavePad Audio Editor let you add additional effects to fine-tune your audio.
Using the accessories listed above and following the tips, you can record professional-looking videos with your smartphone. If you have spare cash, consider investing in clip-on lenses to expand your video-shooting options. Remember that getting used to recording with your smartphone might take some time.
Source link


