I spent a week with dual Apple Studio Displays and realized I’ve been lying to myself about glossy screens for years
I’ve tried out a lot of different multi-monitor configurations over the years, from standard dual-monitor setups to stacked displays and even a triple monitor setup that completely wrapped around my desk. However, I never thought I’d see the day that I’d have not one, but two of Apple’s Studio Displays side by side.
At $1,599 for the standard Studio Display and $3,299 for the new Studio Display XDR, Apple’s monitors are certainly an investment and are geared more towards professionals than the average person. In fact, they’re one of the most expensive options you can get, even among the best monitors.
Article continues below
Featuring a faster 120Hz refresh rate and Apple’s first-ever Mini-LED panel in a standalone display, the XDR is a sight to behold. Once that review was finished, I realized I had both monitors in my office at the same time. Naturally, I decided to put them side by side to compare them — and I simply couldn’t bring myself to break down the highest resolution (and most expensive) dual-monitor setup I’ve ever assembled.
Here’s what it’s been like using dual Studio Displays for a week, and how the stark differences between the two led to a realization that has me completely rethinking what I look for in a monitor.
Not quite a fair comparison
Although they might look identical at first glance, there are some major differences between the original Studio Display and Apple’s new Studio Display XDR. Released back in 2022, the first-generation Studio Display features a 60Hz LED panel with 600 nits of brightness. Under the hood, it’s rocking an A13 Bionic chip — the same one found in the iPhone 11 series and the iPhone SE (2nd gen) — paired with 64GB of onboard storage.
While somewhat dated now, these specs remain impressive as standard monitors aren’t powered by mobile chips, nor do they come equipped with their own internal storage. Most built-in monitor speakers are basic 5W units, but here you get a six-speaker array. While Apple keeps the exact wattage close to its chest, the total output is estimated to be in the 40W to 60W range.
Apple has given the Studio Display XDR a host of upgrades beyond its new Mini-LED panel. For starters, it’s now powered by an A19 Pro chip (the one from the iPhone 17 Pro series), and the internal storage has been doubled to 128GB. Another big change I’m particularly fond of is that the tilt- and height-adjustable stand is now the default, rather than an expensive optional add-on.

Around back is where things really get interesting. Instead of a trio of standard USB-C ports, the Studio Display XDR features a downstream Thunderbolt 5 port in addition to its upstream one. The upstream port lets you easily connect and charge one of the best MacBooks with a single cable, while the downstream port makes using multiple displays even easier.
You see, you can daisy-chain them by plugging a second monitor into that downstream Thunderbolt 5 port instead of running another cable back to your Mac. This makes getting a Studio Display-powered dual-monitor setup up and running much simpler. Much to my surprise, I was able to pull this off with the Studio Display XDR on the right and the original Studio Display on the left.
With the technical testing out of the way, curiosity got the better of me. It was time to see what running dual Studio Displays would feel like, and how working on what is effectively a 10K horizontal workspace would affect my workflow.
Living side by side

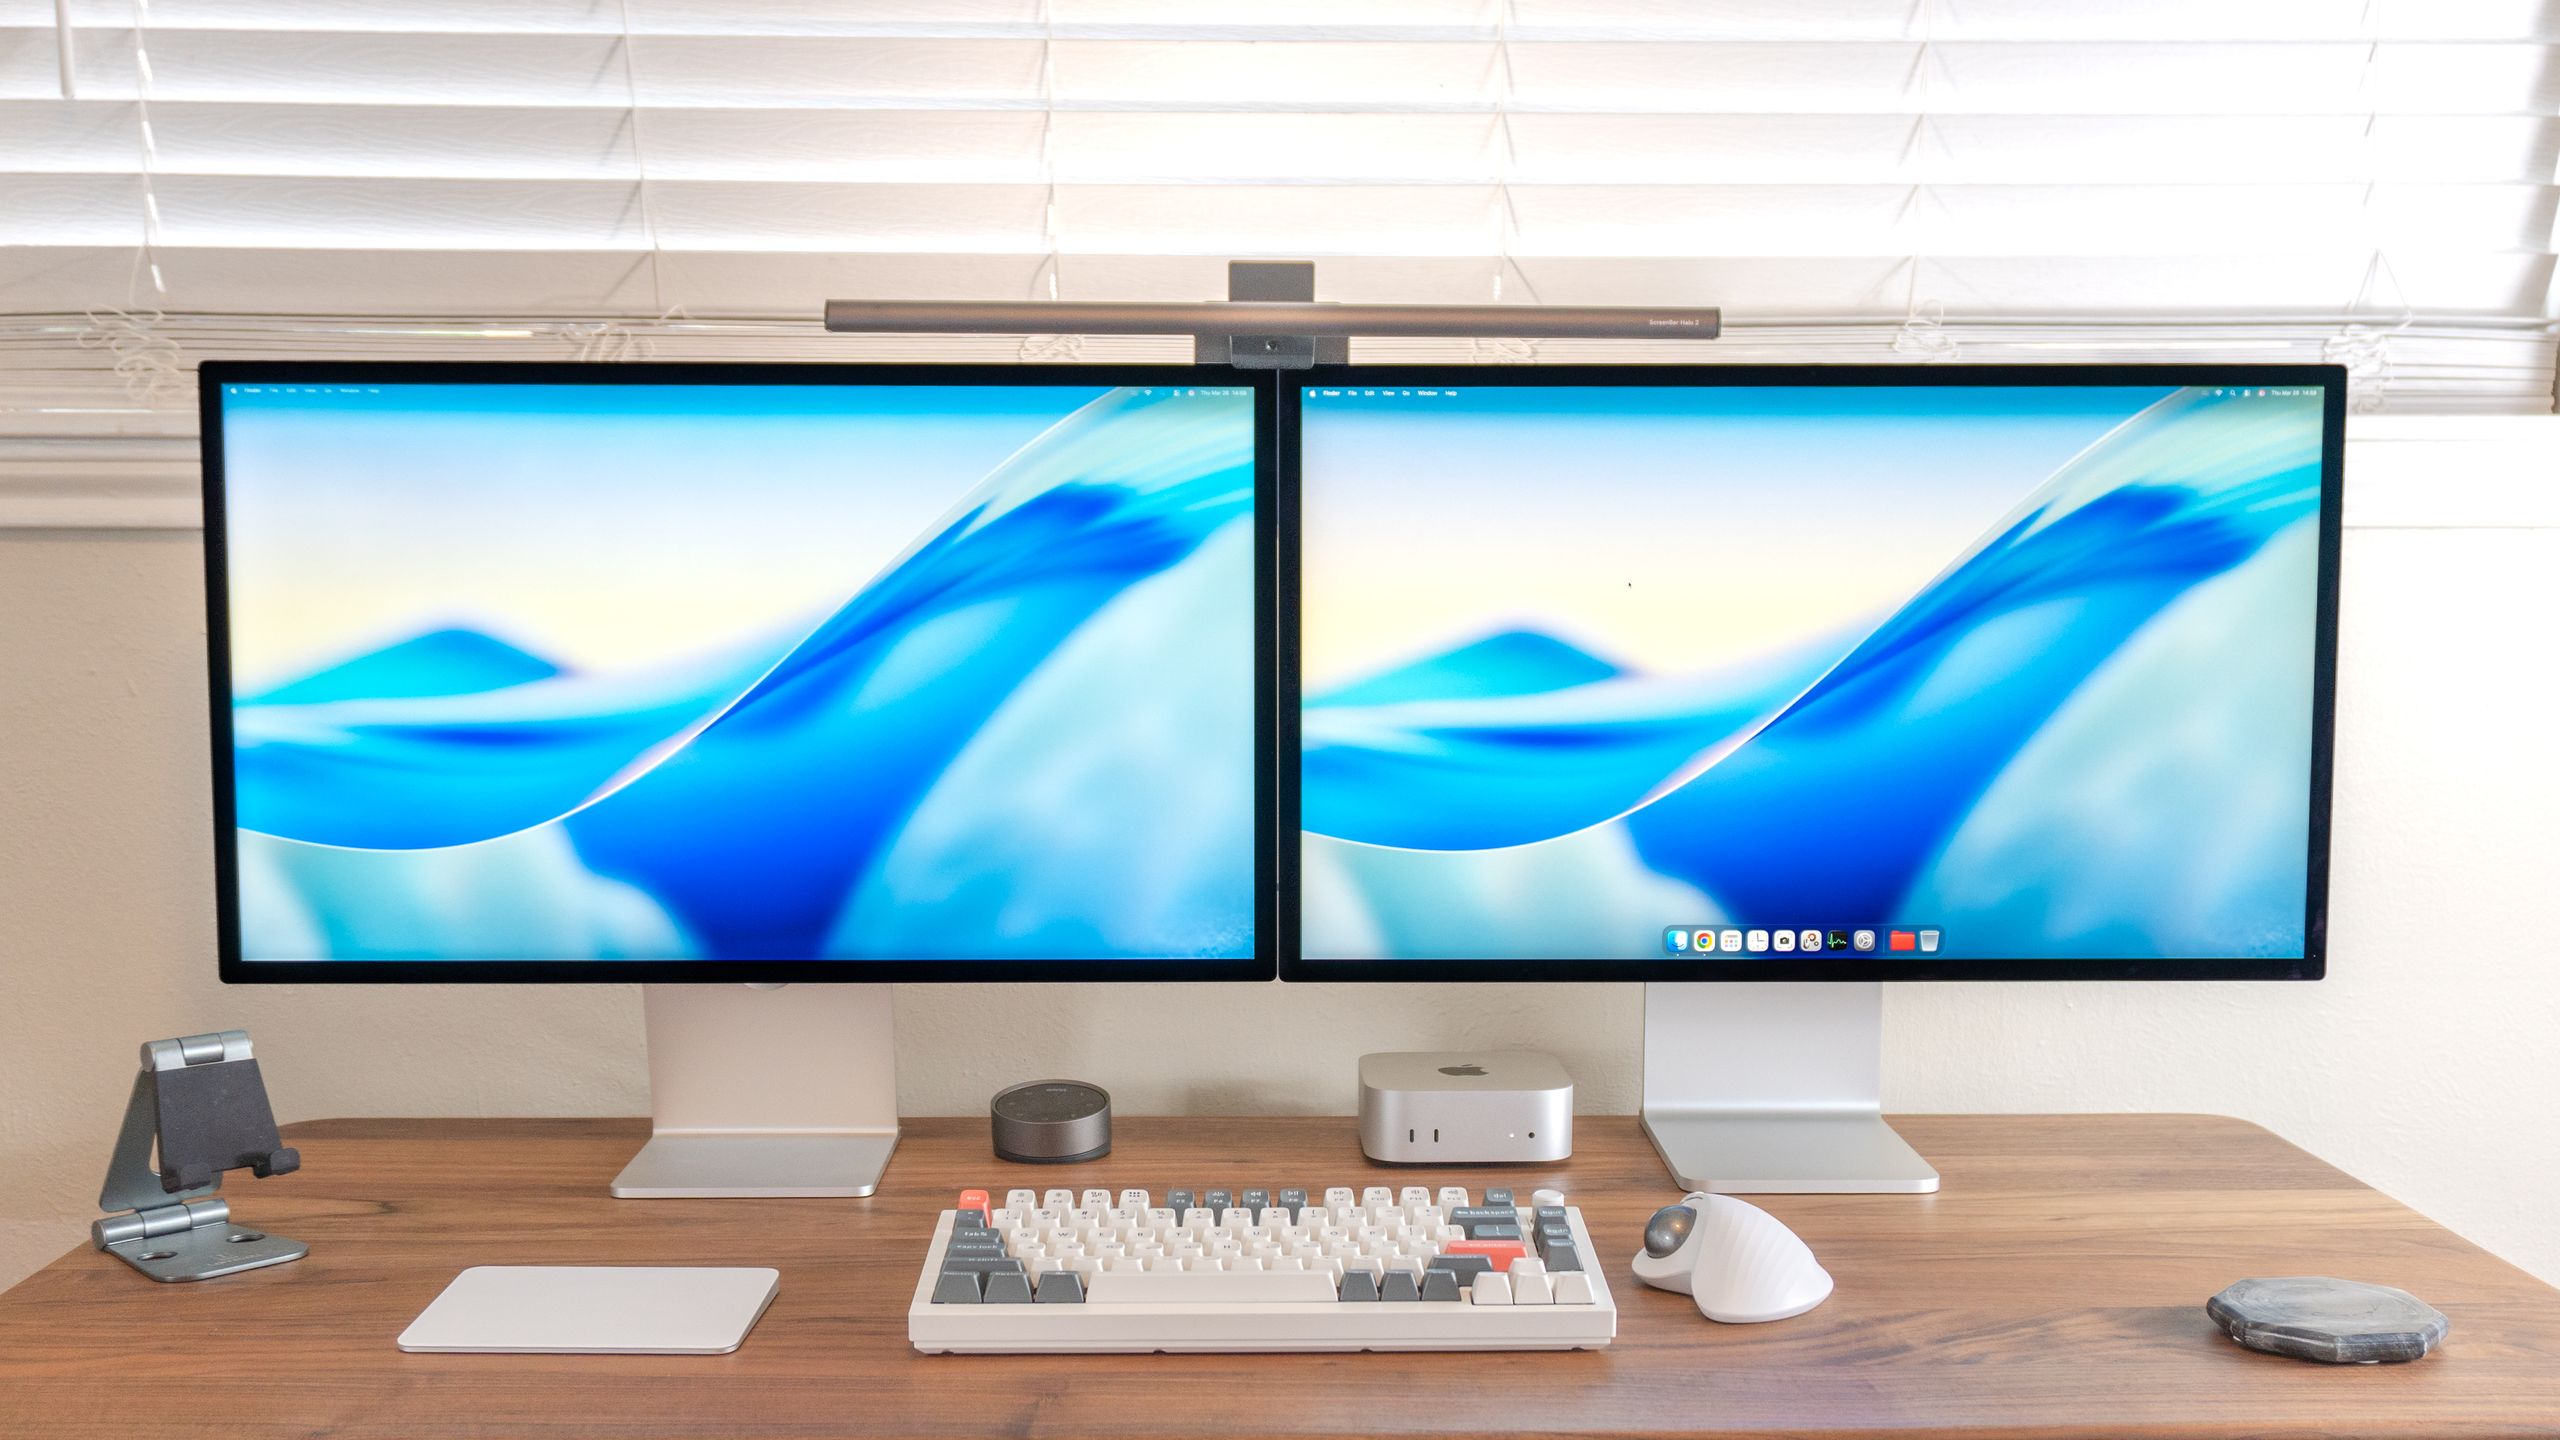
Since the original Studio Display that Apple sent over only has a tilt adjustable stand, I had to lower the height of the Studio Display XDR to match it. Then, to tie the two together and to illuminate my workspace, I put the BenQ Screenbar Halo 2 between them. It’s a fantastic monitor light bar in its own right. However, while BenQ did add a cutout at its base so you can use it with the Studio Display without blocking the monitor’s built-in webcam, I really like how I used it to close the miniscule gap between the two displays for good.
Naturally, I’m using a trackball mouse for this desk setup alongside one of the best mechanical keyboards. The premium build of the Keychron Q1 Ultra 8K felt like a natural fit — especially with a Magic Trackpad sitting next to it — to round things out. To say I was impressed with how everything turned out is an understatement; I felt a similar magic sitting at my desk as I did back when Steve Jobs pulled the first MacBook Air out of a manila envelope.

Now that I had the original Studio Display and the new Studio Display XDR next to each other without so much as a slight gap between them, it was time to put this new desk setup to the test. I’m a big multitasker as is and prefer an ultrawide monitor for maximum screen real estate but this immediately felt like overkill.
One thing I love about the Studio Display’s 5K resolution is that it provides enough room for two full-sized apps — or in my case, Chrome windows — side by side. With a Studio Display on each side, I bumped that up from two to four. To be honest, it almost felt like using Chrome’s new Split Tabs feature, albeit without any extra right-clicking.
Now if both of these Studio Displays had VESA mounting brackets around back (a paid add-on with the original but standard with the XDR), I would have used one of the best monitor arms instead. Since they didn’t, I kept the two monitors side by side and this worked out as I didn’t have to pick up another monitor light bar or choose between placing it on top of either display.
As I went about my workday responding to messages on Slack, jumping on video calls and writing stories, it wasn’t the Studio Display XDR’s Mini-LED panel that stood out to me the most. Instead, it was another optional upgrade or the lack thereof on my original Studio Display that made a massive difference.
Stuck between glare and glow

When I first had the chance to try out a Studio Display, I was so excited that Apple was sending over a Mac mini M4 that I didn’t even think to ask about the monitor’s specifics. As such, I ended up with a tilt-adjustable stand instead of a height-adjustable one. This was easily rectified with a desk shelf, though.
Over the course of using and photographing the original Studio Display for my Mac mini M4 review, one thing became abundantly clear: this monitor was glossy — almost too glossy.
Now don’t get me wrong, glossy displays certainly have their place. They’re better suited for dark rooms, like a living room where you’re not constantly dealing with ambient light. This makes blacks look deeper and inkier, but it also makes colors appear more saturated so that they pop off the screen. This is one of the main reasons the best TVs tend to feature glossy panels over matte ones.
I first used the original Studio Display in my living room where there’s a lot of natural light before bringing it into my office. Now, I do sit facing the window, but since I have another desk setup on the other side of the room, the glow from that computer can often be seen on the Studio Display’s panel. I notice this most when trying to take pictures, as I consider glare on a screen a non-starter for a great photo. However, it does bother me during the workday, too.
With the Studio Display XDR, I didn’t have a say in the configuration as it arrived on my doorstep while I was technically off for the week. I have to give credit to my team on this one; they requested a review unit with Apple’s nano-texture glass as opposed to its standard — and very glossy — glass.
Now I tried out a QD-OLED display back when I reviewed the MSI MPG 321URXW but I have to admit, this was my first foray with a Mini-LED panel. Sure, it was a lot brighter and the contrast was much improved over that of a standard LED display. However, the biggest and most noticeable difference between these two monitors, at least for me, was their finish.

To give you an idea of the difference between Apple’s standard glass and its $300 extra nano-texture glass, I held up a portable LED video light and pointed it at the two displays. As you can see in the picture above, you can make out the individual LEDs on the original Studio Display on the left but you can’t see a trace of them on the Studio Display XDR on the right.
I know $300 is a lot when you’re already paying $1,599 or $3,299 for one of Apple’s monitors, but having seen both glass options side by side, I’d easily pay extra if I were buying one of my own. Yes, the glossy standard glass still looks great. However, unless you’re only working at night or have invested in some serious blackout curtains, the glare on this premium monitor is enough to take me out of my workflow.
Although I really enjoyed working at a desk with dual Studio Displays, this experiment taught me something about myself. Previously, I spent years thinking glossy was the be all and end all when it came to premium monitors. Just like having a higher resolution, it was the kind of feature I’d seek out before deciding on one monitor over another. Now though, after seeing a glossy and matte display side by side, I think I’d pick the latter every time.
A matte believer

Sometimes when it comes to picking one technology over another, things start small and then quickly escalate. That’s exactly what happened to me — first with a tablet and now with a monitor.
Last year in Taiwan, just as I was about to head home, the Tom’s Guide computing team took a trip to the biggest electronics market in Taipei. While there, I stumbled upon one of TCL’s tablets and had a chance to try out the company’s NXTPAPER tech for myself.

I pulled up the Tom’s Guide home page and, much to my surprise, when I went to take a photo of it, there wasn’t a hint of glare even though I was in a brightly lit mall with harsh overhead lighting.
Much like Apple’s nano-texture glass, the tablet had a matte display that left an impression on me instantly, and not because it had a massive 14-inch screen. Then at the end of last year, TCL sent that tablet along with its NXTPAPER 11 Plus for me to check out. As it turns out, it wasn’t a one-off. Instead, without really giving it a second thought, I had become a matte believer.
Now, after trying Apple’s Studio Display XDR with the nano-texture glass option, I’m ready to ditch all my glossy screens. Think of it like how once you get one of the best OLED TVs, that old IPS monitor has got to go. In fact, I found myself salivating over a TV with a matte display at Costco just last weekend.
The Studio Display XDR is a massive upgrade over the original thanks to its improved specs and, of course, its new Mini-LED panel. However, if you’re considering picking one up for yourself — or even a second-gen, standard Studio Display — you owe it to yourself to at least see one with nano-texture glass before deciding between the two. Who knows? You just might be as impressed with its matte display as I am.

Follow Digitpatrox on Google News and add us as a preferred source to get our up-to-date news, analysis, and reviews in your feeds.
More from Digitpatrox
Source link