Did you know you can contribute to many open-source projects without being an expert on GitHub, Git, or coding? Whether or not you’re an experienced programmer, you can learn how to use the most popular source code host in the world in just a few short steps.
What Is Git and What Is GitHub?
Git is the world’s leading version control system. It lets you keep a full history of any files you work with, enabling collaboration and protecting your valuable data. You can view files at any point in this history and use Git’s many features to manage your source code—or other types of text files.
GitHub is a web app that uses Git to host and manage over 420 million repositories (repos), which are typically open-source software projects. The site adds features on top of Git, including bug trackers, task management, and wikis. You don’t need GitHub to use Git, though, and there are many alternatives to GitHub out there including GitLab and Gitea. However, the first project you want to contribute to will most likely be on GitHub, and that’s why we’re demonstrating it here.
Commits and Pull Requests Explained
When you want to record your changes to a Git-controlled file, you make a “commit.” A commit can represent changes to one file or many, and those changes can be as big or small as you like. If you ever need to, you can restore a file to any previous commit, so think of commits as explicit save points for your project.
You can use Git for your own private work, but its real power comes with collaboration. If you work on a project with others, you can use Git to ensure your changes don’t clash with those of your colleagues.
When you’ve changed a project, you can submit your commit as a “pull request.” This lets the project maintainer(s) review your change and, if approved, include it in the official source. Much of this process happens automatically, so GitHub projects can run effectively, even with hundreds of contributors making regular changes.
How to Make and Submit an Edit
Git is an excellent tool and well worth learning about, but it has quite a steep learning curve. Fortunately, you can use GitHub to bypass this and start contributing to open-source software with minimal effort.
Do not make test commits or pull requests on projects unless they explicitly allow it. For this tutorial, you are welcome to edit the README.md file in
the sample repository
that we have created.
Register With GitHub
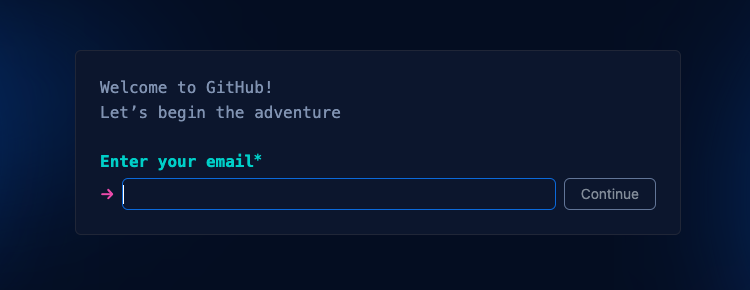
You cannot make anonymous edits on GitHub, but it’s easy to sign up and start using the site. You’ll need to provide an email address and verify your account:
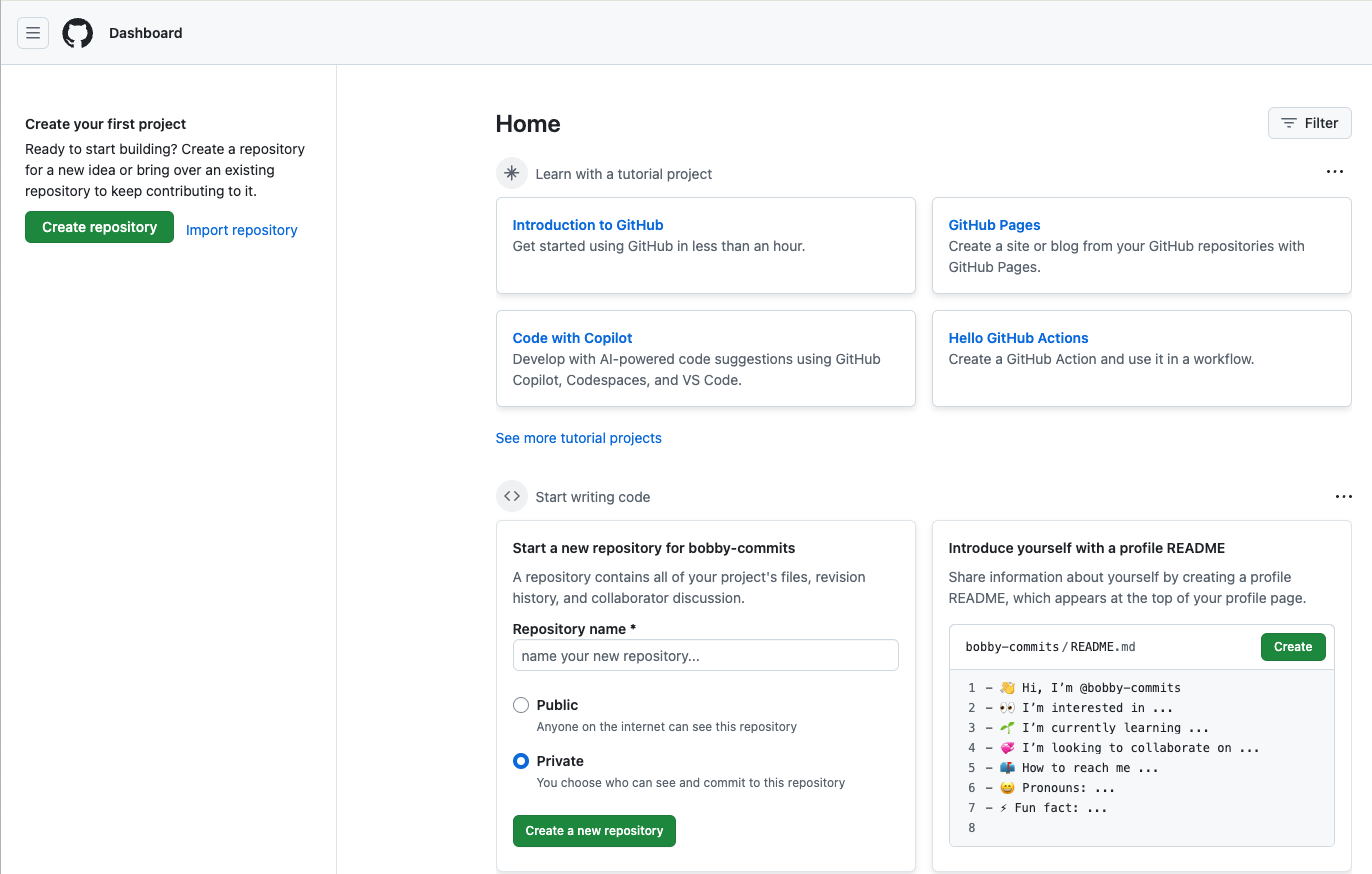
When you’ve completed the signup, you’ll see a personal dashboard that you can use to explore GitHub and learn more about the service:
Find a Repository
Many projects have simple text files that you can improve using basic editing and writing skills. These pages might include help files, web content, etc. Projects will usually appreciate typo fixes and many need help translating text into other languages.
Some projects are almost entirely text that acts as data for other programs. For example, tldr is a tool that complements man pages, and its contents are managed in a GitHub repository.
A project’s website will usually have a link to its GitHub repository. Look for a link in the top right labeled “Fork me on GitHub” or wording like “Find this page on GitHub” alongside GitHub’s “octocat” logo.
Edit a File
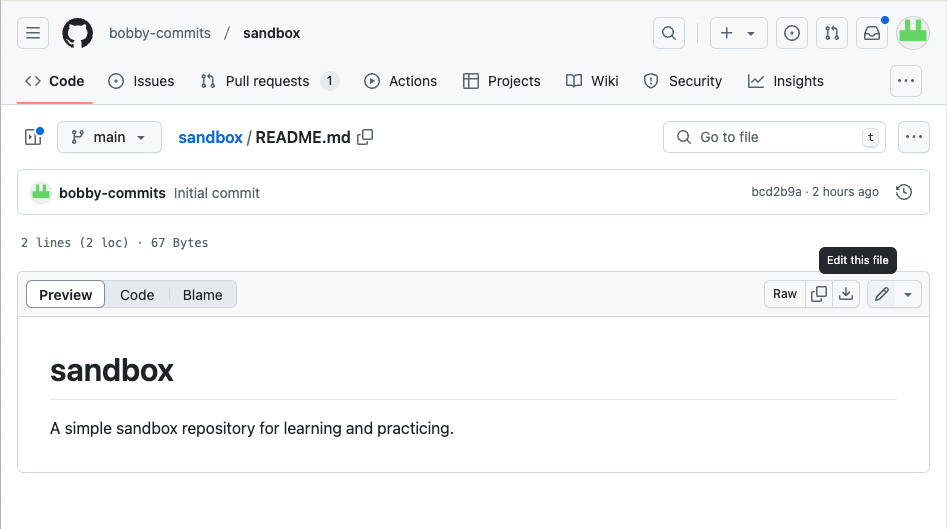
If you’ve navigated directly to a file, you can skip this first step. Otherwise, use the repository’s file browser to locate a file you wish to edit. Click on the file name, and you should see a screen that looks something like this:
Click the pencil icon on the right side of the page. When you try to edit a file from a repository that you do not own, GitHub will tell you that you need to fork it first:
This will create a copy (fork) of the project under your own account. Once you’ve made your changes, you’ll be able to submit them to the original project owners as a pull request.
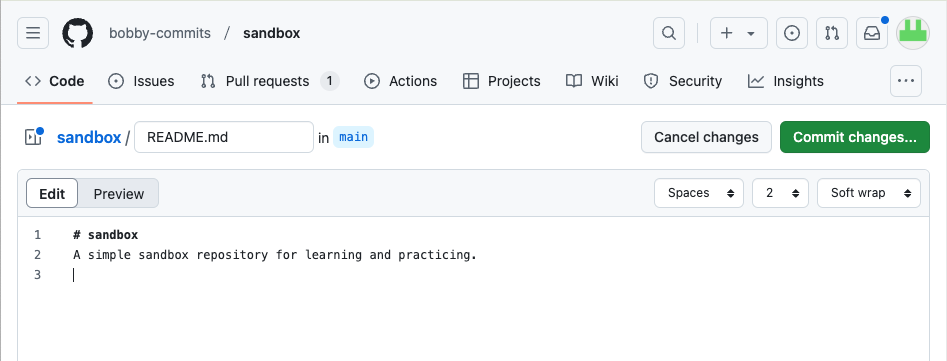
Make the edit using GitHub’s browser-based editor. This is a simple textbox with basic features including syntax highlighting. You won’t want to use it for large or complicated edits, but it’s fine for a quick change like a typo or formatting fix.
Once you’ve updated the file, click the “Commit Changes” button. Add a useful “Extended Description” in the text box that appears next. You don’t need to explain what you changed in detail, just why you did it. For now, keep this simple: “Fixed typo” or “Replaced broken link” are fine.
Open a Pull Request
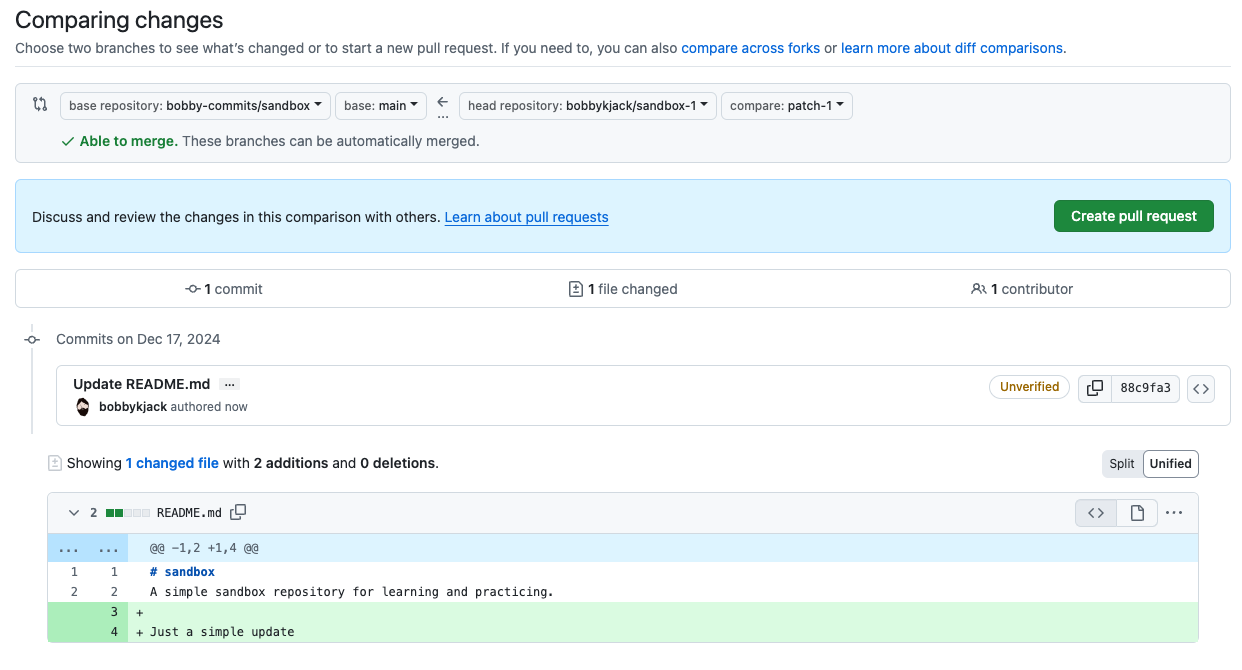
Click “Propose Changes”. This should take you to a page headed “Comparing changes” which shows details of your update. Click “Create Pull Request.”
The next page asks for a title and description again. Since you’re making a single change to one file, this should automatically populate with the details you provided earlier, so just click “Create Pull Request” again to continue.
You’ll end up at the pull requests page for the original project’s repository.
What Happens Next?
The maintainer(s) of the original project will review your change. If all is good, and your change is accepted, they will merge the change from your repo into theirs. At this point, you have successfully made your first contribution to an open-source project: congratulations!
You can safely delete your fork of the project once the pull request has been accepted. If you plan to make further contributions in the future, you can keep the fork, but you’ll need to learn how to update it as the original project progresses. Until you’re comfortable with Git and GitHub, it’s easier to use the above process and fork the project each time you need to make an update.
There are many types of projects you can now contribute to, without learning much more about git. In particular, the GitHub Pages feature lets you host a project website for free and manage it like any other repository. You can use the Edit icon to make changes to your website in real-time, all within the comfort of a web browser.
Source link


