The Mac mini is Apple’s most affordable and smallest computer. It’s versatile and suits a range of uses from being a modest desktop workhorse to a media server, smart home hub, or even a media center front-end.
I took a chance on a used Mac mini for this very purpose and in the process discovered a few things I wish I’d have known before going into the project. Here’s how to decide if the Mac mini is perfect for your living room TV.
The Mac Mini Has the Perfect Form Factor
Something I already knew before I started was how small and understated Apple’s “starter” Mac is. This has been the case since the machine’s introduction, way back in 2005 (yes, it really has been that long).
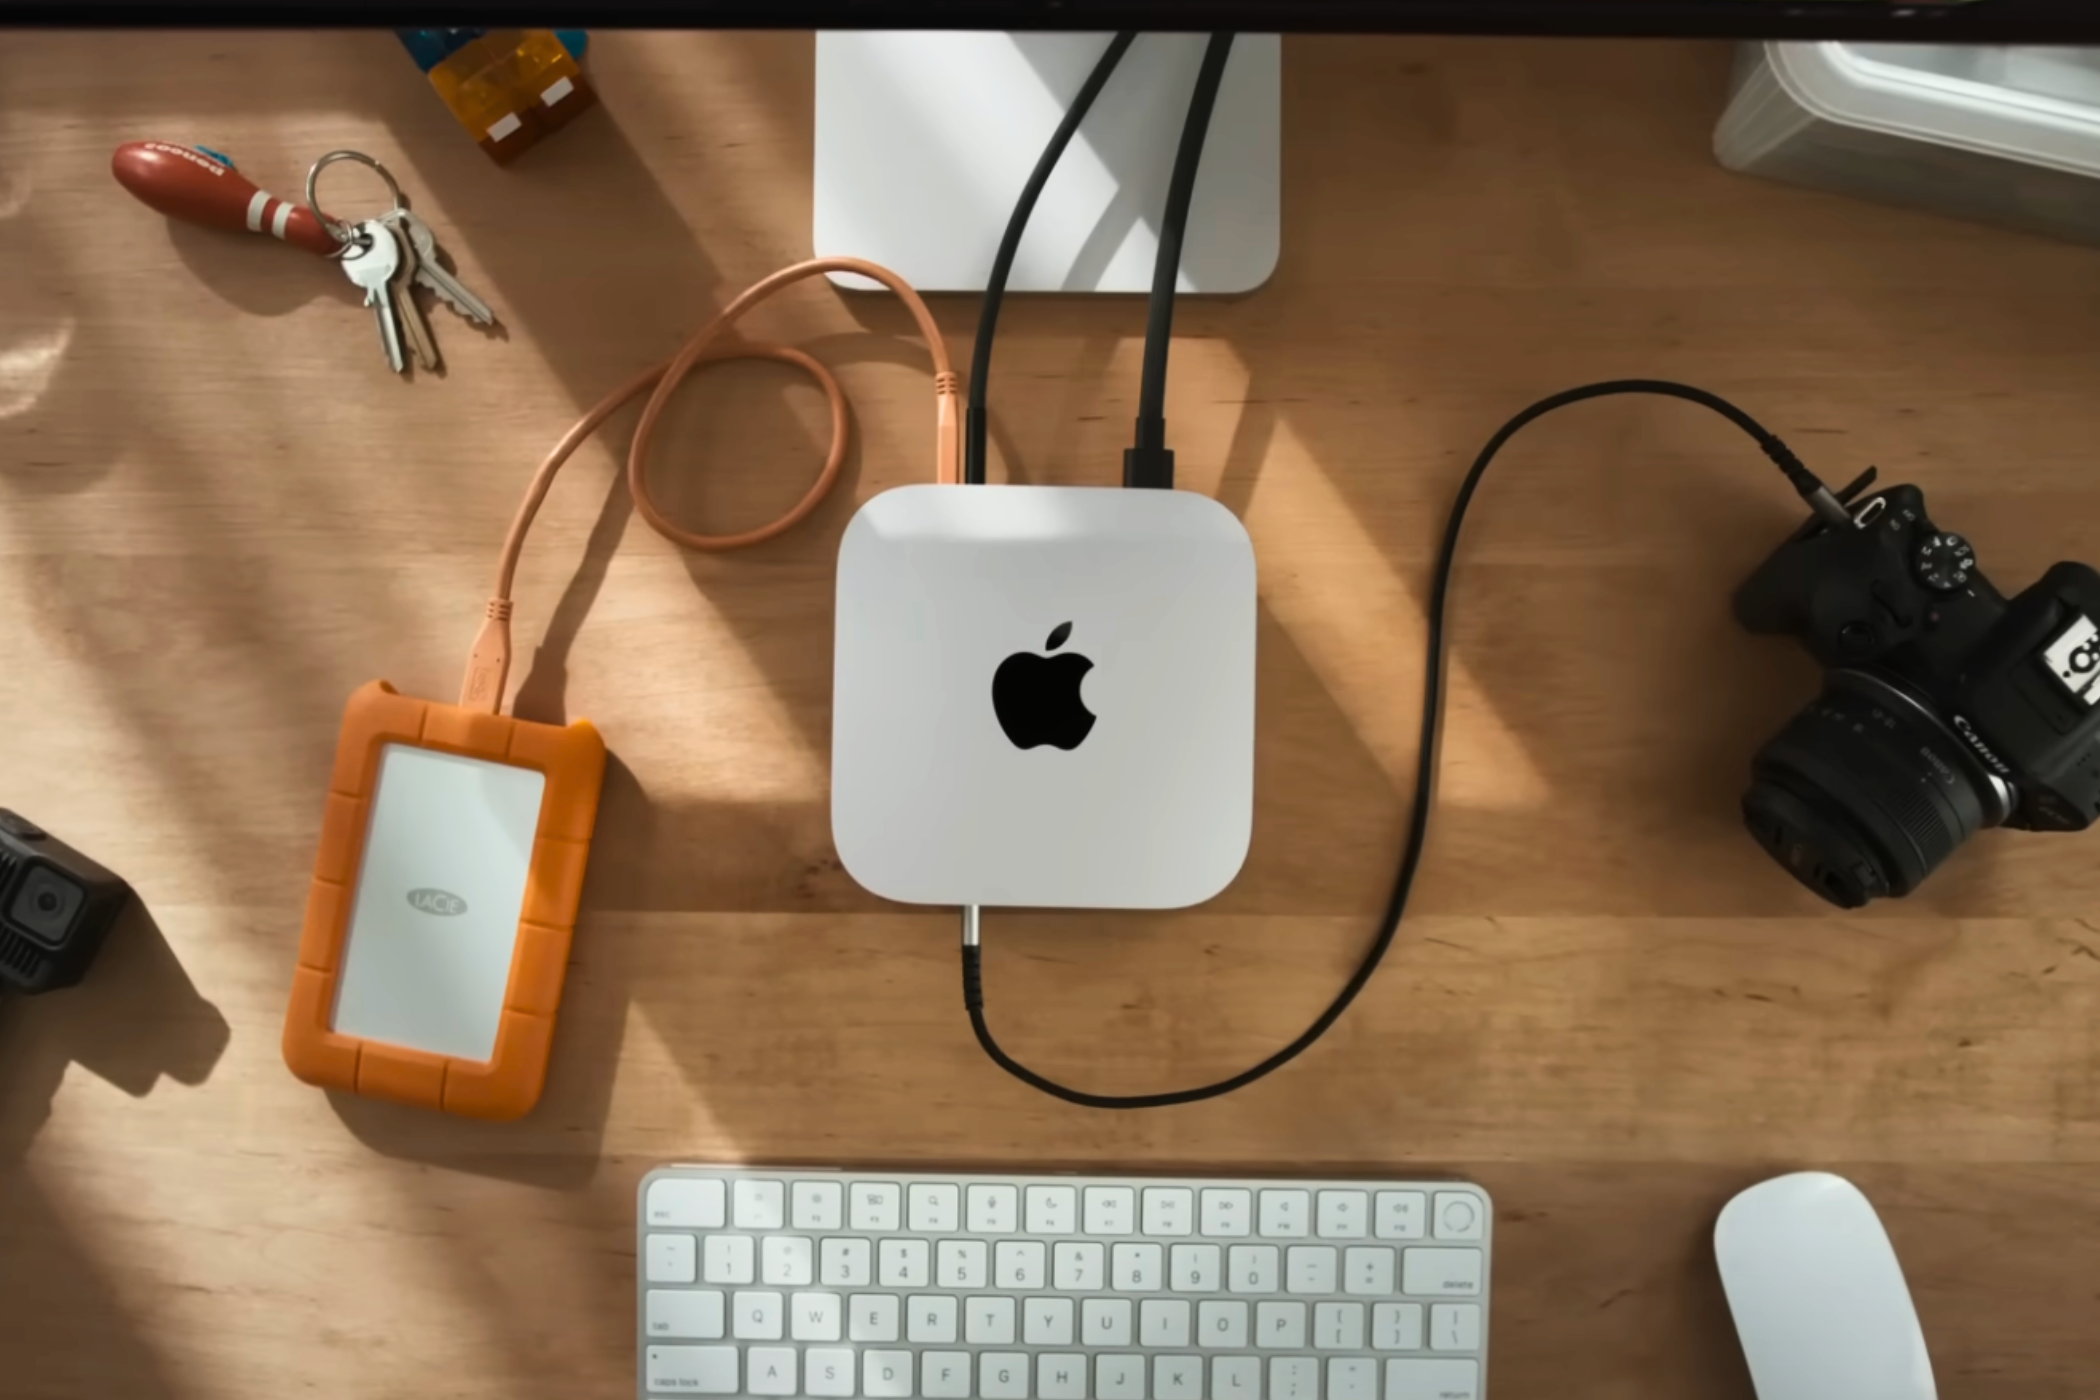
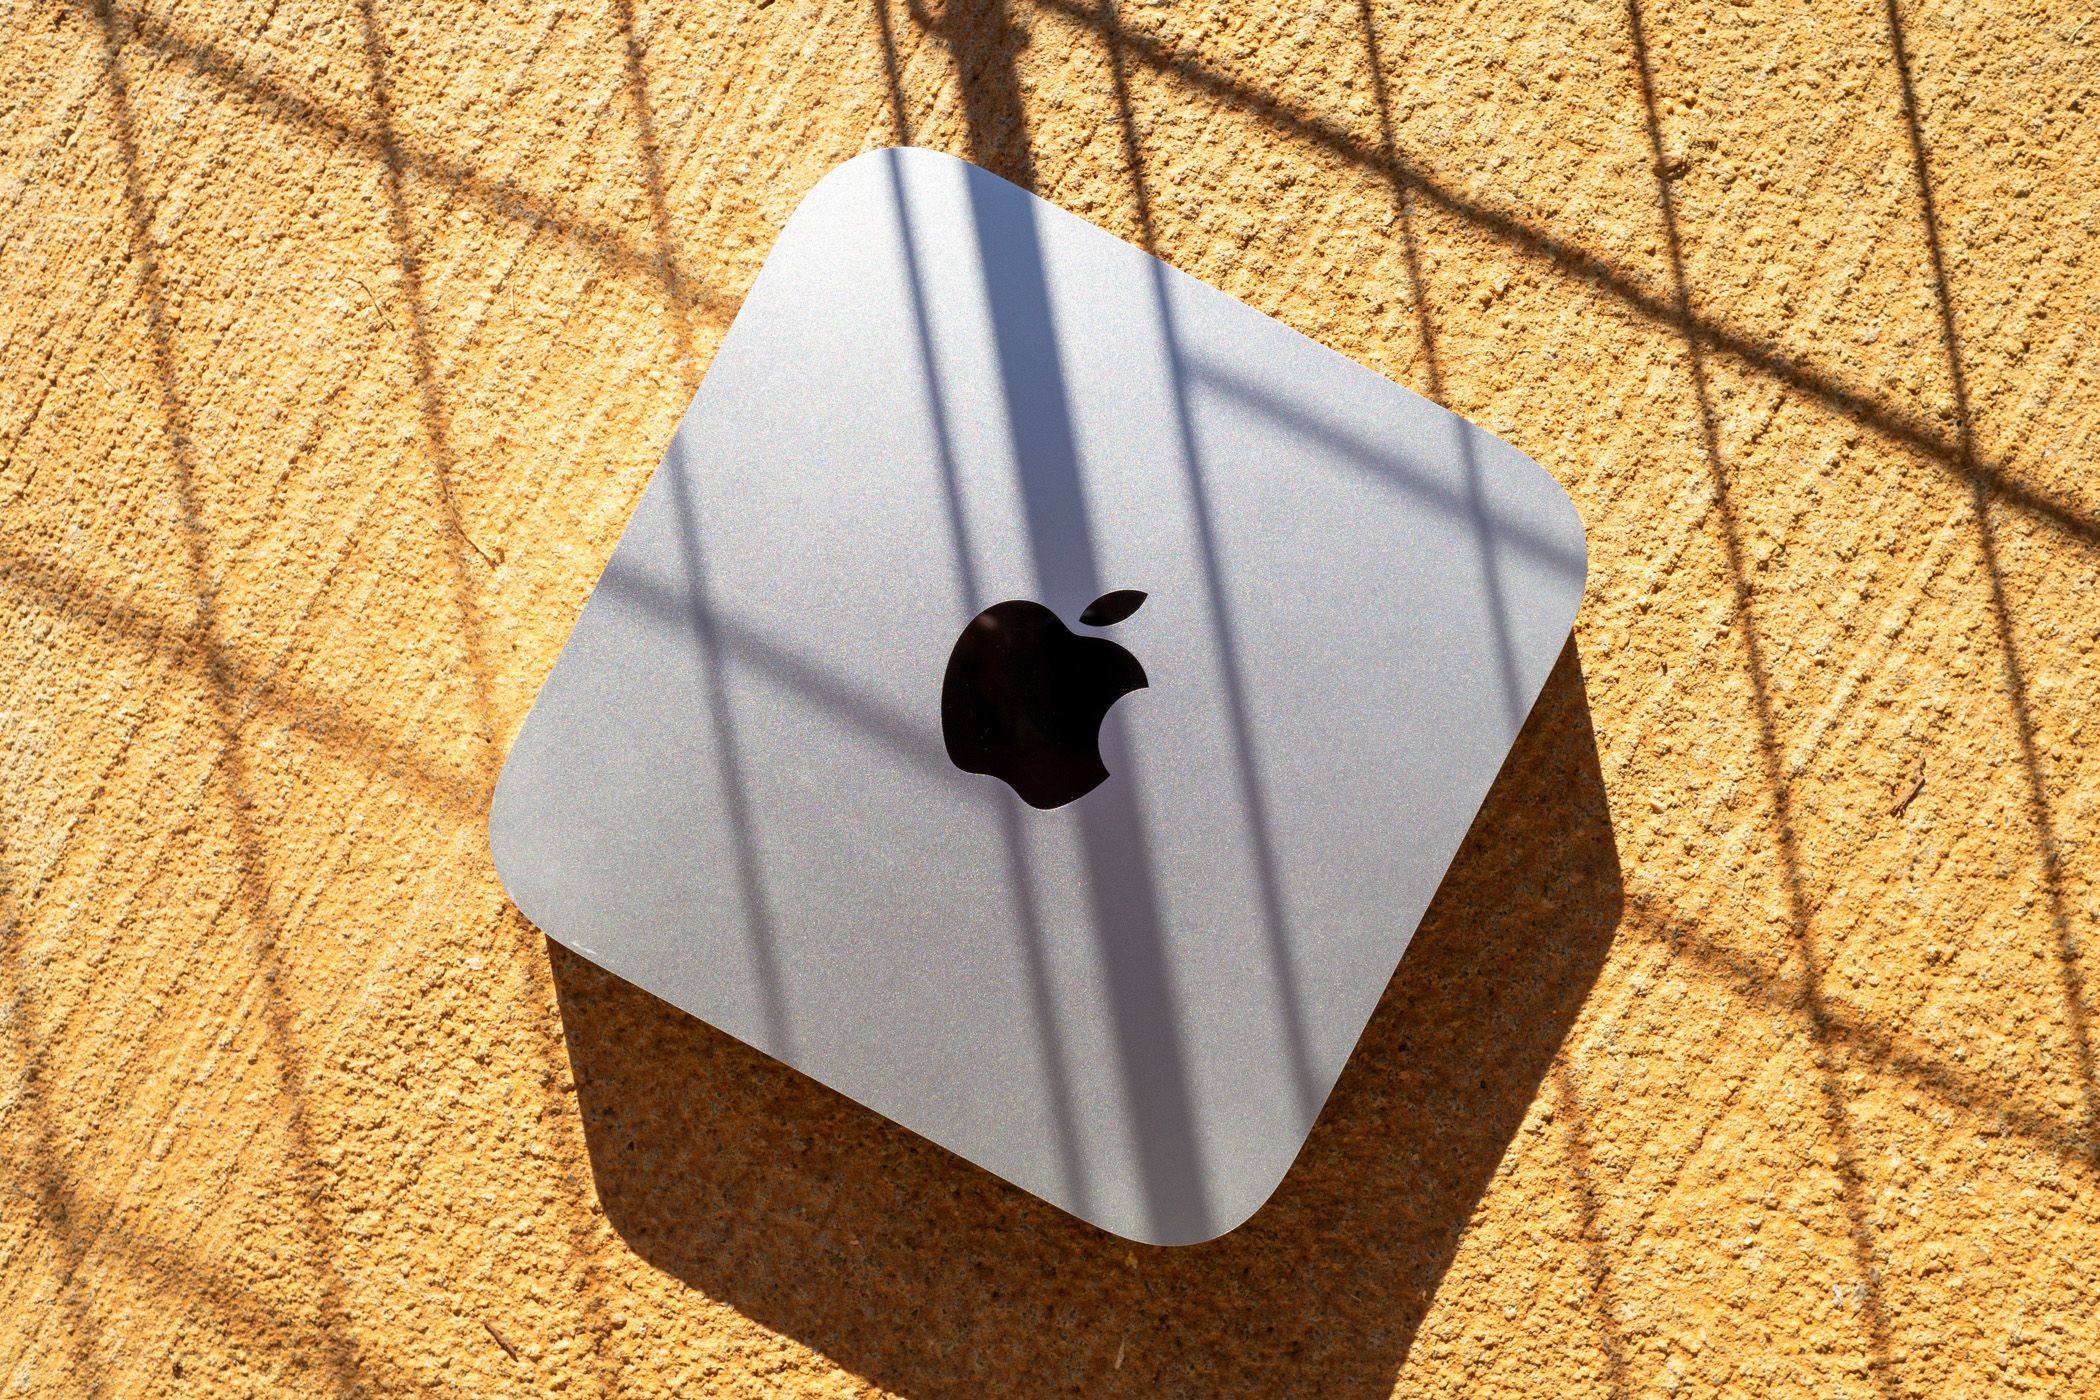
Regardless of which model you go for, you’ll get a small aluminum box of tricks with an iconic Apple logo on the top and a single white LED on the front to indicate that the machine is on. The M4 Mac mini revision, introduced in 2024, breaks from the “flat and wide” form factor that Apple has used for the best part of 20 years and requires a touch more vertical space.
The Mac mini blends in perfectly with the other devices that live under your TV. You don’t even need to have it on display either since there’s no infrared functionality (more on that later). As long as the unit has enough ventilation you could put it inside your entertainment unit, close the door, and forget it’s there.
The M1 Is Plenty Powerful Enough
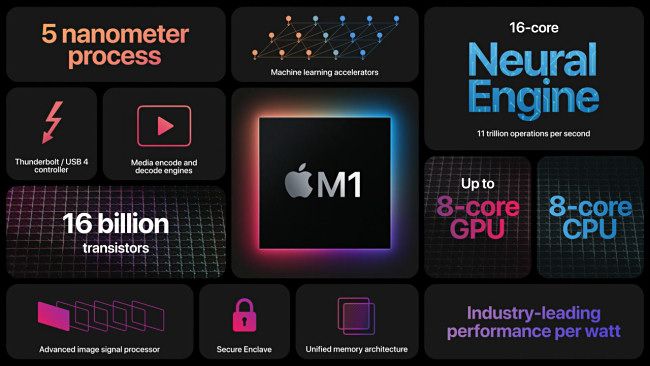
I went for a second-hand M1 with 16GB of RAM, essentially Apple’s proof of concept for its ARM-based processors. As you’ll know if you’ve used any of these machines, Apple silicon is highly power-efficient. That makes these chips perfect for use in a media center as it means that even under load they’re whisper quiet. Even though the Mac mini has a fan inside, I’ve yet to hear it spin up (the same is true of my M1 Max MacBook Pro, come to think of it).
If you opt for an older Intel-based Mac, expect to hear a bit of fan noise. These older 64-bit x86 chips simply aren’t as efficient, generating more heat while using more power. Dedicated hardware decode engines on the newer M1 and later chips (for both HEVC and H.264) ensure that the main CPU cores aren’t burdened by media playback tasks.
It shouldn’t come as any surprise then that the Mac mini has chewed up everything I’ve thrown at it, even some chunky 4K HDR rips that have topped 100GB. By comparison, streaming web content is a walk in the park. This machine is probably overkill for this scenario, but I paid $160 for the pleasure so it’s not like I have any regrets (after all, the Apple TV 4K costs $129 new).
The paltry 8GB of RAM in the entry-level Mac mini models (up until 2024, at least) should be more than enough for the task. If you plan on using your media center front-end for more duties—running a Home Assistant server, playing games, serving up media, rolling your own cloud storage solution—then you may run up against this limit from time to time.
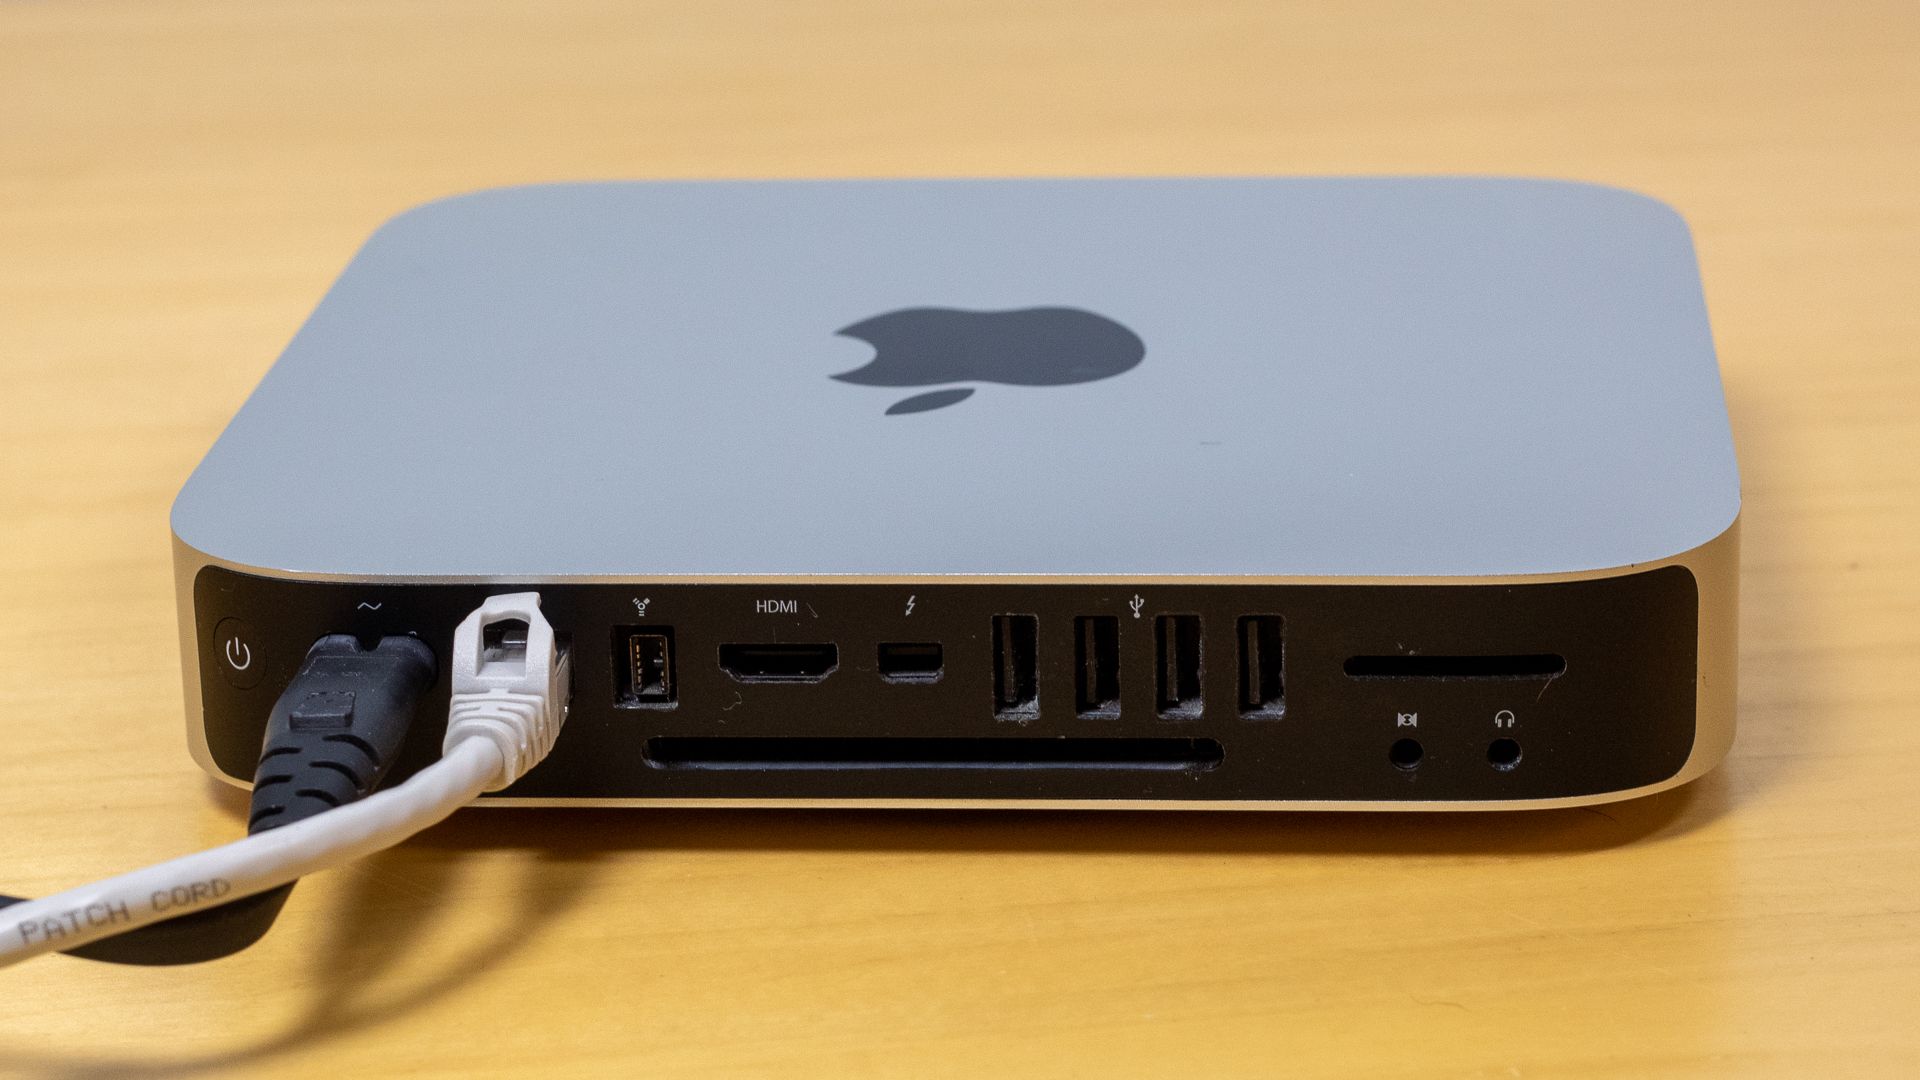
Storage is the other thing to keep in mind. These machines come with 256GB of storage, though you can opt for larger configurations. If you’re indexing a large local media collection, you’re going to want an external solution. Fortunately, the M1 or better Mac mini models have speedy interfaces in the form of Thunderbolt 3 (USB 4) and USB 3.1 Gen 2 over USB-C, and USB 3.0 over USB-A.
Controls Aren’t So Straightforward
As previously noted, the Mac mini has no infrared capabilities. It’s a computer, which means it’s designed to be used like a computer: with a keyboard and mouse (or trackpad). Of course, not everyone wants a keyboard and mouse in their living room so fortunately there are some workarounds.
I first settled for the Remote Mouse app, available for both iPhone and Android. Though this works, it’s not quite as reliable as I’d like. It also means you need your smartphone or tablet present whenever you want to sit down and watch something (a habit I’m trying to break).
Instead, I settled on a “keyboard mouse” remote. These are small, remote-sized keyboards with trackpads that are perfect for the limited interaction you’re likely to have with your media center. They connect either via Bluetooth or 2.4GHz wireless, and they’ll need to be periodically charged. The included keyboard is a step up from the on-screen keyboards on most smart TVs, though you wouldn’t want to use it to write a novel or anything.
Depending on your software of choice, you might find that a gamepad controller works just as well. Apple has made macOS compatible with almost every gamepad that uses a Bluetooth connection. This could be the perfect use for an old gamepad that has developed stick drift, come to think of it.
Just remember that you’ll periodically need to treat your Mac mini like a computer, and not like a set-top box. That means tweaking the odd setting, approving a software update, or installing more software in order to expand its capabilities. It’s a lot easier to do this if you have a dedicated controller nearby, rather than having to grab and pair peripherals from elsewhere in your house.
The good news is that the Mac mini works with almost every keyboard and mouse combination, even those designed specifically for Windows.
Software Is Plentiful
I set up Stremio and Kodi on my Mac mini media center and I’ve not looked back. Stremio makes it easy to find a huge variety of things to watch and then launch them on the relevant streaming platform. There’s also a huge range of add-ons and an impressive catalog of public domain movies to choose from.
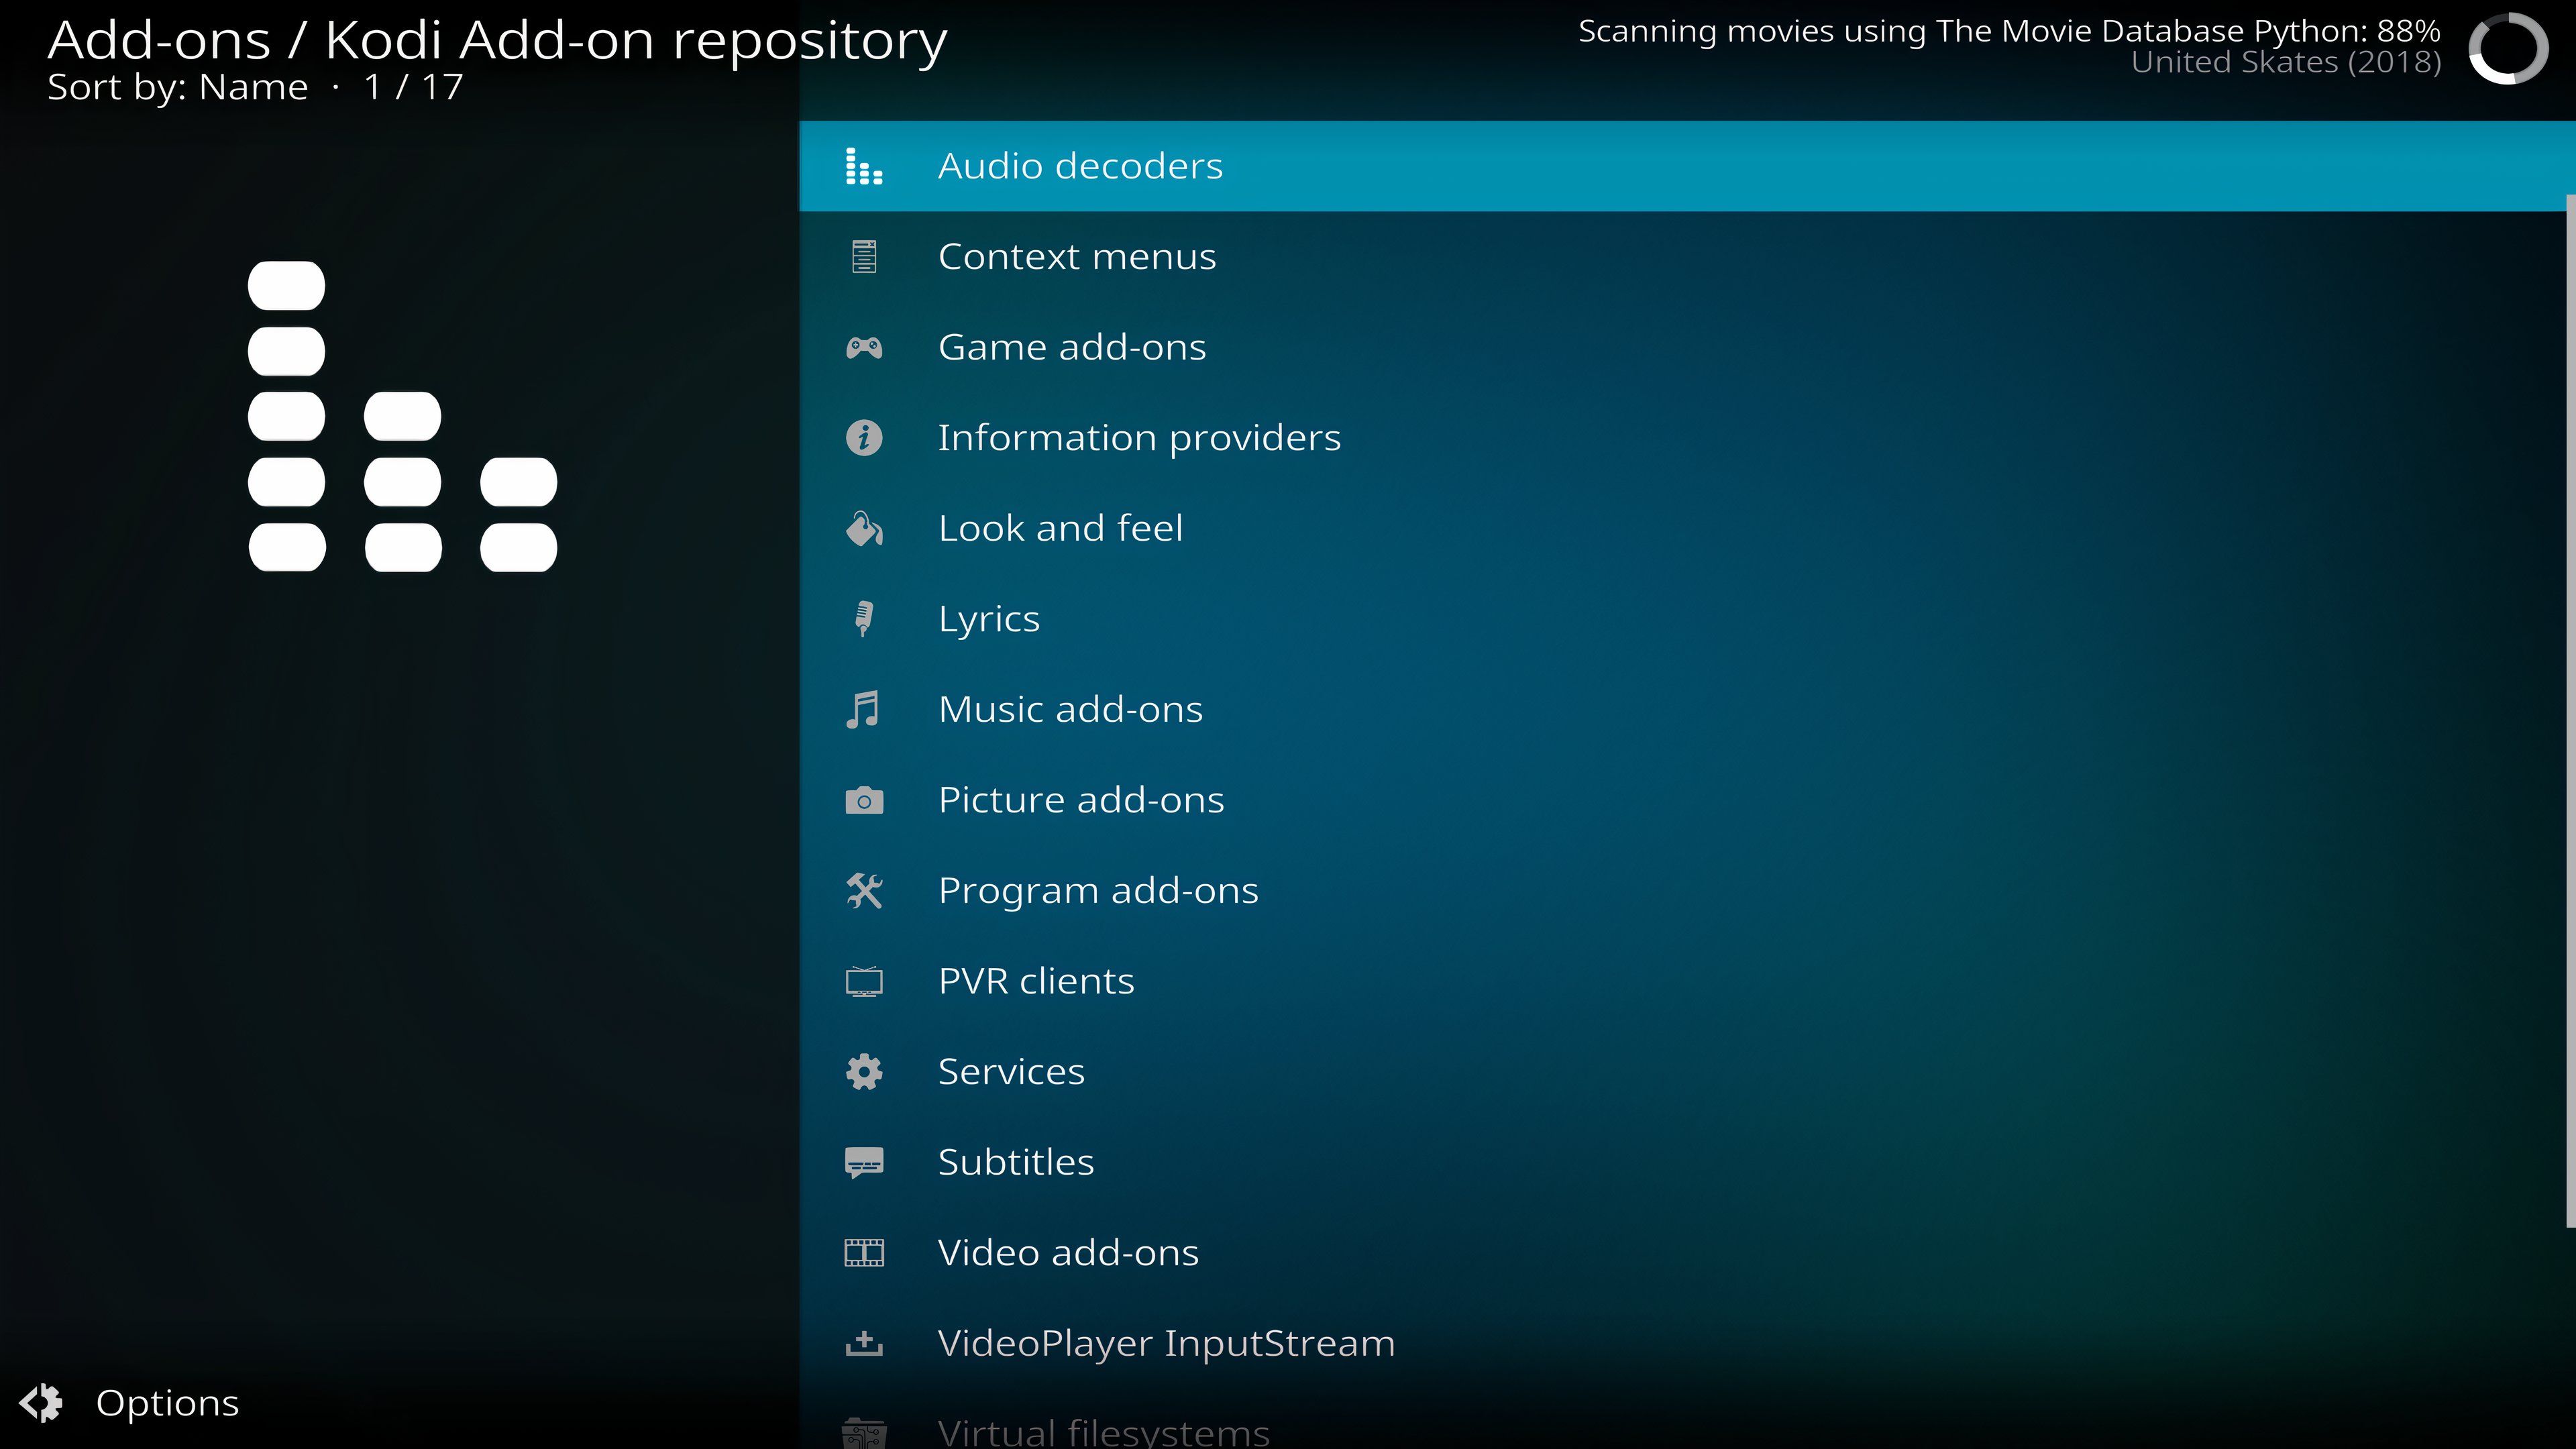
Kodi is a local media center app, great for indexing your own personal collection. It provides a far more polished experience than Stremio, and it too can be expanded with a huge range of add-ons. Kodi also works beautifully with a gamepad and feels like it was designed with the “sofa experience” in mind.
I’ve also opted to install Jellyfin so that the Mac mini can pull double duty as a media server for other rooms in my house. I’ve got my local media folders indexed by both Kodi and Jellyfin, with the latter using UPnP media streaming to serve up streams throughout my house.
I’m Still Working on HDR
Apple’s own displays do a masterful job of serving up HDR content. On my MacBook Pro, I can watch an HDR video on YouTube while the rest of the screen maintains an SDR look and feel. I get dazzling brightness on the left, and regular work mode on the right. This isn’t the case with third-party displays.
Instead, macOS handles HDR with a toggle under the “Display & Brightness” menu in System Settings. You can either have HDR on (as long as your display allows it), or HDR off. I’d be happy leaving HDR on all the time, were it not for the fact that SDR content can look weird when you do this (particularly in Stremio). If I’m using an app like Movist Pro or IINA to run an HDR video from a file, HDR mode being on is a necessity.
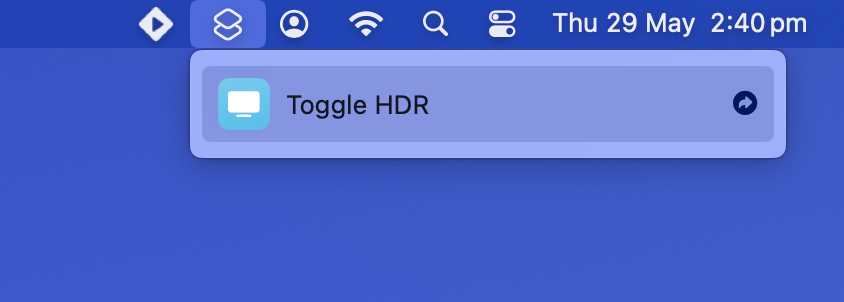
This is arguably the biggest drawback I encountered, and it’s probably enough to put a lot of people off. I admit I was a little disappointed at first, but I did manage to find a Shortcuts workflow that allows me to instantly toggle HDR on or off. The ToggleHDR workflow is the work of Mac developer Alin Panaitiu, and it can be triggered from the menu bar or assigned a keyboard shortcut.
This is a shell script, so you’ll need to enable that functionality under Shortcuts > Settings > Advanced.
You Can Do So Much More
While the Mac mini is a capable media consumption aid, it can be put to even better use. Perhaps the most fun use for a Mac mini that’s already connected to your TV is as a retro gaming machine. By installing an emulator like RetroArch, your Mac mini can play a huge variety of games.
Even older Intel Mac mini models can handle truly old titles from the 8-bit period right through to PlayStation 2, the original Xbox, and beyond. Newer models should have enough grunt to play PlayStation 3 titles, as well as arcade board emulation. Connect a few spare gamepads and turn your Mac mini into a multiplayer retro gaming rig.
As noted, Jellyfin works great as a media server but you could also opt for Plex if you’re happy to pay for features like hardware transcoding and mobile access. If you have enough storage connected, you could use your Mac mini as a Time Machine backup endpoint for other Mac computers on your network.
It’s also a great opportunity to set up a Home Assistant server. This open-source smart home software is lightweight and free, with thousands of integrations to play with. If you’re patient you can build your own automations, and do much more than what other smart home ecosystems allow.
You might as well put that extra power to use if you’ve got it, right?
Should You Do This?
If you have an old Mac mini lying around and you need something on which to play media, then this is a great use for your old hardware. If you want more freedom than what smart TV apps allow, the Mac mini is a fine platform. If you have an opportunity to get your hands on a cheap, used Mac mini then this is one of the many tasks it will handle with aplomb.
Related
How I Turned This Cheap Mac Mini Into My Dream Media Center Front-End
Apple’s smallest computer can do it all.
Would I go out and buy a brand new M4 Mac mini for this purpose? Probably not. There are more straightforward ways to view media, like simply by using smart TV apps or by buying a dedicated streaming device like an Apple TV or Chromecast.
You’ll have to deal with some HDR wonkiness and figure out how best to control your Mac mini, but if that doesn’t bother you then it could be a fun little project.
Source link


