Windows 11 installation on unsupported hardware using an unattended answer file
If your computer’s hardware doesn’t meet the requirements to run Windows 11, you can still install the operating system using an answer file to perform an unattended setup that bypasses the requirements.
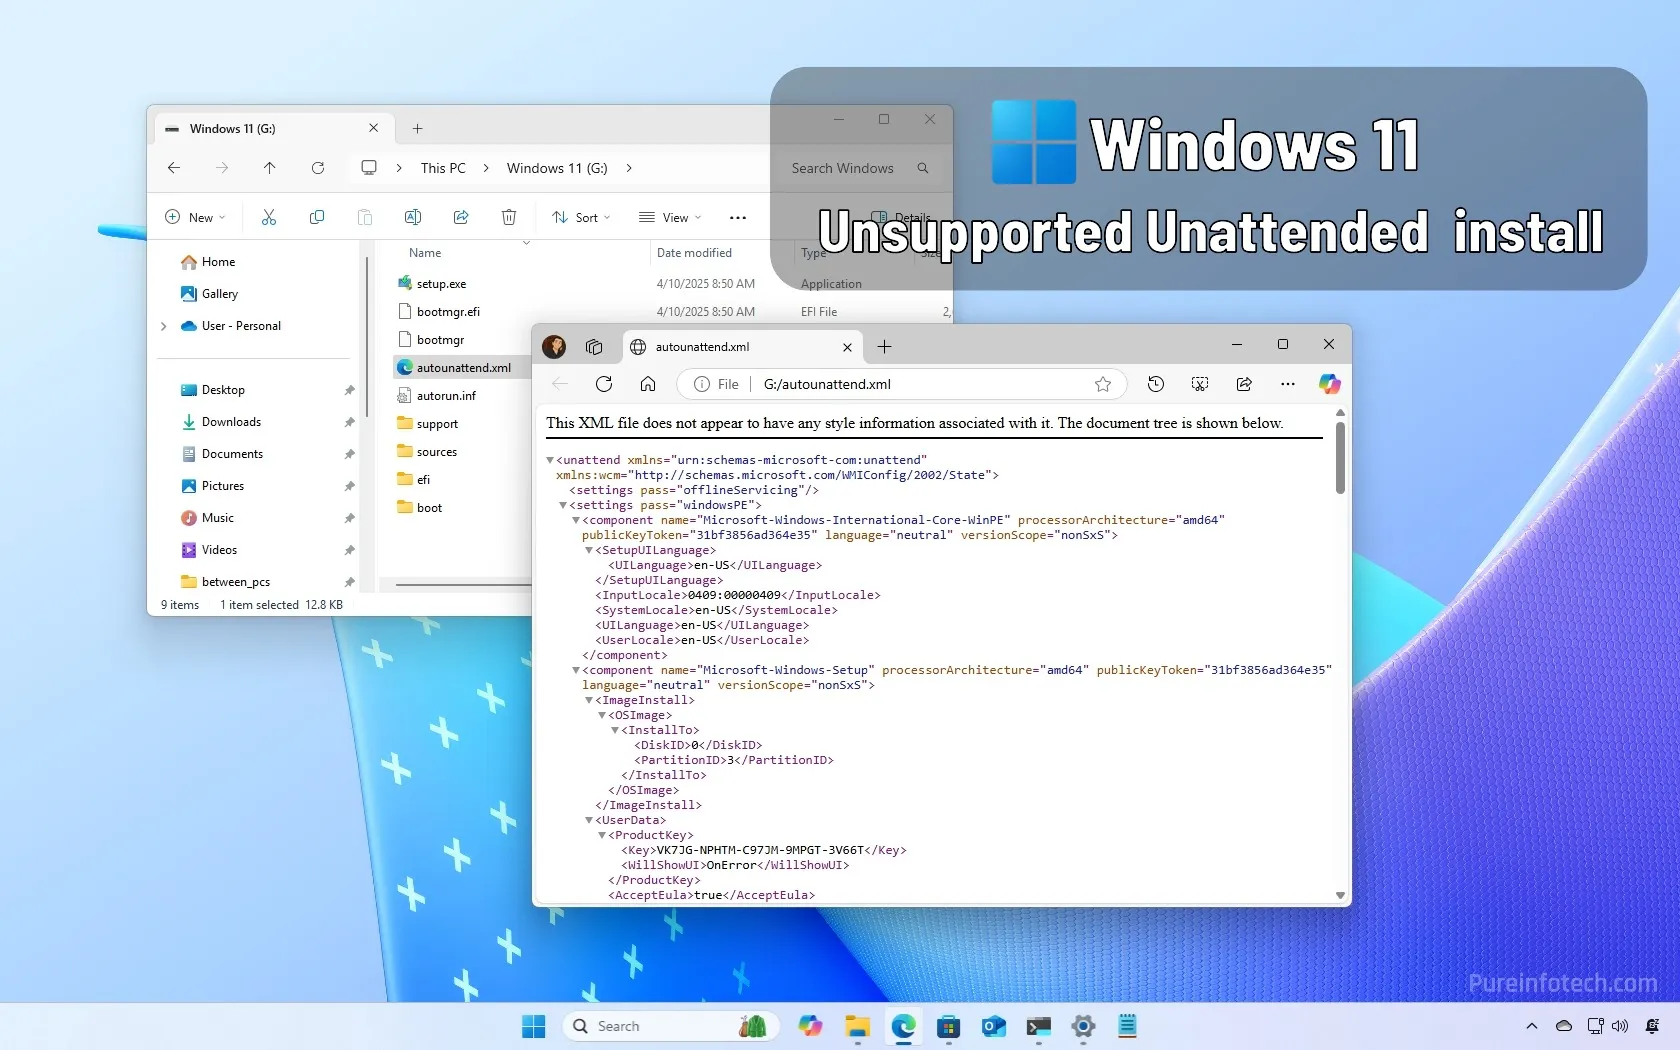
As part of the tools for network administrators, Microsoft offers an “answer” (or “unattend”) file, which is an XML file containing the answers to the prompts you would usually have to complete during the setup and Out-of-box Experience (OOBE), allowing to perform a fully automated installation of the operating system.
Although you may find it easier to use tools like Rufus or Ventoy to create a Windows 11 USB bootable to bypass the hardware requirements, as an alternative option, you can create an answer file with a custom configuration to bypass the requirements and automate the installation process without having to answer any more prompts during the installation.
In this guide, I’ll outline the easiest way to perform an unattended installation of Windows 11 on unsupported hardware.
Clean install Windows 11 with an answer file on an unsupported PC
The easiest way I have found to complete this installation on unsupported hardware is to use a third-party tool known as DISMTools, since this utility provides a wizard to create the XML answer file.
The following steps involve integrating the autounattend.xml file into the installation media.
Finally, you connect the USB bootable media and power on the device, and the clean installation will continue automatically.
Install DISMTools
To install the DISMTools on Windows 11, follow these steps:
-
Open Start.
-
Search for Command Prompt, right-click the top result, and choose the Run as administrator option.
-
Type this command to install DISMTools on your device and press Enter:
winget install CodingWondersSoftware.DISMTools.Preview
Once you complete the steps, you can use the wizard in this tool to create an unattended answer file.
It’s important to note that there are many different tools for creating this XML file. You can even create the answer file manually if you know the structure and the options you want to use. However, I have known the DISMTools for some time and found it convenient.
Create answer file
To create a Windows 11 autounattend.xml file, follow these steps:
-
Open Start.
-
Search for DISMTools and click the top result to open the app.
-
Continue with the default settings to complete the initial setup.
-
Open the Tools menu and choose the “Unattended answer file creator” option.

-
Click the Yes button to install the “.NET Runtime” (if applicable).
-
Click the Next button.
-
Select the “Configure these settings now” option.

-
Choose the system language, locale, keyboard layout, and location.
-
Click the Next button.
-
Choose the “x64” option for processor architecture.
-
Check the “Bypass System Requirements” option in the “Windows 11 settings” to install Windows 11 on unsupported hardware.

-
(Optional) Check the “Bypass Network Connection” option in the “Windows 11 settings” to skip the Microsoft account and create a local account.
-
Check the “Let Windows set a random computer name” option.
-
Click the Next button.
-
Choose the “Set a time zone manually” option.
-
Select the time zone for your location.

-
Click the Next button.
-
Clear the “I want to configure these settings during the installation” option to configure the “EFI” and “Recovery Partition” manually.

-
Choose the “Configure settings for disk 0” option and use the default configuration.
-
Click the Next button.
-
Choose the “Use a generic product key option to skip this” option.

-
Select the product key for Windows 11 Pro or Home.
-
Click the Next button.
-
Clear the “I want to configure these settings during installation” option.
-
Confirm the local account name and password.

Quick note: If you want to use a Microsoft account, the setup will stop at the part where you can configure the Microsoft account for Windows 11 and resume the automated process. As a result, I recommend you continue with a local account and then link your Microsoft account to the local account.
-
Choose the Administrators option from the “Account group” setting.
-
Click the Next button.
-
Select the “Passwords should never expire” option.

-
Click the Next button.
-
Check the Disable policy option.

-
Click the Next button.
-
Select the “No, I plan on using the target installation on a real system” option.

-
Click the Next button.
-
Clear the “I want to configure the settings installation” option.
-
(Option 1) Select the “Configure settings for wireless network now” option if the PC connects through Wi-Fi.

-
Confirm the wireless network settings, including SSID and password.
-
(Option 2) Select the “Skip configuration” option if the PC connects through Ethernet.
-
Click the Next button.
-
Select the Disable telemetry option.
-
Click the Next button.
-
Click the Next button one more time.
-
Click the Next button to skip additional components.
-
Click the Next button one last time.
-
Save the answer file with the “autounattend.xml” name.

-
Click the Close button.
After you complete the steps, you will have to integrate the unattended answer file into the USB bootable media.
Integrate anwnser file
To create a bootable Windows 11 USB with the Media Creation Tool, follow these steps:
-
Click the Download Now button under the “Create Windows 11 installation media” section.
-
Double-click the mediacreationtool.exe file to launch the tool.
-
Click the Accept button.
-
Click the Next button.

Quick note: Clear the “Use the recommended options for this PC” option to select the correct language, architecture, and edition if you want to create a Windows 11 24H2 USB for another computer.
-
Select the “USB flash drive” option.

-
Click the Next button.
-
Select the USB flash drive from the list.

-
Click the Next button.
-
Click the Finish button.
-
Open File Explorer.
-
Open the autounattend.xml file location.
-
Select the file and click the Copy button from the command bar.
-
Open the root of the Windows 11 installation media with File Explorer.
-
Click the Paste button from the command bar.

Once you complete the steps, you can start the computer with the USB drive to install Windows 11 on unsupported hardware automatically.
Also, you must ensure the computer can boot from a USB flash drive, which means you may need to change the UEFI settings or start the device in the boot menu. Since the firmware settings are different on every computer, you must check your manufacturer’s support website for more specific details.
Install Windows 11
To automate the clean install of Windows 11 on unsupported hardware with an answer file, follow these steps:
-
Connect the Windows 11 USB bootable media
-
Power the computer.
-
Observe the automated clean installation process.

Once you complete the steps, the answer file will be read by the setup to install the operating system based on your previous configuration. If the file doesn’t have any issues, after the installation, you will be directed straight to the Windows 11 desktop.
If the unattend file has a problem, the setup will stop, and you will have to answer the prompt to continue with the setup.
After the installation, it’s recommended that you download the latest system and driver updates from the “Windows Update” settings.
Source link