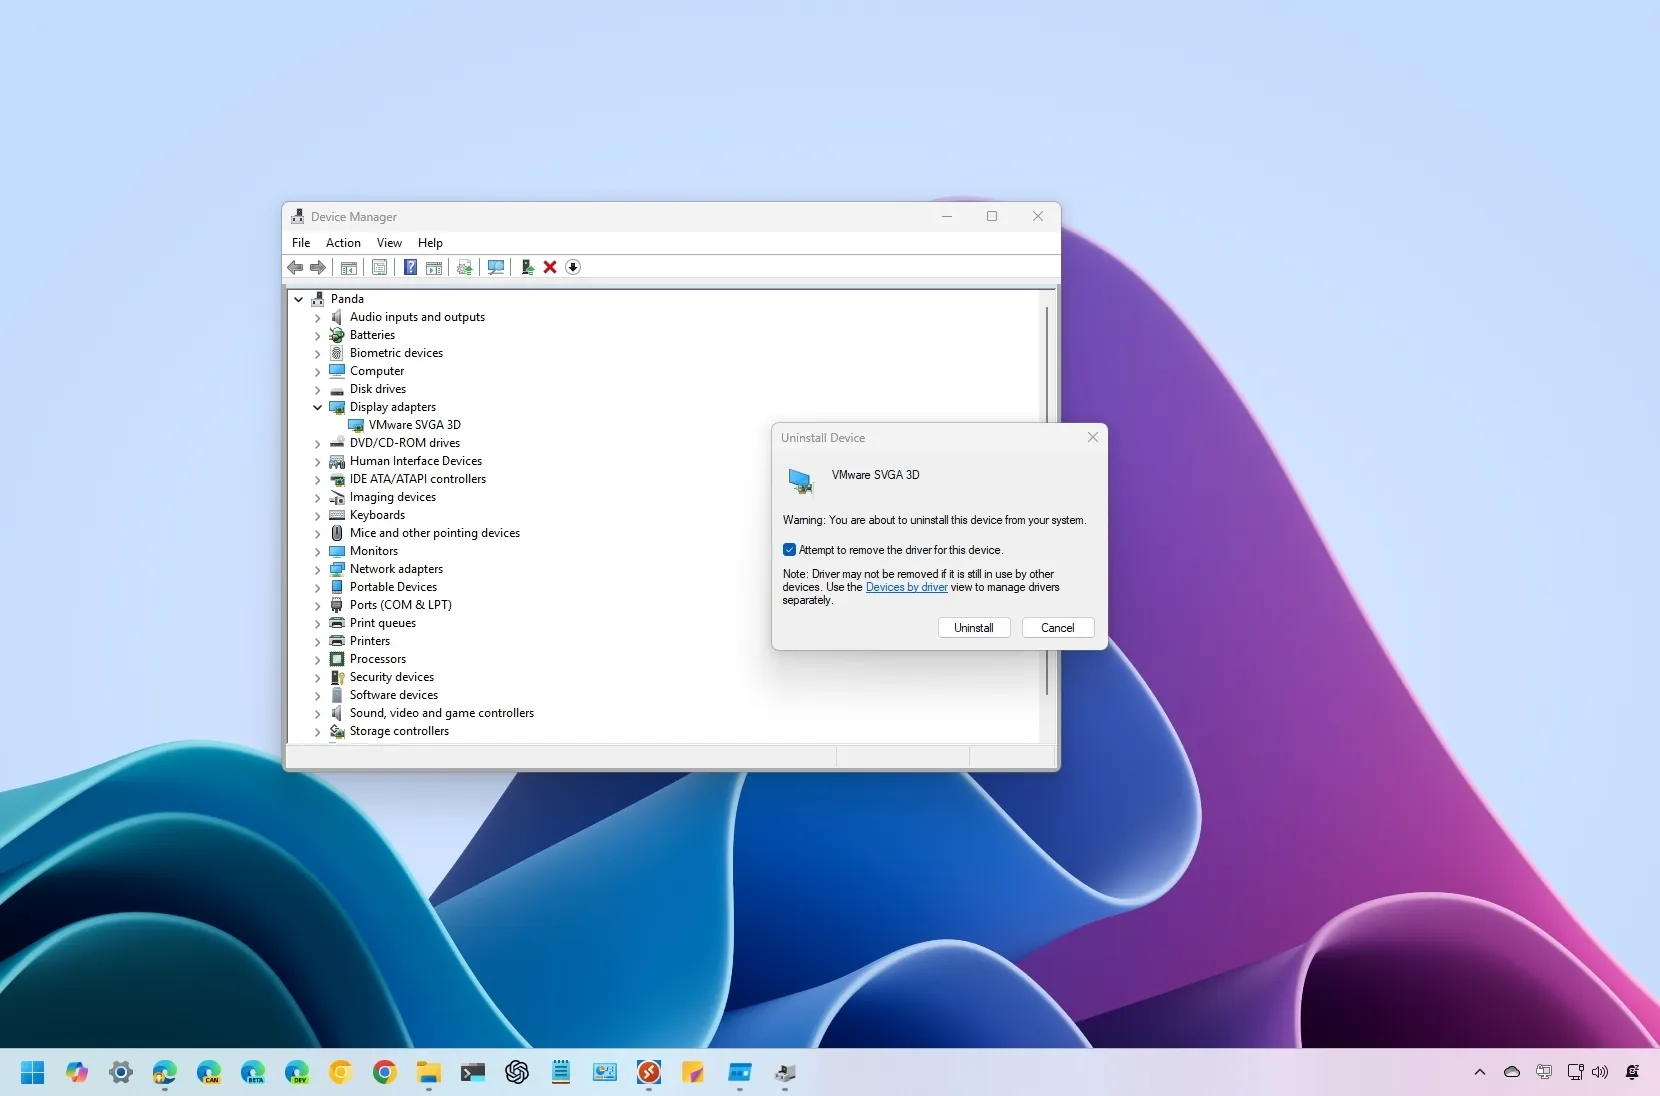
- To uninstall drivers on Windows 11, open Device Manager, right-click the driver, and choose “Uninstall device.”
- Alternatively, open Settings > Apps > Installed apps, select the device driver, and click “Uninstall.”
- You can also open Control Panel > Programs > Uninstall a program, select the component to remove, and click “Uninstall.”
- Finally, you can also remove some drivers using the PnPutil tool from Command Prompt or PowerShell.
UPDATED 1/21/2025: On Windows 11, you can uninstall device drivers in several ways without relying on third-party tools, and in this guide, I will explain how to complete this process.
What’s a driver on Windows 11?
A device driver is a critical component that enables the operating system to detect and control the hardware installed on your computer. Think of it as a translator that bridges the communication between the hardware (such as a graphics card, printer, or sound card) and the operating system.
While the system typically handles driver installation automatically for your hardware, there are situations where you might need to uninstall a driver manually — perhaps due to performance issues or because the hardware is no longer in use.
Whatever the case, Windows 11 provides at least four built-in methods to remove drivers, including using the Settings app, Control Panel, Device Manager, and Command Prompt.
In this guide, I will teach you how to remove device drivers from Windows 11.
Uninstall drivers on Windows 11 from Device Manager
To uninstall a driver from Device Manager, use these steps:
-
Open Start on Windows 11.
-
Search for Device Manager and click the top result to open the app.
-
Expand the category with the device driver to remove.
-
Right-click the device and select the Uninstall device option.
-
(Optional) Check the “Delete the driver software for this device” option (if applicable).
Quick note: If you don’t check this option, the system will uninstall the device, but it’ll keep the driver files if you need to reinstall it. However, removing and downloading it again is best if the driver has problems.
-
Click the Uninstall button.
Once you complete the steps, the driver will be removed from your computer entirely.
Uninstall drivers on Windows 11 from Settings
To uninstall drivers on Windows 11 from the Settings app, use these steps:
-
Open Settings.
-
Click on Apps.
-
Click the Installed apps tab.
-
Select the driver, click the menu (three-dotted) button on the right side, and select the Uninstall option to remove it.
-
Click the Uninstall option.
Once you complete the steps, the device will be removed from the computer. However, the computer may keep some driver components depending on the uninstaller instructions.
Uninstall drivers on Windows 11 from Control Panel
Alternatively, you can also delete drivers using Command Prompt,
To remove a driver through the Control Panel on Windows 11, use these steps:
-
Open Control Panel.
-
Click the Uninstall a program option under the “Programs” section.
-
Select the driver package.
-
Click the Uninstall button.
-
Click the Yes button to remove the driver.
After you complete the steps, the driver will no longer be available on Windows 11. Similar to using the Settings app, the computer may keep some components depending on the uninstaller instructions.
Uninstall drivers on Windows 11 from Command Prompt
To uninstall device drivers through Command Prompt, use these these steps:
-
Open Start.
-
Search for Command Prompt (or PowerShell), right-click the top result, and select the Run as administrator option.
-
Type the following command to generate a list of the drivers installed on your computer and press Enter:
pnputil /enum-drivers
-
Confirm the driver you want to uninstall by its publisher name (such as HP). For example, oem10.inf.
-
Type the following command to uninstall the device driver from Windows 11 and press Enter:
pnputil /delete-driver PUBLISHER-NAME /uninstall /force
In the command, replace PUBLISHER-NAME with the actual name of the driver.
Once you complete the steps, the driver will be removed from the driver store, preventing future installations.
Other ways to uninstall hardware drivers
Although these instructions will work in most cases, some devices may have different instructions. For example, uninstalling a printer on Windows 11 is a two-step process. You first have to use the “Printers & scanners” settings in the Settings app to uninstall the printer and then the “Print Management” app or PowerShell (depending on whether you use Windows 11 Pro or Home) to delete the driver package from the device.
If you encounter a problem after an update, try rolling back to the previous version instead of deleting the driver to see if that fixes the issue.
If you recently installed a driver update and Windows 11 no longer boots correctly, you can use these instructions to uninstall the driver from the Windows Recovery Environment (WinRE).
Finally, when you want to remove a graphic driver from Nvidia or AMD completely, it’s best to use the Display Driver Uninstaller (DDR) tool.
Update January 21, 2025: This guide has been updated to ensure accuracy and reflect changes to the process.
Source link
