Craving the analog sound of cassette tapes? So was I, and I managed to get a vintage deck on the cheap that wasn’t working—until I made some simple repairs. The problems I ran into are common, so I’m recording them here so you can be prepared if you get one.
For background, I bought this deck as part of a larger audio cabinet that my neighbor was selling in a move-out sale for less than $100. The cabinet was dusty, with a lot of dog hair involved. Underneath the surface, though, all the units themselves actually appeared to have seen little use over the years. My neighbor even had most of the original manuals, a huge bonus.
Related
Why I Bought a Walkman Cassette Player From 1988
The dream of the 90s is alive in…cassettes?
The CD deck and the AV receiver with its radio were working. Even the 60s-era record player was operational, except for its mechanical auto-play function, which I managed to fix eventually. Maybe I’ll write about that later.
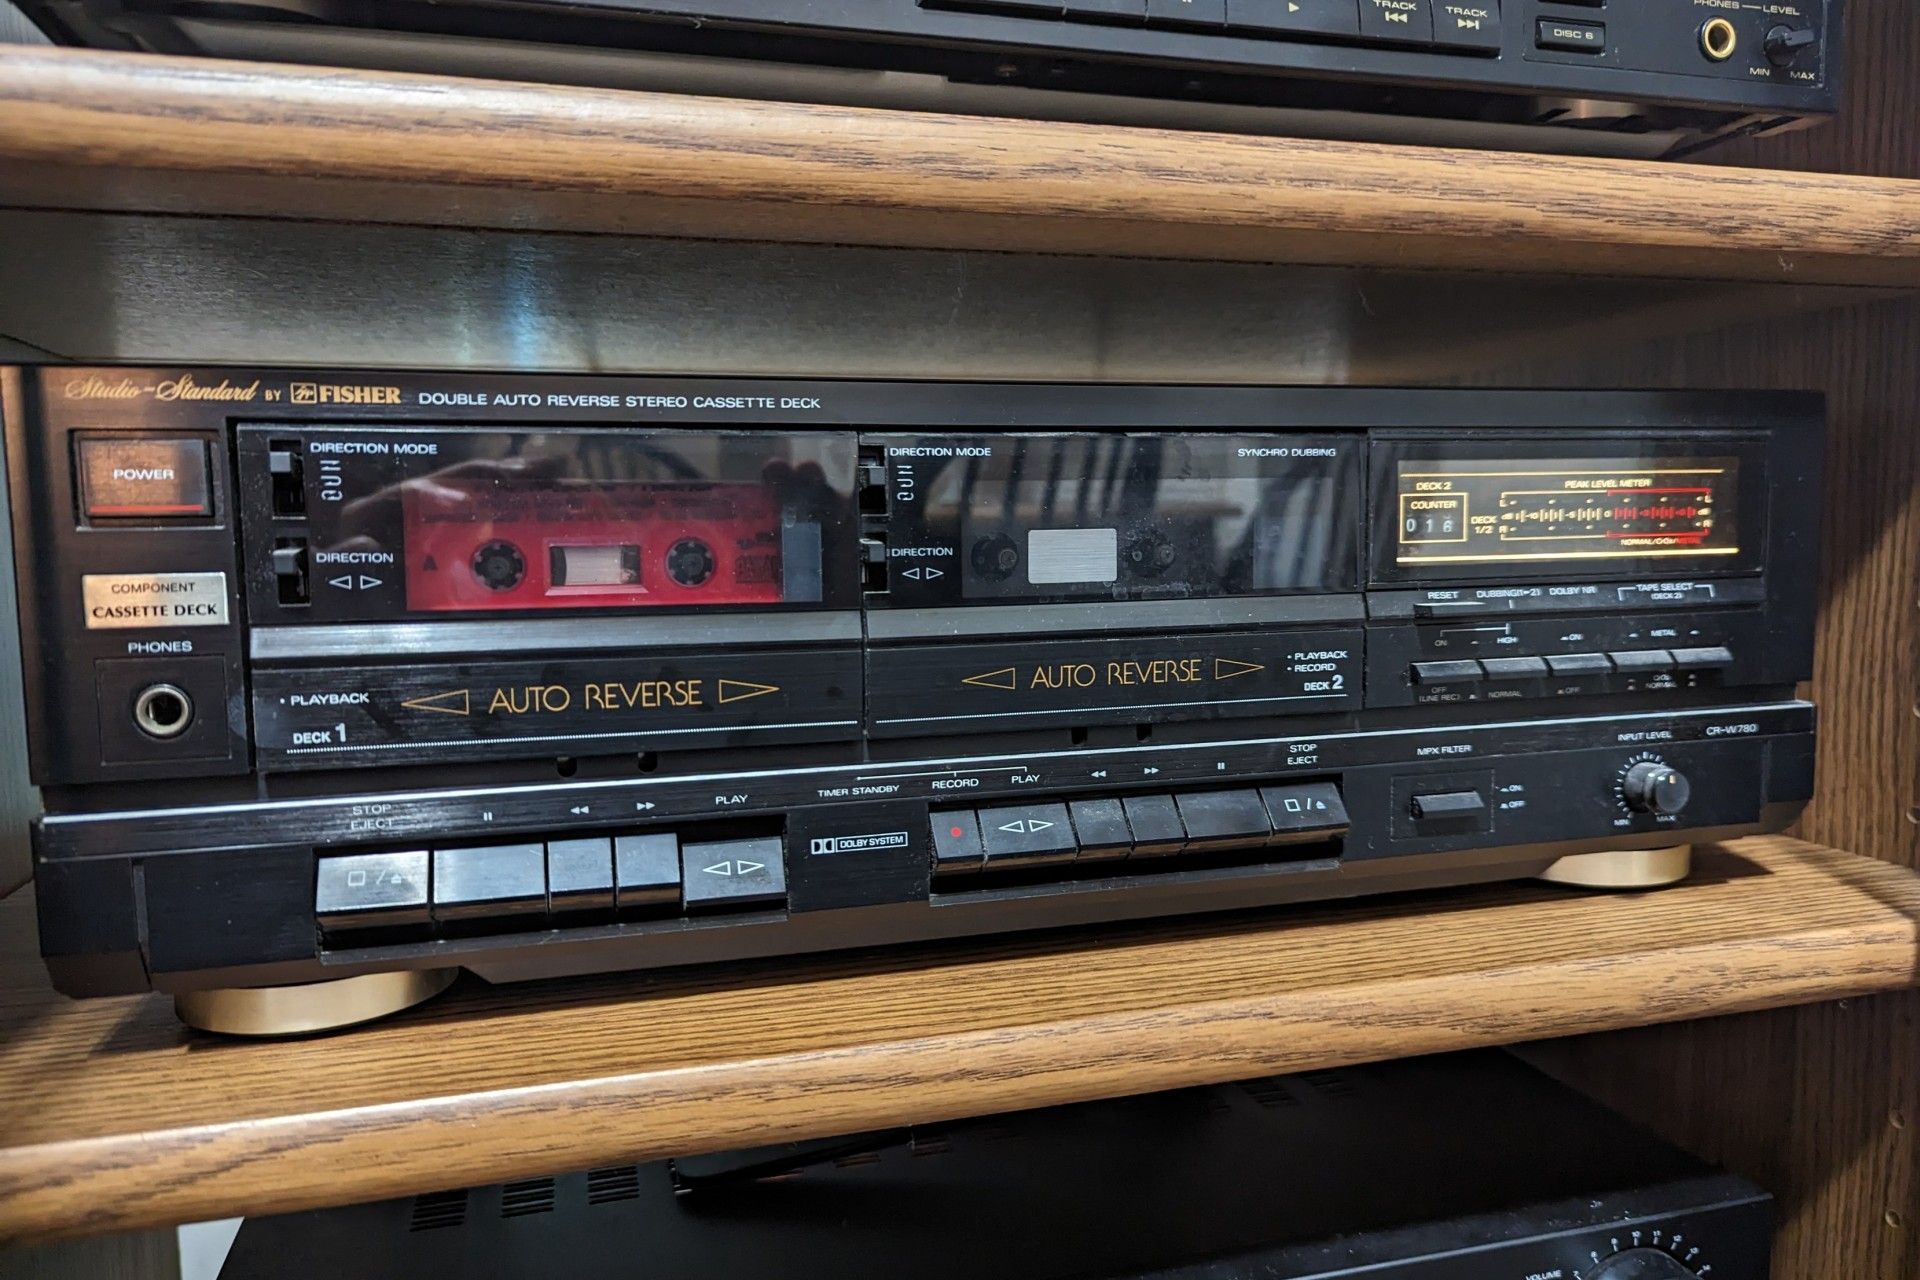
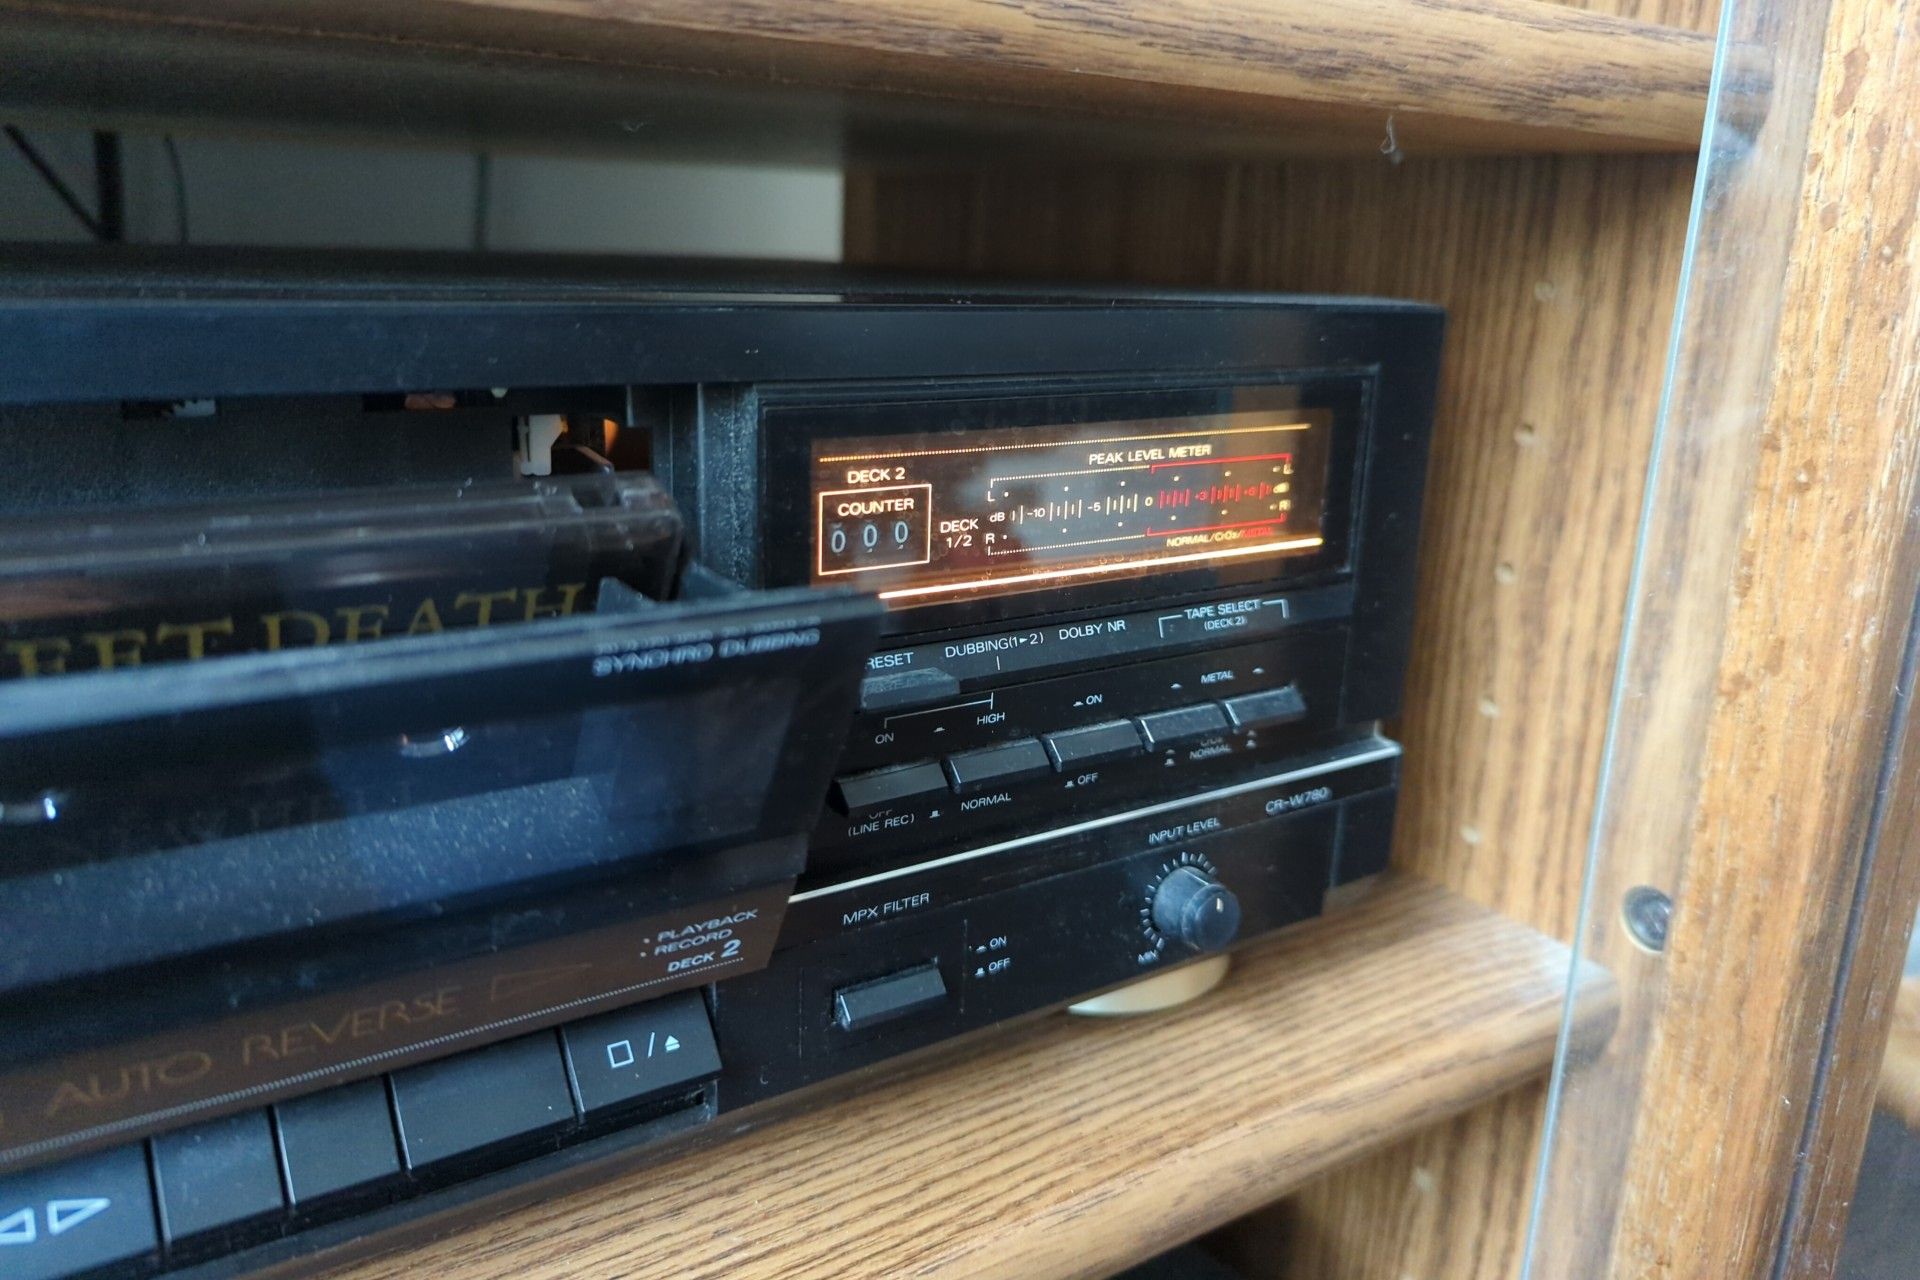
What couldn’t be used at all, though, was the tape player, a Fisher CR-W780. When I put in a cassette and pressed the play switch, I could hear the purr of an electric motor running, but there was no playback from the tape. Peering inside the cassette compartment, I could see the reels were not turning at all. At this point I knew if I wanted to listen to tapes with this audio cabinet, I needed to open up the player and attempt some repairs.
Opening Up the Tape Deck
When I talk to people about opening and repairing tech, they often get this wide-eyed look on their faces. They talk about their fear of what could go wrong when internal parts are exposed. I can understand that, but a secret I think’s been kept from younger people, especially, is that opening tech, older gizmos especially, is nothing to be afraid of.
The nice thing about old tech is that most were designed to be repaired. It’s far less common to see today, the age when companies would rather sell new products than maintain existing ones.
This machine, though, has just a few screws that need to be removed with a Phillips head screwdriver. I removed it, and the issue was clear, if odd: several belts had simply fallen apart. What was worse, trying to pick up the pieces resulted in them bursting open and spreading a tar-like goop their insides have become.
When these small rubber belts age, a chemical breakdown happens. At first they’ll become brittle. Later, they “melt” and turn to goo. If you’re lucky, you can replace the belts when they’re still simply inflexible and thus easy to dispose of. Once they start breaking down into liquid, the cleanup is a lot worse.
Belts are crucial to any tape player’s operation, so I turned to the internet, watching several videos and reading articles to figure out what I needed to do.

Related
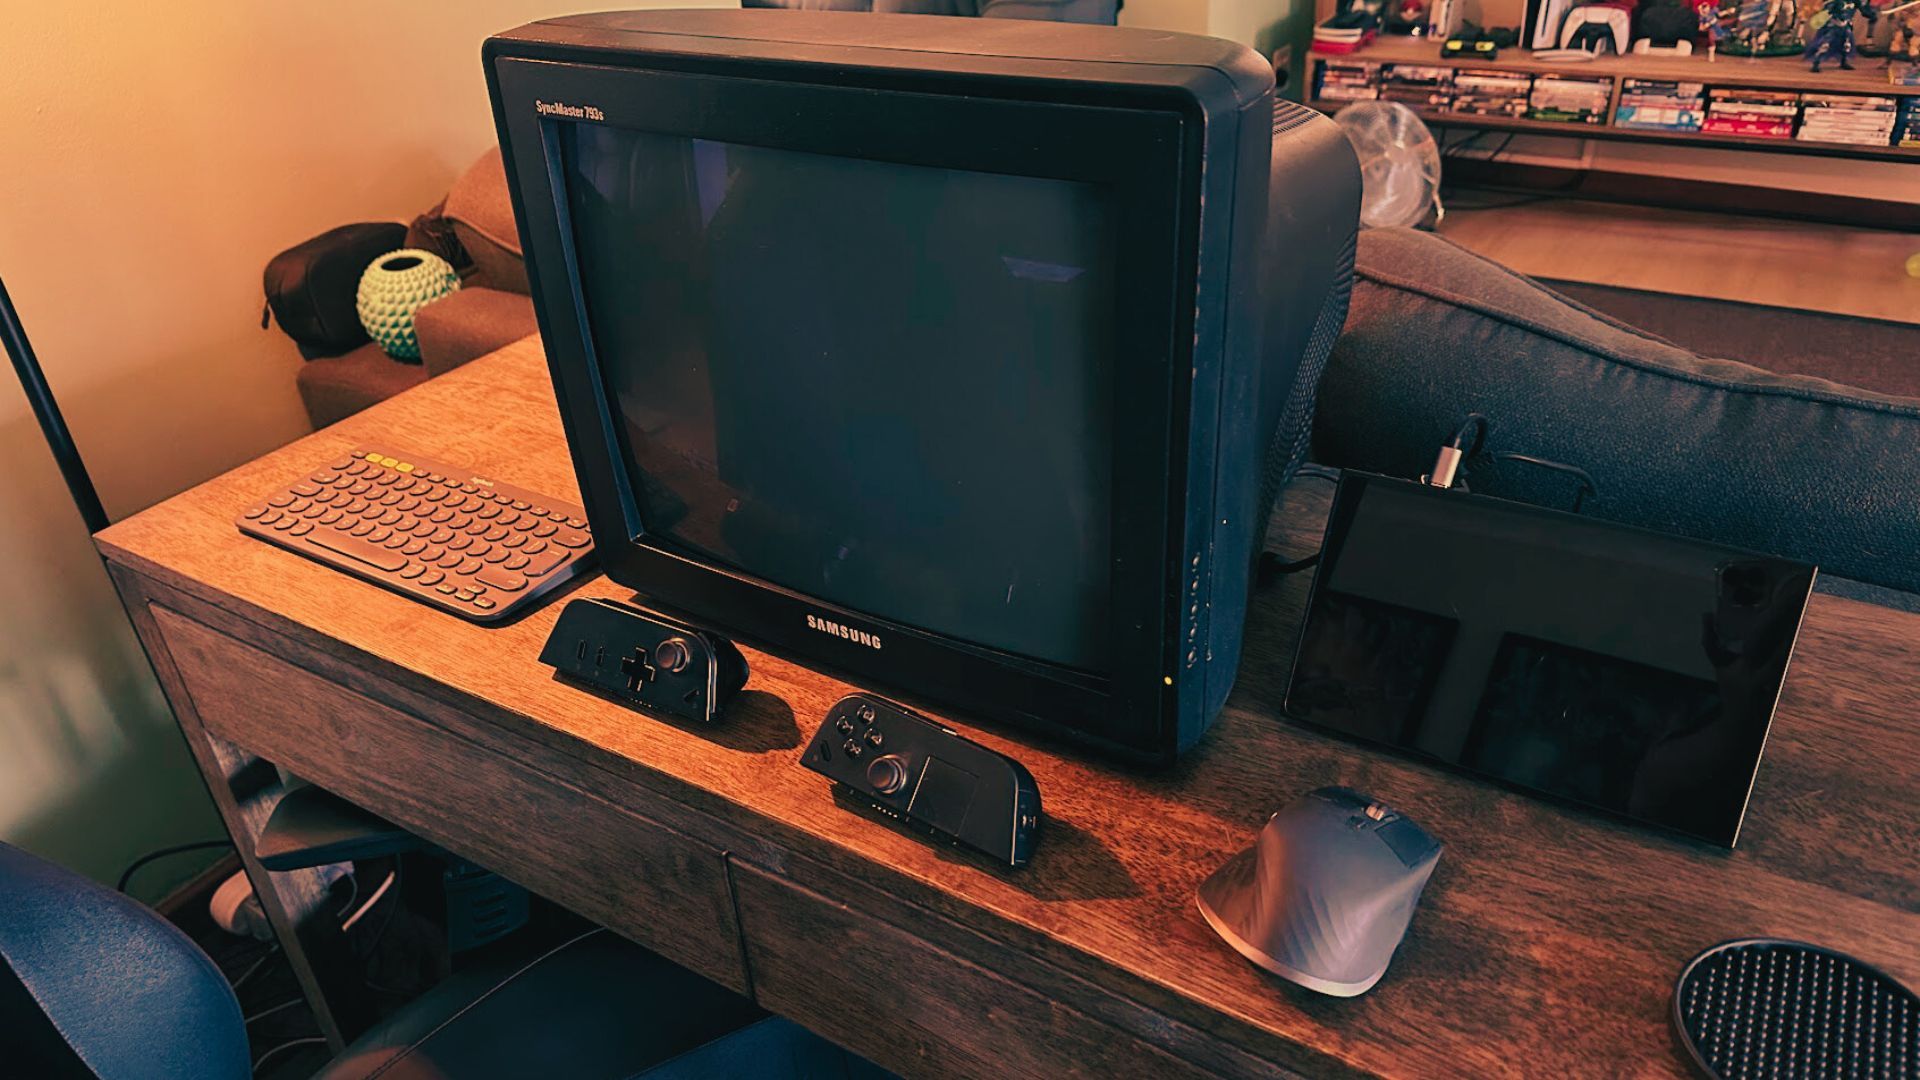
How an Old CRT Monitor Turned My Handheld PC Into the Perfect Retro PC Gaming System
The answer was retro-futuristic.
Supplies I Used for These Repairs
From what I read, replacing the belts are the most common issue. Still, there are a few specific things that I used and you’ll need if you have a tape player situation like this one.
First, you’ll need those belts. If you’re not sure what you need, you can buy generic collections of belts in assorted sizes. You can then attempt to place them in your player, but there’s no guarantee any of the belts will be the right size.
In my case, I was able to find the right fits in one of these generic belt assortments. I recommend researching your model first to see if there are precise sizes on record. While you probably won’t find them on general storefronts like Amazon, there are specialty stores like FixYourAudio that have model-specific belts.

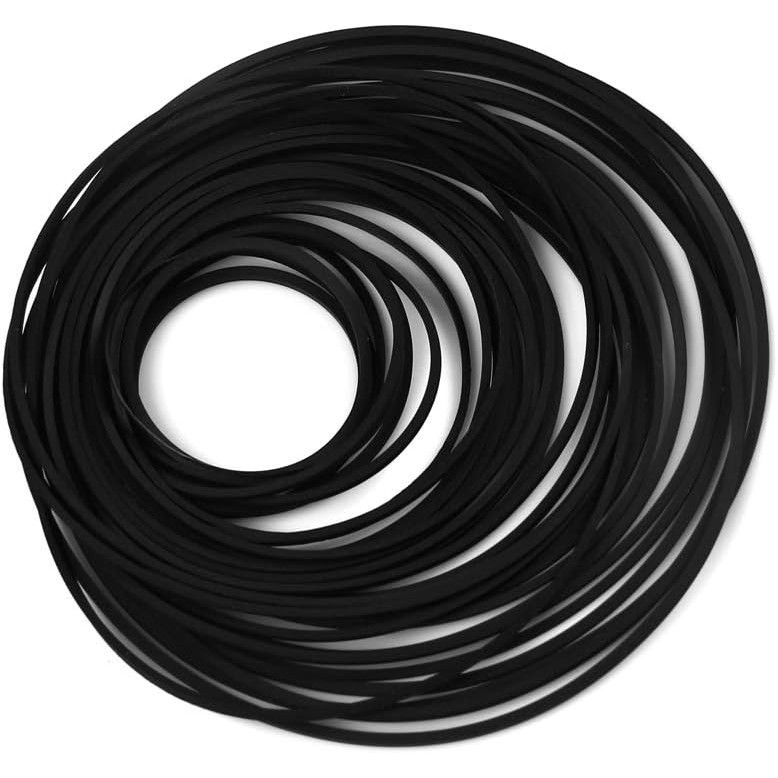
Assorted Cassette Tape Machine Belts
This 90-piece collection of square belts for cassette-playing machines will give you a lot of size options for your device. They range from 26mm to 120mm.
I also used isopropyl alcohol, cotton swabs, and sometimes even toothpicks to clean the pulleys, capstans, guide posts, and anything else tape will touch. That includes, importantly, the tape heads you can see inside any cassette bay. The cleaner those parts are, the better the audio will sound and the longer the tapes you’re listening to will last, generally speaking.
You can’t forget the compressed air can. It’s true of all tech repair situations that while you have the device open, you might as well do some basic cleaning. I blew out any dust that had gotten inside with a can of compressed air.

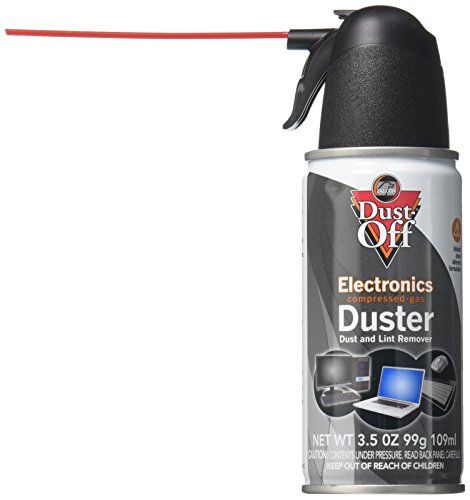
Falcon Dust Off Compressed Air Can
$6 $8 Save
$2
This can of compressed air is perfect for safely cleaning your electronics, and the can is compact enough to fit in your computer desk.
The Repair Work Was More Than Expected
So I had three jobs: remove the old belts, clean the interior, and put the new belts back on. All of these were more challenging than I initially expected. It basically boiled down to two issues: melted belts and a complex structure.
The black goo from the belts takes a lot of repeated swabbing with alcohol to remove. I went through countless cotton swabs and toothpicks trying to get it all. On top of that, touching it with your fingers gets it stuck there, and you’ll smear it on anything else you touch. So until I got some gloves, I was constantly washing my hands.

Related
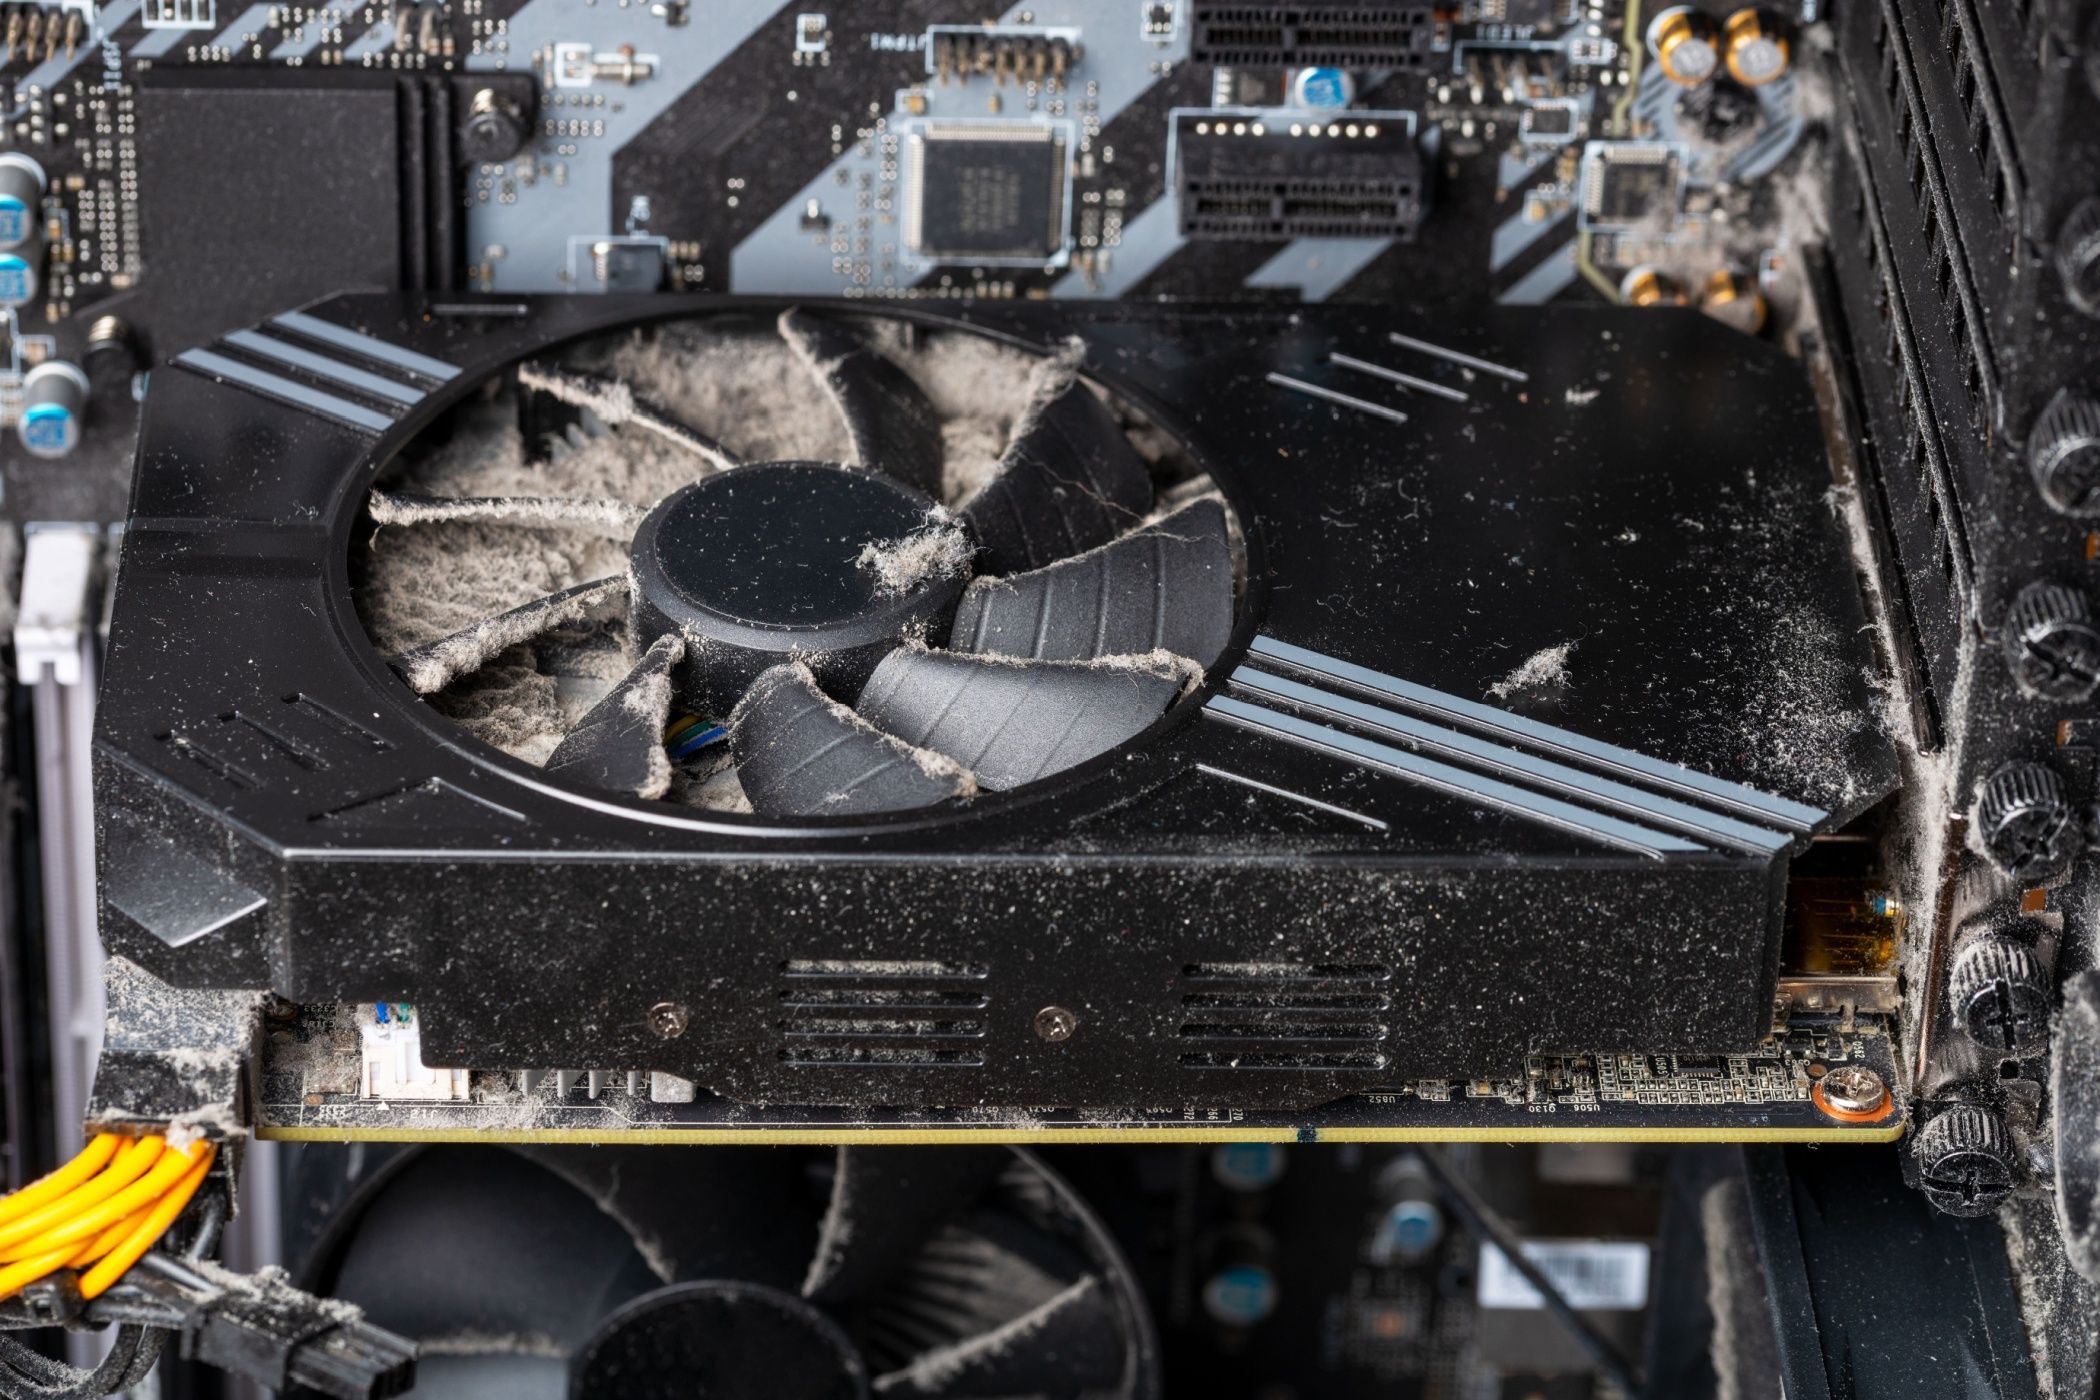
8 Common PC Cleaning Mistakes You Must Avoid
Don’t botch your PC clean!
Adding to the problem is the structure of the tape deck. The mechanisms for playback are intricate and complex, especially in a dual-bay deck like this one. This made some crevices very difficult to reach and clean effectively. I occasionally needed a cotton swab in one hand and a thin spudger in the other to move pulleys I couldn’t reach with my hands.
The construction was also a problem when it came time to put the new belts on. In a huge relief for me, someone had posted on YouTube a video going over all the CR-W780’s belts, with diagrams and annotations. I am very grateful for that person’s work. Even with the visual assistance, though, some belts took a lot of trial and error to physically get into place.
A New (Old) Audio Source on Deck
Once the tape deck was cleaned up and had the new belts in place, it was time to test it. All the wheels and pulleys were turning beautifully.
It sounds like, well, a cassette tape. While the CDs and vinyl I own sound better than the tapes, I still have them and want to listen to them. Now that I’ve fixed the deck, I can, and without having to buy one of those newer bulky cassette players. Besides, you get a satisfying feeling when you successfully repair anything, and sometimes the work is worth it just for that feeling.
Source link
-
-

-

-

-
-

-

-