How to boot Windows 11 in Safe Mode (2024)
- To boot Windows 11 in Safe Mode, open Start’s Power menu, hold “Shift,” and click “Restart.” Then click on Troubleshoot > Advanced Options > Startup Settings > Restart. Select the “4” or “Safe Mode” option or press “F4.”
- Another way to access Safe Mode is to start in WinRE from BIOS and then open Advanced Startup > Troubleshoot > Advanced Options > Startup Settings > Restart. Select the “4” or “Safe Mode” option or press “F4.”
- You can also start Windows 11 in Safe Mode from the Settings app, Command Prompt, and MSConfig.
UPDATED 10/21/2024: On Windows 11, you can boot in “Safe Mode” in at least seven ways through the Start menu, Settings, Lock screen, Command Prompt, System Configuration (msconfig), from boot, or USB, and in this guide, I’ll teach you how.
What’s Safe Mode on Windows 11?
Safe Mode is a feature that only loads a basic set of features and genetic drivers to troubleshoot and fix software and hardware-related problems on Windows 11.
Why you should boot into Safe Mode on Windows 11?
In this environment, you can troubleshoot the startup process when Windows 11 is not booting correctly, network connection problems, Windows Update is stuck downloading updates and applications, Blue Screen of Death, and more. In addition, you can use Safe Mode to resolve video driver issues and perform a virus scan to detect and remove malware that wouldn’t be possible while the operating system was running in normal mode.
What Safe Mode option should you choose on Windows 11?
Windows 11 offers three different modes, including:
- Safe Mode: If you only need access to the computer, choose the “Safe Mode” option (option 4 or F4).
- Safe Mode with Networking: If you need to access the internet or other network resources, choose “Safe Mode with Networking” (option 5 or F5).
- Safe Mode with Command Prompt: If you need to use command-line tools, select the “Safe Mode with Command Prompt” option (option 6 or F6).
I always recommend choosing option “5” since it gives you access to the minimal environment with internet access, and you can also access Command Prompt. If you have to open the command console, don’t try to open the Windows Terminal because it won’t work. If this is the case, open Command Prompt directly from the Start menu.
How do you determine whether or not you’re in Safe Mode?
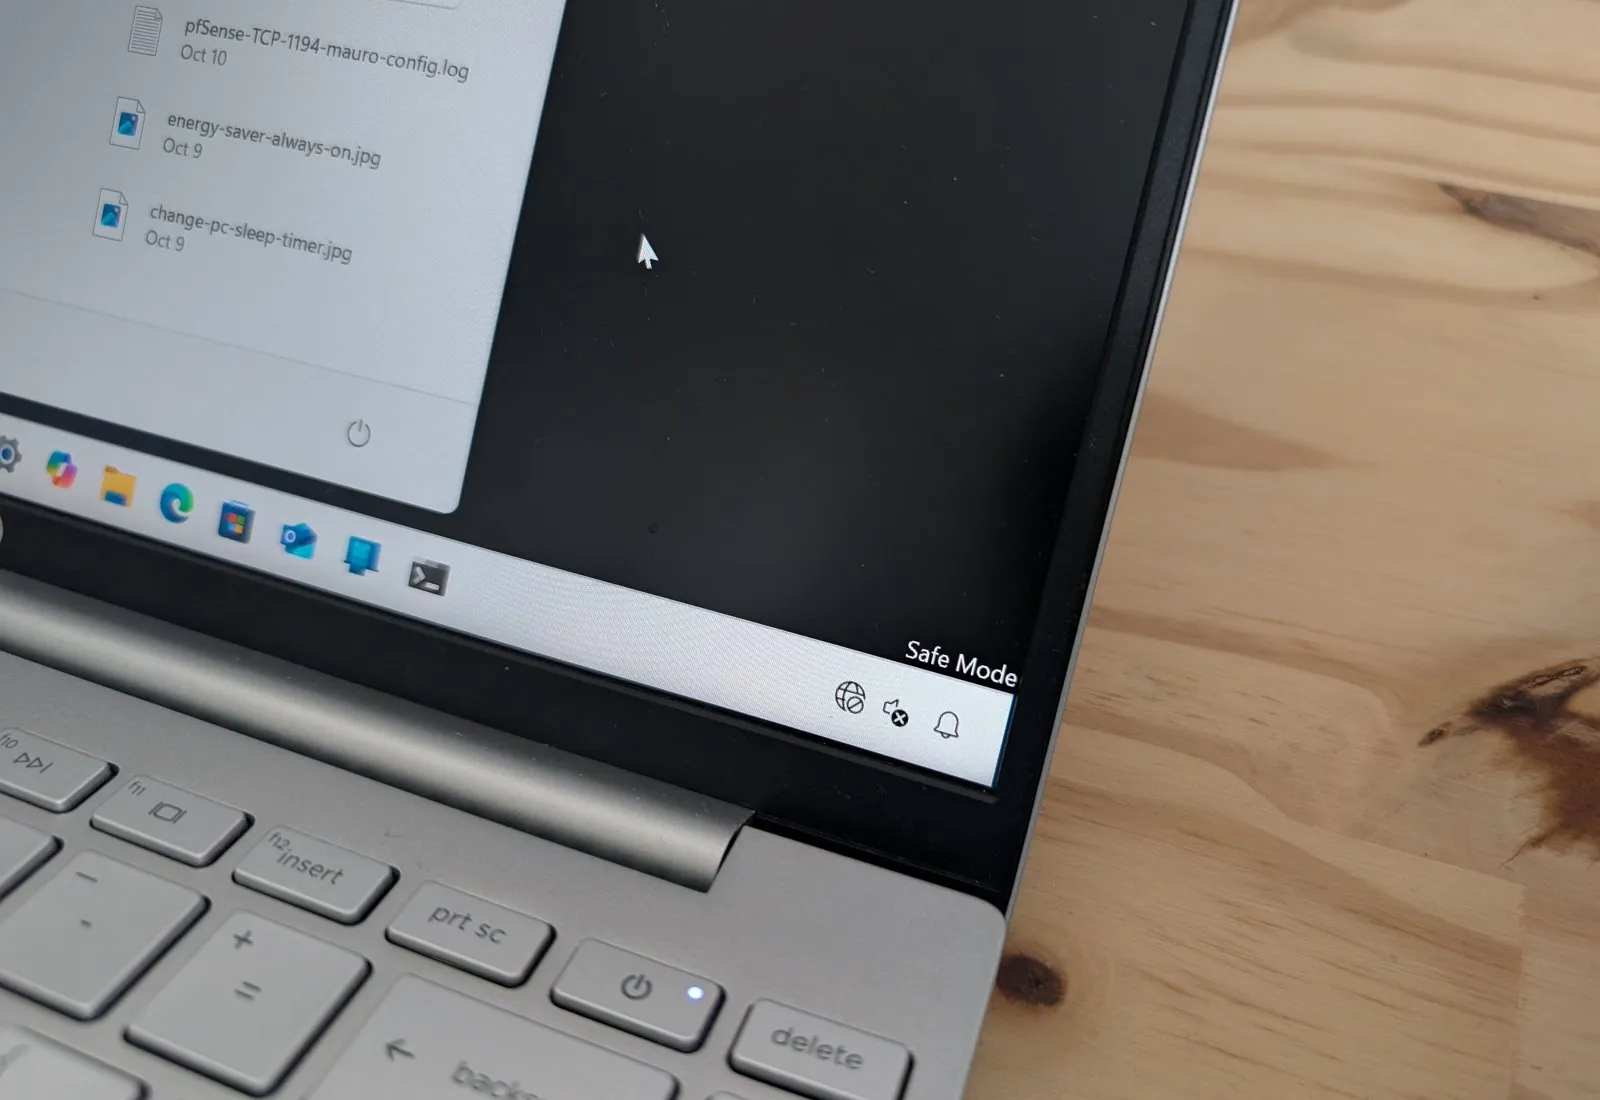
When you proceed with one of the methods outlined in this guide, you can determine whether the computer has successfully loaded the Safe Mode environment because your desktop background image won’t appear, and the “Safe Mode” message will appear on each corner of the screen. Also, the screen will use a lower resolution, the Windows help online page will load as soon as you log in, and you won’t be able to access most applications.
In this guide, I will teach you how to access the troubleshooting mode on Windows 11 using Command Prompt, Settings, the Power Options menu, and System Configuration or from power off. These instructions apply to Windows 11 24H2, 23H2, 22H2, and 21H2.
Start PC in Safe Mode on Windows 11
On Windows 11, you can boot a device into the Safe Mode environment in at least seven ways from inside and outside the desktop experience whether you have a laptop or desktop computer, and here’s how:
You can also follow these instructions in my video tutorial on my YouTube channel. (Remember to like and subscribe.)
From the Start menu
To boot in Safe Mode on Windows 11 from the Start menu, use these steps:
-
Open Start on Windows 11.
-
Click the Power menu.
-
Press and hold the “Shift” key and then click the Restart button.
-
Click the Troubleshoot option.
-
Click on Advanced options.
-
Click the Startup Settings option.

-
Click the Restart button.
-
Select “4” or press the “F4” key to boot the computer in the Safe Mode environment.

Once you complete the steps, the device will start in the specified mode, allowing you to troubleshoot and fix virtually any Windows 11.
From the Recovery settings
To access Safe Mode from the Settings app on Windows 11, use these steps:
-
Open Settings.
-
Click on System.
-
Click on Recovery.
-
Click the Restart now button under the “Advanced startup” section.

-
Click the Restart now button again on Windows 11.
-
Click the Troubleshoot option.
-
Click the Advanced options button.
-
Click the Startup Settings option.
-
Click the Restart button.
-
Select “4” or press the “F4” key to boot the computer in the Safe Mode environment.
After completing the steps, the device will enter the minimal mode environment, where you can troubleshoot and resolve system problems more efficiently.
From the Sign-in screen
To enter Safe Mode from the Sign-in screen, use these steps:
-
Click the Power button from the bottom right.
-
Press and hold the “Shift” key and then click the Restart button.

-
Click the Troubleshoot option.
-
Click on Advanced options.
-
Click the Startup Settings option.
-
Click the Restart button.
-
Select “4” or press the “F4” key to boot the computer in the Safe Mode environment.
Once you complete the steps, the computer will boot into Safe Mode.
From the Command Prompt
To boot Windows 11 into Safe Mode from Command Prompt (F8 key method), use these steps:
-
Open Start.
-
Search for Command Prompt, right-click the top result, and select the Run as administrator option.
-
Type the following command and press Enter:
Bcdedit /set {bootmgr} displaybootmenu yes
-
Restart the computer.
-
In the “Windows Boot Manager” menu, press the “F8” key to access the Startup Settings menu options.

-
Select “4” or press the “F4” key to boot the computer in the Safe Mode environment.
Once you complete the steps, Windows 11 will start in Safe Mode with the specified option. If you select the “Networking” option, you will be able to access Ethernet and Wi-Fi connectivity.
You can always exit the basic boot level using the same instructions, but in step 3, make sure to use the Bcdedit /set {bootmgr} displaybootmenu no command.
From the MSConfig (System Configuration)
To start Windows 11 in Safe Mode from System Configuration (msconfig), use these steps:
-
Open Start.
-
Search for msconfig and click on System Configuration to open the app.
-
Click the Boot tab.
-
Under the “Boot options” section, check the Safe boot option.
-
Choose the Minimal option to start Windows 11 in Safe Mode. Or you can select the Network option to boot Windows 11 with networking support.

-
Click the Apply button.
-
Click the OK button.
-
Restart the computer.
The only caveat with this option is that Windows 11 will boot into the minimal mode to troubleshoot problems until you revert the changes.
After resolving the problem with the device, you can revert the changes using the same instructions, but in step 4, clear the “Safe boot” option.
From power off outside of Windows 11
To enter Safe Mode from boot (cold boot) on Windows 11, use these steps:
-
Press the power button.
-
Immediately after the Power-On Self-Test (POST), and you see the blue Windows logo, press the power button again to shut down.
-
Repeat steps 1 and 2 twice. In the third restart, Windows 11 should enter the Windows Recovery Environment (WinRE).

-
Select your Windows 11 account.
-
Confirm the account password.
-
Click the Continue button.
-
Click the Advanced Startup button to continue.

-
Click the Troubleshoot option.
-
Click the Advanced options button.
-
Click the Startup Settings option.
-
Click the Restart button.
-
Select “4” or press the “F4” key to boot the computer in the Safe Mode environment.
After you complete the steps, the computer will boot into Safe Mode to troubleshoot and resolve problems on Windows 11.
It’s important to note that the method of using the “F8” or “Shift + F8” no longer works to start Windows 11 in the minimal mode from BIOS during boot because firmware and software technologies have evolved. Now, devices use UEFI (Unified Extensible Firmware Interface) instead of BIOS (Basic Input Output System).
However, you can still use the old methods but only to access the Windows Recovery Environment (WinRE), where you can access the option to boot in Safe Mode.
From USB bootable media outside of Windows 11
The instructions for starting the computer with an installation media to access the Safe Mode environment will be slightly different depending on the operating system version.
Windows 11 24H2 and later
To get into Safe Mode from Windows 11 USB media from version 24H2 and later releases, use these steps:
-
Start the PC with the Windows 11 USB flash drive.
-
Press any key to continue.
-
Click the Next button.

-
Click the Next button again.

-
Choose the “Repair my PC” option.

-
Click the Next button.
-
Choose the correct keyboard layout to continue.
-
Click on troubleshoot.

-
Click the Command Prompt option.

-
Type the following command to start the computer in Safe Mode and press Enter:
bcdedit /set {default} safeboot minimal
-
Close the Command Prompt with the “X” button on the top-right.
-
Click on Continue.
Once you complete the steps, the computer will start with the minimum set of services and drivers, allowing you to troubleshoot and resolve problems.
Windows 11 23H2 and older
To access Safe Mode from Windows 11 USB media from version 23H2 and older releases, use these steps:
-
Start the PC with the Windows 11 USB flash drive.
-
Press any key to continue.
-
Click the Next button.

-
Click the “Repair your computer” option from the bottom left.

-
Click the Command Prompt option.

-
Type the following command to start the computer in Safe Mode and press Enter:
bcdedit /set {default} safeboot minimal -
Close the Command Prompt with the “X” button on the top-right.
-
Click on Continue.
After you complete the steps, the device will start in Safe Mode, allowing you to troubleshoot and resolve issues on Windows 11.
When using the “bcedit” command, the computer will always start in Safe Mode. You can exit the mode by opening Command Prompt (admin) while in the minimal environment and running the bcdedit /deletevalue {default} safeboot command.
Update October 21, 2024: These instructions have been updated to ensure accuracy and reflect new changes.
Source link