On Windows 11, Microsoft now allows users to personalize the widgets displayed on the Lock Screen. In this guide, I’ll walk you through the steps to configure this new setting.
Starting with Windows 11 build 22635.4870, Microsoft has revamped the Lock Screen experience, introducing a new option to select which widgets appear before signing in.
Previously, the system automatically displayed widgets for weather, traffic, sports, and watchlist on the Lock Screen, but there was no way to customize them. This limitation made the feature less useful for those who didn’t want to see sports scores, financial updates, or traffic reports.
Now, Microsoft has addressed this feedback by replacing the “Lock screen status” setting with a new “Your widgets” option. This update gives you full control over which widgets appear on the Lock Screen, and now, you can add, rearrange, or remove widgets as needed. Additionally, the feature now supports all available Windows 11 widgets, further enhancing customization.
Currently, this feature is rolling out to Beta Channel users with build 22635.4870. If you don’t see the new setting, you may need to enable it manually using the ViveTool.
In this guide, I’ll outline the steps to change the widgets from the Lock Screen on Windows 11.
To enable the widgets experience in the Lock Screen, follow these steps:
-
Open Settings on Windows 11.
-
Click on Personalization.
-
Click the Lock Screen page.
-
Turn on the “Your widgets” toggle switch.
Once you complete the steps, the Lock Screen will display the default widgets, which may include Weather, Sports, Watchlist, and Traffic.
To customize the widgets in the Lock Screen, follow these steps:
-
Open Settings.
-
Click on Personalization.
-
Click the Lock Screen page.
-
Click the “Your widgets” setting.
-
Click the Add widget button.

-
Choose the widget from the list.
-
Click the Add widget button.

-
(Optional) Click the close (X) button to remove a widget.

-
(Optional) Select and drag a widget to the position you want to appear on the Lock Screen.
-
(Optional) Click the edit (pen) button to customize the widget (if applicable).


After you complete the steps, only the widgets you specified will be available from the Lock Screen.
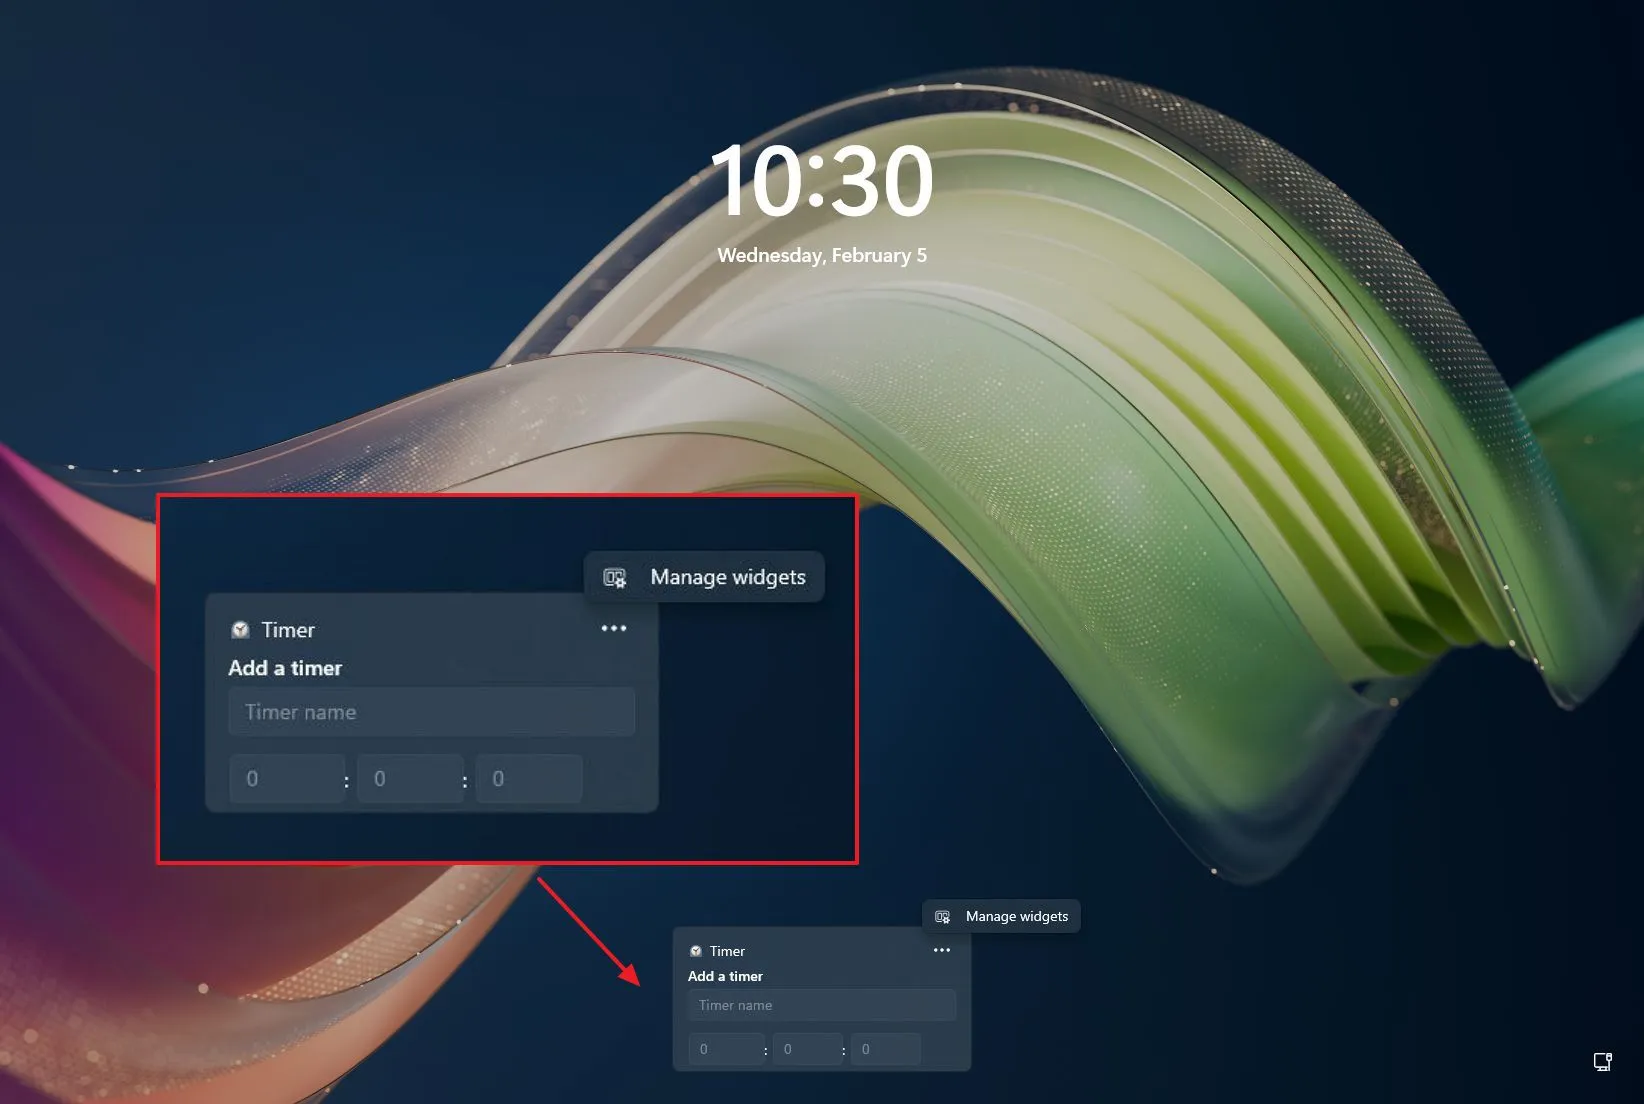
Alternatively, you can enter the settings by clicking the menu button in the Lock Screen widget and choosing the “Manage widgets” option.
You can display virtually any widget that supports the required size to appear on the Lock Screen.
To disable the widgets experience in the Lock Screen, follow these steps:
-
Open Settings.
-
Click on Personalization.
-
Click the Lock Screen page.
-
Turn off the “Your widgets” toggle switch.

Once you complete the steps, the Lock Screen will no longer show the widgets experience.
To enable the “Your widgets” settings for the Windows 11 Lock Screen, follow these steps:
-
Download the ViveTool-vx.x.x.zip file on your computer.
-
Double-click the zip folder to open it with File Explorer.
-
Click the Extract all button.

-
Click the Extract button.
-
Copy the path to the folder.
-
Open Start.
-
Search for Command Prompt, right-click the top result, and select the Run as administrator option.
-
Type the following command to navigate to the ViveTool folder and press Enter:
cd c:\folder\path\ViveTool-v0.x.x
In the command, remember to change the path to the folder with your path.
-
Type the following command to enable the new Lock Screen widgets experience and press Enter:
vivetool /enable /id:50179255,53672489
-
Restart the computer.

Once you complete the steps, the new experience will be enabled and you will be able to control it using the above instructions.
If you want to undo the changes, you can follow the same instructions outlined above, but in step 10, run the vivetool /disable /id:50179255,53672489 command.
Source link
-

-

-

-

-
-

-

-