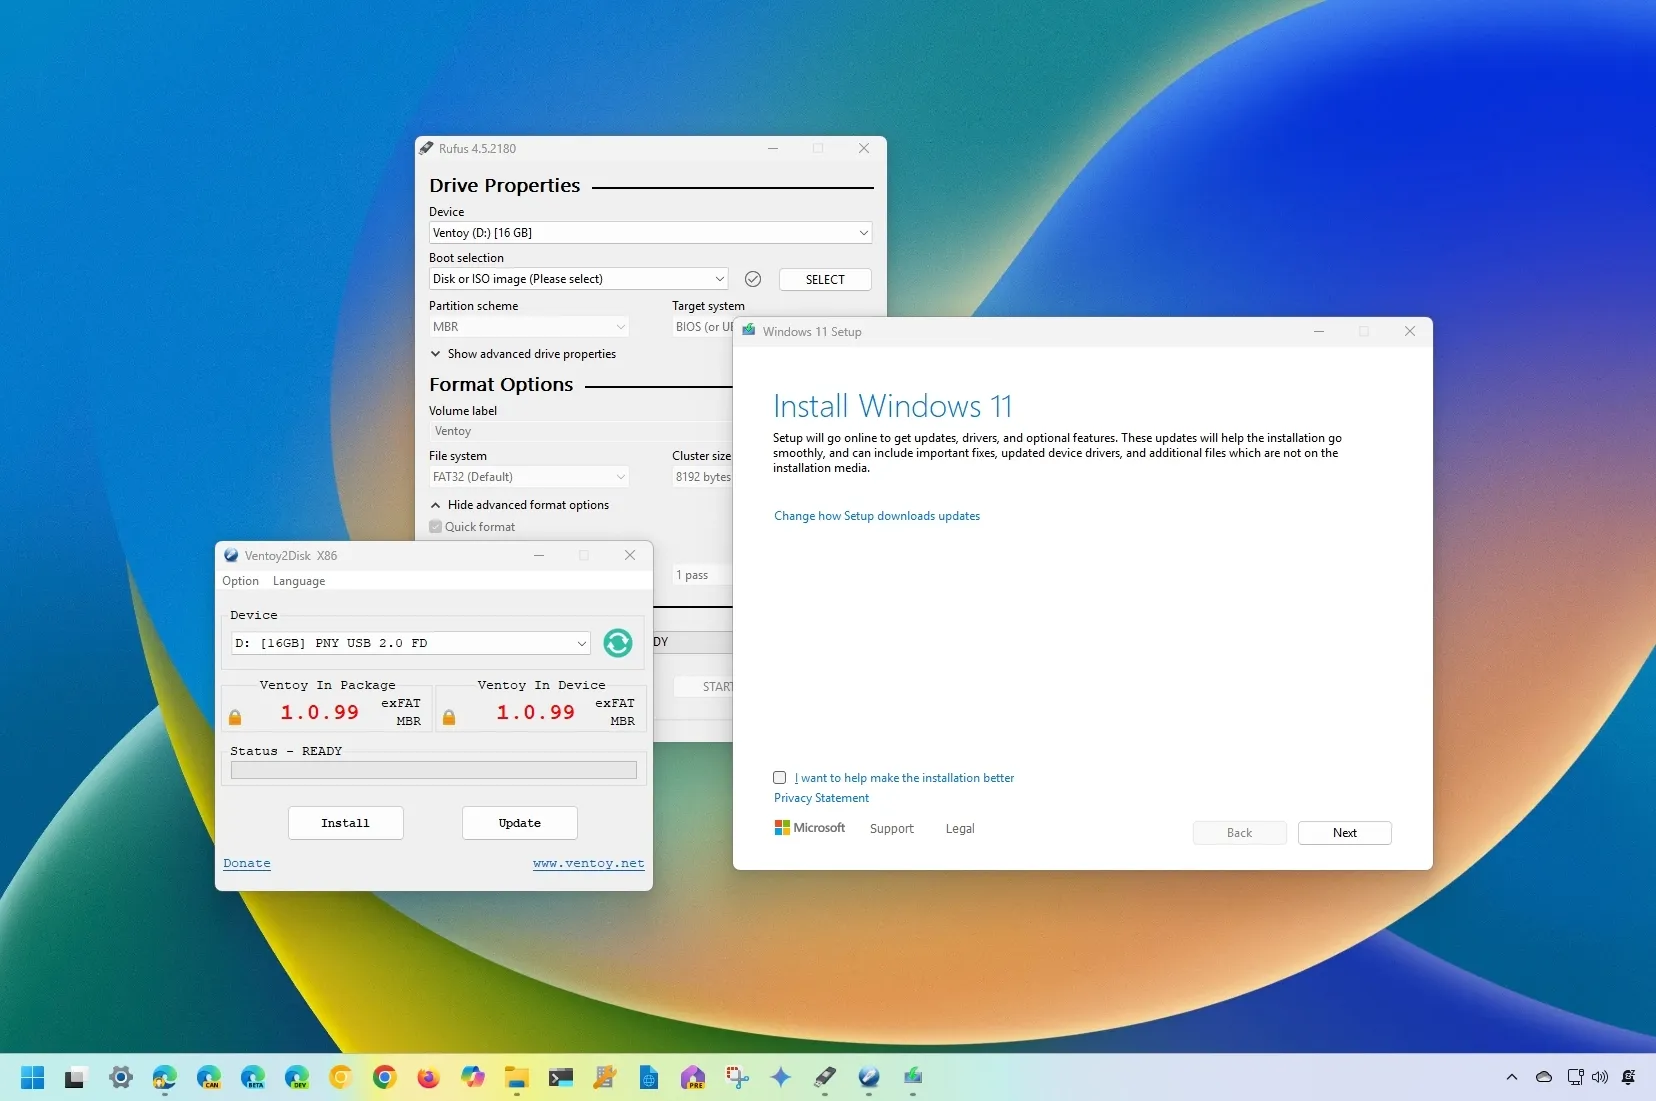
- To create a Windows 11 24H2 USB bootable media, connect a USB flash drive to the computer, open “Rufus,” click “Download,” choose Windows 11 24H2 ISO settings, click “Download” again, click “Start,” customize the settings, including creating a media for unsupported hardware.
- To use “Ventoy,” install the app on a USB flash drive and then drop the Windows 11 24H2 ISO file into the storage.
- To use “Command Prompt,” download the Windows 11 2024 Update ISO file, and use the “diskpart” tool to clear, create a partition, and copy the installation files to the USB media.
- To use the “Media Creation Tool,” launch the application, customize the settings, choose “USB flash drive,” select the bootable media, click “Next,” and “Finish.”
If you want to install Windows 11 24H2 (2024 Update) on a computer that meets the hardware requirements, you’ll need to create a bootable USB media. In this guide, I will explain the different ways available to complete this task. Although there are multiple ways to upgrade to a new version of Windows 11, I still think that starting a device with a USB bootable media is the best method to resolve issues and ensure that you will apply a fresh installation. It’s also the only way to install Windows 11 24H2 on a new empty hard drive.
When you have to create a bootable USB flash drive to set up a new installation of Windows 11 24H2, you can use the Media Creation Tool, which is the official tool. However, you can also use third-party tools like Rufus and Ventoy. You can even use Command Prompt to manually create offline installation media.
In this guide, I will teach you multiple ways to create a USB bootable media to perform an in-place or clean install of the Windows 11 2024 Update. Although you can use virtually any USB flash drive, you still have to make sure it has at least 8GB of space. Also, it’s important to back up any data on the flash drive, as this process will format the flash drive, deleting its contents.
Create Windows 11 24H2 bootable USB using Rufus
To create a bootable USB to install Windows 11 24H2 using Rufus, use these steps:
-
-
Click the link to download the latest version under the “Download” section.
-
Double-click the Rufus executable file to launch the tool.
-
Click the Settings button (third button from the left) at the bottom of the page.
-
Choose the Daily option in the “Check for updates” setting and under the “Settings” section.
-
Click the Close button.
-
Click the Close button again.
-
Open Rufus again.
-
(Optional) Choose the USB flash drive under the “Device” section.
-
Select the “Disk or ISO image” option under the “Boot selection” section.
-
Click the down-arrow button (on the right side) and select the Download option.

-
Click the Download button.
-
Select the Windows 11 option.
-
Click the Continue button.
-
Select the “24H2” option to choose the Windows 11 2024 Update.

-
Click the Continue button.
-
Select the Windows 11 Home/Pro/Edu option.
-
Click the Continue button.
-
Select the language for Windows 11 installation.
-
Click the Continue button.
-
Select the x64 architecture option.
-
Click the Download button.
-
Select the location to save the Windows 11 24H2 ISO file automatically.
-
Choose the “Standard Windows 11 Installation” option under the “Image option” setting.
-
(Optional) Continue with the default settings after the download.
-
(Optional) Specify a name for the drive (for example, Windows 11 24H2 Setup) under the “Volume label” setting.
-
Click the Start button.
-
Clear all the options from the “Windows User Experience” page to create an installation media without modifications.

-
Click the OK button.


Once you complete the steps, the tool will begin creating a bootable media with the Windows 11 24H2 installation media.
At the time of this writing, you can use Rufus to create an installation media for computers that meet the minimum system requirements. You can also use it to create a USB flash drive for unsupported hardware, but only to perform a clean installation. The developers are working on an update to allow the ability to perform an in-place upgrade for unsupported PCs.
Create Windows 11 24H2 bootable USB using Ventoy
To create a Windows 11 bootable USB with Ventoy, use these steps:
-
Click the ventoy-x.x.xx-windows.zip file under the “Assets” section and download it to your computer.

Quick note: You may need to force and keep the file as the browser may detect it as malicious.
-
Open File Explorer.
-
Open the Zip folder location.
-
Double-click the open the ventoy-x.x.xx-windows.zip file.
-
Click the Extract all button from the command bar.

-
Click the Browse button.
-
Select a location to extract the files.
-
Click the Select Folder button.
-
Click the Extract button.
-
Open the ventoy-x.x.xx folder.
-
Double-click the Ventoy2Disk.exe file to launch the installer.

-
Choose the USB flash drive from the “Device” setting.
-
Click the Install button.

-
Click the OK button.
-
Click on This PC from the left pane of File Explorer.
-
Open the Ventoy drive.
-
Copy and paste the Windows 11 24H2 ISO files to make them bootable.


After you complete the steps, you can use the USB flash drive to boot a device with the Ventoy software, where you can then choose to start the device with the Windows 11 24H2 ISO file.
Create Windows 11 24H2 bootable USB using Command Prompt
To create a Windows 11 24H2 USB flash drive from ISO with Command Prompt, use these steps:
-
Select the Windows 11 option under the “Download Windows 11 Disk Image (ISO) for x64 devices” section.

-
Click the Download button.
-
Select the installation language.

-
Click the Confirm button.
-
Click the 64-bit Download button to save the Windows 11 24H2 ISO file on the computer.

-
Open Start.
-
Search for Command Prompt, right-click the top result, and select the Run as Administrator option.
-
Type the following command to open Diskpart and press Enter:
diskpart
-
Type the following command to determine the USB flash drive and press Enter:
list disk
-
Type the following command to select the storage and press Enter:
select disk 1
Quick tip: The
select disk 1command as an example, but you have to replace 1 with the flash drive you want to use. -
Type the following commands to delete everything from the USB flash drive and press Enter:
clean

-
Type the following command to create a primary partition and press Enter:
create partition primary
-
Type the following command to select the new partition and press Enter:
select partition 1
-
Type the following command to make the USB flash drive bootable and press Enter:
format FS=FAT32 quick
-
Type the following command to assign a volume and a drive letter for the USB flash drive and press Enter:
assign letter=X

Change X for any available letter you want to use in the command.
-
Type the following command to quit the tool and press Enter:
exit
-
Type the following command to mount the Windows 11 24H2 ISO file and press Enter:
PowerShell Mount-DiskImage -ImagePath "C:pathtoWindows11-24H2.iso"

In the command, update the path with the location where you have stored the Windows 11 24H2 ISO file.
-
Type the following command to relaunch Diskpart and press Enter:
diskpart
-
Type the following command to determine the drive letter for the mounted Windows 11 24H2 ISO file and press Enter:
list volume
-
Type the following command to exit Diskpart and press Enter:
exit
-
Type the following command to access the ISO file and press Enter:
E:
-
Type the following command to open the “boot” folder and press Enter:
cd boot
-
Type the following command to update the volume boot code for the USB flash drive and press Enter:
bootsect /nt60 X:
-
Type the following command to copy all the Windows 11 2024 Update installation files to the USB flash drive and press Enter:
xcopy E:*.* X: /E /F /H

In the command, change the “E” and “X” letters with the correct drive letters for the ISO image file and the USB flash drive, respectively.


After you complete the steps, you can use the bootable USB to perform a clean install of Windows 11 24H2 on any supported computer.
Create Windows 11 24H2 bootable USB using Media Creation Tool
To create a bootable Windows 11 24H2 USB with the Media Creation Tool, use these steps:
-
Click the Download Now button under the “Create Windows 11 installation media” section.
-
Double-click the mediacreationtool.exe file to launch the tool.
-
Click the Accept button.
-
Click the Next button.

Quick note: Clear the “Use the recommended options for this PC” option to select the correct language, architecture, and edition if you want to create a Windows 11 24H2 USB for another computer.
-
Select the “USB flash drive” option.

-
Click the Next button.
-
Select the USB flash drive from the list.

-
Click the Next button.
-
Click the Finish button.

Once you complete the steps, you can start the computer with the USB drive to install Windows 11 24H2.
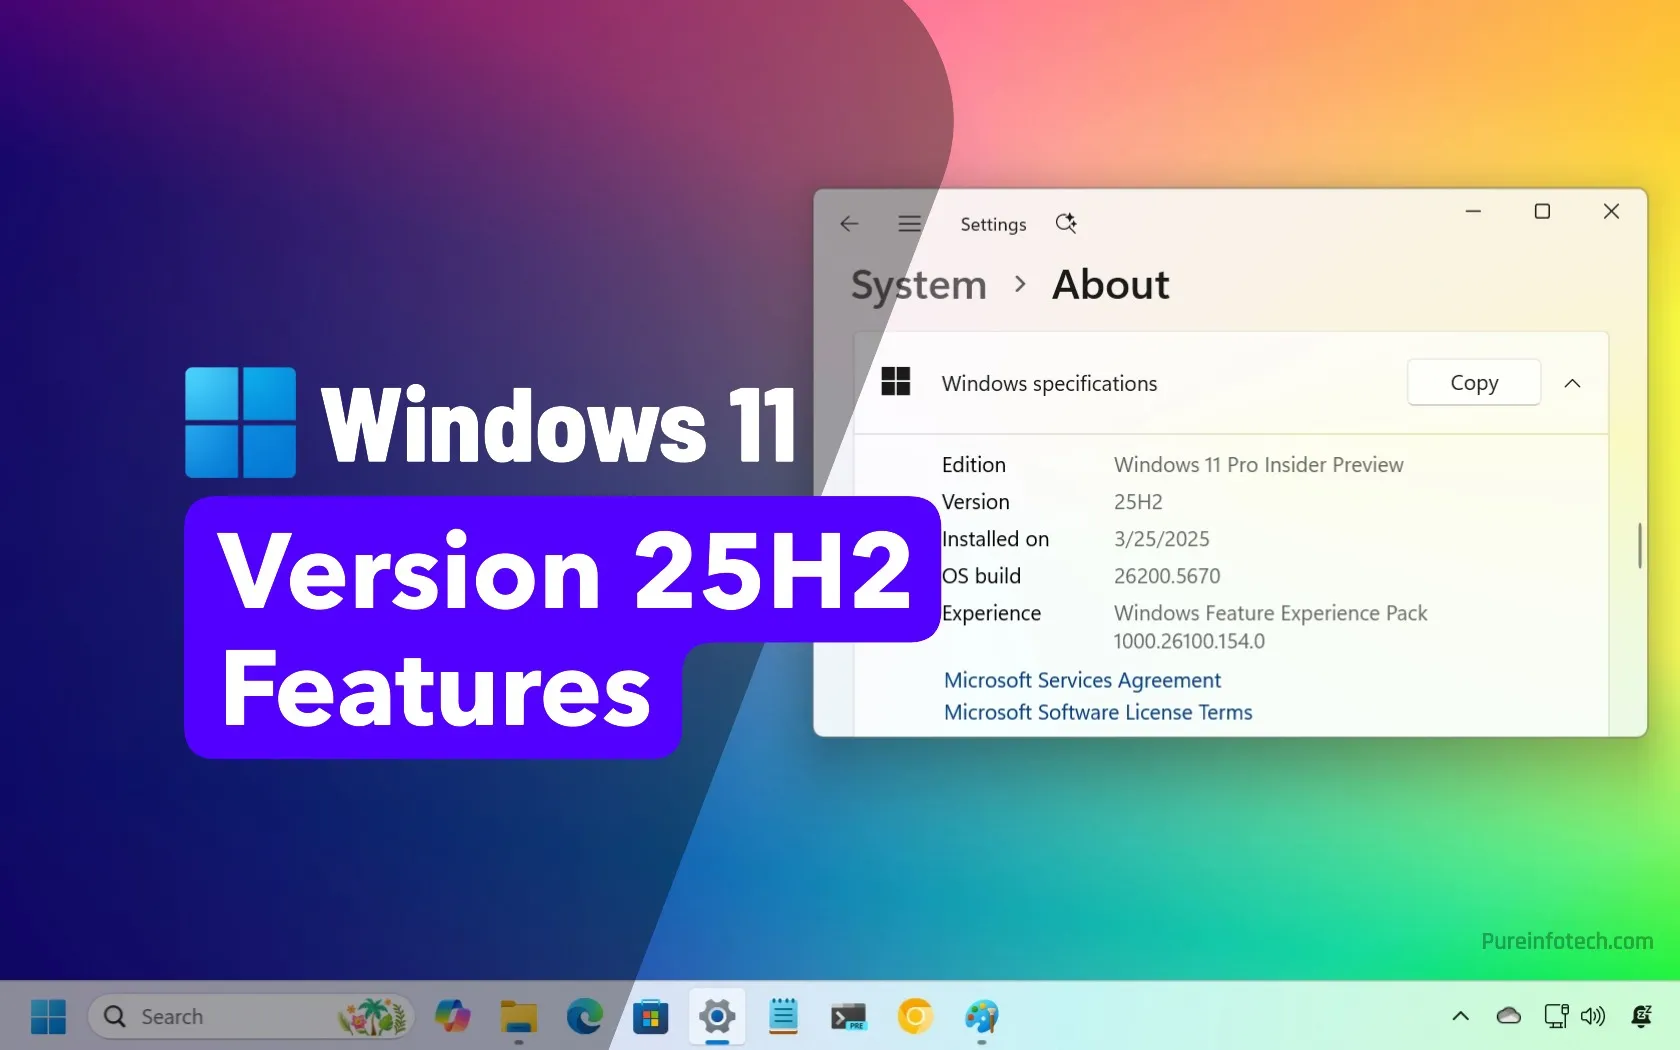
Update October 10, 2024: This guide has been updated to ensure accuracy and reflect changes to the process.
Why You Can Trust Pureinfotech
The author combines expert insights with user-centric guidance, rigorously researching and testing to ensure you receive trustworthy, easy-to-follow tech guides. Review the publishing process.
Source link
- n Yaxşı Azərbaycan Kazinoları 2025 Bonuslar və Aksiyalar.704 (2)
-

-

-

-

-
-

-