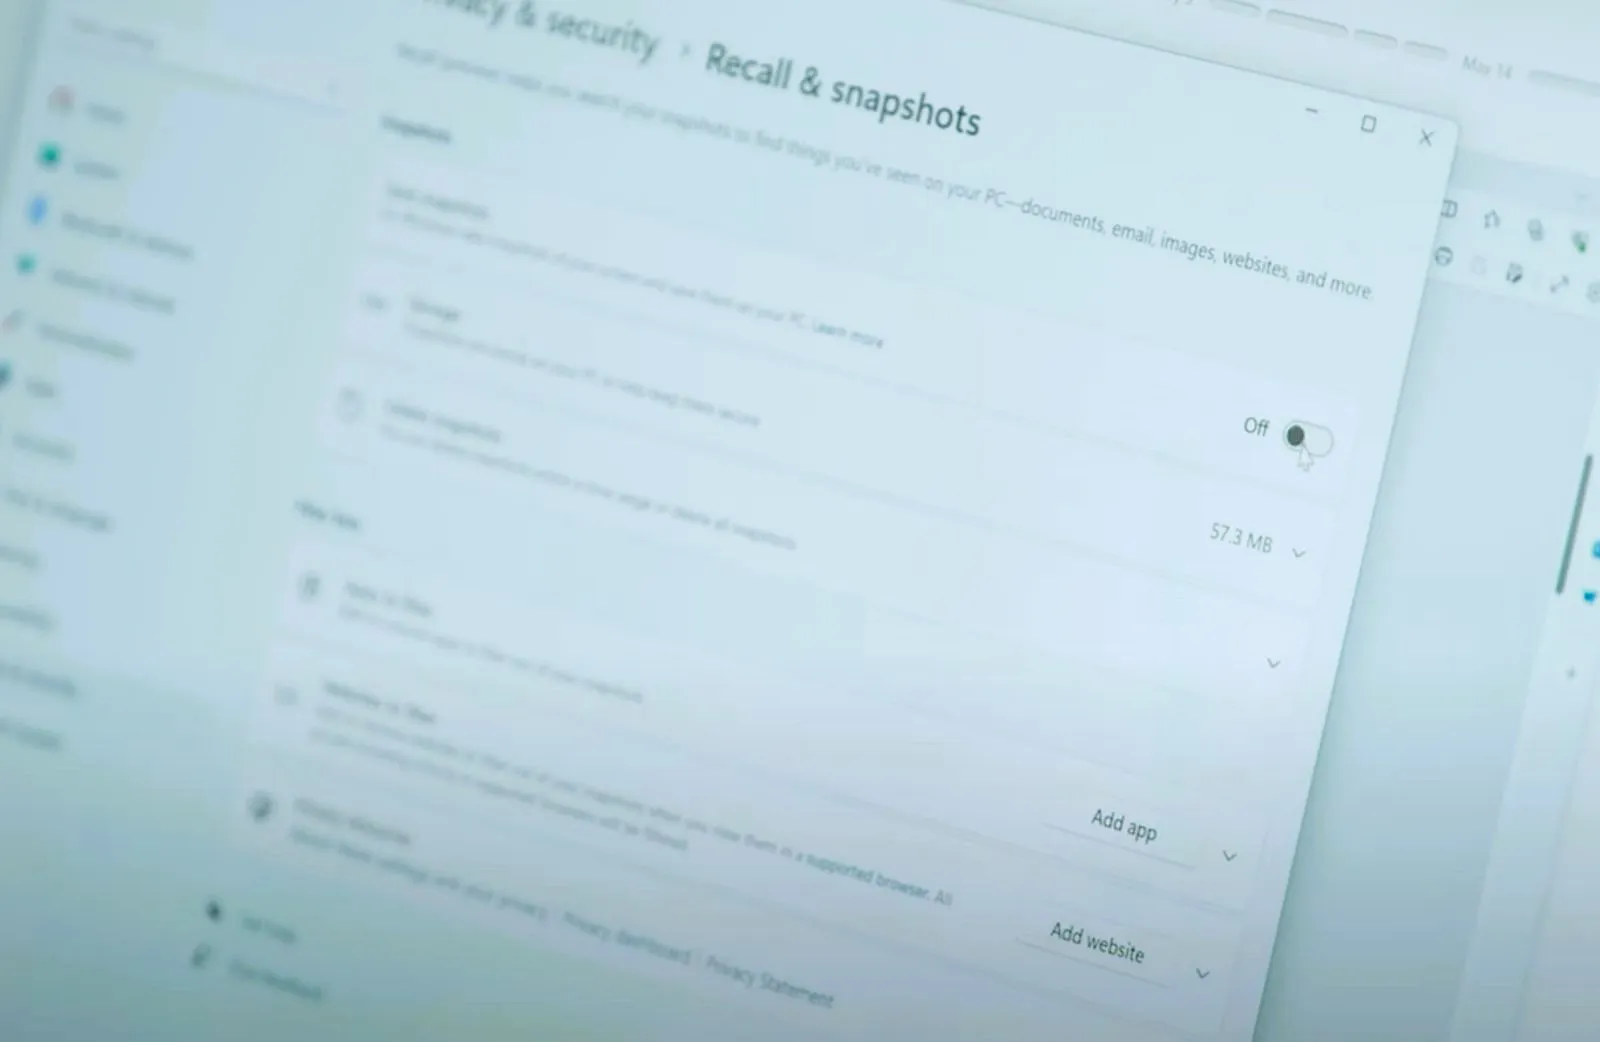
- To disable Recall on Windows 11, open Settings > Privacy & security > Recall & snapshots and turn off the “Save snapshots” toggle switch.
- It’s also possible to disable Windows Recall AI through the Registry or Group Policy Editor.
UPDATED 11/26/2024: On Windows 11 24H2, you can disable the Recall feature completely or temporarily, and in this guide, I will explain how to perform this configuration. Although the Recall feature can help you to find any activity (such as documents, images, websites, messages, email, apps, and more) you have done on your computer using an AI model that runs locally on the computer, it’s not a feature for everyone since many users can consider this feature a privacy and security concern.
This is because the timeline feature technically constantly takes screenshots of everything that occurs on the screen, and it can record sensitive information (such as private images, videos, and more). Microsoft has updated the feature to detect and prevent it from saving snapshots with other sensitive information, such as passwords, personal identification numbers, and credit card details.
Also, many people may be concerned about using system resources and the impact on battery life, even though the NPU (Neural Processing Unit) will handle most of the processing. Theoretically speaking, this feature should not significantly impact battery or performance.
In addition, there is the problem of trust. Although Recall uses an AI model that works locally on the device, a lot of users will be concerned about the company spying on them, which shouldn’t be the case.
Regardless of the reason, even though Microsoft wants you to use this feature, it has added an option in the Settings app to disable Recall completely or temporarily from the Taskbar. You can also disable the feature through the Group Policy Editor or the Registry.
In this guide, I will outline the steps to turn off the Recall feature on Windows 11.
Completely turn off Recall feature on Windows 11
To disable Recall on Windows 11, use these steps:
-
Open Settings on Windows 11.
-
Click on Privacy & security.
-
Click the Recall & snapshots page.
-
Turn off the “Save snapshots” toggle switch.
-
(Optional) Click the Delete snapshots setting.
-
Click the Delete all button for the “Delete all snapshots” setting.
Once you complete the steps, the Recall feature will be disabled, and stop taking snapshots of every activity.
If you only want to turn the feature off temporarily, click the “Recall” button in the Taskbar and click Click the “Pause until tomorrow” button.
After you complete the steps, the AI timeline will temporarily pause taking snapshots until you turn on the feature again.
If you want to enable Recall again, use the same instructions, but in step 4, turn on the toggle switch.
Completely turn off Recall feature from Registry
If you have a device running Windows 11 Home, you won’t have access to the Group Policy Editor, but you can also disable Windows Recall through the Registry by modifying the “WindowsAI” key.
To disable Windows Recall through the Registry, use these steps:
-
Open Start.
-
Search for regedit and click the top result to open the Registry Editor.
-
Browse to the following path:
HKEY_LOCAL_MACHINE\SOFTWARE\Policies\Microsoft\Windows\WindowsAI
-
Right-click the WindowsAI key, select the New menu, and choose the “DWORD (32-bit) Value” option.
-
Name the key AllowRecallEnablement and press Enter.
-
Double-click the newly created key and make sure the value is 0.
-
Click the OK button.
-
Restart the computer.
After you complete the steps, the photographic memory feature will no longer be operational on your Copilot+ PC and for all users. This process will also delete all the Recall components from the computer. If the feature was previously configured, changing the Registry keys will also delete the snapshots already stored on the computer.
Completely turn off Recall feature from Group Policy
If you have a device running Windows 11 Pro, Enterprise, or Education, you can disable the Recall feature from the Group Policy Editor. This option isn’t available on Windows 11 Home.
To disable Recall through Group Policy, use these steps:
-
Open Start.
-
Search for gpedit and click the top result to open the Group Policy Editor.
-
Browse the following path:
Computer Configuration > Administrative Templates > Windows Components > Windows AI
-
Right-click the “Allow Recall to be enabled” policy and choose the Edit option.
-
Check the Disabled option.
-
Click the Apply button.
-
Click the OK button.
Once you complete the steps, the Recall feature should no longer run on your computer, and the components will be removed from it. If the feature was previously configured, changing the policy state will also delete the snapshots already stored on the computer. You will also need to restart the computer to complete the process.
Update November 26, 2024: This guide has been updated to ensure accuracy and reflect changes to the process.
Source link
