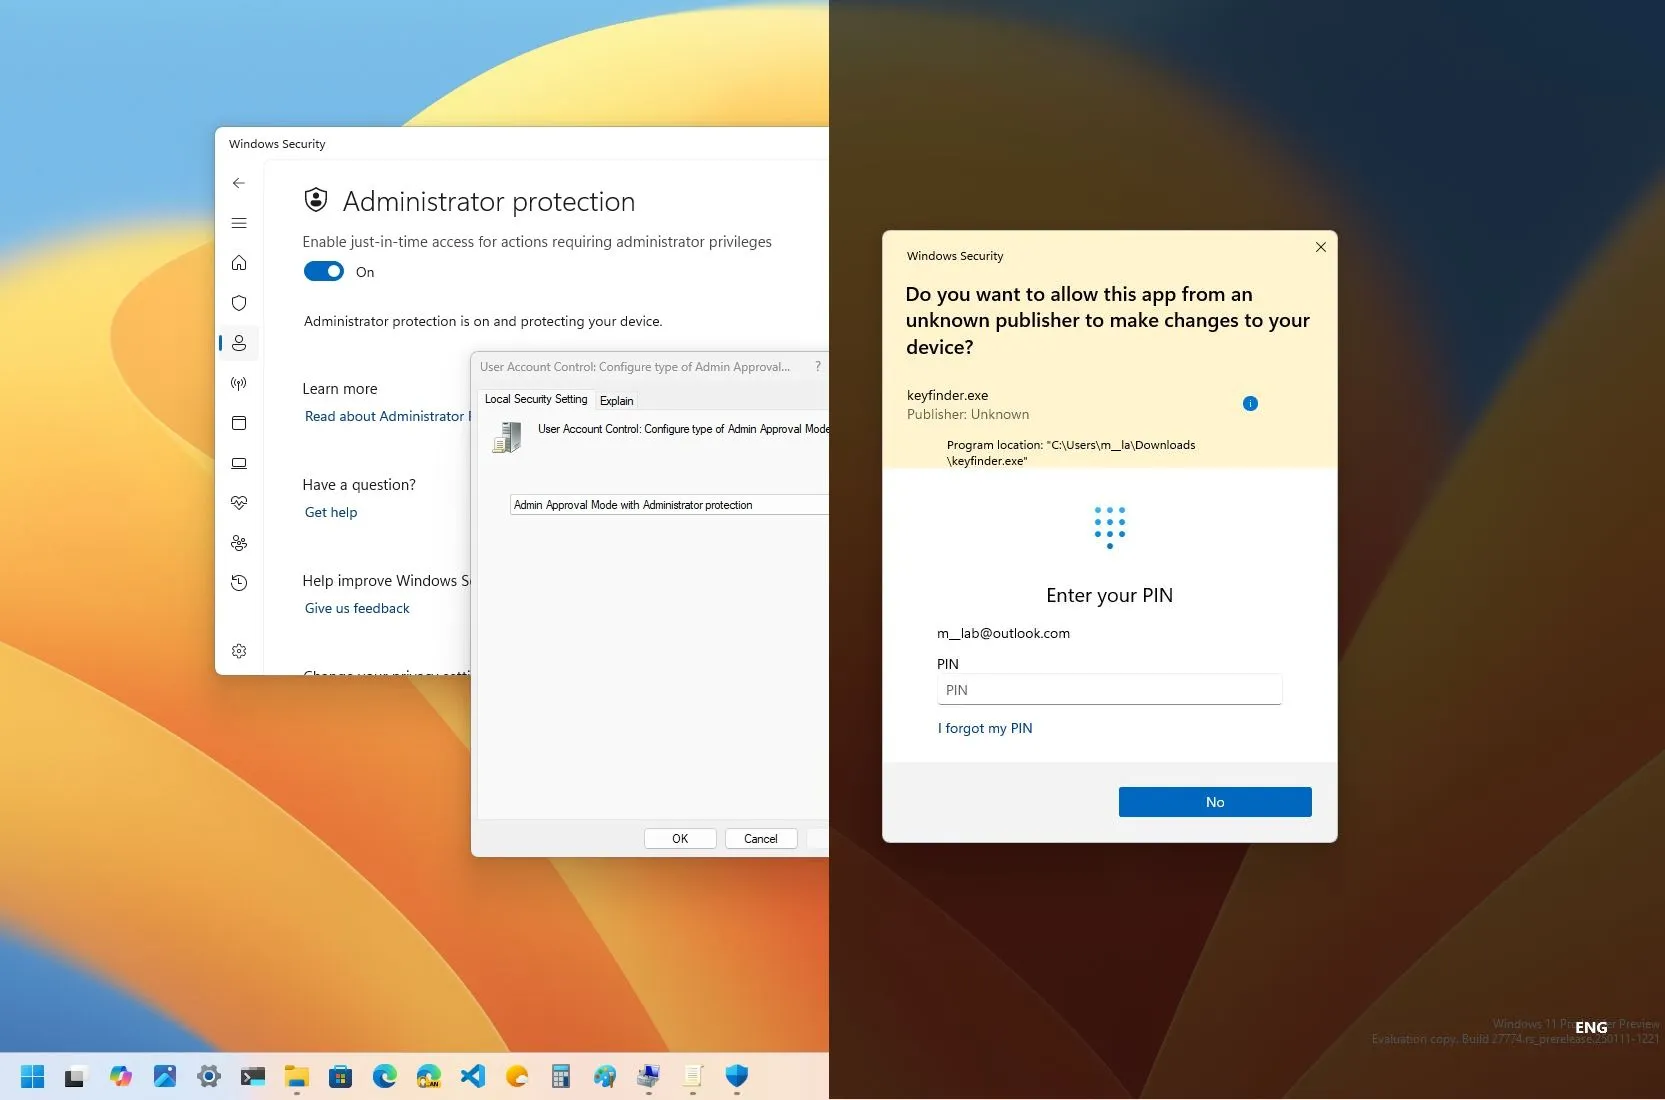
On Windows 11, you can now enable the “Administrator Protection” feature to add an extra layer of security when running apps requiring elevation, and in this guide, I will explain the steps to configure this feature through Windows Security and Group Policy.
What is Administrator Protection?
Administrator Protection is a security feature on Windows 11 designed to enhance the security of accounts with administrative privileges. Typically, users in the “Administrators” group can modify critical settings, install software, and make system-wide changes without restrictions. While these capabilities are useful, they also present a significant security risk, as malicious actors can exploit them to compromise the system.
Administrator Protection helps mitigate these risks by reducing the chance of users making system-level changes by mistake and preventing malware from silently making unauthorized modifications.
How does Administrator Protection work?
This feature applies the “Principle of Least Privilege” (PoLP), treating administrator accounts as standard users by default. Elevated privileges are granted only when explicitly approved, following a “just-in-time” (JIT) elevation process.
For instance, if you attempt to perform an administrative task (such as modifying system settings or installing an application), you must first approve the elevation. This can be done using Windows Hello authentication (the default method) or consenting to the prompt in a secure environment (without additional authentication).
Once the task is approved, Windows 11 temporarily creates an isolated administrator token using a system-generated separate user account. This token is used only for the duration of the task and is destroyed immediately after. According to Microsoft, this ensures that administrator privileges are not persistent. Each subsequent request for elevated privileges repeats the entire process, maintaining a secure environment.
Furthermore, the prompt uses different color schemes to give you a visual queue of the potential risks allowing the action.
Is Administrator Protection the same as User Account Control?
No, although they may look similar, Administrator Protection isn’t the same as the User Account Control (UAC). Microsoft defines the UAC as “more of a defense-in-depth feature,” while Administrator Protection has been designed to ensure that any access or tampering with the code or data of an elevated session doesn’t execute without proper confirmation by the user.
In short, User Account Control focuses on system-wide change notifications, while Administrator Protection strengthens the security model specifically for admin accounts by minimizing privilege misuse.
What are the Administrator Protection requirements?
This feature is still in development. As such, you must enroll your computer in the Canary Channel of the Windows Insider Program to download and install Windows 11 build 27774 or higher release to access the feature.
In this guide, I will outline the two ways to enable the new security feature for administrators on Windows 11.
Enable Administrator Protection on Windows 11 from Security app
To turn on Administrator Protection on Windows 11 (Home and Pro), follow these steps:
-
Open Start.
-
Search for Windows Security and click the top result to open the app.
-
Click on Account protection.
-
Click the “Administrator protection settings” option at the bottom of the page.
-
Turn on the “Administrator protection” toggle switch.
-
Restart the computer.
Once you complete the steps, the system will enable just-in-time access for actions requiring administrator privileges, replacing the User Account Control feature on your account.
Enable Administrator Protection on Windows 11 from Group Policy
To enable Administrator Protection from the Group Policy Editor on Windows 11 Pro, follow these steps:
-
Open Start.
-
Search for gpedit and click the top result to open the Group Policy Editor.
-
Browse the following path:
Computer Configuration > Windows Settings > Security Settings > Local Policies > Security Options
-
Right-click the “User Account Control: Configure type of Admin Approval Mode” policy and choose the Properties option.
-
Choose the “Admin Approval Mode with Administrator protection” option.
-
Click the Apply button.
-
Click the OK button.
-
Right-click the “User Account Control: Behavior of the elevation prompt for administrators running with Administrator protection” policy and choose the Properties option.
-
Choose the prompt experience, including the “Prompt for credentials on the secure desktop” option to authenticate with Windows Hello or the “Prompt for consent on the secure desktop” option to elevate the prompt without credentials.
-
Click the Apply button.
-
Click the OK button.
-
Restart the computer.
After you complete the steps, the settings will apply to Windows 11 Pro or Enterprise, and the next time you run an application that requires elevation, you will receive a prompt to consent to the action or authenticate using one of the available Windows Hello methods.
Source link
