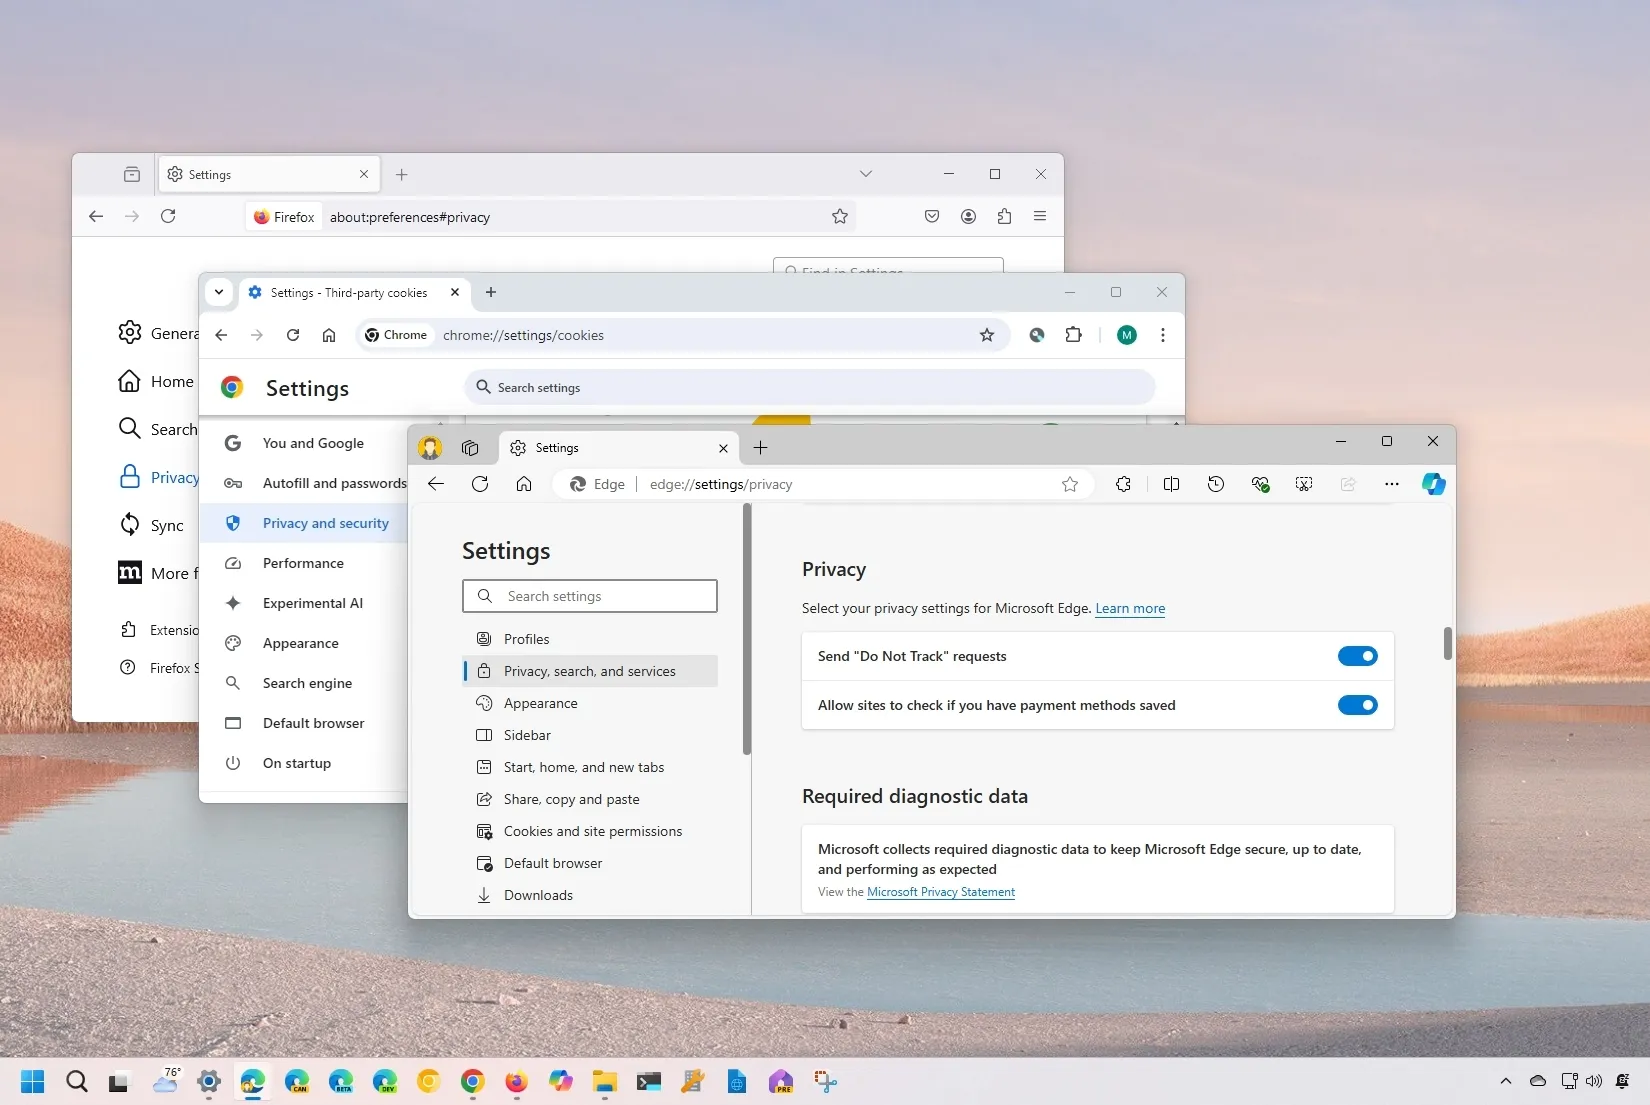
- To enable “Do Not Track” on Edge, open Settings > Privacy, search, and services, and turn on the “Do Not Track requests” toggle switch.
- On Chrome, open Settings > Privacy and security > Third-party cookies, and turn on the “Do Not Track request with your browsing traffic” toggle switch
- On Firefox, open Settings > Privacy & security, and turn on the “Send websites a “Do Not Track” request” toggle switch.
On Windows 11 (and 10), almost every browser, including Microsoft Edge, Google Chrome, and Mozilla Firefox, includes the “Do Not Track” (DNT) setting, and in this guide, I’ll explain the steps to enable this feature to improve your browsing privacy.
What is Do Not Track?
Do Not Track (DNT) is a browser setting that sends a signal to websites, indicating your preference not to be tracked for targeted advertising or analytics.
Although many websites will respect your request, they are not obligated to comply, and since most sites rely on your data for advertising, many will ignore it.
While DNT might not be a foolproof solution, enabling it’s still a good practice since it’s another layer of protection for your privacy and can help reduce the amount of targeted advertising.
In this guide, I will outline the easy steps to enable the feature to send requests telling websites you don’t want to be tracked on Windows 11 (or 10).
Enable the Do Not Track feature on Edge, Chrome, and Firefox
On virtually every browser available for Windows 11 (or 10), it’s possible to enable (or disable) the feature to prevent websites from tracking your activities. In this guide, I’m listing the steps for the top three most popular browsers.
Microsoft Edge
To send “do not track” requests on Edge, use these steps:
-
Open Microsoft Edge.
-
Open the “Settings and more menu” from the top-right.
-
Choose the Settings option.
-
Click on “Privacy, search, and services.”
-
Turn on the “Send “Do Not Track” requests” toggle switch under the “Privacy” section.
Google Chrome
To enable the “do not track” feature on Chrome, use these steps:
-
Open Google Chrome.
-
Open the “Customize and control Google Chrome” menu from the top right.
-
Choose the Settings option.
-
Click on “Privacy and security.”
-
Click the “Third-party cookies” page.
-
Turn on the “Do Not Track request with your browsing traffic” toggle switch under the “Advanced” section.
-
Click the Confirm button.
Mozilla Firefox
To send websites that do not track requests on Firefox, use these steps:
-
Open Mozilla Firefox.
-
Open the “Open application menu” menu from the top right.
-
Choose the Settings option.
-
Click on “Privacy & security.”
-
Turn on the “Send websites a “Do Not Track” request” toggle switch under the “Website Privacy Preferences” section.
Once you complete the steps, the browser will start sending the DNT request every time you visit a site to try to make the connection a little more private.
Why You Can Trust Pureinfotech
The author combines expert insights with user-centric guidance, rigorously researching and testing to ensure you receive trustworthy, easy-to-follow tech guides. Review the publishing process.
Source link
