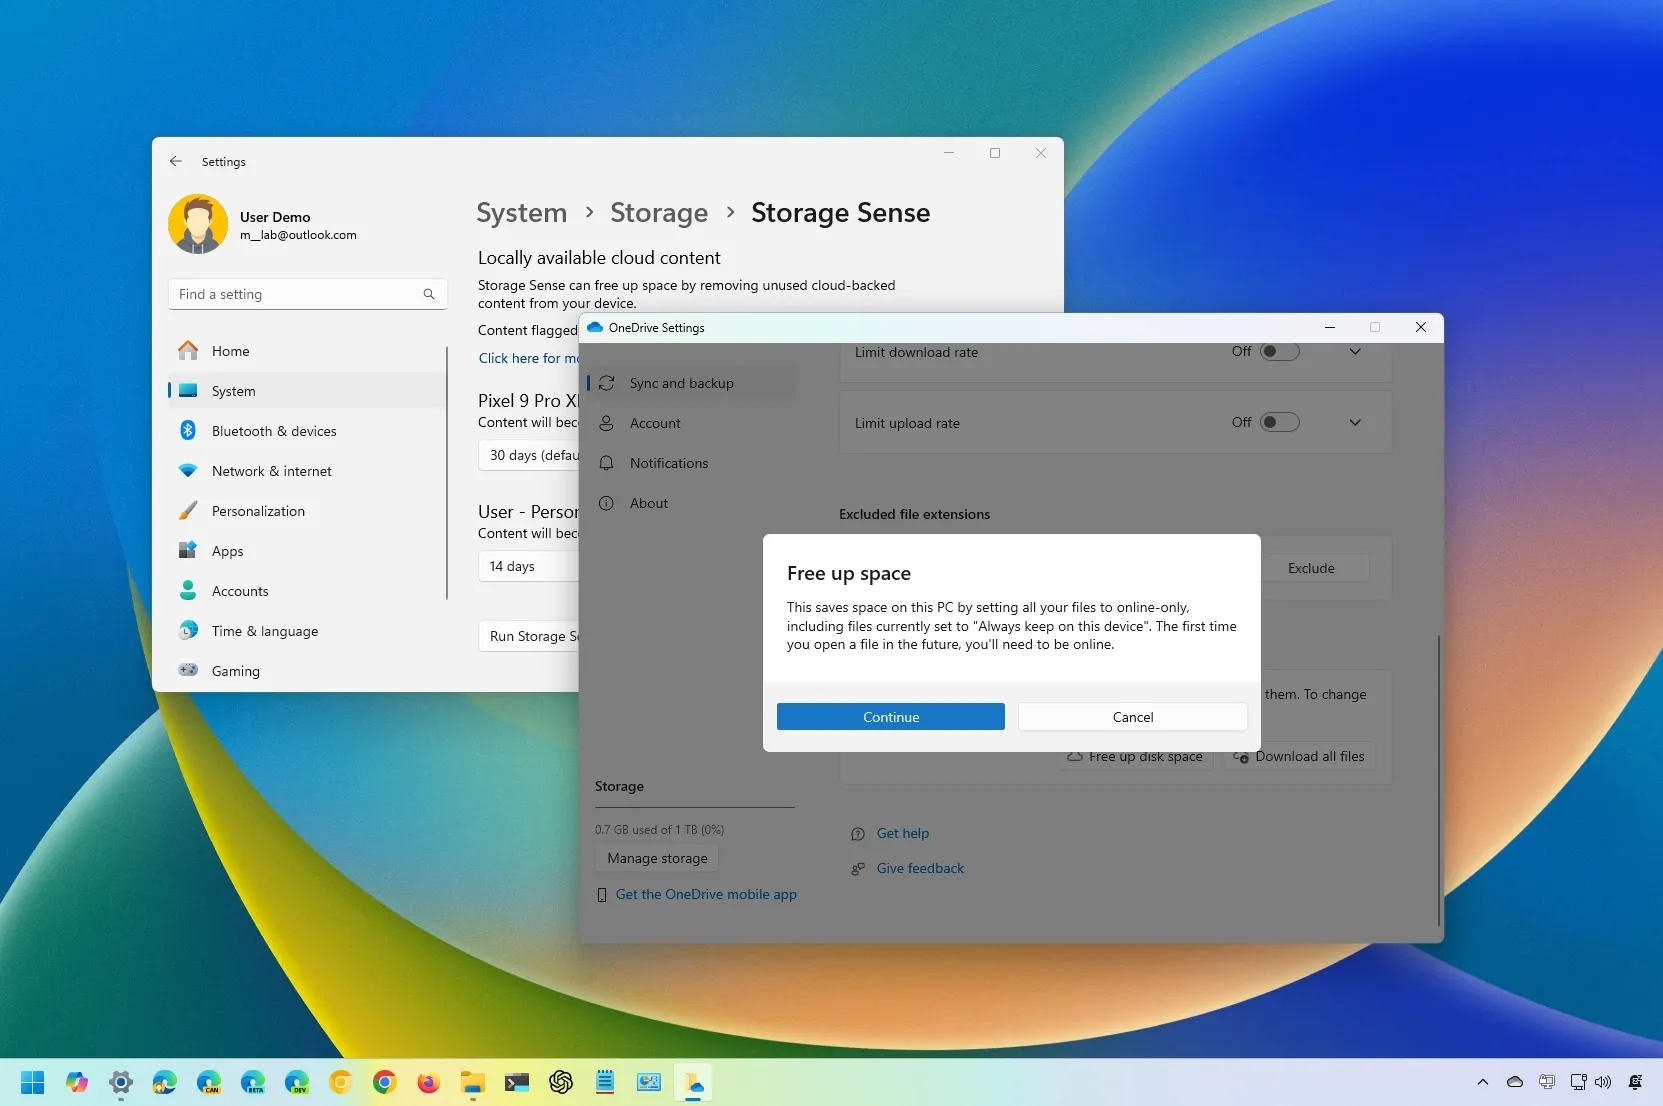
OneDrive Files On-Demand is a feature that allows you to access all your files in your OneDrive account without downloading them and using storage space on your computer. In this guide, I’ll explain the steps to enable and manage this feature on Windows 11 (and 10).
On Windows 11 (and 10), when you use Files On-Demand, you’ll see all your files on File Explorer, but they won’t take up space because only their thumbnail and metadata will be available on your device. Only when you try to open the file, the feature will connect online to download the remaining components that make up the document, image, or video file. For this reason, this feature only works with an internet connection.
Only files you mark as “Always keep on this device” will download and take up space on your device, but they’re always there for you, even when offline.
In this guide, I’ll explain the steps to manage the OneDrive Files On-Demand feature to free up space on your computer.
Enable OneDrive Files On-Demand on Windows 11
On Windows 11, you can manage Files On-Demand for OneDrive in at least three ways from the OneDrive settings, the Storage Sense feature, and File Explorer.
From OneDrive
To enable OneDrive Files On-Demand on Windows 11, use these steps:
-
Click the OneDrive icon in the System Tray.
-
Click the Help & Settings (gear) button and choose the Settings option.
-
Click on Sync and backup.
-
Click the Free up disk space button under the Files On-Demand section.
-
Click the Continue button.
Once you complete the steps, the feature will set all OneDrive files as online-only, including those currently configured as “Always keep on this device.” After using this feature, the device will need an internet connection when you try to open a file.
From Settings
To make files online-only through the Storage Sense feature, use these steps:
-
Open Settings.
-
Click on Storage.
-
Click on Storage Sense.
-
Choose the number of days (1, 14, 30, or 60) before a file becomes online-only under the “Locally available cloud content” setting.
-
Click the “Run Storage Sense now” button.
After you complete the steps, the files in the OneDrive folder will come online only, depending on your configuration.
For File Explorer
To make specific OneDrive files online-only to free up space on Windows 11, use these steps:
-
Open File Explorer.
-
Open the OneDrive folder.
-
Select the files and folders you want to make online only.
-
Right-click the selection and choose the “Free up space” option.
Once you complete the steps, the selected files will become online-only, meaning an internet connection will be required when you need them again.
It’s important to note that OneDrive will re-download the files the next you need them and store them again on your computer. When this happens, you will have to run the Files On-Demand option using one of the available methods outlined above.
If you want to avoid having to run the feature multiple times, use the Settings app method and set the Storage Sense option to a low number of days, such as “1” or “14” days.
In the past, OneDrive also included a feature known as “Fetch files on your PC” that allowed you to access your files remotely on your computer without uploading them to the cloud. However, Microsoft no longer offers this functionality.
Source link
