
- To fix any 0xC1900101 error on Windows 11 (and 10), you have to perform various troubleshooting steps involving checking storage usage and freeing up space, repairing installation files, fixing Windows Update and device problems, and disconnecting peripherals and uninstalling incompatible apps.
On Windows 11 (and 10), error 0xC1900101 is a common issue that can arise during the operating system installation or update. It typically indicates a problem with drivers, storage, or hardware compatibility, which you may be able to resolve in a number of ways, depending on the reason.
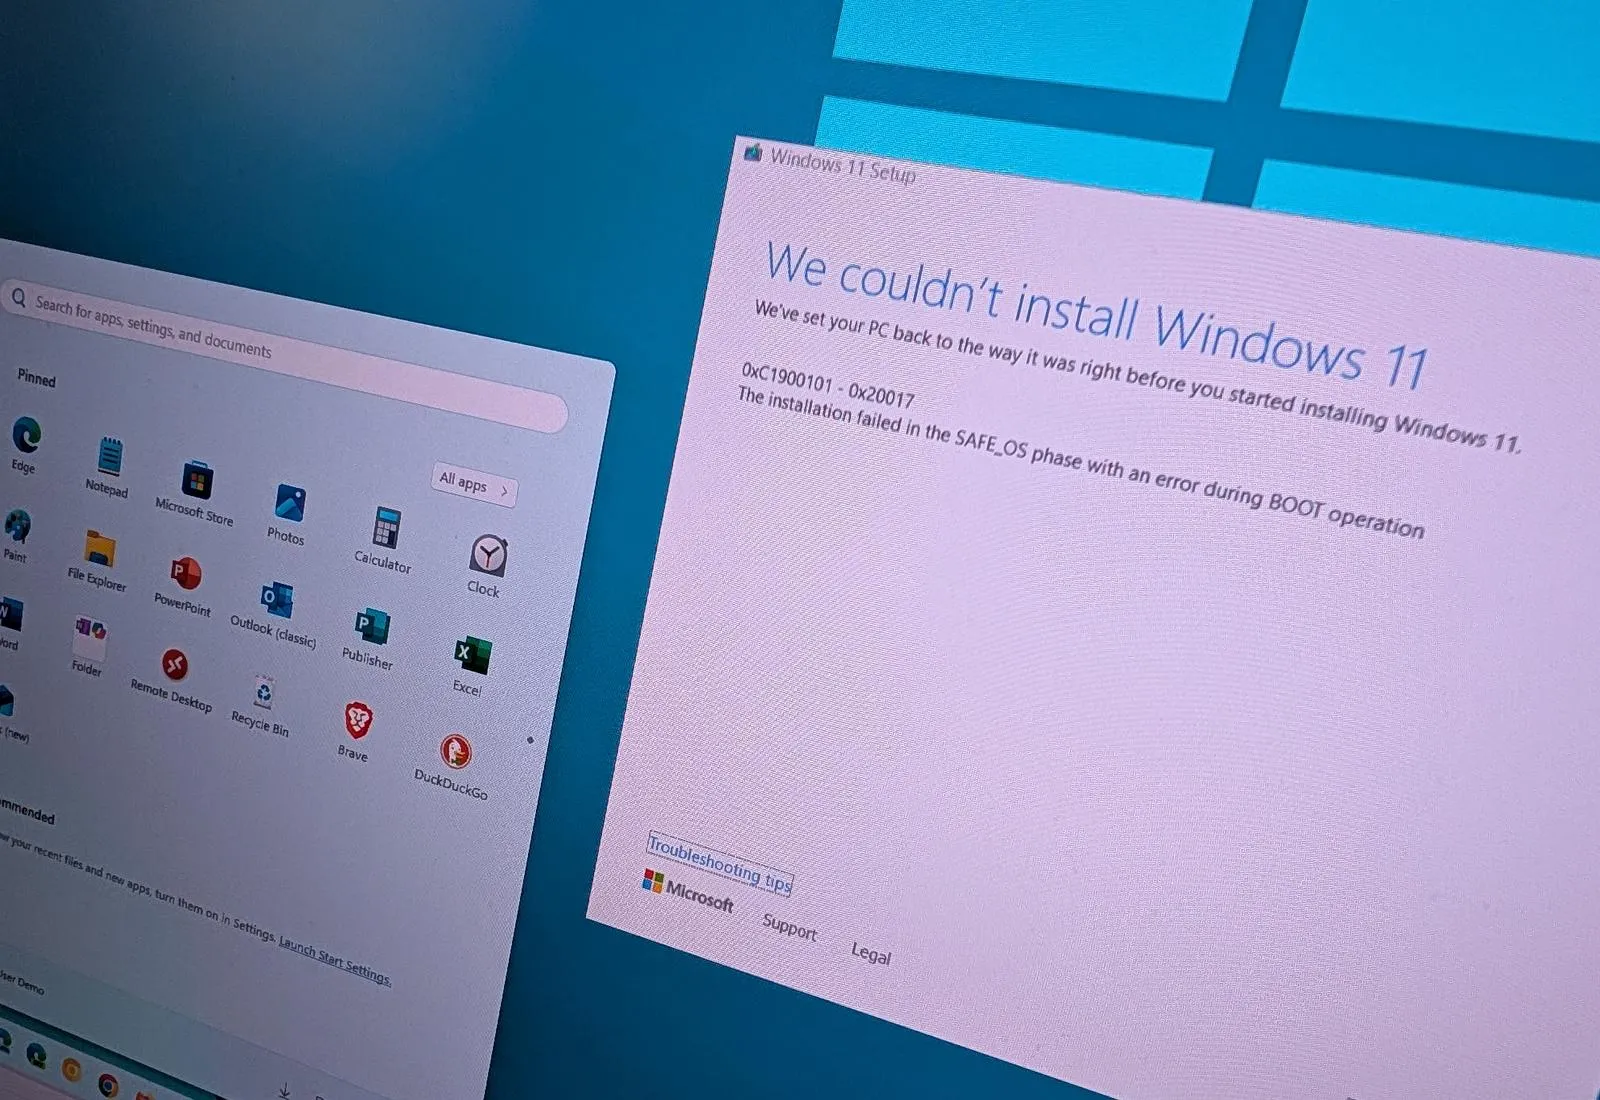
It’s important to understand that the error 0xC1900101 isn’t a bug. Instead, it’s a common problem that can have different solutions. On Windows, you can come across many variants of this error, including 0xC1900101 – 0x20004, 0xC1900101 – 0x2000c, 0xC1900101 – 0x20017, 0xC1900101 – 0x30018, 0xC1900101 – 0x3000D, 0xC1900101 – 0x4000D, 0xC1900101 – 0x40017.
In this guide, I will teach you the different ways to troubleshoot this error on virtually any version of Windows.
Fix error 0xC1900101 on Windows 11 (and 10)
When you receive an error that begins with “0xC1900101,” it’s typically a device driver-related problem, but it can be caused by a number of other factors. For example, it could be that the system does not have enough storage space, or it could also be an issue with security software, connected peripherals, system file corruption, and more.
Regardless of the problem, you can use these troubleshooting steps to resolve the “0xC1900101” errors on Windows 11 and 10.
Resolve storage space problems
A lot of the issues with the 0xC1900101 error can be related to storage problems.
Free up space
Windows 11 requires a minimum of 20GB of available space to process an update. If you’re trying to update or upgrade the system, if not enough space is available, you’re likely to encounter issues.
In the case of Windows 10, an upgrade requires at least 16GB of free space to install the 32-bit version of Windows 10 or 20GB for a 64-bit version.
From Windows 11
To confirm if your device has enough space, use these steps:
-
Open Settings on Windows 11.
-
Click on System.
-
Click the Storage page.
-
Confirm the free space on the main hard drive.
-
If the available space is less than 20GB, click the “Clean recommendations” setting.

-
Choose the files to delete.
-
Click the Clean up button.


On Windows 11, you have multiple ways to check storage usage on your computer. I also recommend checking these instructions to free up space on your computer.
From Windows 10
To confirm if your computer has enough space on Windows 10, use these steps:
-
Open Settings on Windows 10.
-
Click on System.
-
Click the Storage page.
-
Confirm the free space on the main hard drive.

-
If the available space is less than 20GB, click the “Temporary files” setting.
-
Choose the files to delete.
-
Click the Remove files button.


On Windows 10, you also have different ways to check storage usage. I also recommend checking these instructions to free up space on this version of the operating system.
Drive issues
You may also see an 0xC1900101 error if the setup has missing or corrupt system files. The Deployment Image Servicing and Management (DISM) and System File Checker (SFC) command-line tools can quickly resolve this issue on Windows 11 (and 10).
If the system drive contains errors, you may be unable to upgrade to a new version of the operating system. The Check Disk (chkdsk) command-line tool can troubleshoot and fix the issue. (In my experience, you have to run both the DISM, SFC, and ChkDsk commands, as shown in the steps below.)
To repair the installation of Windows 11 with the DISM and SFC command tools, use these steps:
-
Open Start.
-
Search for Command Prompt, right-click the top result, and select the Run as administrator option.
-
Type the following command and press Enter:
dism /Online /Cleanup-image /Restorehealth

-
Type the following command to repair the installation and press Enter:
SFC /scannow

-
Type the following command and press Enter:
chkdsk/f c:

-
Type “Y” and press Enter to schedule a scan.
-
Restart the computer.

Once you complete the steps, the DISM command will repair the files inside the system’s local image, and the SFC command will use the repaired local image to fix the Windows setup files. The repair logs will be located in the C:\Windows\Logs\CBS folder inside the “CBS.log.”
Finally, the ChkDsk command will try to repair the logical and physical errors on the drive.
Resolve Windows Update issues
It may also be possible that the 0xC1900101 error is a result of a problem with the Windows Update settings. If the update system isn’t working correctly, you can try to fix it using these instructions.
From Windows 11
To fix issues with the Windows Update settings on Windows 11, use these steps:
-
Open Settings.
-
Click on System.
-
Click the Troubleshoot tab.
-
Click the Other troubleshooters setting.

-
Click the Run button for the “Windows Update” setting under the “Most frequent” section.

-
Continue with the on-screen directions in the “Get Help” app (if applicable).


In addition to this method, you have multiple ways to troubleshoot and fix problems with the Windows Update settings on Windows 11.
From Windows 10
To reset Windows Update using the troubleshooter tool on Windows 10, use these steps:
-
Open Settings on Windows 10.
-
Click on Update & Security.
-
Click on Troubleshoot.
-
Click the “Additional troubleshooters” option.

-
Under the “Get up and running” section, select the Windows Update option.
-
Click the “Run the troubleshooter” button.

-
Continue with the on-screen directions.

In addition to this method, Windows 10 offers other ways to troubleshoot and fix problems with the Windows Update settings.
Resolve device driver problems
It’s also possible that the problem is related to a device driver. If this is the case, you should use Device Manager to confirm if an issue exists and then use Windows Update to install the latest version.
Check for driver issues
To confirm if a device driver is having issues on Windows 11 (and 10), use these steps:
-
Open Start.
-
Search for Device Manager and click the result.
-
Confirm if any of the devices have a yellow exclamation mark.
-
Right-click the affected device and choose the Uninstall option.

-
Restart your computer.

Once you complete the steps, the computer will likely restart and try to reinstall the missing drivers. You can check the Device Manager again to confirm the state of the device and then continue with the steps below to update the driver.
Update device drives
The steps to update the device drivers to resolve the 0xC1900101 error will be slightly different whether the computer is running Windows 11 or 10.
From Windows 11
To install updates for drivers on Windows 11, use these steps:
-
Open Settings
-
Click on Windows Update.
-
Click the Advanced options tab.
-
Click the Optional updates setting under the “Optional updates” section.

-
Click the Driver updates setting.
-
Select the device driver to update.

-
Click the “Download & install” button.
After you complete the steps, the update for the driver will download and install automatically on Windows 11.
From Windows 10
To install updates for drivers on Windows 10, use these steps:
-
Open Settings
-
Click on Update & Security.
-
Click on Windows Update.
-
Click the “View optional updates” setting.

-
Click the Driver updates setting.
-
Select the device driver to update.

-
Click the “Download & install” button.

Once you complete the steps, the newer version of the driver will download and install automatically on Windows 10.
Alternatively, you can update the device driver by downloading and installing the latest package from your manufacturer’s support website.
Remove unnecessary peripherals
Sometimes, installation problems can be caused by a peripheral that isn’t compatible with a new version of Windows. To quickly avoid any issues, disconnect all unnecessary peripherals connected to your computer, like printers, webcams, and storage media (for example, USB flash drives and external hard drives). You only need to use the essentials, such as a network adapter to connect to the internet, monitor, keyboard, and mouse.


Also, it’s a good idea to disable Bluetooth on your computer before upgrading from Settings > Devices > Bluetooth & other devices.
Uninstall security software
Security software could also be the reason your computer fails to install an upgrade with an 0xC1900101 error. If you have an antivirus (other than the Microsoft Defender Antivirus) or other security software, make sure to disable or temporarily uninstall it before proceeding with the installation.
The steps to uninstall applications will be slightly different, depending on whether the computer is running Windows 11 or 10.
From Windows 11
To uninstall an app on Windows 11, use these steps:
-
Open Settings.
-
Click on Apps.
-
Click the Installed apps tab.
-
Select the app to remove.
-
Click the app menu (three dots) button and choose the “Uninstall” button.

-
Click the Uninstall button again to confirm.
-
Continue with the on-screen directions (if applicable).

Once you complete the steps, the security app will be removed from Windows 11.
From Windows 10
To uninstall the security application on Windows 10, use these steps:
-
Open Settings.
-
Click on Apps.
-
Click on Apps & features.
-
Click on the app to remove.
-
Click the Uninstall button.
-
Click the Uninstall button again to confirm.

-
Continue with the on-screen directions (if applicable).
After you complete the steps, the security app will be removed from Windows 10.
Although error 0xC1900101 is not a bug with the operating system but rather a problem with the hardware or software configuration, it can be a bit difficult to understand why.
If you can’t determine the root of the cause, you can ask for help in the comments below by providing as much information as possible about the problems and the troubleshooting steps you have already completed.
Also, if you plan to upgrade to a new version of Windows and have had the same operating system installed for some time, the best approach is to back up your computer and files and perform a clean installation. This will not only help you start with a fresh copy of Windows, but it will also fix performance, memory, startup, and other problems.
Source link
-

-

-

-

-

-

-

-


