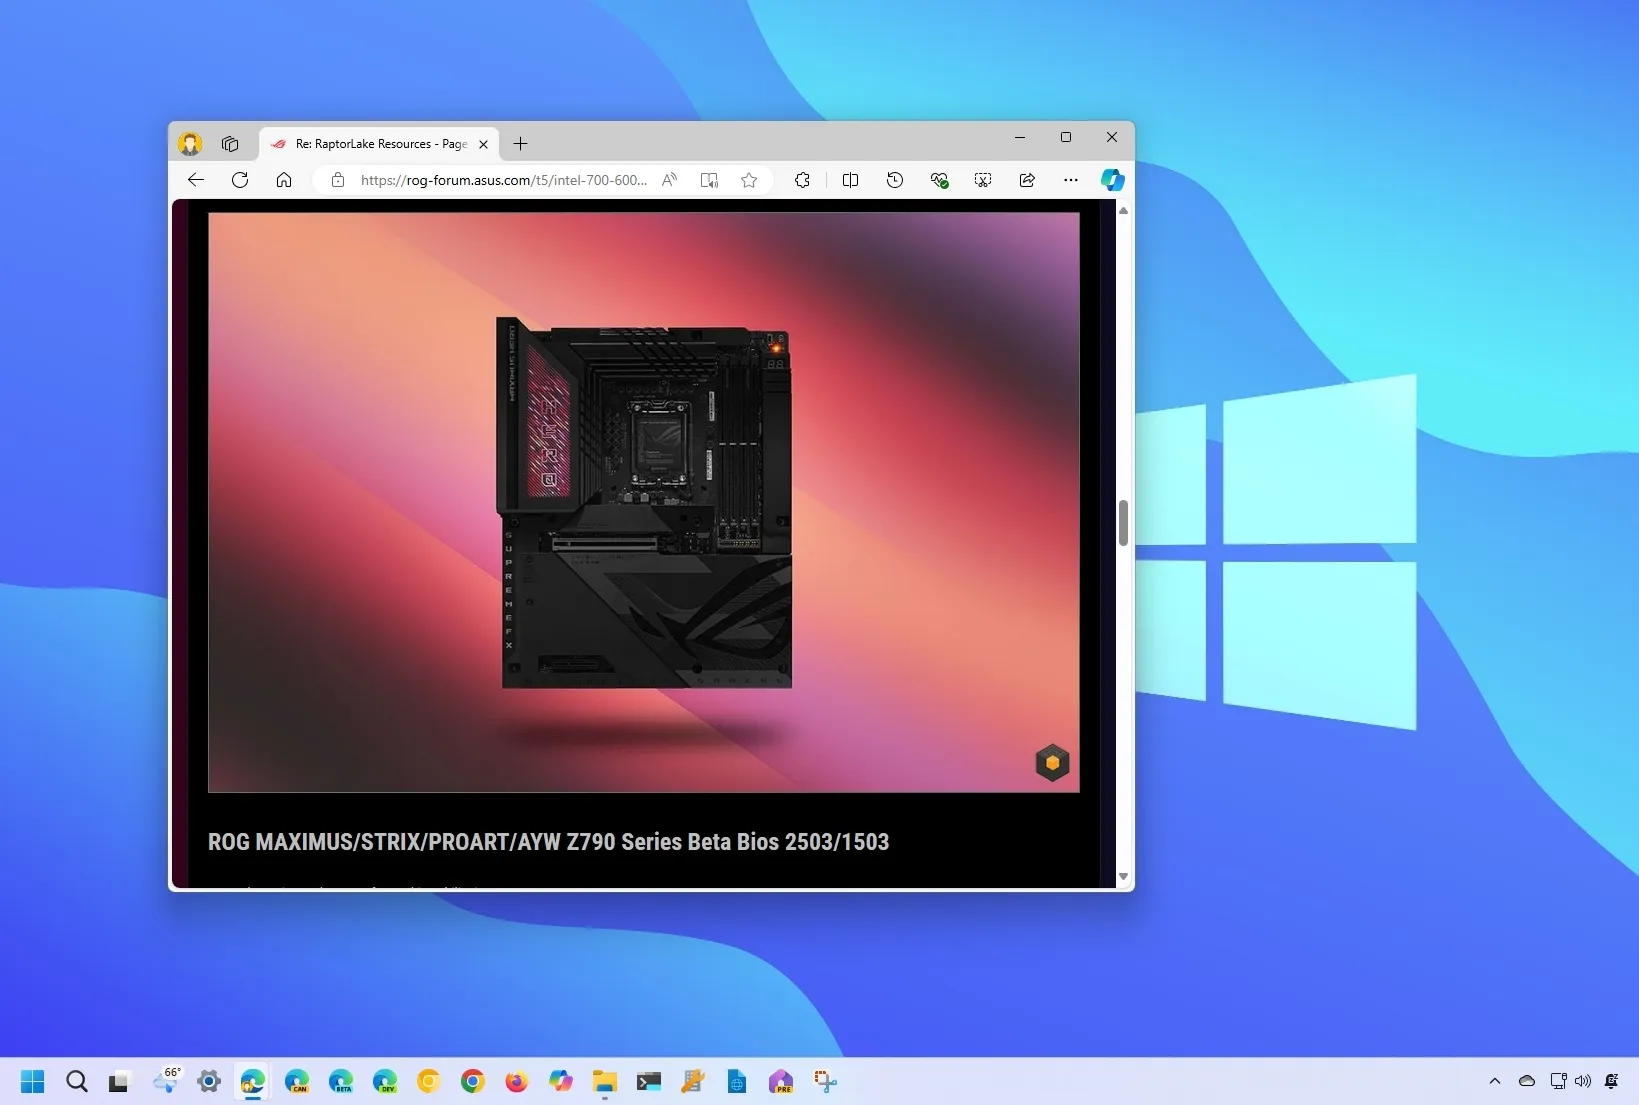
ASUS is testing a BIOS (UEFI) update for its Z290 motherboards to address stability problems with Intel 13th and 14th Gen Core (Raptor Lake) processors. The new microcode version 129 hasn’t been designed to fix processors that have already been affected by exposure to elevated voltages. Instead, this update should help to prevent the chips that are still in good working condition from getting damaged.
In recent months, Intel 13th and 14th Gen processors have been facing stability issues, mainly due to elevated operating voltage caused by a microcode algorithm bug. This has led to system crashes and even potential chip failures. Intel has acknowledged the problem and promised to address the issue with a microcode patch in mid-August, and now, ASuS is among the first companies to release a new microcode to address the concerns.
MSI has also announced that it is releasing a BIOS (UEFI) update for Intel 600 and 700-series motherboards with a 0x129 microcode update that aims to mitigate the instability of the aforementioned processors.
The company also notes that this firmware update is only available for Z290 series motherboards, and in addition to addressing the concerns with Intel chips, the company says that the update also improves system performance. Furthermore, this update should not affect overclocking or Turbo Boost.
In this guide, I will outline the steps to update the BIOS for ASUS motherboards to the latest beta version running Windows 11. However, you can also use these instructions as references to update other motherboards, such as MSI.
Warning: Although updating the BIOS is sometimes recommended, it should only be done if absolutely necessary, as this process can cause problems if it’s not done correctly. Also, firmware updates can include bugs and other issues that may affect the computer’s functionality, especially when using beta versions. You have been warned.
Install ASUS BIOS (UEFI) update on Windows 11
To install the new microcode to prevent issues with some of the Intel 13th and 14th Gen processors, you have to download the latest package, create an installation media, and proceed with the BIOS update process.
1. Download ASUS BIOS beta update
To download the beta version of the ASUS BIOS, use these steps:
-
Open the ASUS forum page for the Intel Z290 series motherboard.
-
Click on the link for the beta version of the BIOS update for your motherboard.
Quick note: Choosing and installing the wrong firmware can brick your computer, rendering it unusable.
-
Click the Download button to save the file to your computer.
-
Connect a USB flash drive to your computer.
-
Open File Explorer.
-
Open This PC.
-
Right-click the USB flash drive and select the Format option.
-
Choose the FAT32 option for the “File System” setting.
-
Click the Start button.
-
Click the OK button to confirm.
-
Open the folder location containing the ASUS BIOS update file.
-
Right-click the file and choose the Extract All option.
-
Click the Extract button.
-
Right-click the “.CAP” file and select the Copy option.
-
Open the recently formatted USB flash drive.
-
Click the Paste button from the command bar.
Once you complete these steps, you can proceed to apply the beta version of the update for your motherboard.
2. Install ASUS BIOS beta update
To install a BIOS update on your ASUS computer, use these steps:
-
Open Settings on Windows 11.
-
Click on System.
-
Click the Recovery page.
-
Click the Restart now button for the “Advanced startup” setting.
-
Click the Restart now button again.
-
Click on Troubleshoot.
-
Click on Advanced options.
-
Click the “UEFI Firmware settings” option.
-
Click the Restart button.
-
Press the F7 key to access the ASUS BIOS advanced mode.
-
Click the Tools tab.
-
Click on ASUS EZ Flash. (The name of the tool may be slightly different.)
-
Select the BIOS file on the USB flash drive.
Quick note: It’s critical to remember not to interrupt the process under any circumstances, as doing so could brick the motherboard.
-
Choose the update file.
-
Click the Yes button.
-
Click the Yes button again.
-
Click the Yes button one more time to proceed with the update.
Quick note: It’s important to always update to a newer version instead of an older one.
After you complete the steps, don’t touch anything, move the mouse, or mess around with the computer, and allow the process to do its thing. This update could take a long time. Also, the device will restart several times, so don’t do anything until the device is back into the BIOS or loads Windows 11.
Intel processors facing stability issues
The processors affected by the elevated voltages due to microcode algorithm bug include:
13th Gen Intel Core Processors:
- i9-13900KS
- i9-13900K
- i9-13900KF
- i9-13900F
- i9-13900
- i7-13700K
- i7-13700KF
- i7-13790F
- i7-13700F
- i7-13700
- i5-13600K
- i5-13600KF
14th Gen Intel Core Processors:
- i9-14900KS
- i9-14900K
- i9-14900KF
- i9-14900F
- i9-14900
- i7-14700K
- i7-14700KF
- i7-14790F
- i7-14700F
- i7-14700
- i5-14600K
- i5-14600KF
If you have a computer using Raptor Lake silicon that has been exposed to high voltages and is already unreliable, you should contact Intel to receive a replacement. Also, remember that the company is extending the warranty by two years for access processors.
Source link
