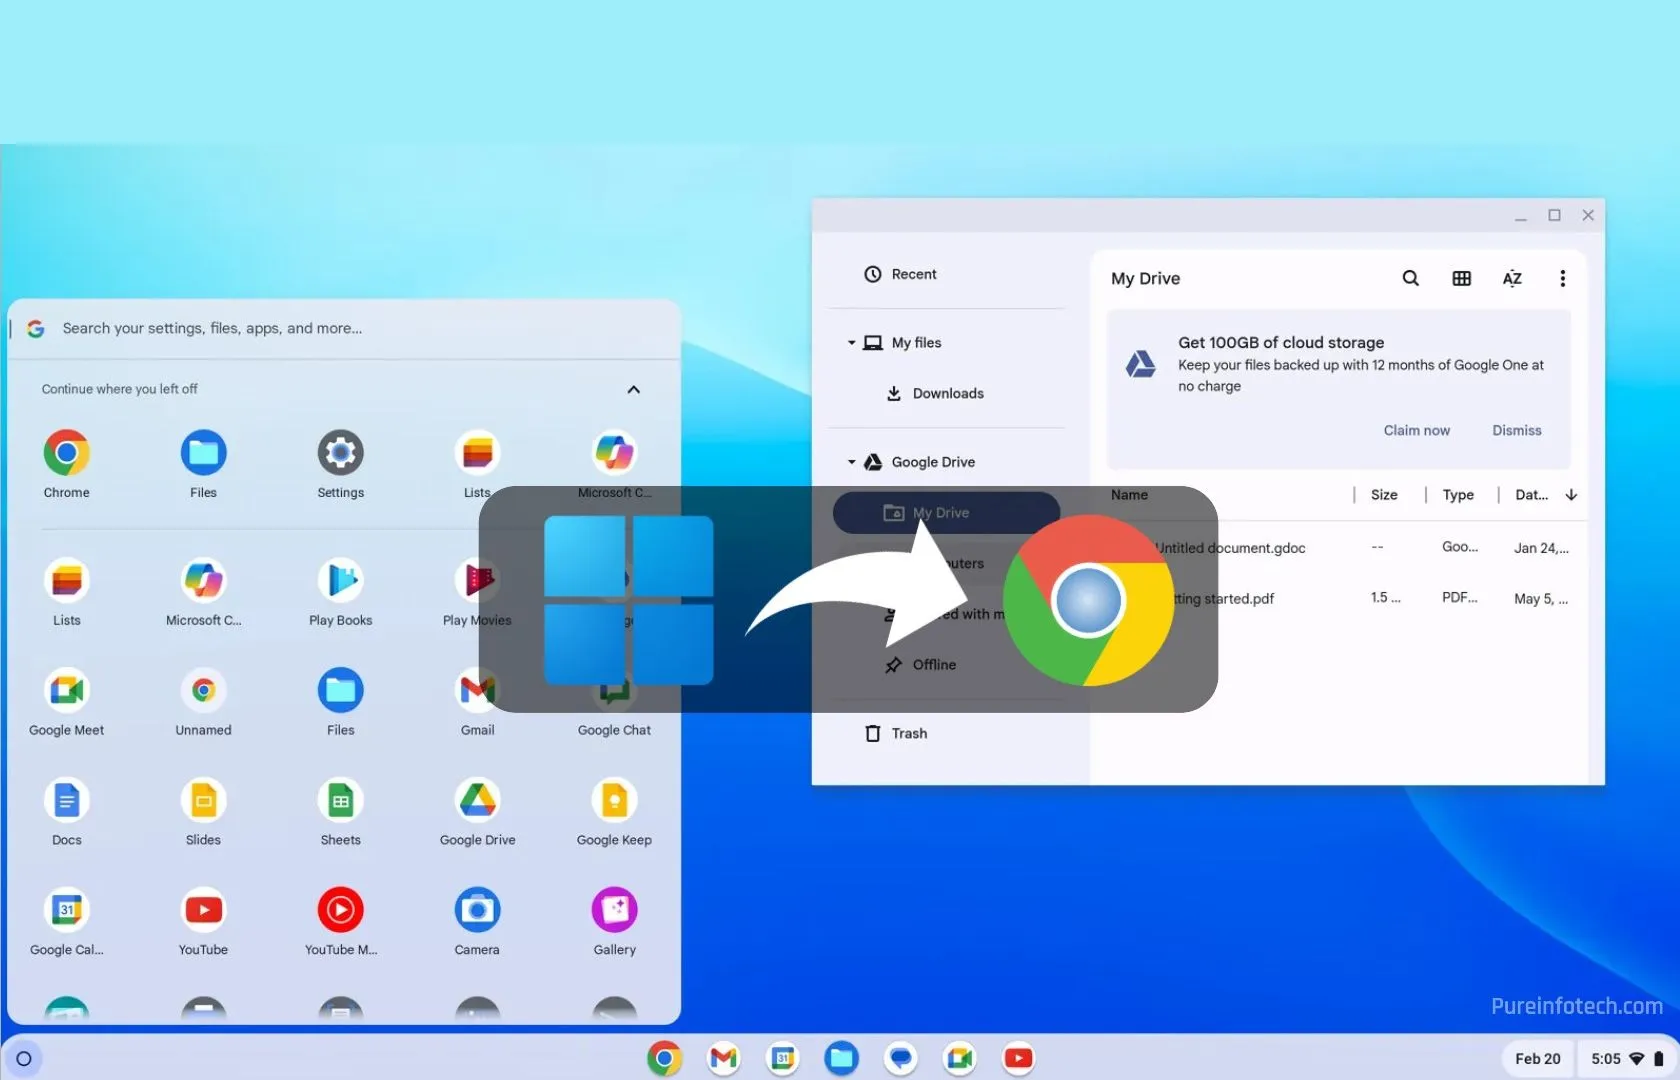
How to install ChromeOS Flex on Windows 10 PCs not supported by Windows 11
- To install ChromeOS Flex on old Windows 10 hardware not supported by Windows 11, create a USB media with the “Chromebook Recovery Utility,” connect the bootable media to the computer, click “Get started,” select “Install ChromeOS Flex,” continue with the wizard, connect to the network, choose “For personal use,” and create an account with a Gmail account.
UPDATED 3/3/2025: If your Windows 10 PC isn’t eligible for a Windows 11 upgrade, you might feel limited in your options. However, Google’s ChromeOS Flex is a suitable alternative. In this guide, I’ll outline the steps to install ChromeOS Flex on your existing hardware, giving your device a second life.
What is ChromeOS Flex?
ChromeOS Flex is a lightweight, cloud-centric operating system developed by Google. While traditional ChromeOS comes pre-installed on Chromebooks, ChromeOS Flex is designed for installation on a wide range of hardware, including Windows, Mac, and Linux computers. This flexibility allows you to repurpose your existing devices with a modern operating system.
Why switch from Windows 10 to ChromeOS Flex?
Windows 10 support is ending on October 14, 2025, and many users face the dilemma of either upgrading to Windows 11 (which may not be possible due to hardware limitations) or seeking alternative solutions. ChromeOS Flex offers several advantages:
- Extended device usability: Instead of discarding your current hardware, ChromeOS Flex allows you to continue using it efficiently, reducing electronic waste.
- Enhanced security: The operating system provides regular updates and built-in security features, ensuring a safe computing environment.
- Performance optimization: Designed to be lightweight, ChromeOS Flex can improve the performance of older machines, making them faster and more responsive.
ChromeOS Flex hardware requirements
Google only supports specific devices, but you can still install the operating system on virtually any hardware as long as it meets the minimum requirements:
- Processor: Intel or AMD x86-64-bit.
- Memory: 4GB.
- Storage: 16GB.
The requirements to run ChromeOS Flex are minimal, but the company notes that processors and graphics made before 2010 may result in a poor user experience.
In this guide, I’ll teach you the steps to install ChromeOS Flex on older Windows 10 hardware. (Another alternative is to switch to Linux Mint.)
Install ChromeOS Flex on older Windows 10 hardware
The installation of ChromeOS Flex is a two-step process on Windows 10 hardware that doesn’t meet the requirements for Windows 11. First, you have to create a USB bootable media and then go through the setup experience.
1. Create ChromeOS Flex USB flash media
To create a ChromeOS Flex installation media, connect a USB flash drive of 8GB and use these steps:
-
Click the Add to Chrome button.
-
Click the Add extension button.
-
Click the Extension button and select the Chromebook Recovery Utility extension.
-
Click the Get started button.
-
Select the “Google ChromeOS Flex” option from the “Identify your Chromebook” page.

-
Select the ChromeOS Flex option.
-
Click the Continue button.
-
Select the USB flash media from the list.

-
Click the Continue button.
-
Click the Create now button.

-
Click the Done button.
Once you complete the steps, you can proceed with the clean installation of ChromeOS Flex.
2. Install ChromeOS Flex
To install ChromeOS Flex on an unsupported Windows 11 hardware still running Windows 10, use these steps:
-
Start the Windows 10 computer with the ChromeOS Flex USB.
Quick note: If the computer can’t boot from USB, you may need to update the BIOS/UEFI settings. This process usually requires pressing one of the function keys (F1, F2, F3, F10, or F12), the ESC, or the Delete key. For more accurate instructions, visit your PC manufacturer’s support website.
-
Change the installation language (if applicable).
-
Click the Get Started button.

-
Select the “Install ChromeOS Flex” option.

Quick note: The “Try it first” option allows you to run the operating system from the USB flash drive. It even saves the setup and profile, so the next time you start the computer from USB, you can continue using the operating system. If you want to install the operating system later on, you will find the “Install ChromeOS Flex” option on the sign-in screen.
-
Click the Next button.
-
Click the “Install ChromeOS Flex” button. (This process will delete everything on the computer.)

-
Click the Install button to continue with the setup.
-
Click the Get started button after the installation.
-
Choose the wireless network.
-
Confirm the Wi-Fi password.

-
Click the Connect button.
-
Click the “For personal use” option.

Quick note: At this point, the system will download any available updates for the operating system. The computer will also restart. You can always click the “Skip and remind me later” button.
-
Click the Next button.
-
Confirm your Gmail account.

-
Click the Next button.
-
Confirm the account password.
-
Click the Next button.
-
Complete the account verification.
-
Click the Next button.
-
Click the “Accept and continue” button.
-
Click the “Accept and continue” button again.

-
Clear the option to allow Google to collect information about your device.

-
Click the “Accept and continue” button one more time.
-
Click the “Change touchpad scrolling direction” option.

Quick note: If you’re coming from a Windows environment, it’s recommended that you adjust the scrolling setting.
-
Click the Next button.
-
Turn on the Reverse scrolling toggle switch.

-
Click the Next button.
-
Click the Get started button.
After you complete the steps, the operating system will be installed on the computer, replacing the Windows 10 setup.
Update March 3, 2025: This guide has been updated to ensure accuracy and reflect the changes to the process.
Why You Can Trust Pureinfotech
The author combines expert insights with user-centric guidance, rigorously researching and testing to ensure you receive trustworthy, easy-to-follow tech guides. Review the publishing process.
Source link