
- To change the name of a network adapter on Windows 11, open Settings > Network & internet > Advanced network settings, choose the adapter, click “Rename,” and confirm the name.
- Alternatively, you can use the legacy Control Panel or PowerShell and Command Prompt commands.
On Windows 11, you can change the name of a Wi-Fi or Ethernet network adapter in more than one way, and in this guide, I will explain the steps to perform this configuration.
In my case, I have a desktop computer with a Wi-Fi adapter available through the motherboard and a wireless USB dongle that I connect directly to a virtual machine. In addition, my computer has a 2.5Gb Ethernet adapter also available through the motherboard, but I installed a 10Gb network adapter (with an SPF+ port) that allows me the fastest performance to my server.
Although Windows 11 can automatically assign a name to a network adapter based on the type (Wi-Fi or Ethernet), I don’t find them descriptive enough, considering the many ports I have on the device. As a result, to make them easier to identify, I rename the network adapters through the Settings, but you can also use Control Panel or PowerShell.
In this guide, I will teach you how to rename a network adapter from the Settings app on Windows 11, as well as from Control Panel and PowerShell.
Rename network from Settings on Windows 11
To change the Wi-Fi or Ethernet adapter’s name on Windows 11, use these steps:
-
Open Settings on Windows 11.
-
Click on Network & internet.
-
Click the Advanced network settings page.
-
Click the Wi-Fi or Ethernet adapter under the “Network adapters” section.
-
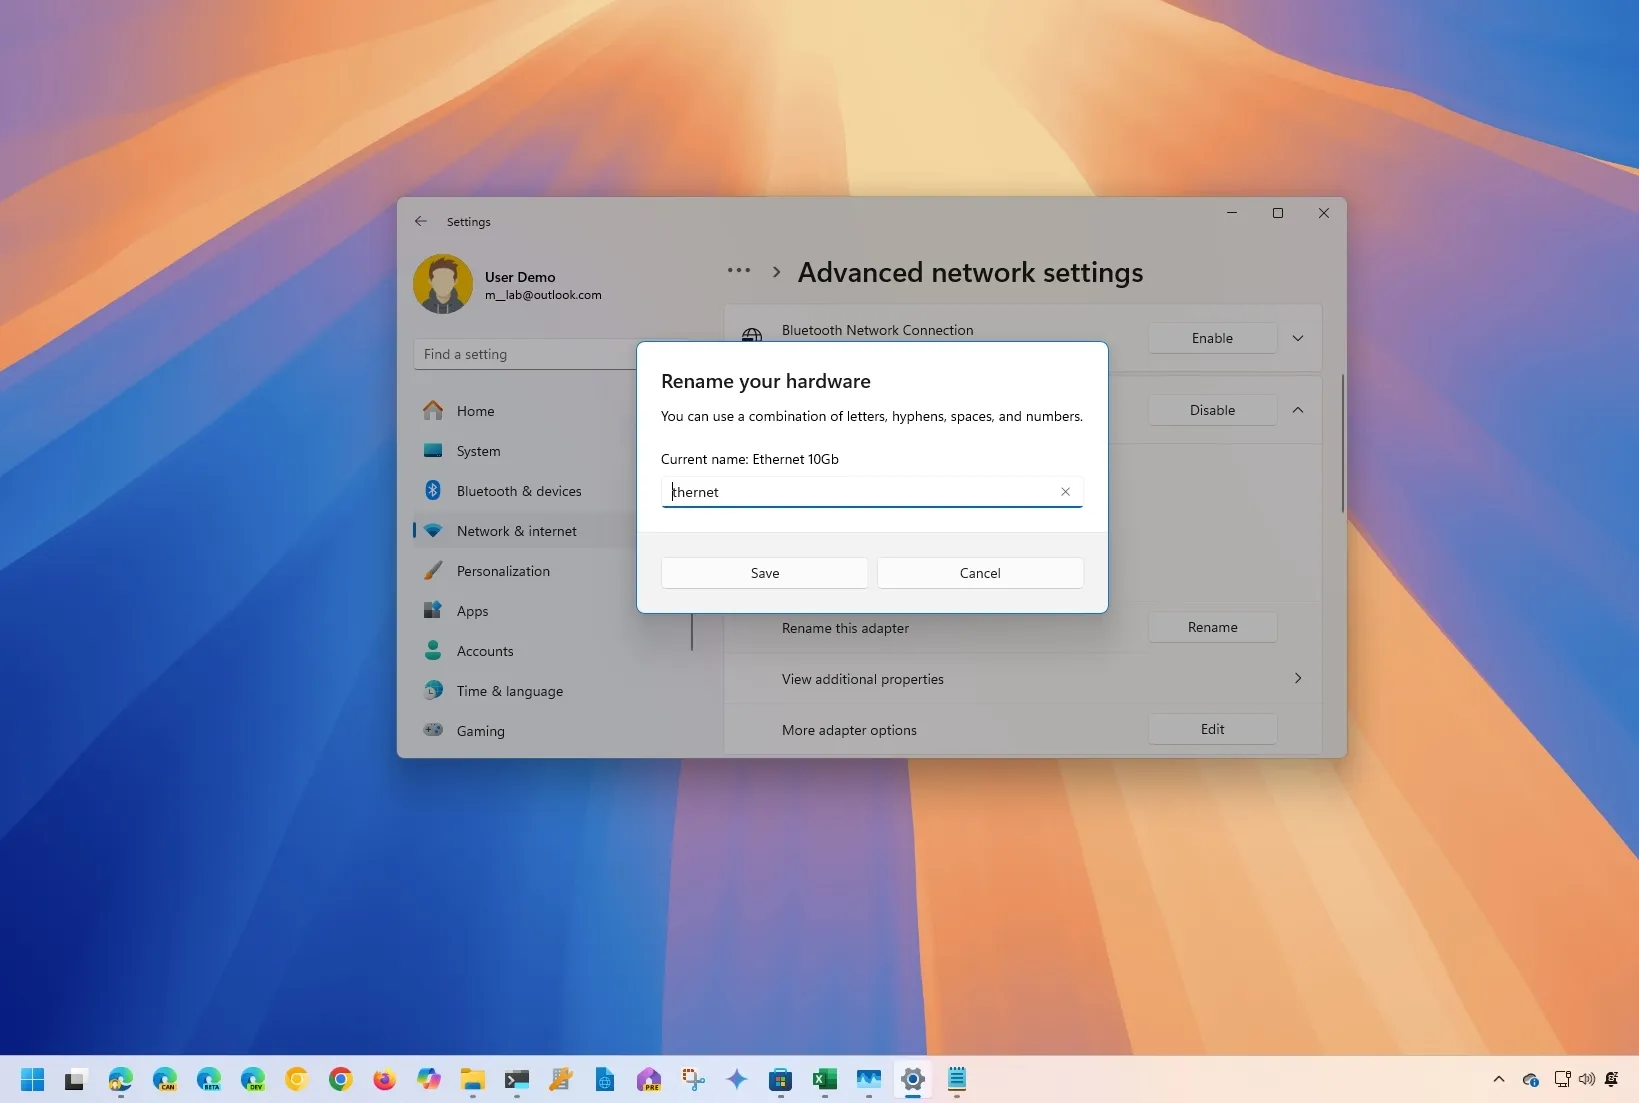
Click the Rename button.

-
Confirm the new adapter name. For example, Ethernet 10Gb or Wi-Fi6E.

-
Click the Save button.

Once you complete the steps, the network adapter will reflect the new name you specified on Windows 11.
Rename network from Control Panel on Windows 11
To rename a network adapter from Control Panel, use these steps:
-
Open Start.
-
Search for Control Panel and click the top result to open the app.
-
Click on Network and Internet.
-
Click on Network and Sharing Center.
-
Click on Change adapter settings from the left navigation pane.

-
Right-click the Wi-Fi or Ethernet adapter and select the Rename option.

-
Confirm the new adapter name. For example, Ethernet 10Gb or Wi-Fi6E.


After you complete the steps, the network adapter will apply the new name on Windows 11.
Rename network from PowerShell on Windows 11
To change the network adapter name with PowerShell, use these steps:
-
Open Start.
-
Search for PowerShell, right-click the top result, and select the Run as administrator option.
-
Type the following command to view all the network adapters on your computer and press Enter:
Get-NetAdapter | Format-List -Property Name -
Type the following command to rename the Wi-Fi or Ethernet adapter and press Enter:
Rename-NetAdapter -Name "OLD-NAME" -NewName "NAME-NAME"
In the command, change OLD-NAME for the current adapter’s name and NEW-NAME for the new name you want to assign. This example changes the name from Ethernet0 to Ethernet 10Gb:
Rename-NetAdapter -Name "Ethernet0" -NewName "Ethernet 10Gb"


Once you complete the steps, the PowerShell command will change the name of the wired or wireless network adapter you specified.
Rename network from Command Prompt on Windows 11
To change the network adapter name with Command Prompt, use these steps:
-
Open Start.
-
Search for Command Prompt, right-click the top result, and select the Run as administrator option.
-
Type the following command to list the network adapters and press Enter:
netsh interface show interface
-
Type the following command to rename the Wi-Fi or Ethernet adapter and press Enter:
netsh interface set interface name="OLD-NAME" newname="NAME-NAME"
In the command, change “OLD-NAME” to the current adapter’s name and “NEW-NAME” to the new name you want to assign. This example changes the name from Ethernet to Ethernet 10Gb:
netsh interface set interface name="Ethernet" newname="Ethernet 10Gb"


After you complete the steps, the system will change the network adapter’s name.
Update September 26, 2024: This guide has been updated to ensure accuracy and reflect changes to the process.
Why You Can Trust Pureinfotech
The author combines expert insights with user-centric guidance, rigorously researching and testing to ensure you receive trustworthy, easy-to-follow tech guides. Review the publishing process.
Source link
-

-

-

-

-

-

-

-


