How to schedule email in Outlook app
- To schedule an email send in Outlook for Windows 11, create a new email or open a message to reply, click the “Send” menu and choose “Schedule send,” configure the email schedule, and click “Send.”
- You can always modify or cancel the send schedule from the “Drafts” folder.
- In the classic version, while in a new message, click on “Options,” choose “Delay Delivery,” and use the “Do not deliver before” setting.
Sometimes, sending an email right away isn’t the best option. Whether you’re working late and don’t want to disturb someone after hours, or you’re trying to ensure a message lands at the top of someone’s inbox during their workday, scheduling emails can come in handy.
I usually find myself relying on Outlook’s scheduling features more than I expected, especially when managing communications across different time zones or planning follow-ups in advance.
Thankfully, Microsoft Outlook makes it easy to schedule emails, whether you’re using the classic desktop version as part of Microsoft 365, Office 2019, or Office 2016, or the new Outlook app for Windows 11. The feature is also available through the web version of Outlook.
In this guide, I’ll outline the steps to configure delivery options to schedule an email to send later using the old and new versions of Outlook on Windows 11.
Send email on schedule in Outlook (legacy)
To use Outlook to schedule an email, use these steps:
-
Open the Outlook app.
-
Click the New Email button from the “Home” tab.
-
Compose your message.
-
Click the Options tab.
-
Under the “More options” section, click the Delay Delivery button.
Outlook delay delivery option -
Under the “Delivery options” section, check the “Do not deliver before” option.
-
Choose the date and time to schedule and send the email.

Outlook email send later option -
Click the Close button.
-
Click the Send button.
Once you complete the steps, the message will stay in the Outbox section until the schedule you specified, and then it will send it automatically.
Send email on schedule in Outlook (new)
To schedule an email in the Outlook app for Windows 11, use these steps:
-
Open the Outlook app.
-
Click the New mail button (Ctrl + N).
Quick tip: You can also schedule a send when replying to an email.
-
Click the menu button next to the Send option.
-
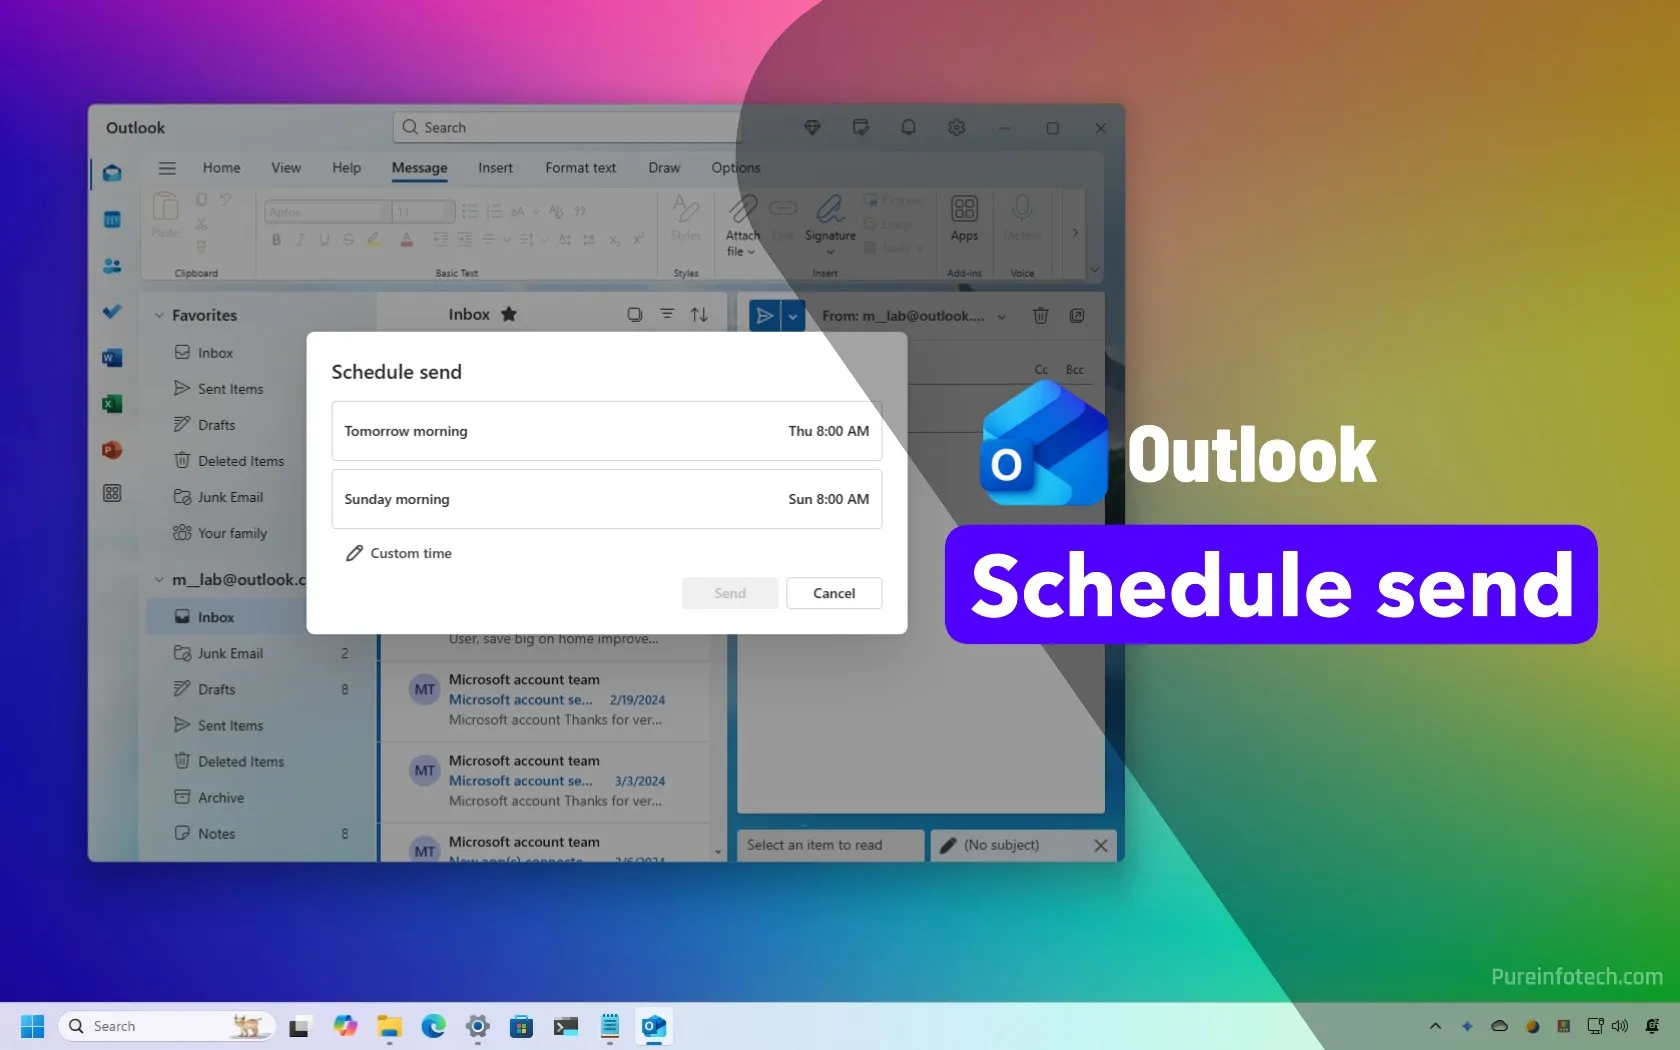
Choose the Schedule send option.

-
Click the Custom time option (or pick one of the time suggestions).

-
Select the date and time to schedule the email.

-
Click the Send button.
After you complete the steps, the email will be saved and appear in the “Drafts” folder with the “Schedule Send” label. At the specified schedule, the email will be sent to the recipient automatically.
Since the Outlook email client is connected to the web experience, you do not need to have the app open for the schedule to work.
Customize email schedule in Outlook
To change or remove the scheduled email in Outlook, use these steps:
-
Open Outlook.
-
Click on Drafts from the left navigation pane.
-
Select the email with the schedule.
-
Click the Send Schedule Options button on the top right.
-
Choose the Modify Email option from the menu.

Quick note: You can always select the “Send Now” option to send the email immediately as needed.
-
Click the menu button next to the Send option.
-
Choose the Schedule send option.

-
Click the Custom time option.
-
Choose a different date and time to send the email.
-
Click the Send button.
Once you complete the steps, Outlook will send the modified email at the new specified time. Of course, if you no longer have to send the email, you can right-click the scheduled email and choose the “Delete” option.
Update June 11, 2025: This guide has been updated to ensure accuracy and reflect changes to the process.
Why You Can Trust Pureinfotech
The author combines expert insights with user-centric guidance, rigorously researching and testing to ensure you receive trustworthy, easy-to-follow tech guides. Review the publishing process.
Source link