Summary
- Simple reformatting or physical destruction of devices may not be enough to erase data thoroughly.
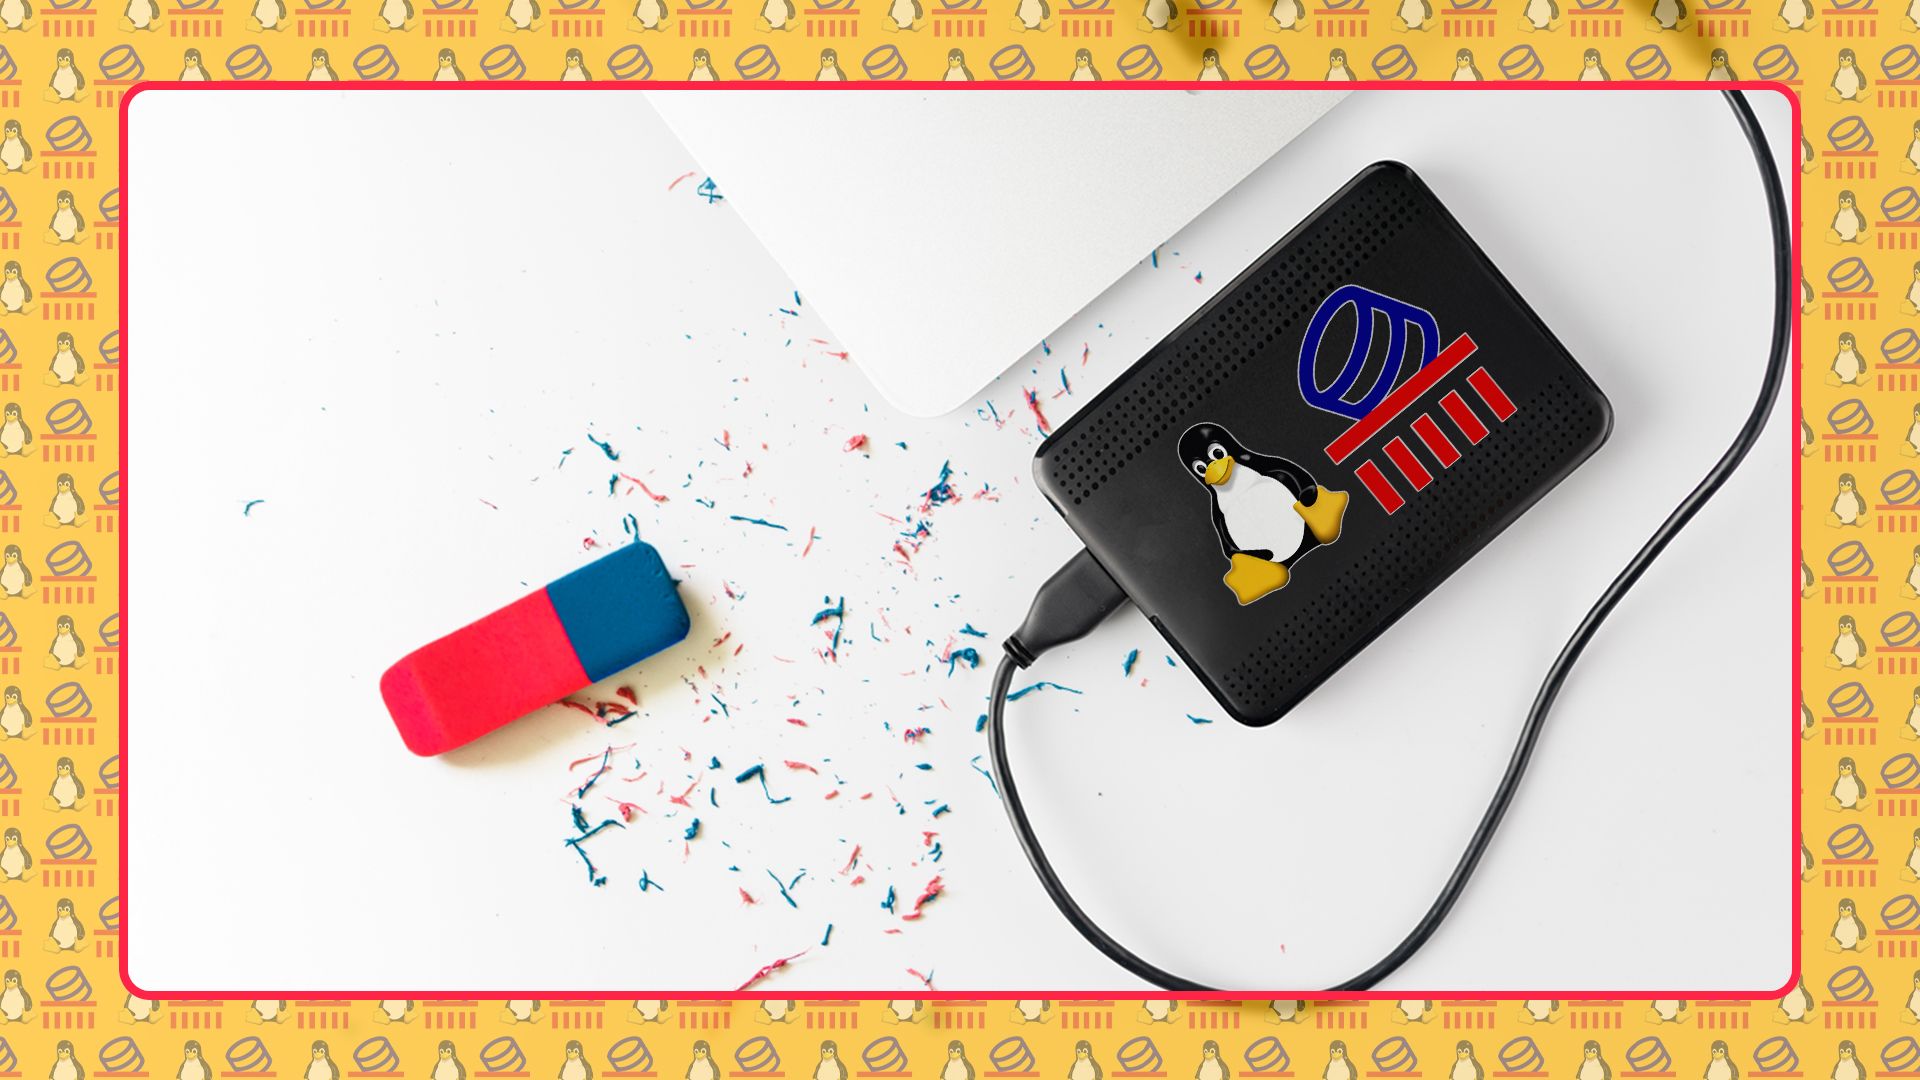
- ShredOS securely wipes storage devices to destroy data, helping prevent privacy breaches, identity theft, or financial harm.
- ShredOS is based on Linux, and runs from a USB stick that can be created from Linux or Windows.
Selling, gifting, or throwing out your PC? You need to wipe it first. Not doing so risks someone getting to the data on it and potentially using it to gain access to your online banking accounts, or just to snoop on your private photos.
What Is ShredOS?
The ShredOS disk eraser is a tool for securely wiping storage devices. It’s necessary because just deleting files and emptying the Recycle Bin, or re-formatting your hard drive, isn’t enough to completely destroy data. File recovery tools can still read that “deleted” data, as while the reference to it was removed from your file system, the actual data is still often readable on the physical storage medium. This could include logins to your social media, bank accounts, and other sensitive private info that could be used for identity theft, scams, or even blackmail.
You don’t even need to be a forensics expert to use these tools. It’s not uncommon for curious dumpster-divers to use them to see what on computers, phones, and tablets that their former owners thought had been safely disposed of.
Related
How to Recover a Deleted File: The Ultimate Guide
Find out just how recoverable “deleted” files are.
ShredOS solves this by repeatedly writing data to the storage device, so that any previous data is overwritten. It does this multiple times, with random data, patterns, or just by writing zeros to the disk, with each additional pass increasing the chance that what was once stored is completely unreadable.
Why Not Just Physically Destroy Old Devices?

Unless you know what you’re doing, physically destroying a device may not be enough, as you might not destroy the right part (leaving the data readable).
You may also want the device to still be usable so you can re-sell or gift it and save it from becoming part of the growing e-waste problem.
How to Securely Wipe a PC Using ShredOS
ShredOS runs on Linux under the hood and boots from a USB stick, as you cannot wipe your device’s hard drive if you are booting from it. It can be used to wipe a PC that runs any operating system (including all versions of Windows and Linux).
Following any steps past this point will permanently, irreversibly, for-all-time-everywhere-in-the-universe delete, destroy, erase, and obliterate all the data on the storage devices you use ShredOS to wipe. Back up your important data (to two different places) and make sure when you’re choosing which disk to wipe, you choose the right one (and are very certain about it). Ideally, don’t even boot ShredOS on a device you don’t want to wipe—accidents happen!
To get started, read the warning above again. Then, download the latest vanilla release of ShredOS from its GitHub repository, choosing either 32-bit or 64-bit depending on your device. If you’re not sure which, see our guide to checking your architecture.

Next, you need to write ShredOS to a USB stick. Make sure you choose a USB stick that is at least 1GB in size, and that you’re happy to sacrifice to the task, as all data on it will be wiped. To prepare the USB stick on Windows, you can use Rufus, which includes a download link and up-to-date instructions on their website. You can use the settings shown in the screenshot below to create a ShredOS USB stick that will boot on BIOS and UEFI firmware PCs.

Now, restart your PC and select the ShredOS USB drive you just created as the boot device. You may need to hold down the Delete, Enter, F12, or whichever key your device prompts you to open the boot menu. Once booted, you’ll see a bunch of options for Nwipe, the software package ShredOS uses to do the actual wiping. The options range from fast disk wipes to more thorough ones that take more time.
To wipe your disk in a way that’s sufficient for home users, use the arrow keys to select the storage device to be wiped, and press the space bar to toggle the “Wipe” option.

Then press the M key on your keyboard to select the wipe method and choose “DoD Short”. Press the Space bar to confirm the wipe method selection. You can optionally press V to change whether the wipe is verified—it will be default. The rest of the options can be left as-is, but at any stage the available commands are always displayed at the bottom of the screen.

When you’re ready to completely wipe the contents of the selected storage device, double-check all of your selections, and then press the Shift+S key combination to start the process. Once those keys are pressed, the data wipe process will begin without further confirmation.
And that’s it! Depending on the size and type of your storage device, it might take some time for the secure wipe process to complete. Once you’re done shredding, it’s highly recommended that you format your USB stick so that you can’t accidentally boot into it unintentionally.
Securely Wiping a Lost Device
You can’t use ShredOS on a device you don’t have access to, but that doesn’t mean you can’t take measures to protect the data on devices that are lost or stolen.
Enabling device encryption stops others from accessing the data on devices they don’t have credentials for, while remote wipe is a feature available on most Windows, Apple, and Android devices that lets you remotely remove data. If you’re taking your device out of your home or office, make sure you have these security features configured!

Related
How to Secure Your Windows Laptop Against Theft
Thieves want your laptop. Here’s how to make it more difficult for them to get it.
Source link