Mold on bathroom sealant is an unsightly and potentially harmful problem that many homeowners face. This stubborn fungus thrives in the damp, warm environment of bathrooms, often appearing as black or green patches along tile edges and around fixtures.
While prevention is key — and you might consider buying houseplants that will prevent mold in your home — dealing with existing mold is crucial for maintaining a healthy living space. Tackling bathroom mold doesn’t always require harsh chemicals or essential bathroom gadgets; sometimes, simple bathroom cleaning hacks can be surprisingly effective.
In this guide, we’ll walk you through various methods to clean mold off your bathroom’s sealant, from natural remedies to more powerful solutions. With the right approach, you can restore your bathroom’s cleanliness and protect your home from the potential health risks associated with mold growth.
What you’ll need
- White vinegar
- Baking soda
- Damp cloth
- Stiff-bristled brush (old toothbrush works well)
- Protective gloves
1. Create a cleaning paste
(Image: © Shutterstock)
In a small bowl, combine 1 cup of white vinegar with 2-3 teaspoons of baking soda to form a paste. This natural mixture is effective against mould and safe for most surfaces. Adjust the consistency if needed — it should be spreadable, but not too runny.
2. Apply the paste to moldy areas

(Image: © Shutterstock)
Using a damp cloth, scoop out a small amount of the paste and apply a thick layer over the moldy sealant. Ensure full coverage of affected areas, paying special attention to corners and crevices.
Allow the paste to sit on the moldy sealant for about 5 minutes. This dwell time is crucial as it allows the vinegar and baking soda mixture to penetrate and loosen the mold growth.
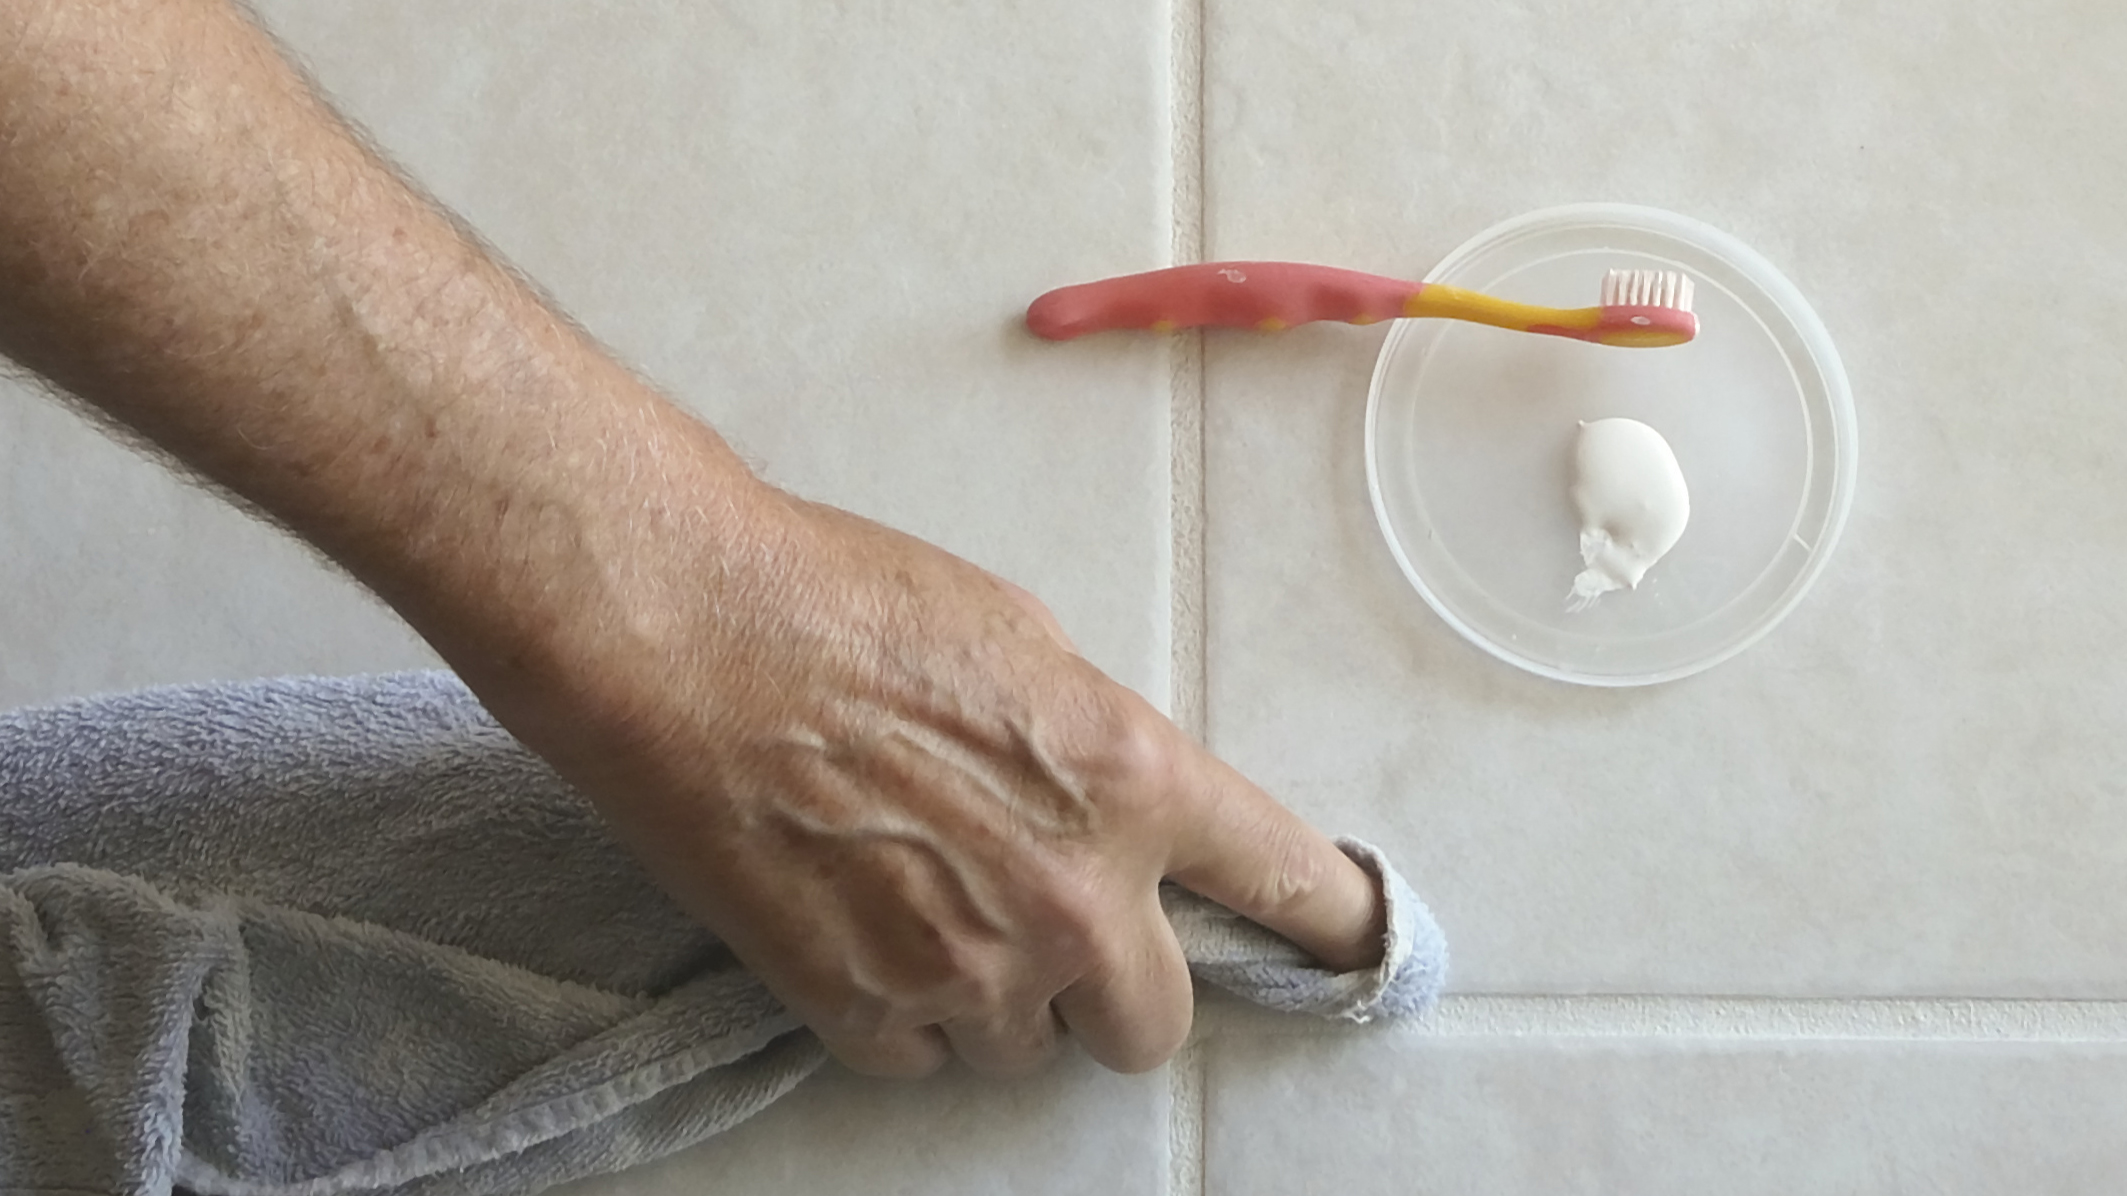
3. Scrub the sealant

(Image: © Future)
Use a stiff-bristled brush to scrub the paste away from the sealant, working it into the moldy areas. Apply firm pressure but be careful not to damage the sealant. For stubborn spots, a toothbrush can provide more precise scrubbing.
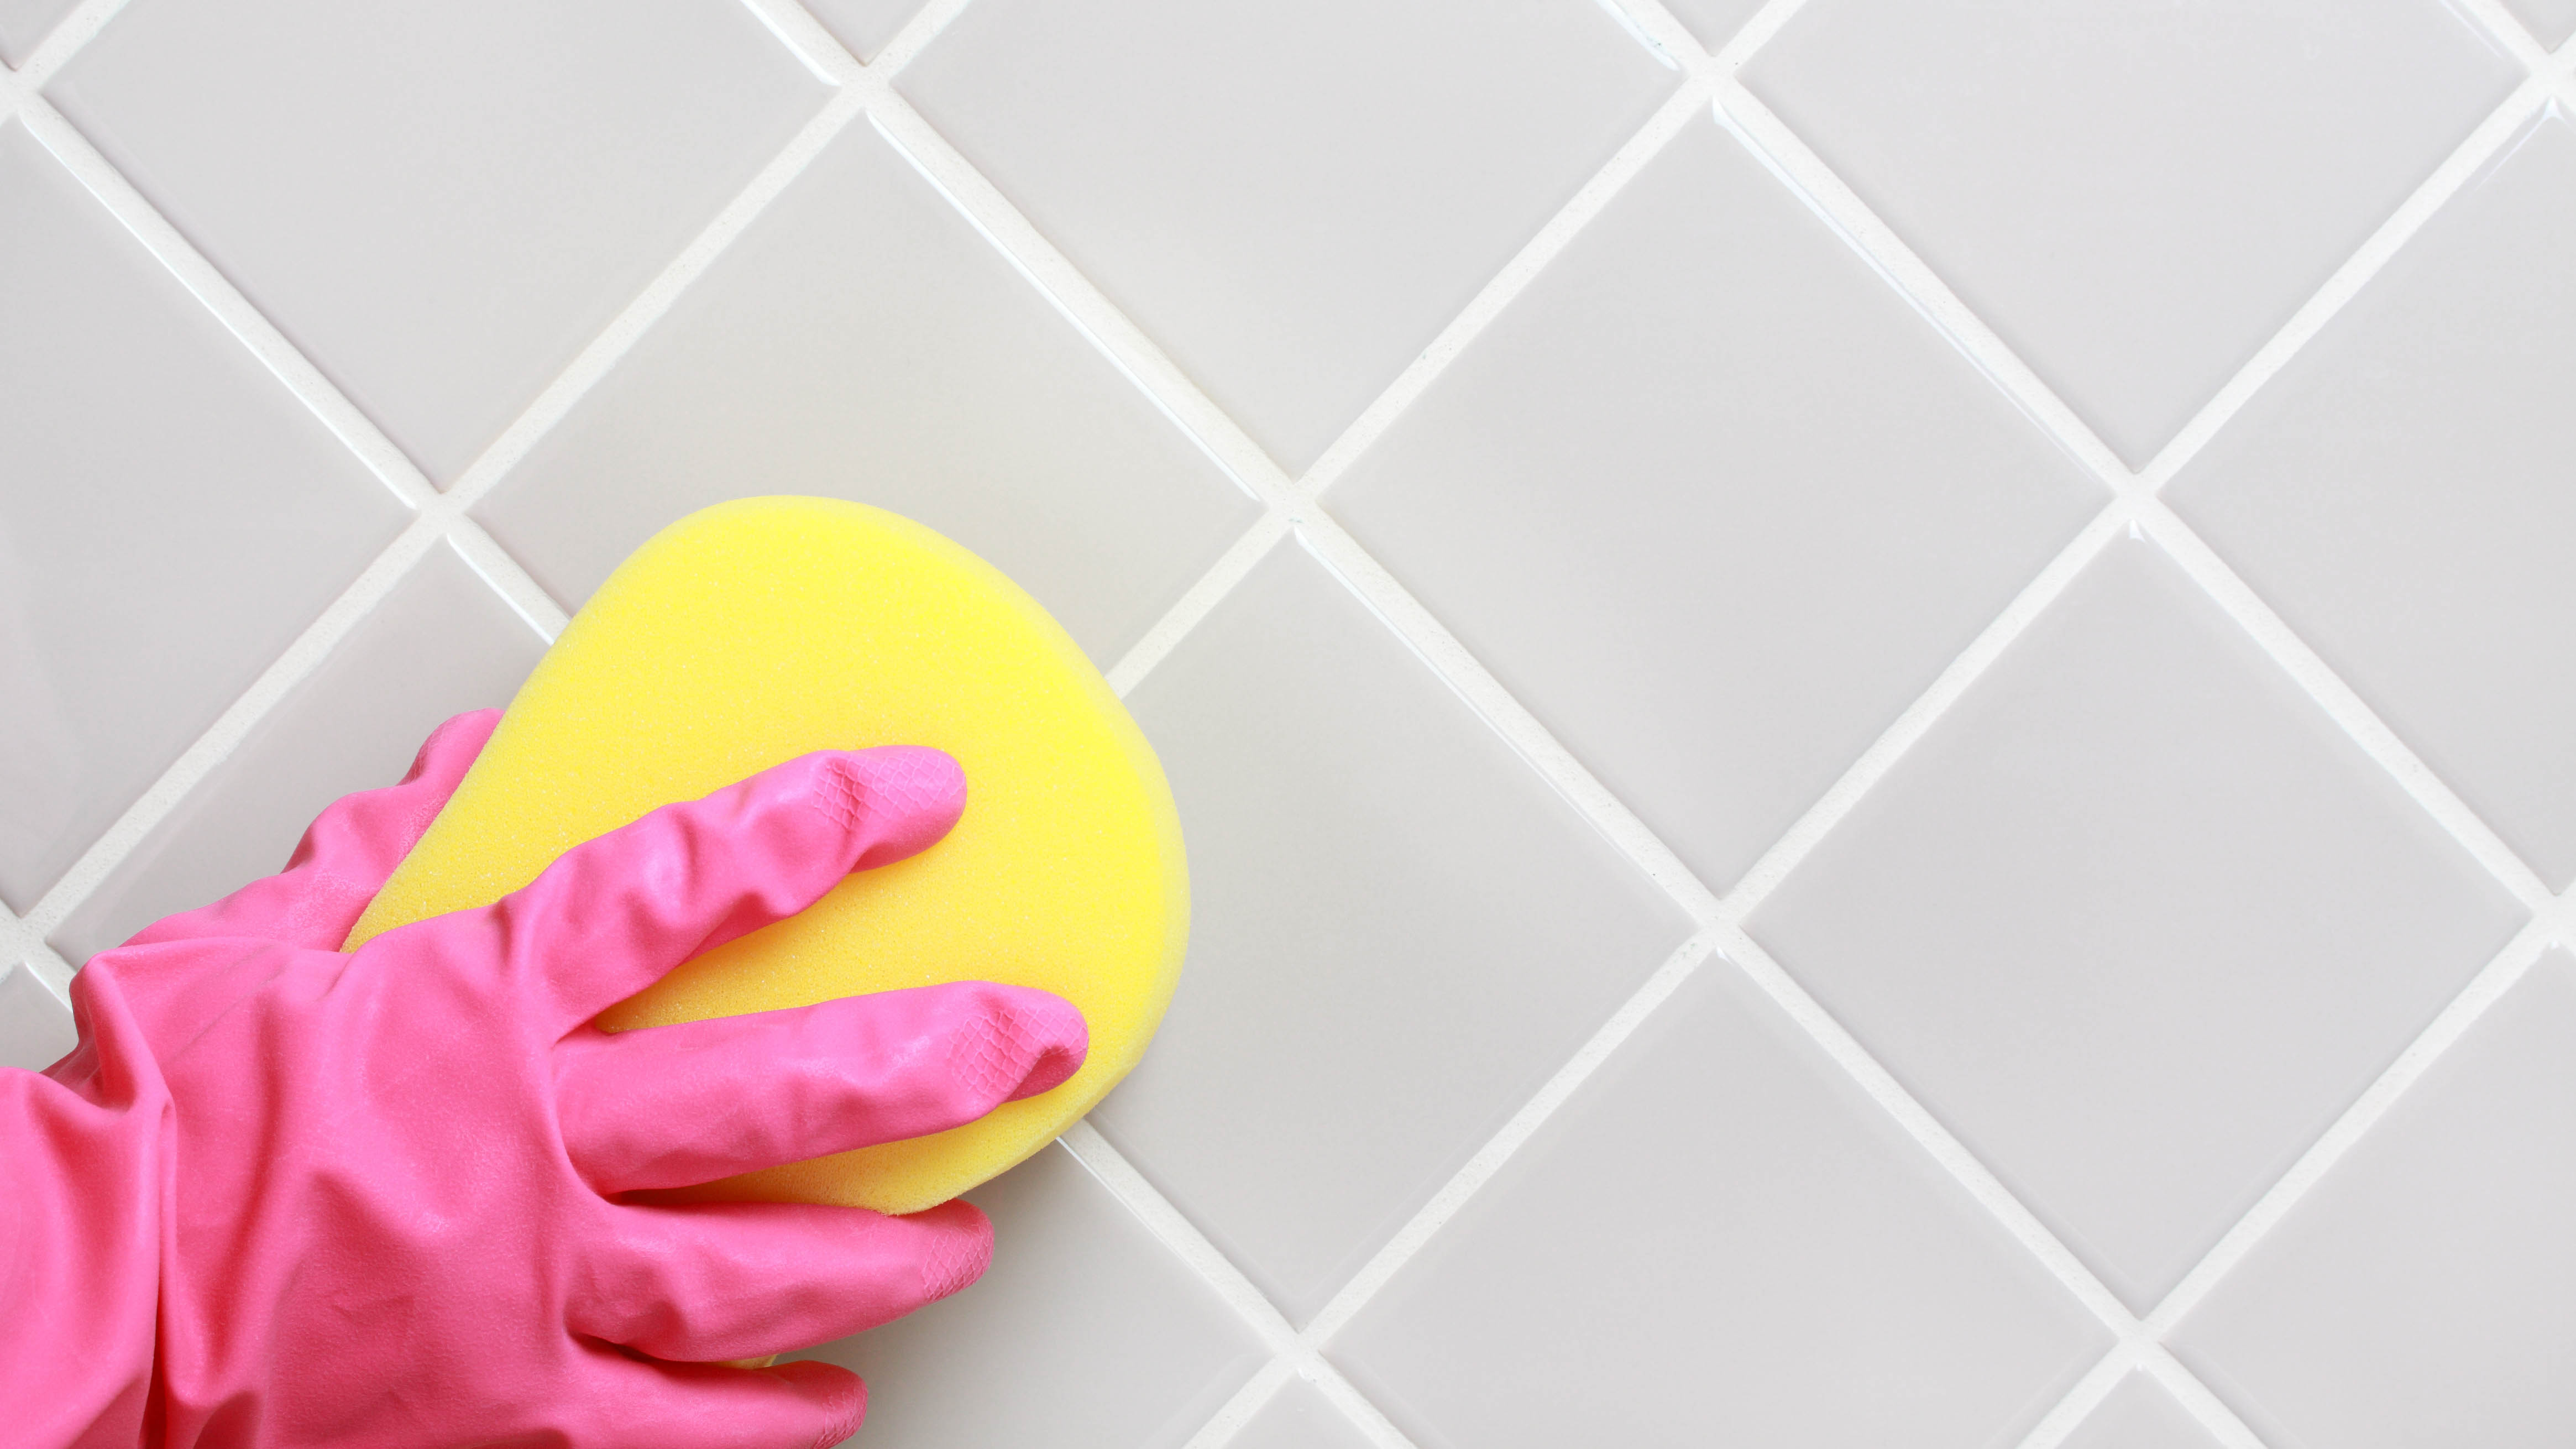
4. Rinse with cool water
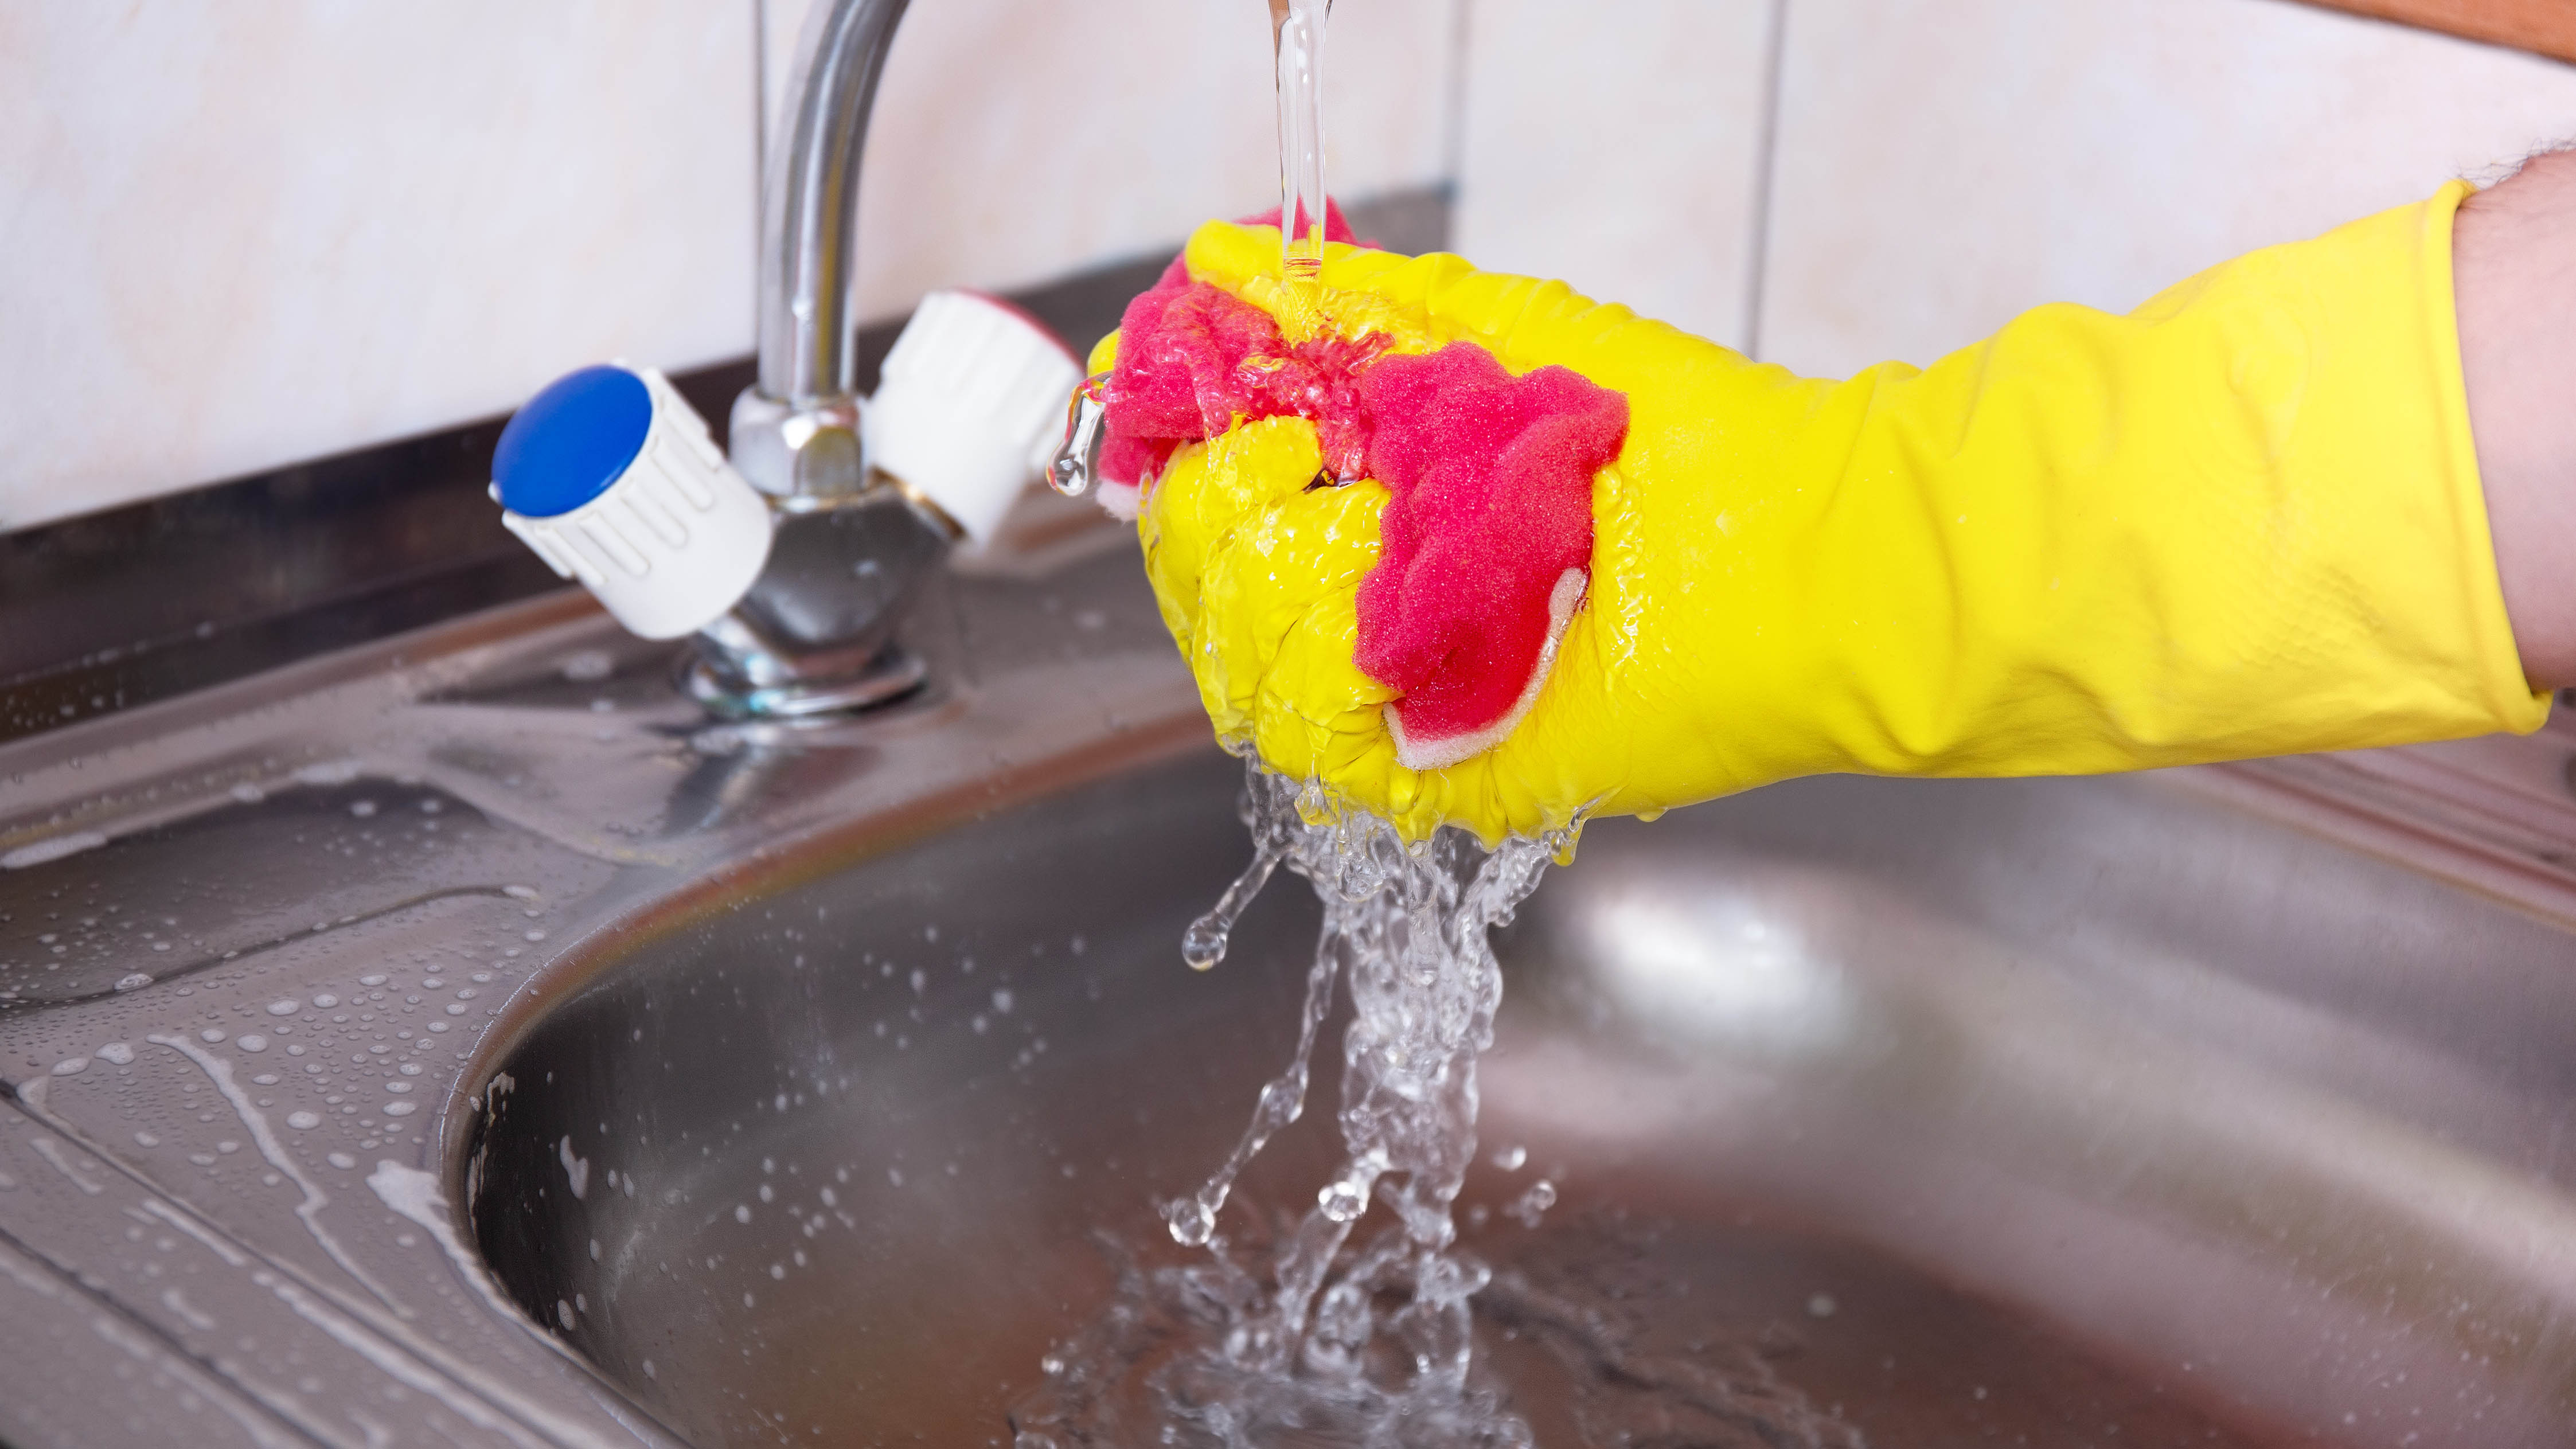

(Image: © Shutterstock)
Use a clean, wet sponge with cool water to rinse the sealant thoroughly. Make sure to remove all traces of the cleaning paste. Warm or hot water might encourage mold growth, so stick to cool water.
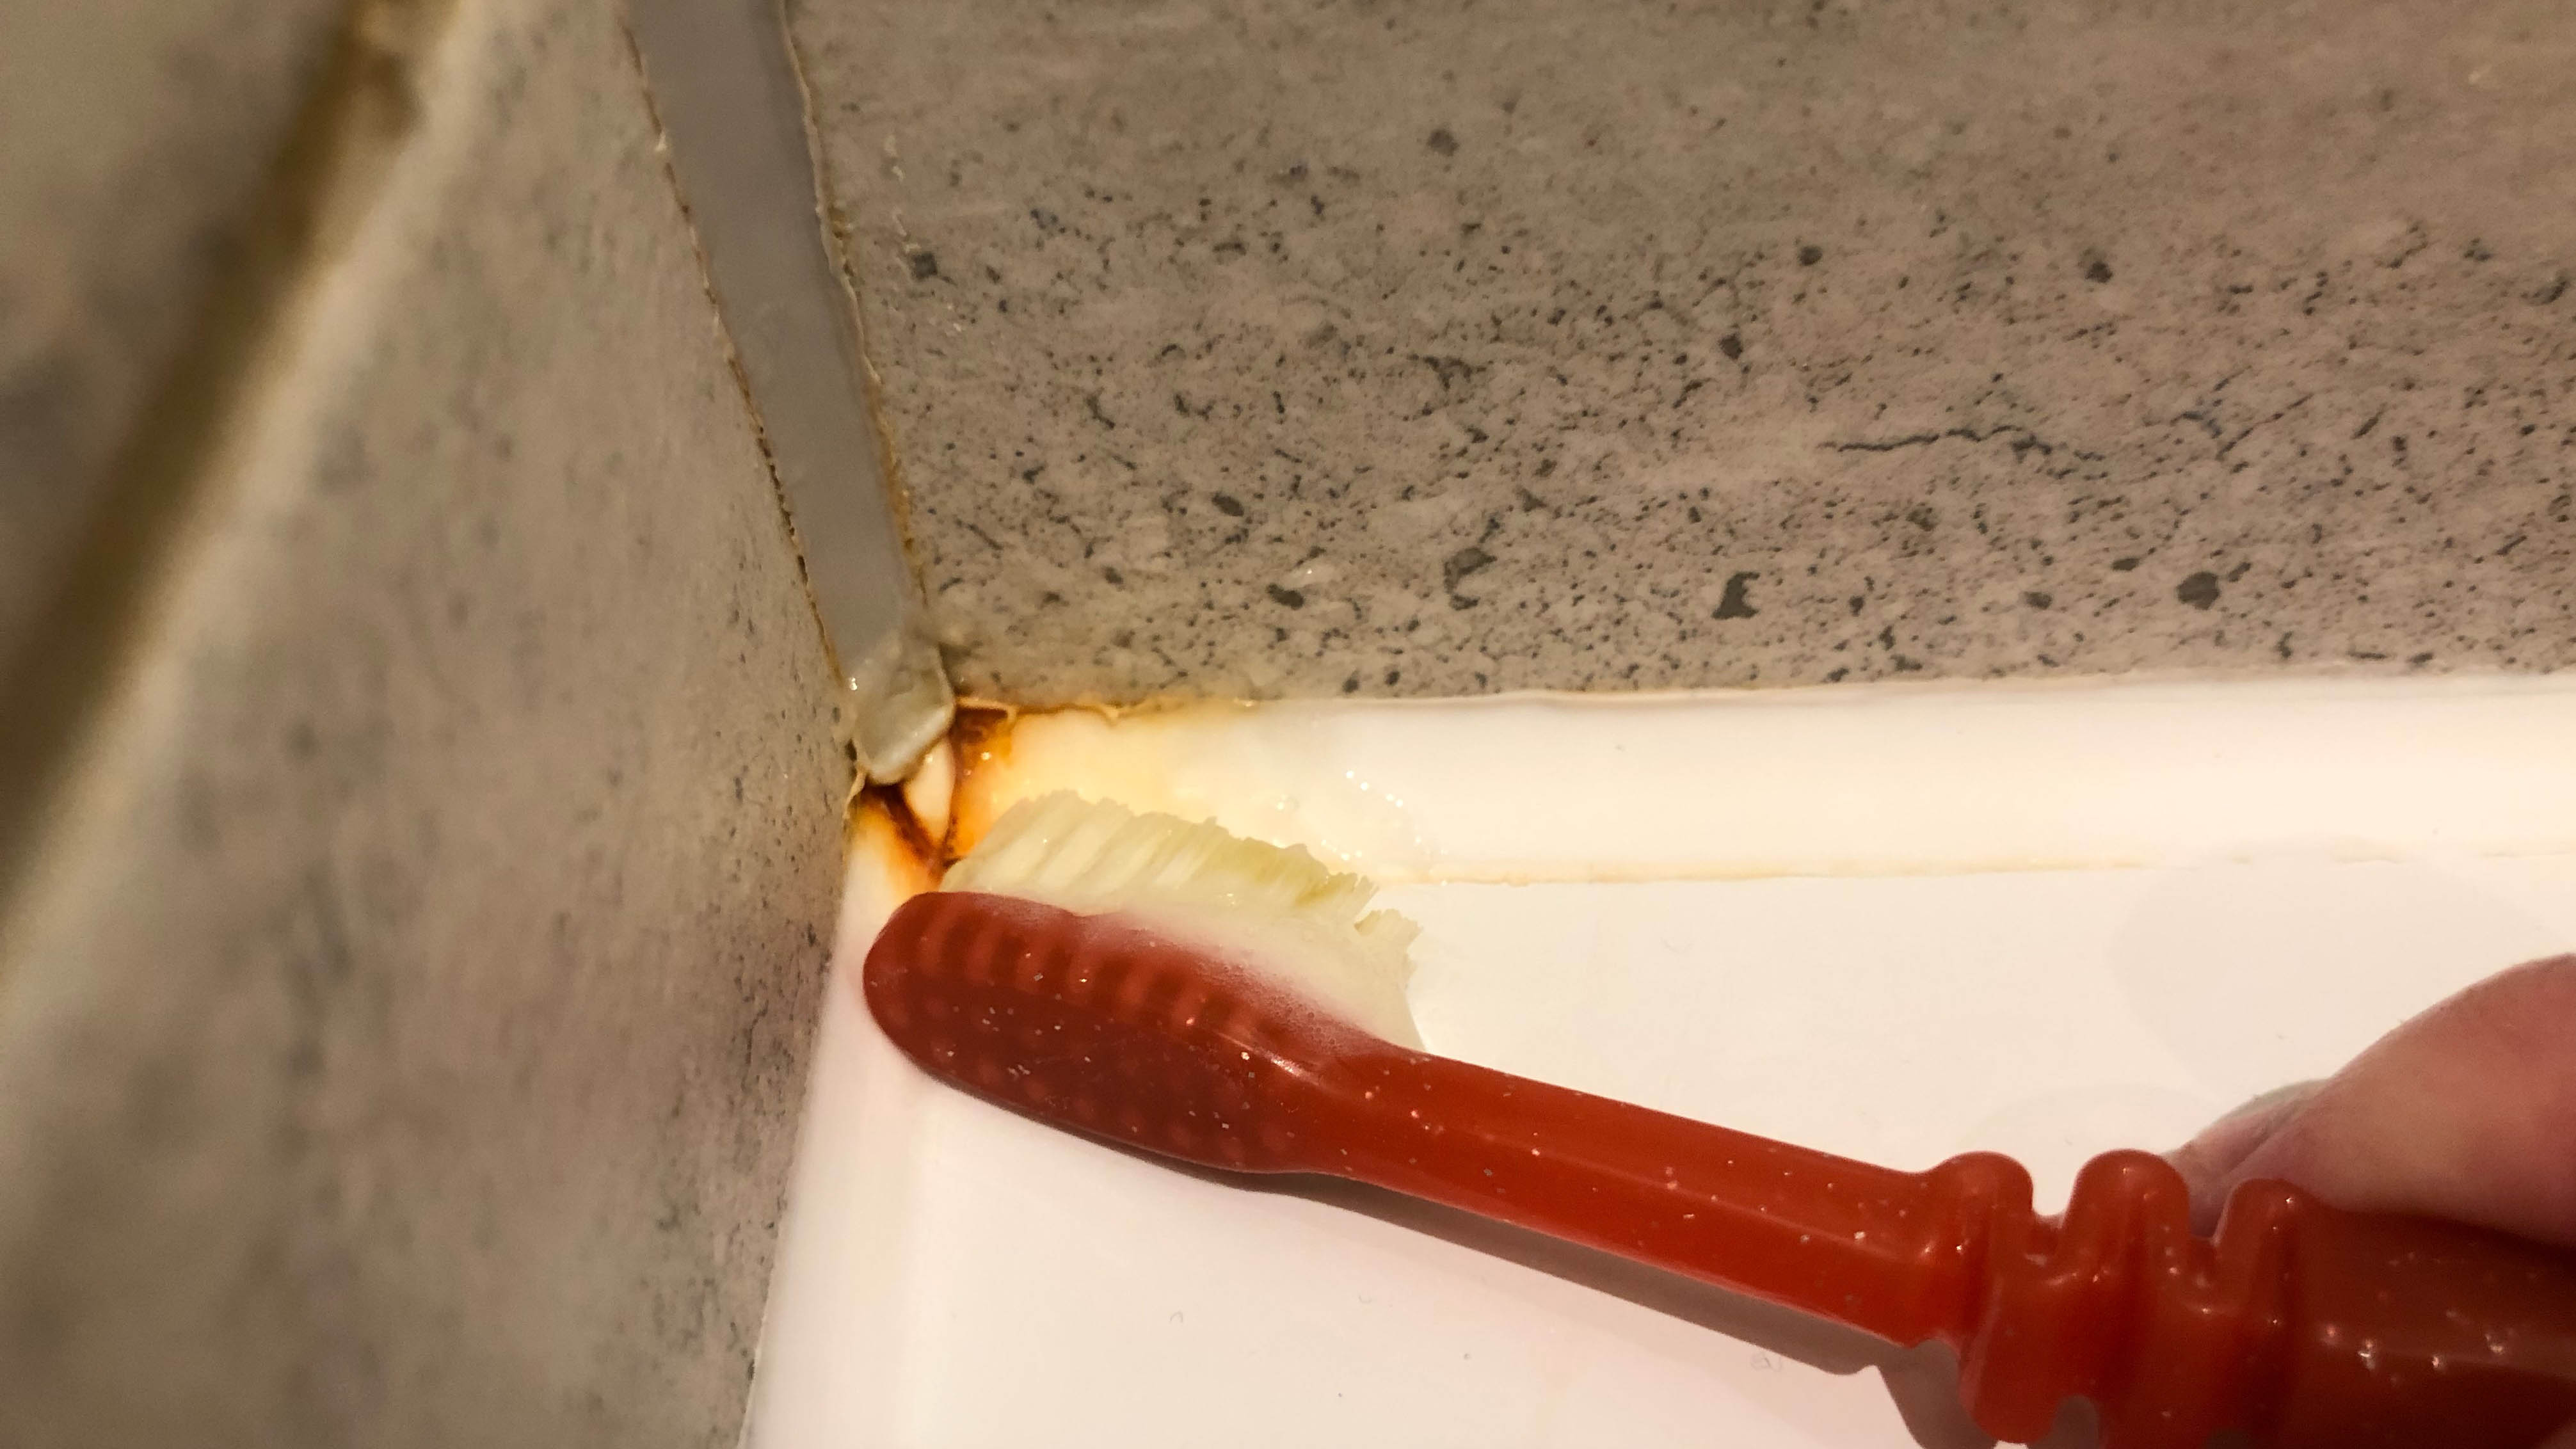
5. Repeat if necessary
(Image: © Future)
If some mold remains after the first treatment, don’t be discouraged. Repeat steps 2-4 until the sealant is clean. Some deeply ingrained mold may require multiple applications.
6. Apply a bleach solution
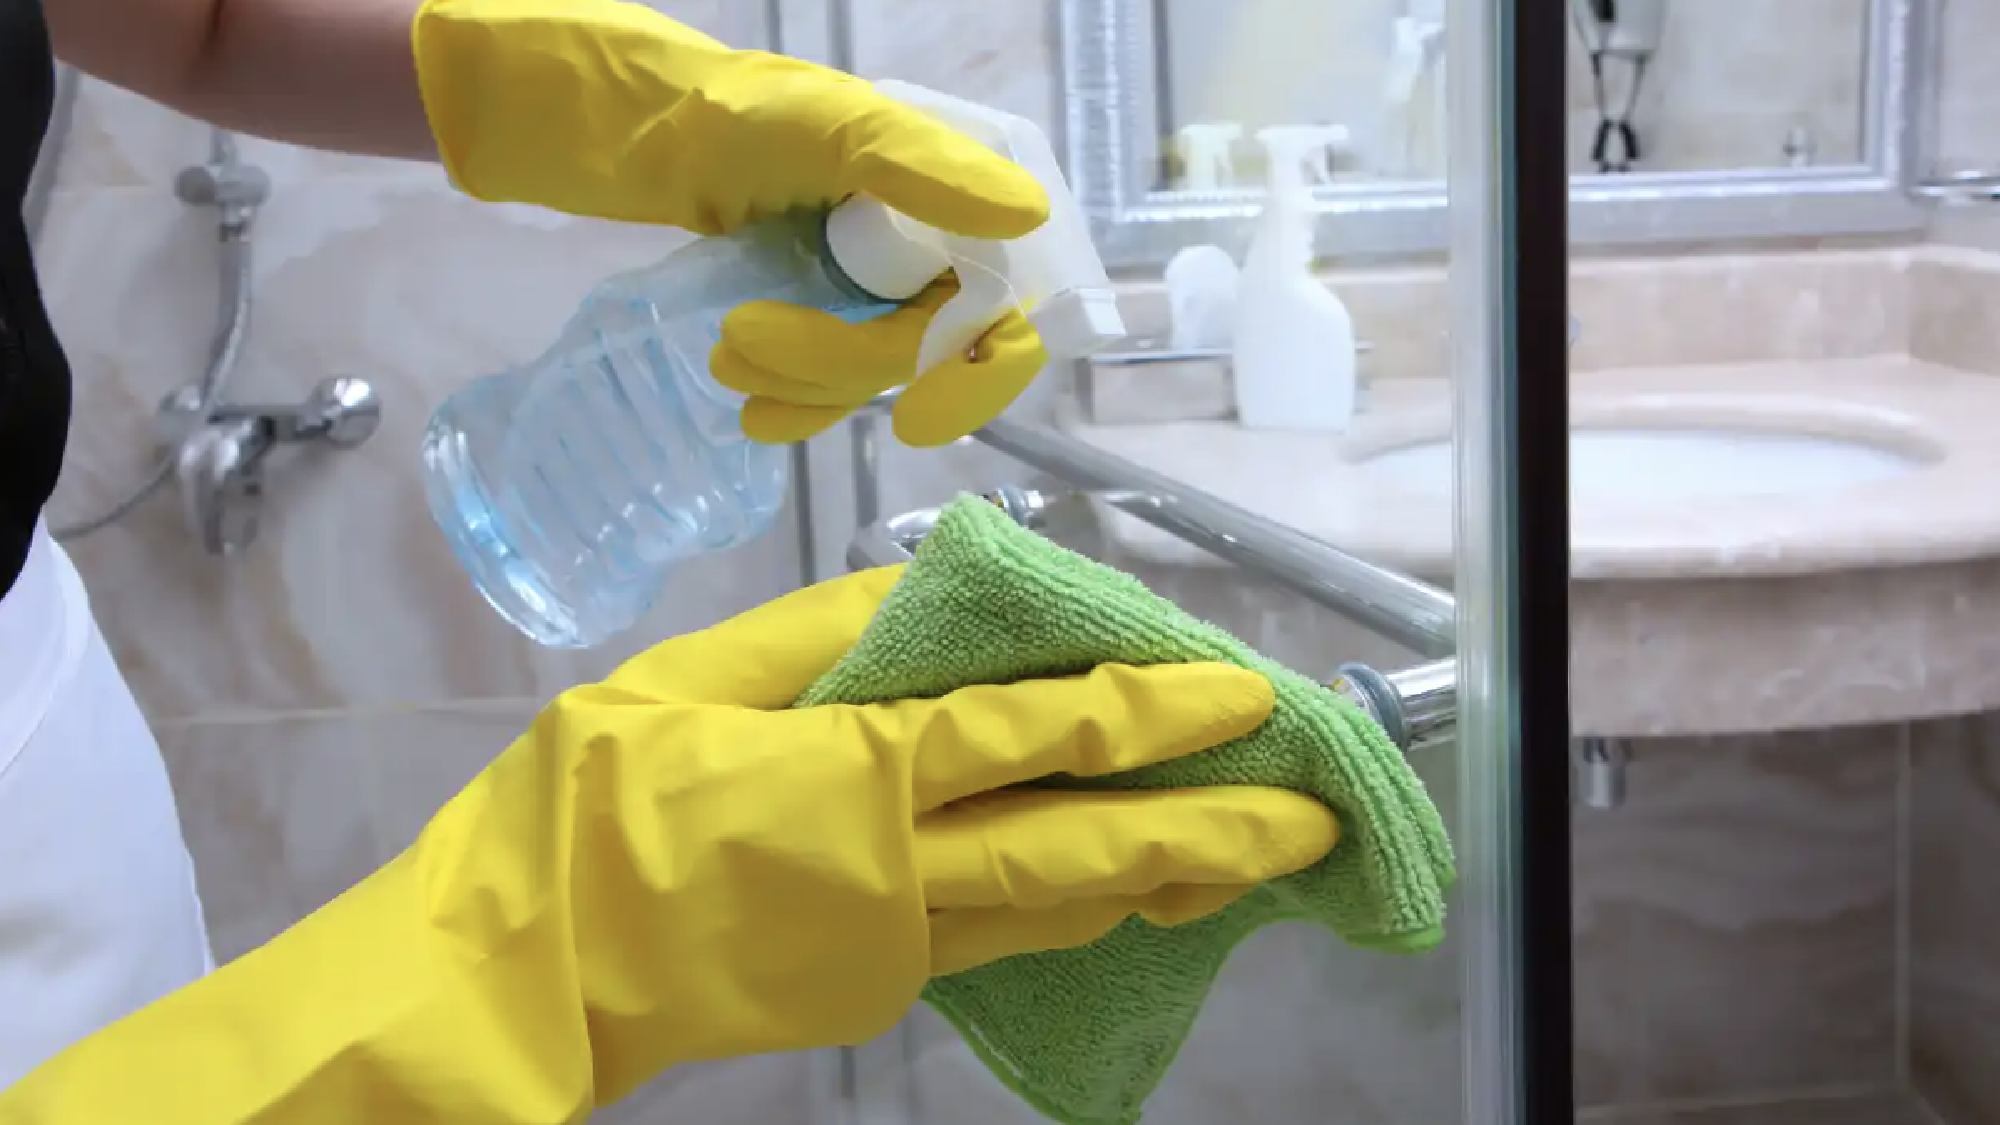

(Image: © Future)
Mix 1 part bleach with 4 parts water in a spray bottle. Spray this solution liberally over the sealant and let it evaporate to kill any remaining mold spores. Ensure proper ventilation when using bleach, and never mix it with other cleaning products.
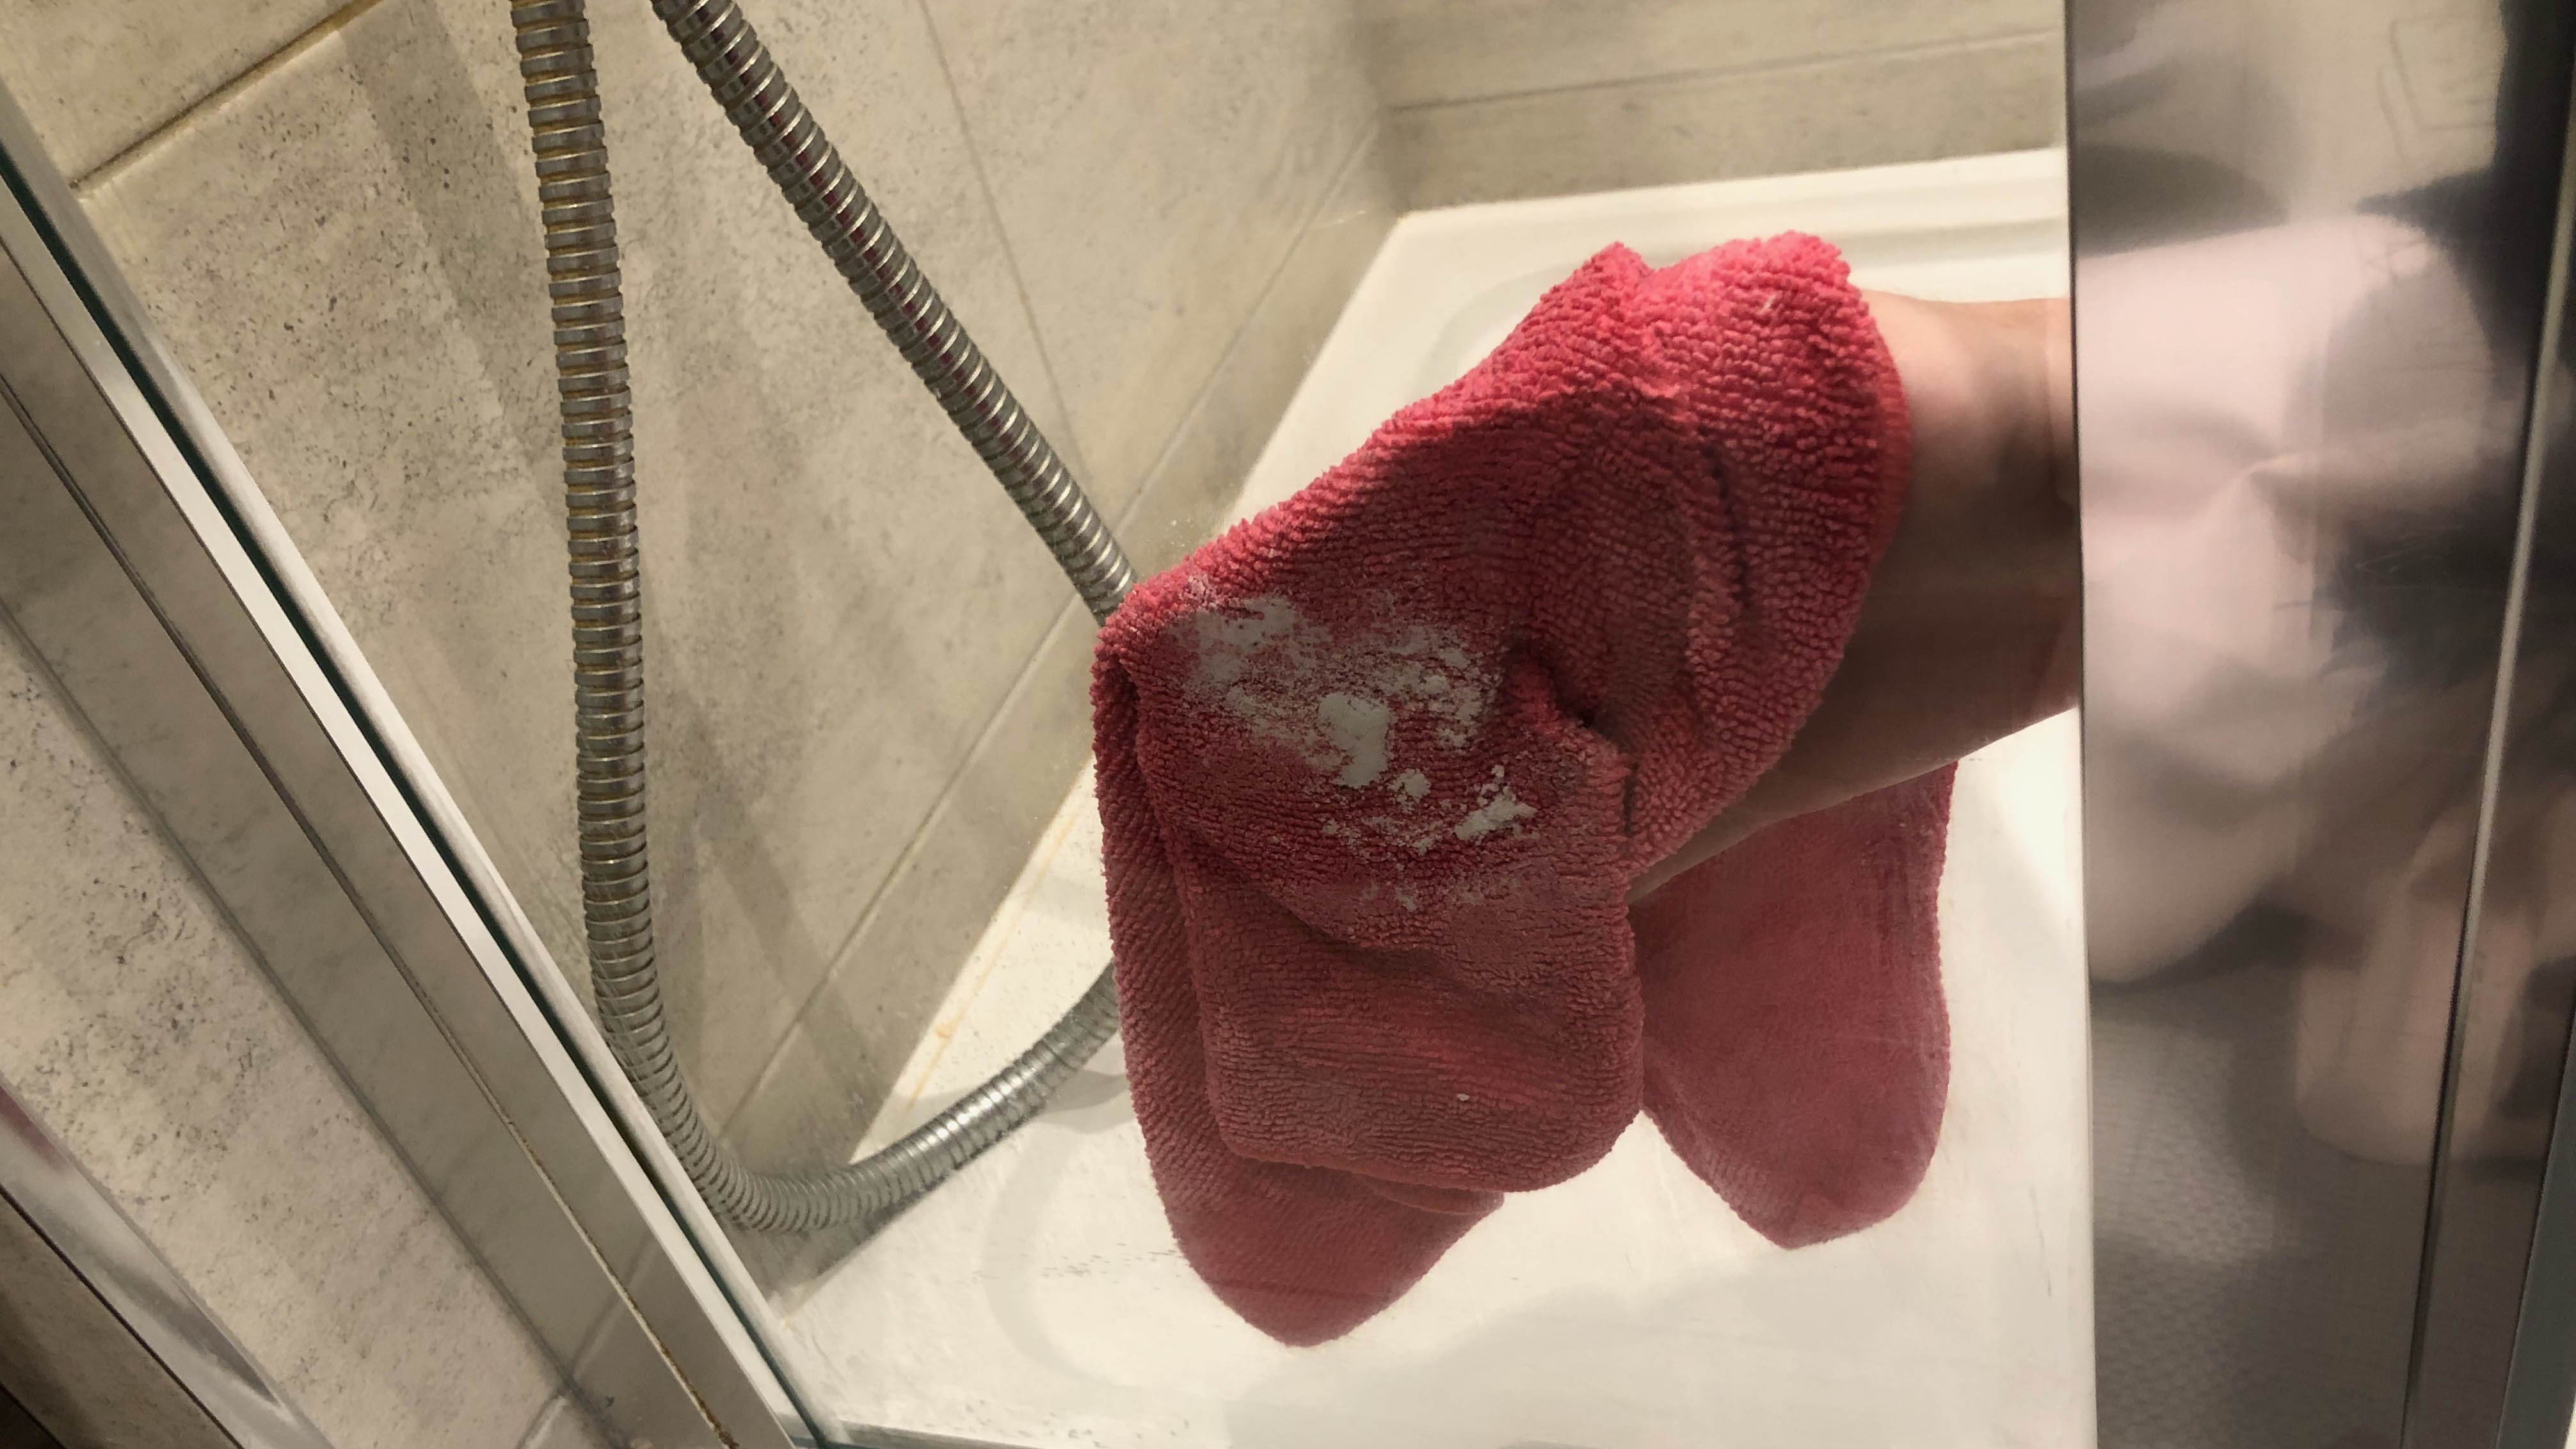
7. Final rinse and dry

(Image: © Shutterstock)
Rinse the area again with a sponge and cool water to remove any bleach residue. Then, dry thoroughly with a clean microfibre cloth or towel. Ensuring the area is completely dry is crucial in preventing future mold growth.
Tips to maintain a mold-free bathroom
- Clean and dry the bathroom after use
- Use a squeegee on shower doors and walls
- Use a dehumidifier
- Consider humidity-removing houseplants
After tackling mold, consider optimizing your bathroom storage and cleaning routine. Avoid common mistakes by learning about the 7 things you should never store in your bathroom — but probably do. Don’t overlook this one thing we forget to clean in the bathroom, which could be harboring unseen germs. And how to keep your bathroom organized.
Source link
-

- GRANDPASHABET CANLI CASİNO & BAHİS.6752
- Azərbaycanda Mostbet AZ casino.2502
- Исследование казино: официальный портал и азартные опции
-

- Meilleur Casino en Ligne 2025 – Top 10 des Casinos Fiables.12486
- The Best Online Casino Sites in the UK 2025 Updated Guide.2173
-