- To create a multiboot USB, open Ventoy, select the USB flash drive, and click “Install.” Then, open the USB with Ventoy installed and copy and paste the ISO files for Windows 11, 10, Linux, etc.
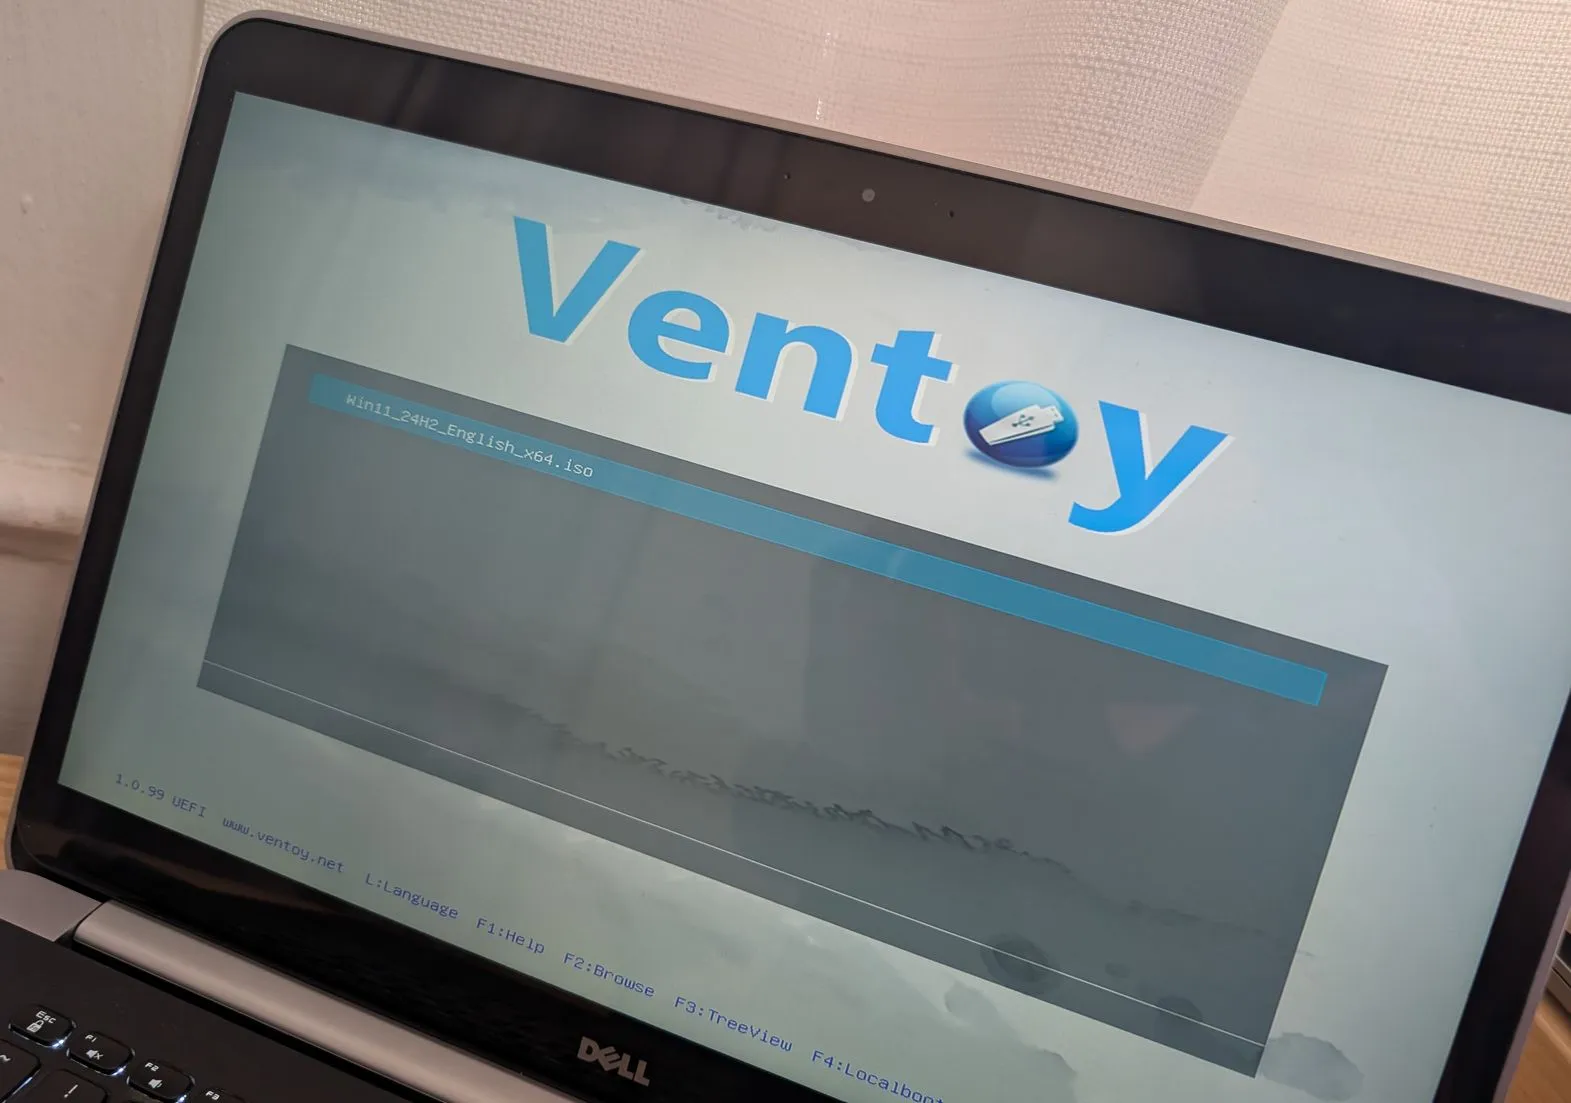
- You can now start a device with the Ventoy bootable USB and choose the installation you want to start.
Ventoy is an application that makes it simple to create a bootable USB flash drive of Windows 11 (and 10) without reformatting the removable storage over and over again, and in this guide, I will teach you how to use it.
Usually, when you have to perform a clean install of Windows 11 (or 10), you use the Media Creation Tool to create a bootable USB media. Alternatively, you can use the Rufus tool to perform the same task but with more customization options. Although these tools work as advertised, the problem is that you have to repeatedly reformat the flash drive to update the installation files or change the operating system.
Ventoy is a piece of software that installs on a flash drive to make it bootable. Once the device is bootable, you only have to upload the ISO (or WIM, IMG, VHDX, or EFI) files you want to use without extracting them. When you start the computer with the USB flash drive, the system will boot into the Ventoy software. While in this interface, you can choose the image you want to launch. If a new version of the ISO becomes available, you can replace it or keep both versions of the image in the same bootable flash drive.
In the case of Windows 11, Ventoy will even apply the necessary workarounds to bypass the hardware requirements, enabling you to install the operating system on virtually any computer.
In this guide, I’ll teach you the steps to use Ventoy to create a bootable USB to install Windows 11 24H2 and 22H2 as well as Windows 10, Linux, or another operating system from the same flash drive.
Create a multi-ISO bootable Windows USB flash drive using Ventoy
To create a bootable USB media for Windows 11 and 10 with Ventoy, connect a flash drive with enough space and use these steps:
-
Click the ventoy-x.x.xx-windows.zip file under the “Assets” section and download it to your computer.
Quick note: You may need to force and keep the file as the browser may detect it as malicious.
-
Open File Explorer.
-
Open the Zip folder location.
-
Double-click the open the ventoy-x.x.xx-windows.zip file.
-
Click the Extract all button from the command bar.

-
Click the Browse button.
-
Select a location to extract the files.
-
Click the Select Folder button.
-
Click the Extract button.
-
Open the ventoy-x.x.xx folder.
-
Double-click the Ventoy2Disk.exe file to launch the installer.

-
Choose the USB flash drive from the “Device” setting.
-
Click the Install button.

-
Click the OK button.
-
Click on This PC from the left pane of File Explorer.
-
Open the Ventoy drive.
-
Copy and paste the ISO files to make them bootable. You can include the latest image of Windows 11, 10, Linux, etc.


Once you complete the steps, you can use the USB flash drive to boot a computer with the Ventoy software. You can then choose to launch one of the ISOs you uploaded to the flash drive.
The instructions outlined above allow you to quickly create a bootable media with multiple images without requiring additional configuration. However, the developer also offers the VentoyPlugson plugin that allows you to configure the experience in many different ways using a “.json” file.
Update October 15, 2024: This guide has been updated to ensure accuracy and reflect changes to the process.
Why You Can Trust Pureinfotech
The author combines expert insights with user-centric guidance, rigorously researching and testing to ensure you receive trustworthy, easy-to-follow tech guides. Review the publishing process.
Source link
-

-

-

-

-
-

-

-