Key Takeaways
- To view all user accounts on Windows 11, go to Settings > Accounts > Other Users. View family accounts at Settings > Accounts > Family.
- To retrieve the account list using a command-line method, open Command Prompt, type the “net user” command, and press Enter.
- To view more details about user accounts, in Command Prompt, type the “wmic useraccount get” command and press Enter.
Do you want to find out all the user accounts that exist on your Windows 11 PC? If so, you have both graphical and command-line methods to list existing accounts. I’ll show you the various ways to do that.
From Settings
The easiest graphical way to view all user accounts on Windows 11 is by using the Settings app. To use this method, launch Settings by pressing Windows+i. From the left sidebar, choose “Accounts.” On the right pane, in the Account Settings section, select “Other Users.”
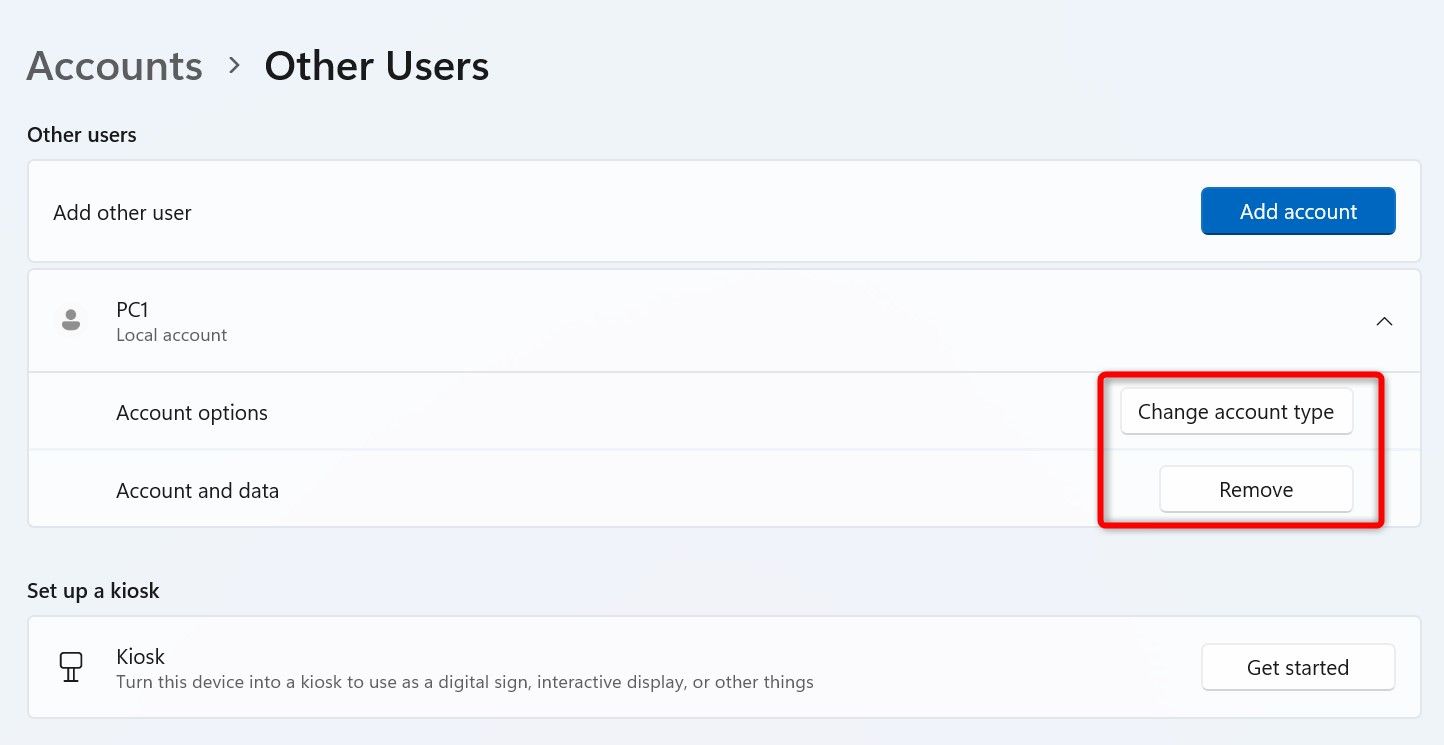
You’ll see all the user accounts listed on your screen. Note that you won’t find your own account on the list, as it’s shown in another menu in the Settings app.
You can manage the shown accounts by clicking their names. For example, you can change an account’s type by selecting the account, choosing “Change Account Type,” and selecting “Administrator” or “Standard User.” Similarly, you can delete an account by choosing “Remove.”

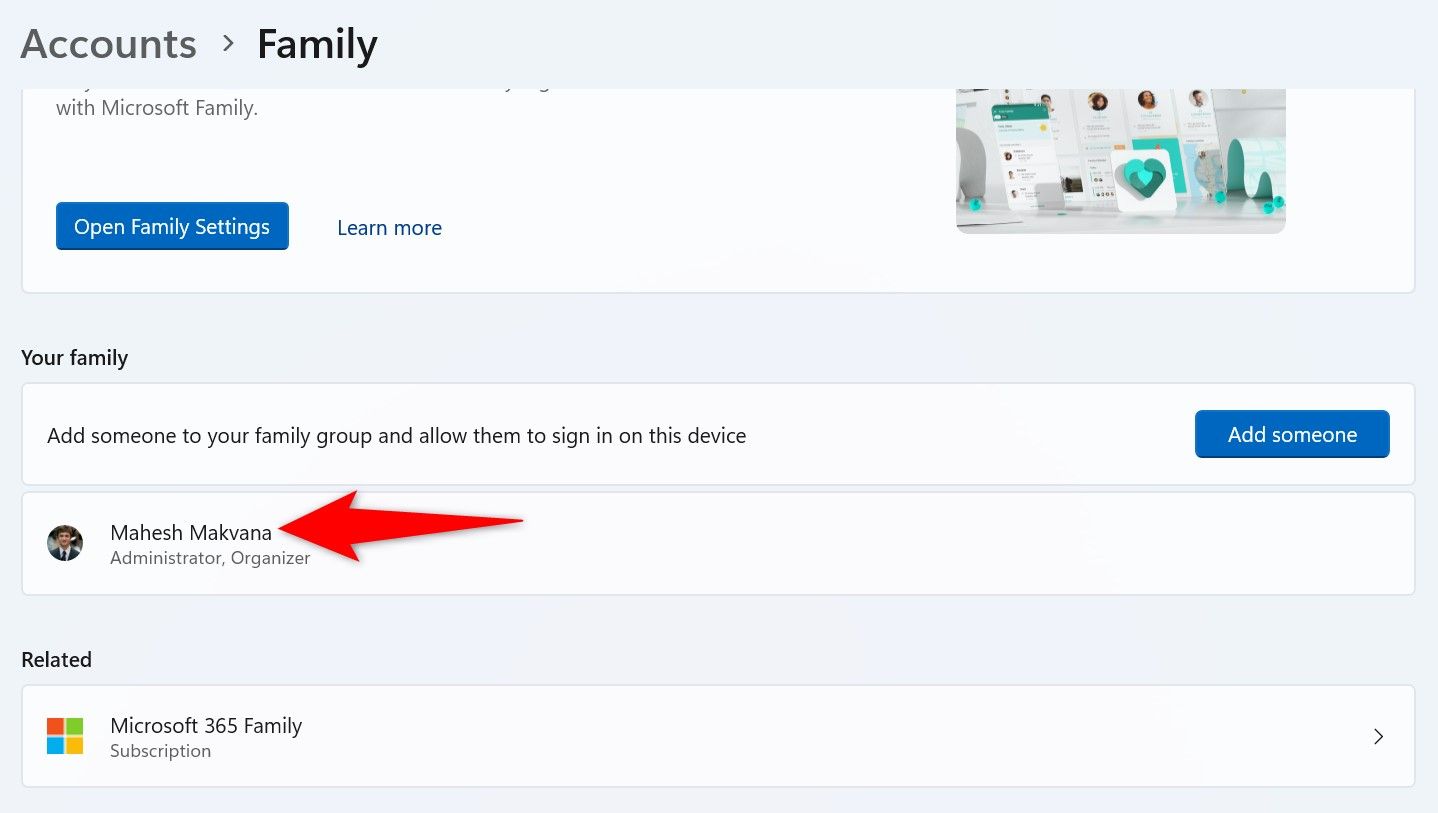
To find the user accounts belonging to your family group, go back to the Accounts screen in Settings. Choose “Family,” and you’ll see your family group accounts.

You’re done.
Using Command Prompt
If you prefer command-line methods, you can use a command in Command Prompt to list down all the user accounts on the system. Start by opening Windows Search, typing Command Prompt, and selecting the utility in the search results. You don’t have to run CMD as an administrator to view user accounts.
On the Command Prompt window, type the following command and press Enter:
net user


You’ll see all the user accounts that exist on your PC. This includes the hidden Administrator account as well. If you’d like to export the user account list to a text file, use the following command. As it stands, the command saves the output to a text file named “accounts” on my desktop. Change the path and the file name to match your PC.
net user > C:\Users\mahes\Desktop\accounts.txt
If you’d like to get more information about the listed user accounts, run the following command in CMD. This command retrieves details like the account type, account description, if the account is disabled, account domain, full name, if the account is local, account name, if the account password expires, account status, and more.
wmic useraccount get
You can trim the above command to only display account names. Here, the “name” parameter ensures only the account names are retrieved.
wmic useraccount get name
With PowerShell
PowerShell is another command-line method to list user accounts in Windows. You’ll use a command (called a cmdlet) in this tool to view user accounts.
Start by accessing Windows Search, typing PowerShell, and selecting the utility in the search results. On the PowerShell window, type the following cmdlet and press Enter:
Get-LocalUser

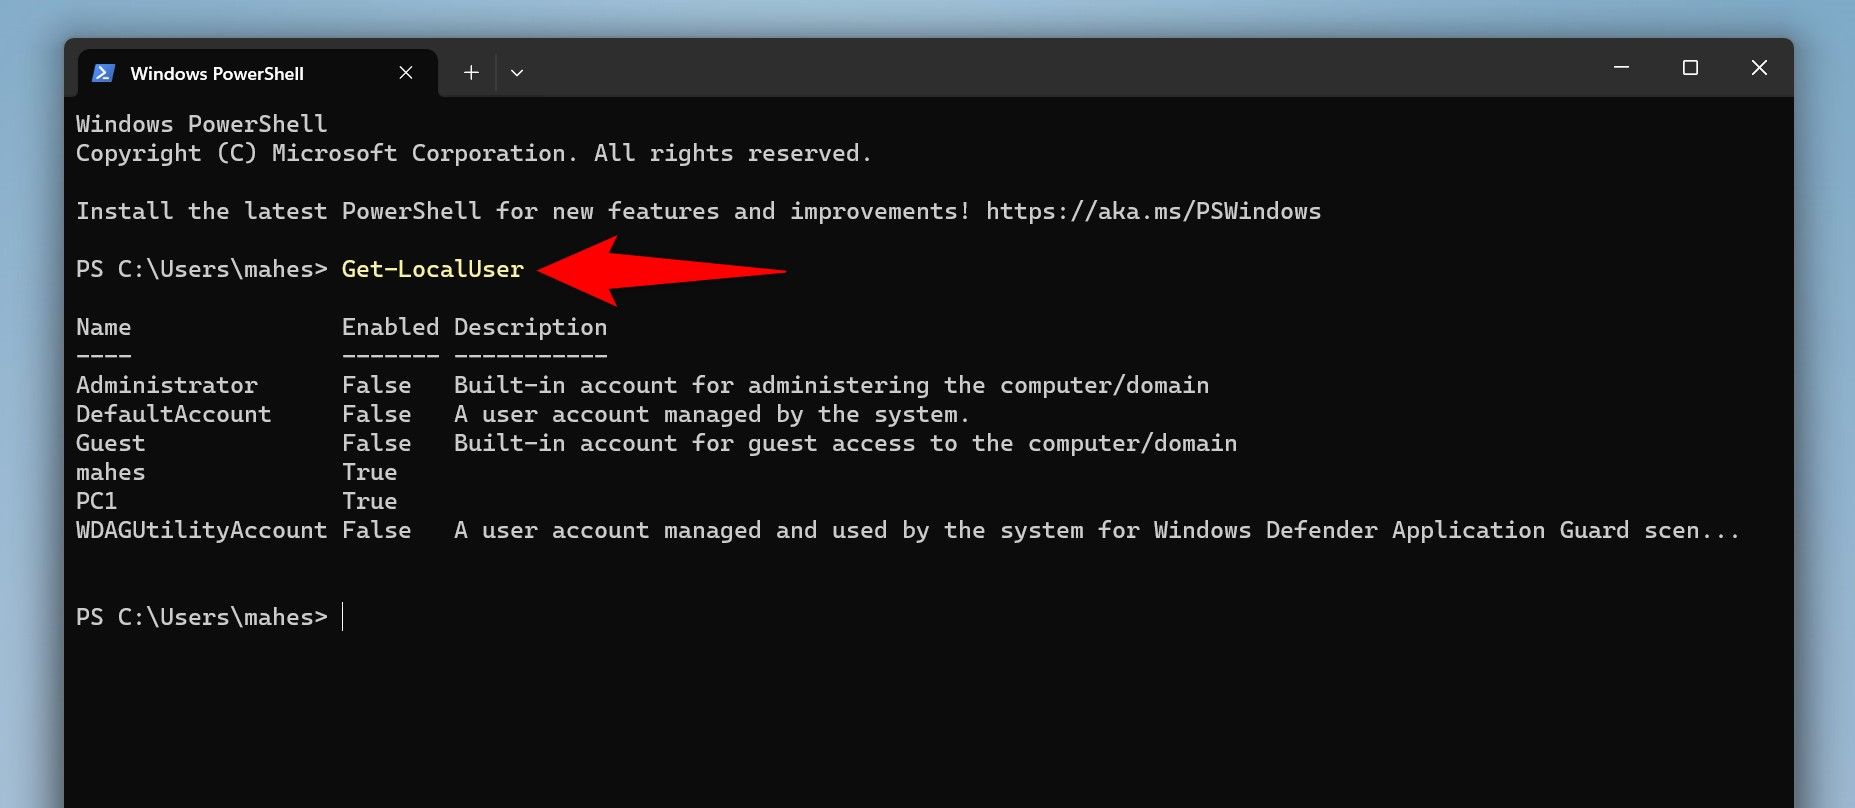
PowerShell will list all your user accounts. To save this account list to a text file, use the following command (make sure to modify the file path).
Get-LocalUser > C:\Users\mahes\Desktop\accounts.txt
You’re done.
From Computer Management
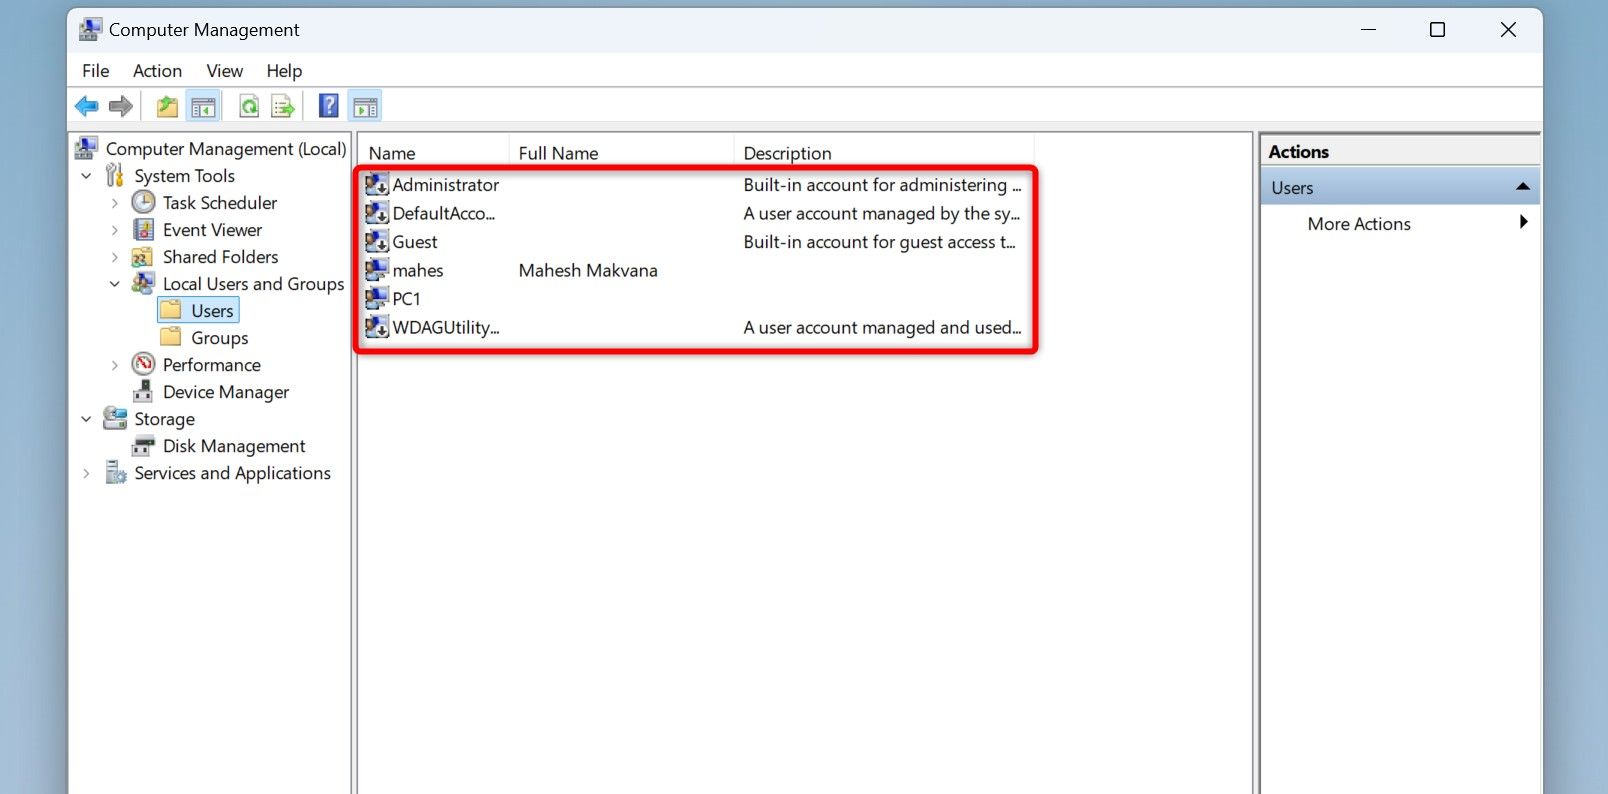
Computer Management is a built-in Windows utility that allows you to view your user accounts as well as disable or delete those accounts. To use the tool, open Windows Search, type Computer Management, and select the tool in the search results.
When Computer Management opens, from the left sidebar, select System Tools > Local Users and Groups > Users.
On the right pane, you’ll see a list of all your user accounts.

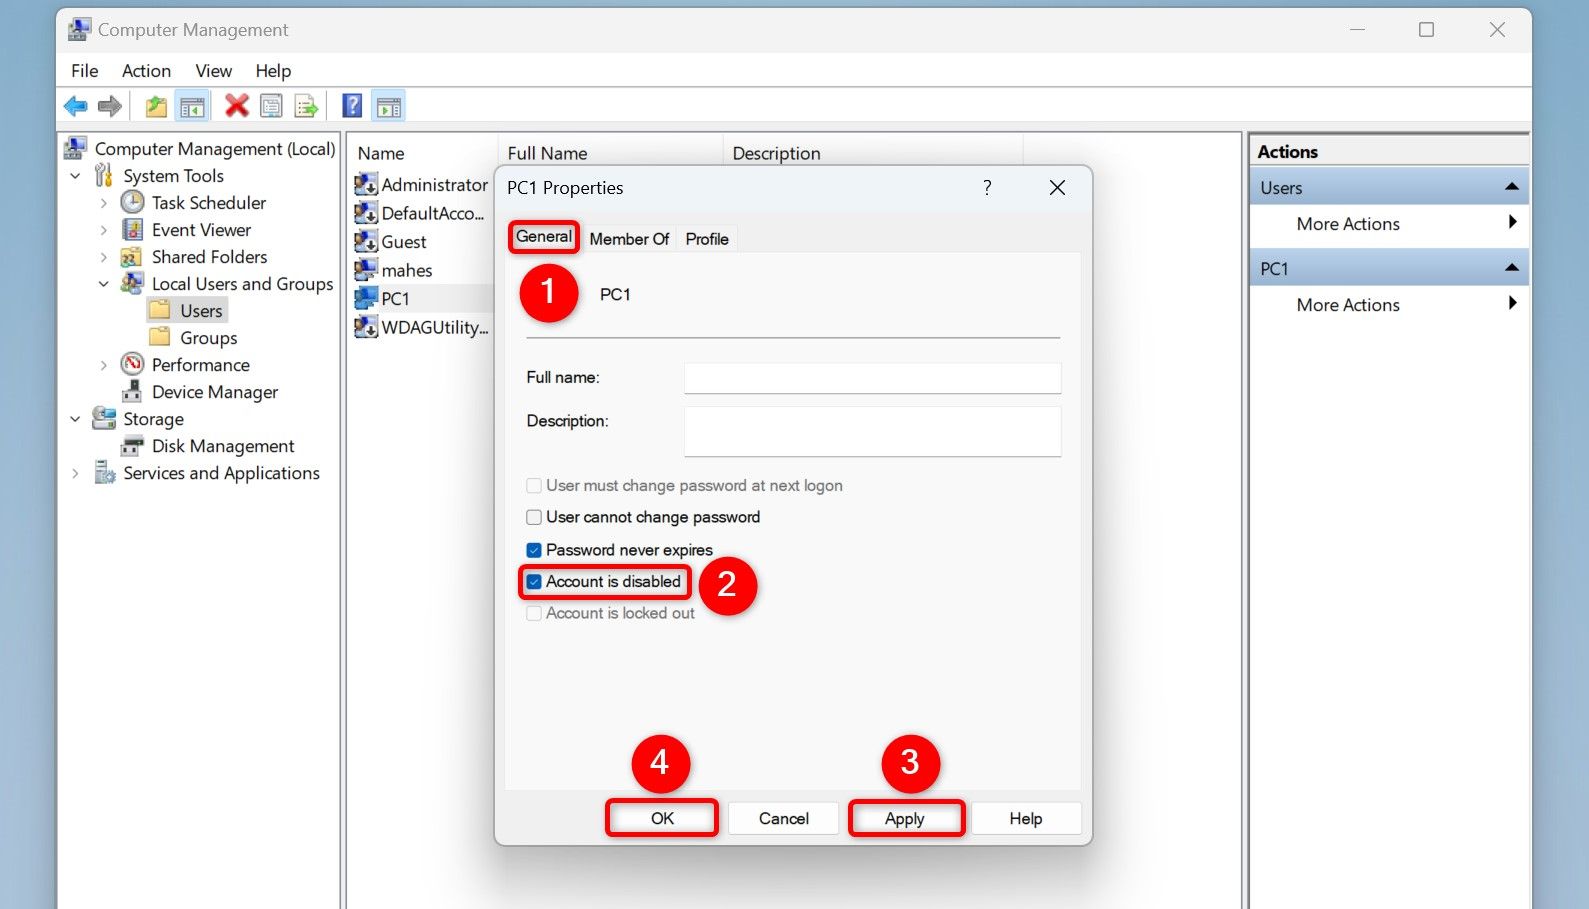
If you’d like to prevent a user from logging in to their account, disable that account. Do that by right-clicking the account on the list, choosing “Properties,” accessing the “General” tab, turning on the “Account is Disabled” option, and selecting “Apply” followed by “OK.”

To remove an account from your PC, right-click the account and choose “Delete.”
Deleting an account is a permanent action, and you can’t undo it. Make sure you really want to get rid of the account that you’re deleting.
In the open prompt, select “Yes.”
Using Netplwiz
Netplwiz is another graphical utility to find, manage, remove, and even add user accounts to your Windows PC. To use it, launch Run by pressing Windows+R, type the following in the open box, and select “OK” or press Enter:
netplwiz
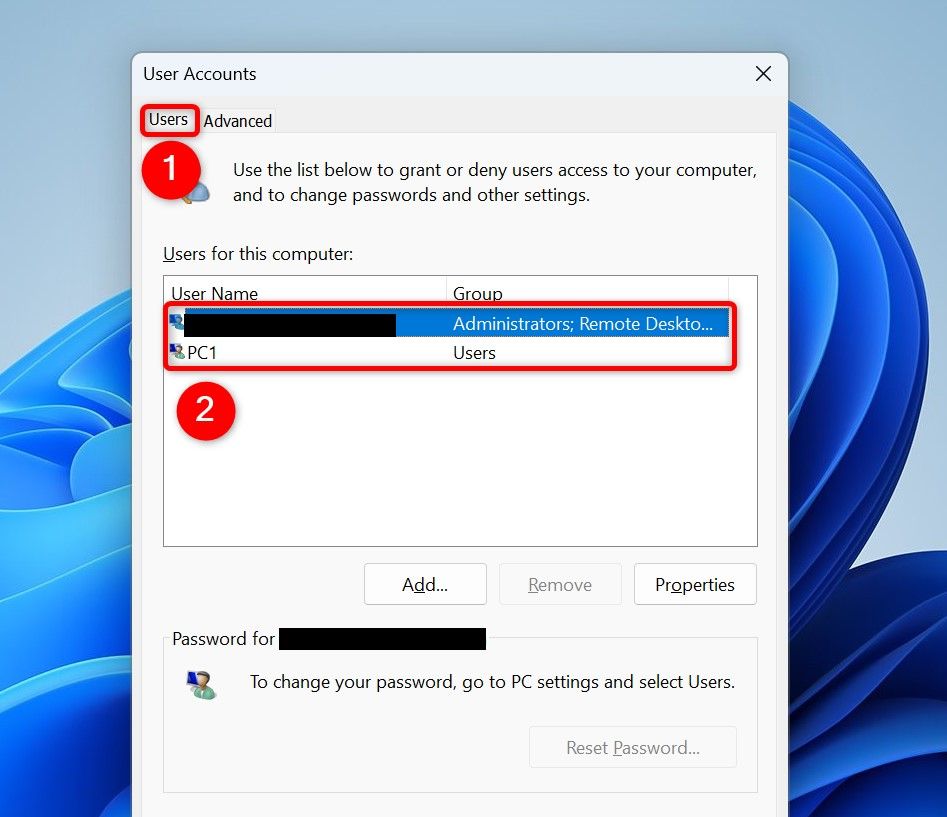
On the User Accounts window that opens, in the Users tab, you’ll see all your Windows users.

To delete an account from your system, select the account on the list and choose “Remove” at the bottom of the list. Select “Yes” in the prompt to delete the account. If you’d like to add a new account, choose “Add” and follow the on-screen instructions.
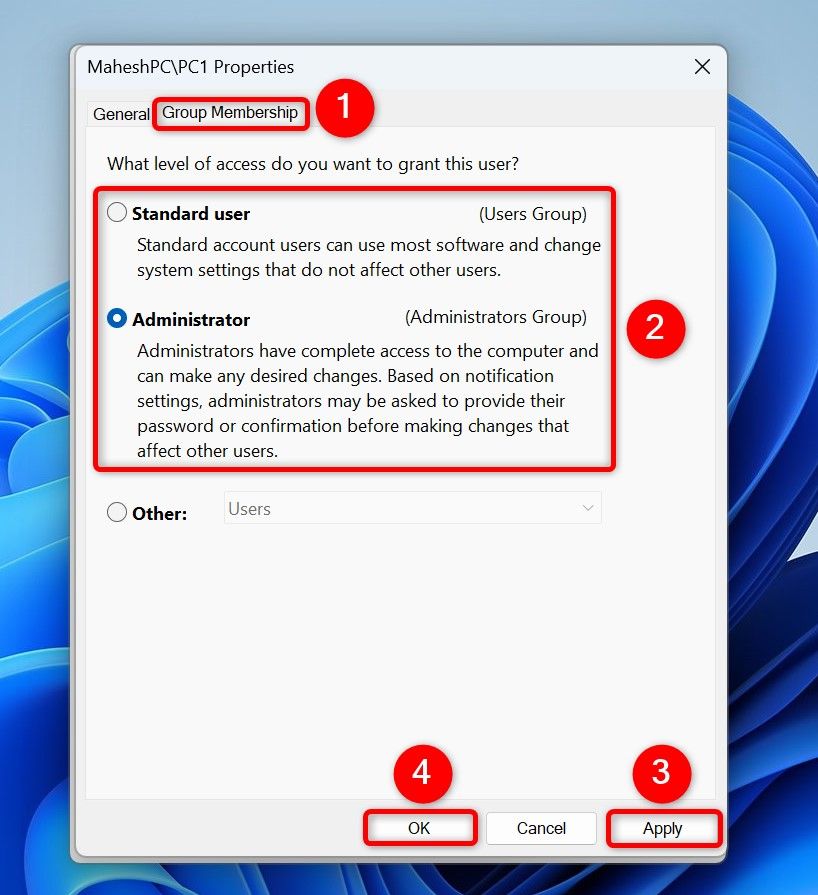
To change an account’s type to Standard User or Administrator, select the account on the list, choose “Properties,” open the “Group Membership” tab, choose the new account type, and select “Apply” followed by “OK.”

You’re set.
With Lusrmgr (For Windows 11 Pro Edition)
If you’re using Windows 11’s Pro edition, you can utilize a utility called Local Users and Groups (lusrmgr) to view, disable, and delete user accounts on your PC.
To use the tool, launch Run by pressing Windows+R, type the following in the open box, and press Enter:
lusrmgr.msc
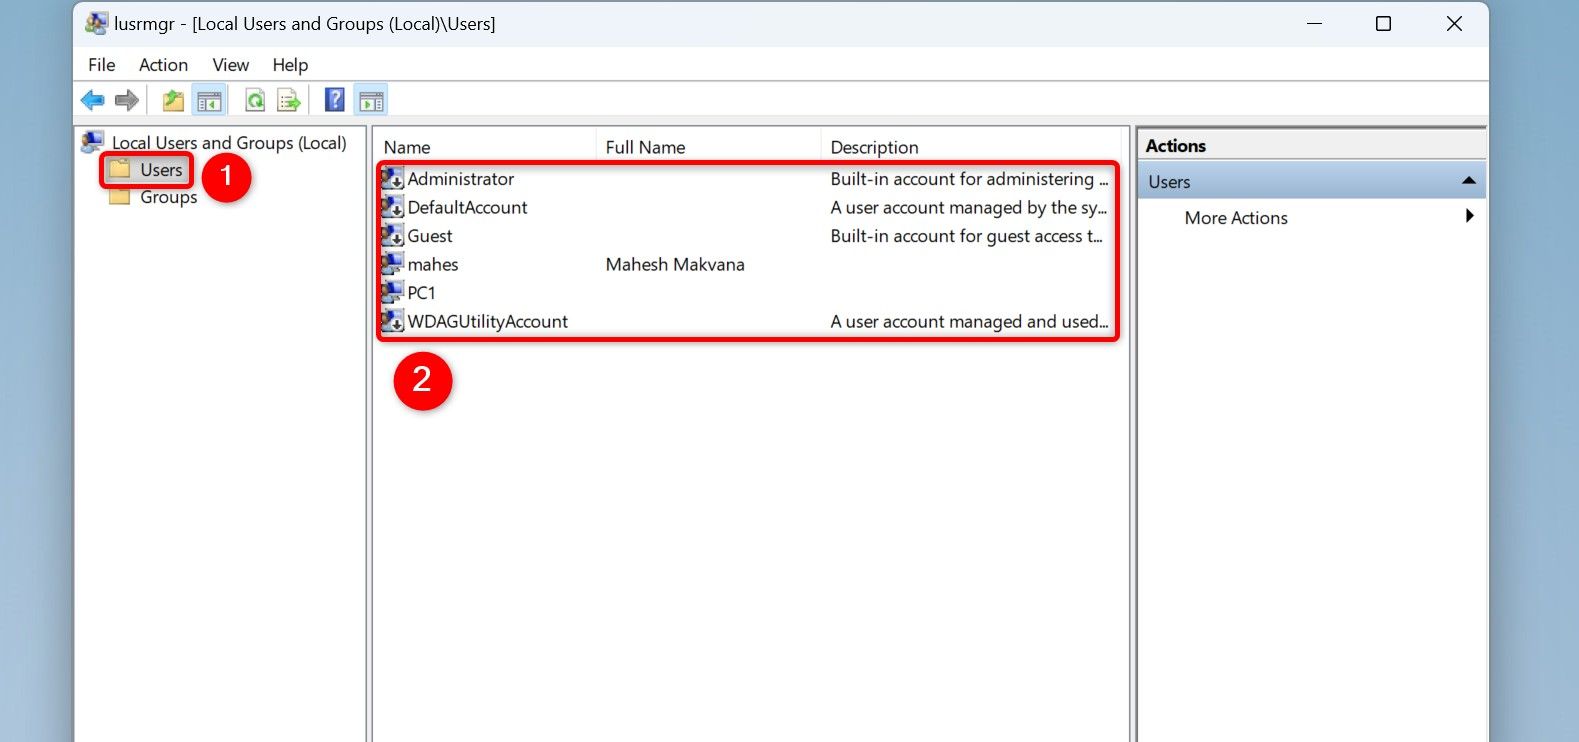
On the open window, from the left sidebar, select “Users.” On the right pane, you’ll find a list of all the user accounts that exist on your system.

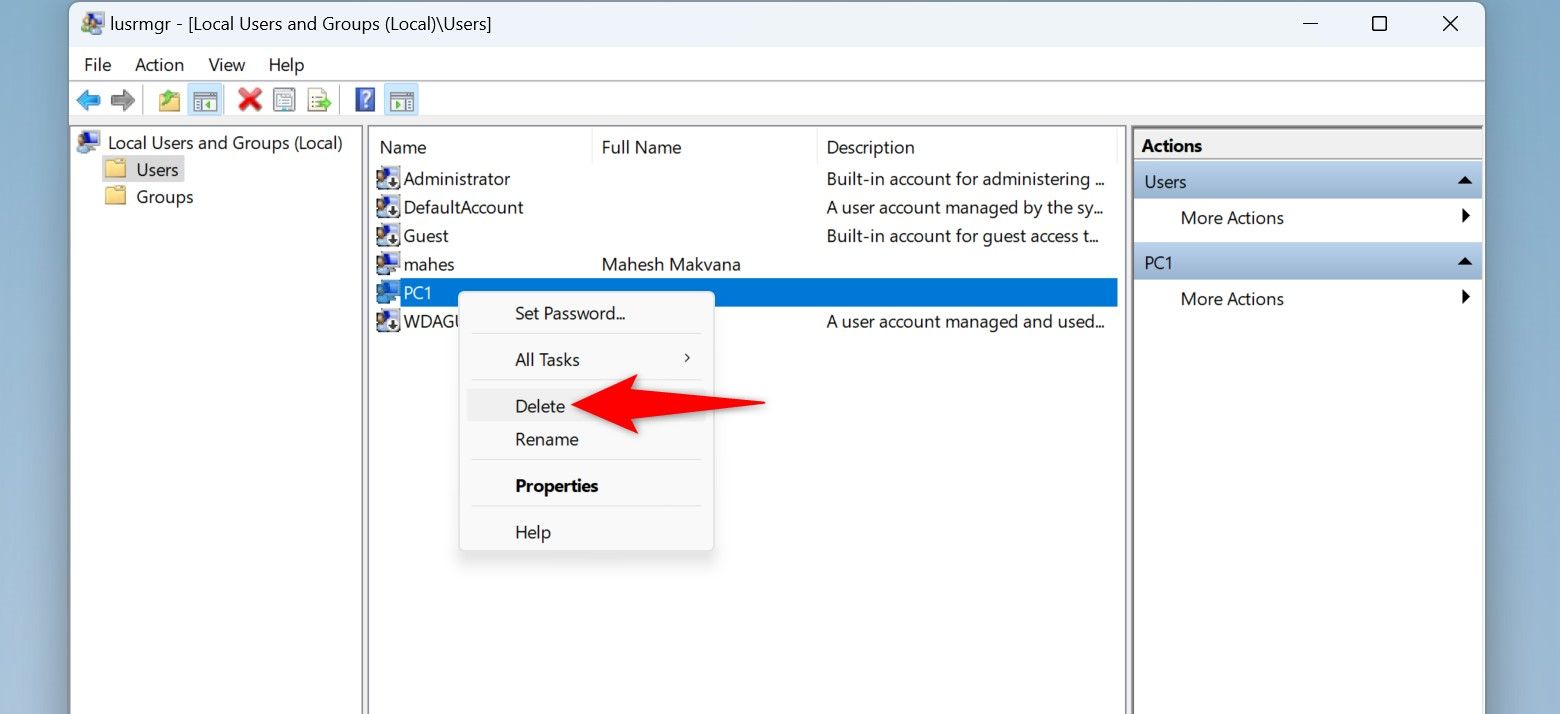
You can disable an account by right-clicking the account, choosing “Properties,” enabling the “Account is Disabled” option, and choosing “Apply” followed by “OK.” You can remove an account by right-clicking the account, choosing “Delete,” and selecting “Yes” in the open prompt.

You’re done.
And that’s how you can easily and quickly get the list of all the user accounts on your Windows 11 PC. This allows you to keep an eye on the users that exist on your system, especially in the cases where your computer was the target of a virus or malware attack. You can simply disable any suspecting accounts or even get rid of the ones you don’t recognize. Have fun using your PC!
Source link
-

-
-

-

-
-

-

-