Summary
- Too many remotes was causing chaos in my living room.
- I ended up using Home Assistant to create my own universal remote after my Logitech Harmony remote died (and could no longer be replaced).
- Creating a custom universal remote was a challenging but rewarding experience, and now my setup is better than ever.
I reached the point where the number of remotes I needed to control all my AV devices was getting out of hand. For a long time, I made do with a universal remote, but when that remote broke (and I learned it had been discontinued), I knew it was time to take matters into my own hands.
Too Many Remotes Was Driving Me Insane
Losing one remote down the back of the sofa is bad enough. When you want to turn on your TV, the remote is never to be found, having somehow ended up falling as deep you’re your couch as it’s possible to go. The problem only gets worse the more remote controls that you have.
The number of remotes I had in my living room was beginning to drive me crazy. I had a remote for the TV, a remote for the surround sound system, a remote for the Apple TV, a remote for my Roku, a remote for my DVR, and a remote for my HDMI switcher. Doing something as simple as turning on the TV, choosing a channel, and then changing the volume would require the use of three different remotes.
To save my sanity, I invested in a Logitech Harmony Hub, which could send out IR, Bluetooth, and Wi-Fi signals that I could use to control my AV devices. It came with its own remote and was programmable enough that I could use it to take the place of the majority of my many remote controls.
All Was Fine Until My Universal Remote Broke
For a long time, this setup was more than enough to save my sanity. I could turn on the TV, switch channels, change HDMI input, navigate my Apple TV, and change the volume, all using a single remote. It wasn’t perfect, but it was far better than dealing with multiple remotes had been.


That was until the most-used button of the remote control fell out. I was more than happy to shell out for a new one since the original had served me well. And that’s when I discovered that Logitech had discontinued its line of universal remote controls, and no longer sold the product I needed.
I was once again facing the prospect of returning to multiple remotes, one I was dreading. Other universal remotes do exist, but those that are capable of doing everything I wanted are prohibitively expensive.
Home Assistant Promised a Solution
I use Home Assistant to control and automate my smart home tech. Home Assistant is open-source smart home automation software that lets you integrate an incredible number of different smart home products and services. I could already use Home Assistant to control all the devices in my living room, such as my TV, surround sound system, Apple TV, and DVR.
For example, through Home Assistant I can control my LG TV through the LG webOS operating system that LG smart TVs run on. I could control my Apple TV over Wi-Fi using the Apple TV integration in Home Assistant, and I could control my ancient surround sound system via infrared by using Home Assistant to send the appropriate IR commands from my still-functional Harmony Hub.


I figured that all I needed to do was to find a smart remote control that would be able to send commands to Home Assistant. I could then use those commands to trigger actions on my devices, such as turning on the TV or changing the volume. I was ready to create my own universal remote.
Finding the Right Hardware Was a Nightmare
I was confident that there was going to be a ready-made remote control that I could use for this project. All I needed was something that looked like a TV remote, with enough buttons for all the functions I needed, which would be able to communicate with Home Assistant.
It quickly became apparent, however, that this wasn’t the case. There are plenty of smart home remotes available, but not very many that look like TV remotes. The problem was that I didn’t just need the playback controls that are found on many remotes; I needed the number keys too, for entering security PINs for my Netflix and other streaming accounts.
I found a Wi-Fi remote intended for controlling smart home lights and figured I could use the eight on and off buttons on the remote as the number keys. I was able to do so, but it was horrible to use and just didn’t have the buttons I needed.
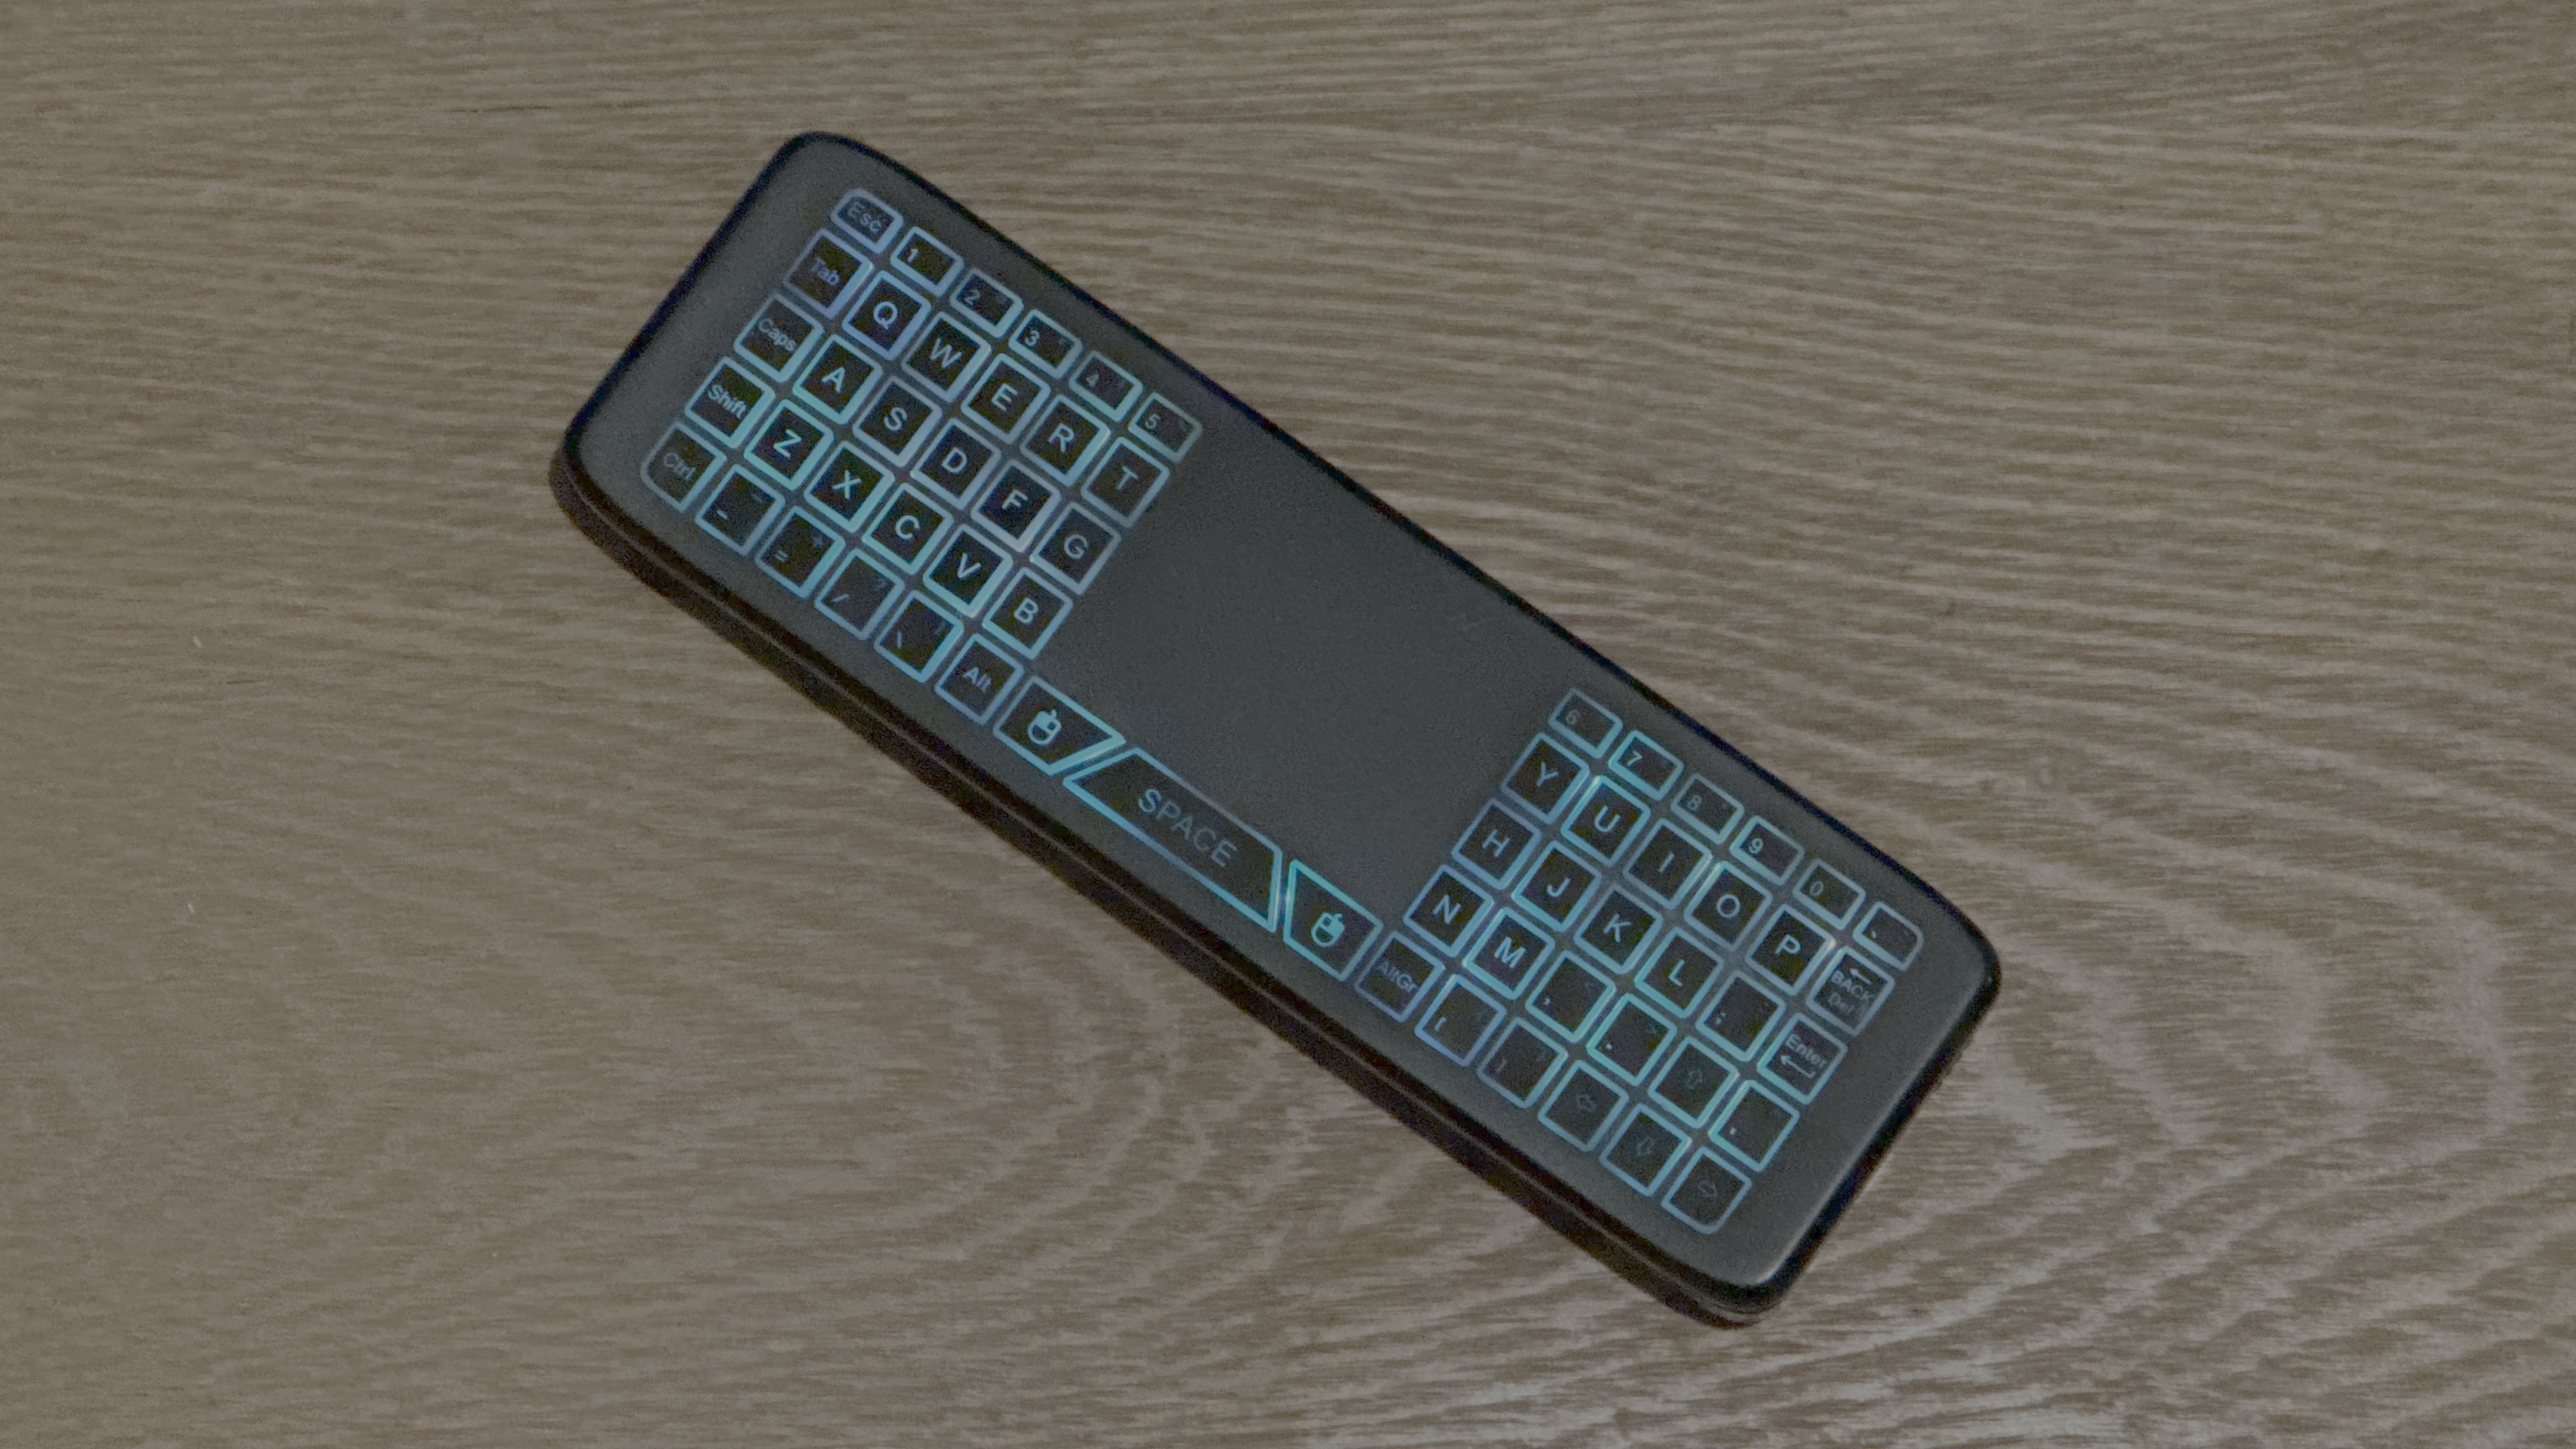
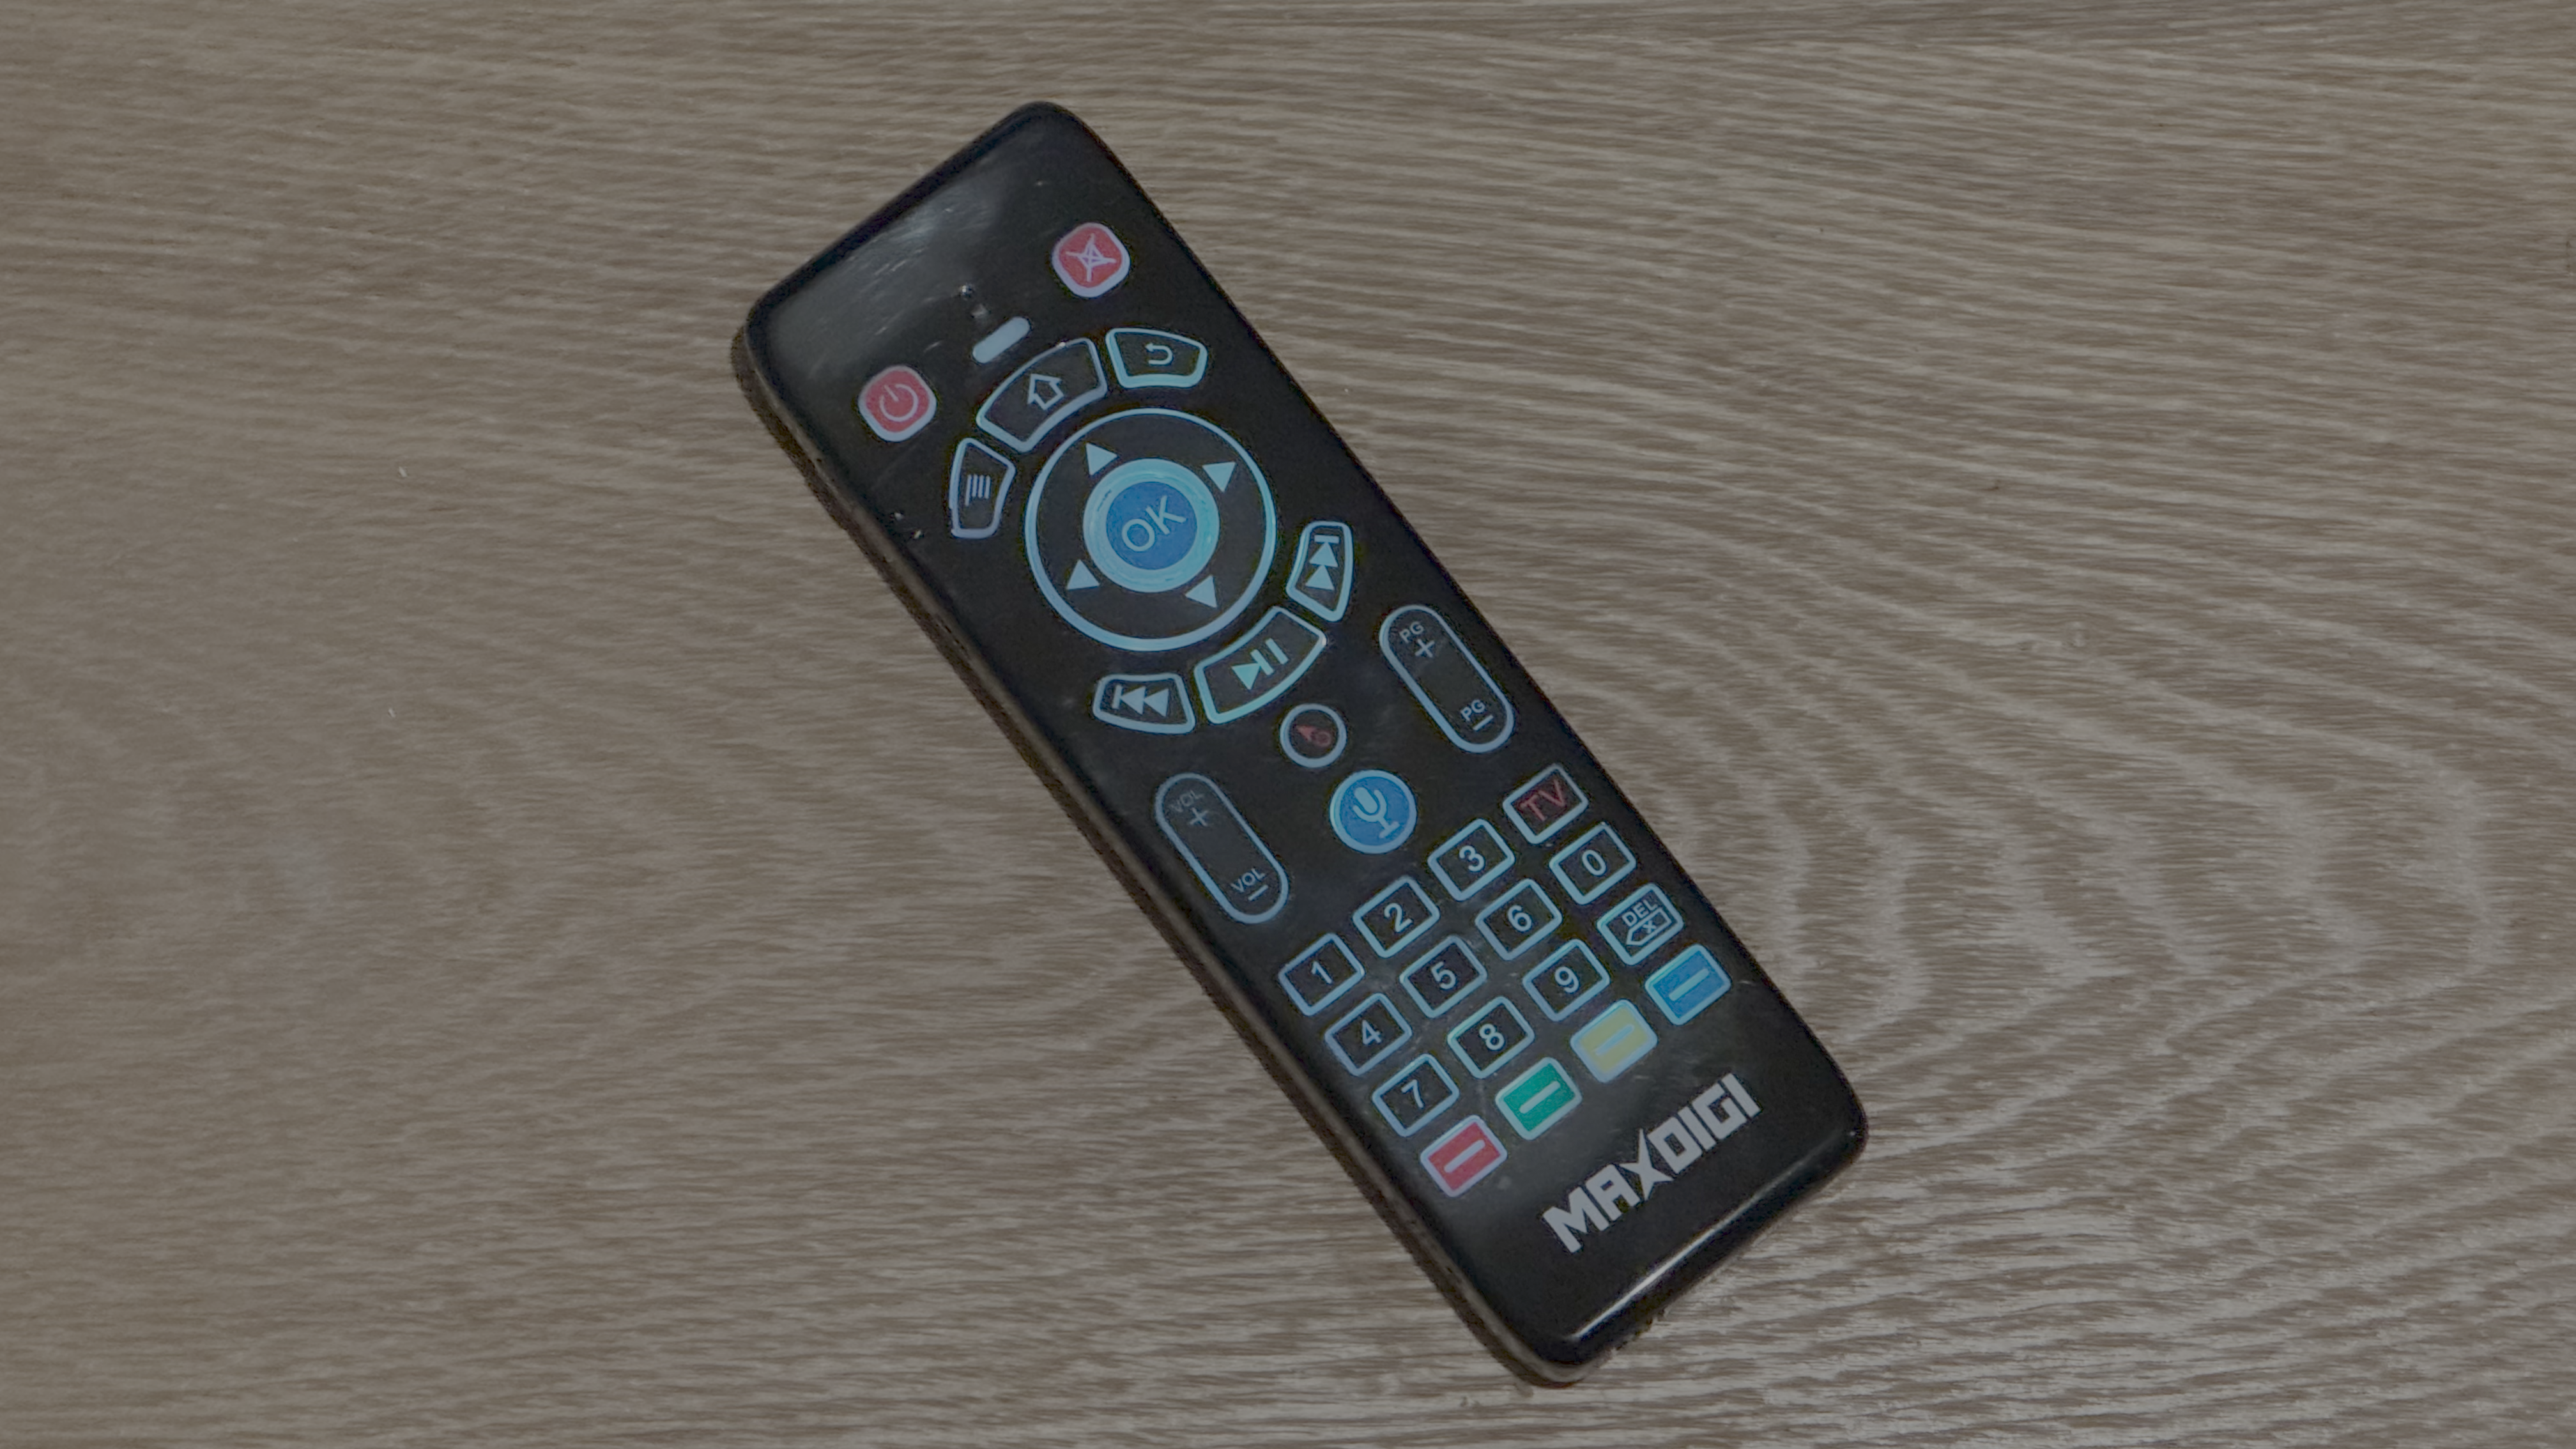
After tearing my hair out looking for a solution, I finally managed to find a Maxidigi Wi-Fi air mouse remote controller and keyboard (pictured above) that had the configuration of buttons that I needed. These air mice and keyboard combinations are all over Amazon, so while you might not be able to find the exact one I used, there are plenty of alternatives.
I was able to get the button presses into Home Assistant, meaning I’d be able to use it to create my universal remote.
I Had to Discover the Code Generated by Each Button
The next step was to discover the command sent by each of the buttons that I wanted to use. There is a native integration in Home Assistant called Keyboard Remote that receives signals from a wireless keyboard and allows you to use it as a remote control. I connected the USB receiver for the wireless remote to my Home Assistant server and configured the Keyboard Remote integration to listen for key presses from that device.

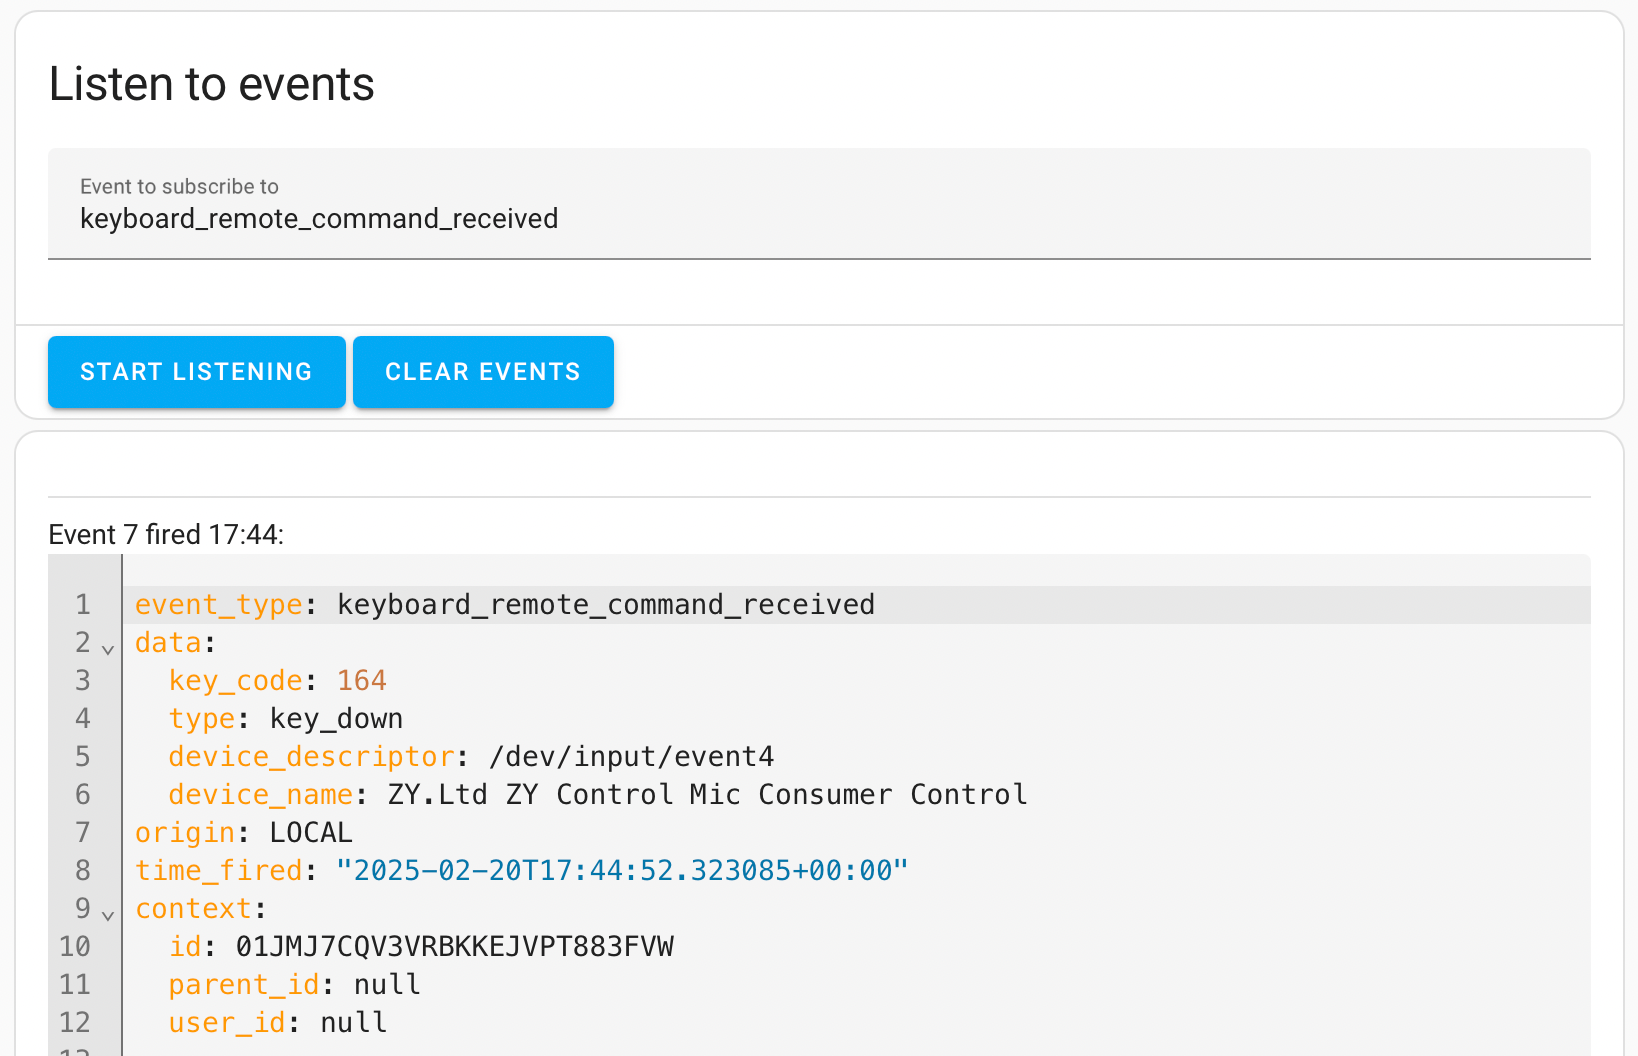
In Home Assistant’s developer tools, there is an event listener. By subscribing to the keyboard_remote_command_received event, I could see the information received from the remote every time I pressed a button. Each different button generated its own key code, so I worked my way through all the buttons, noting down each of the key codes. Once I was done, I was ready for the hard part.
Setting Up the Automation Was a Chore
This was the part I was dreading. It wasn’t going to be as simple as creating automations that said “when I press the pause button, pause the content on my TV.”
If I was using the Apple TV, I would need the pause button to send a pause command to the Apple TV, but if I was watching Netflix, I would need the pause button to send the pause command to my smart TV. If I was watching the DVR, I would need the pause button to send a pause command to the DVR instead. I knew that things were going to get very messy.


That’s why I opted to use a tool called Node Red. Node Red lets you create complex programming using a flow-based system of nodes. In other words, you create individual blocks that do specific things, and then build those blocks into flows that perform the actions that you require. The benefit of using Node Red was that it would make it easier to visualize what was happening depending on which device I was using at the time.
Even using Node Red, it was still a challenge to create a flow that would perform all the right actions at all the right times. I ended up with a jungle of nodes, but with patience and careful testing, I was able to get each button on the remote control to perform the correct action based on which device was currently in use.
A Bespoke Remote Offered Features Universal Remotes Couldn’t
This was the real beauty of creating my own universal remote. I always had issues with the Harmony remote because it didn’t know whether I was using the sound from my TV or whether I was using my surround sound system. The remote control would therefore always change the TV volume unless I manually switched to a different mode on my Harmony remote.
With Home Assistant, I can determine whether I’m using the TV volume or the surround sound, so that when I press the volume up button on my remote, it automatically changes the volume on the device that’s making the sound. I don’t have to worry about changing the mode of the remote to something else; it works without me having to think about it.


Another simple but very pleasing benefit was that I could assign one button to turn on subtitles and program Home Assistant to send the relevant command depending on which source my content was playing from. I no longer have to try to remember where each streaming service has hidden the subtitle options; I just press the button, and it happens like magic.
Since I could program anything I wanted, I could also make my remote automatically enter the PIN for my various streaming service accounts. Instead of having to enter the code each time, I just press one of the keyboard keys on the back of the remote that the kids don’t know about, and the PIN is entered.
I even went as far as programming a button to fast-forward through advertisements by a set amount of time so that I could skip ads with just a single press. I was able to get far more functionality by creating my own universal remote than I could get from the Harmony remote.
One Remote to Rule Them All
Creating my own universal remote from scratch took a fair amount of head-scratching and effort. The remote itself was only about $10, which is peanuts compared to the amount I was looking at paying for some of the universal remotes currently on the market that can’t offer the same level of customization.
The biggest investment was time, and there were plenty of frustrations along the way, but as with all good tinkering projects, the journey is almost more of a reason for doing it than the final outcome. The satisfaction when I had my working universal remote that did exactly what I wanted was worth every minute of frustration.
The trouble with having so many audiovisual devices in our homes is that many of them require their own remote controls. You end up needing a huge stack of different remotes just to do a simple thing like watch a TV show or control the volume.
Thankfully, it is possible to fight back and reclaim your coffee table from the pile of remotes. The incredible work of the people who contribute to Home Assistant means that you can do almost anything you want with your smart home devices, with a little thought and patience.
Source link
-

-

-

-

-

-

-
-