Upgrade version 22H2 (or 21H2) to Windows 11 23H2, skipping version 24H2
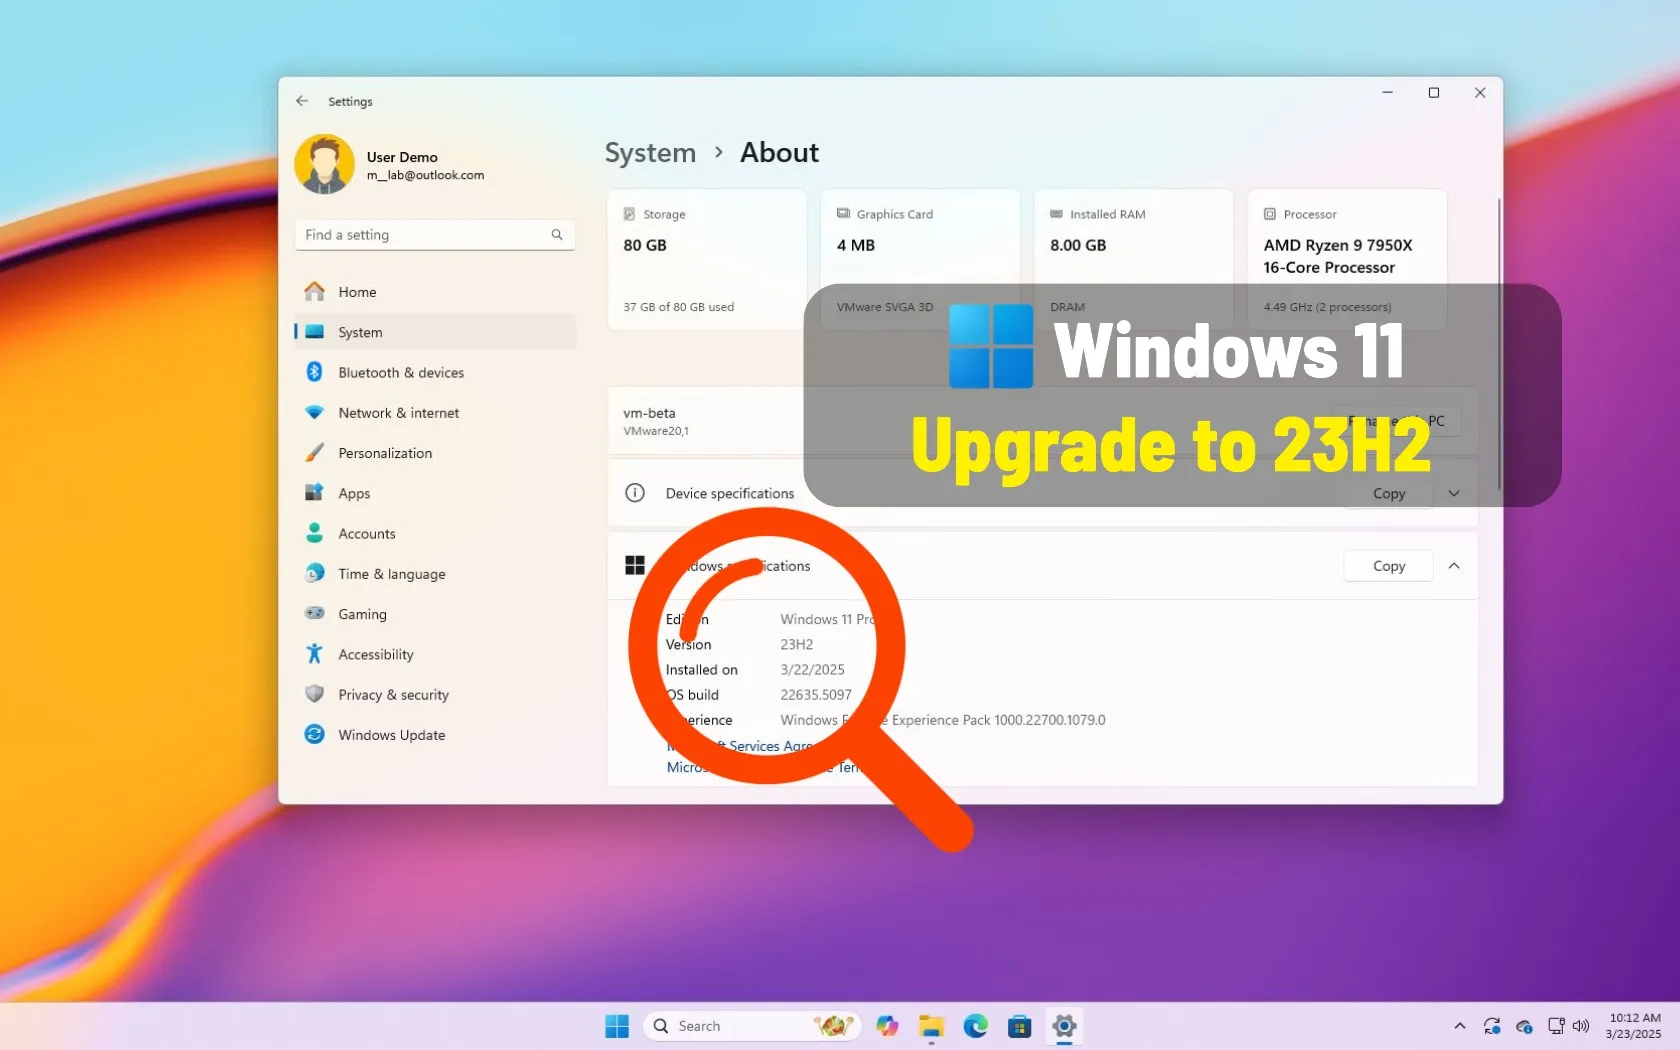
On Windows 11, if your computer is still running version 22H2 (or even version 21H2), you can upgrade to version 23H2, skipping version 24H2. In this guide, I’ll explain the steps to complete this configuration.
Although you can upgrade your computer to a newer version through Windows Update, you can only upgrade to the most recent version, which in this case is version 24H2. However, if you have a device that is still on Windows 11 22H2 or 21H2, you can upgrade to version 23H2 and block Windows 11 24H2.
You can perform this upgrade by using the UUP Dump script to download the Windows 11 23H2 installation files from the Microsoft servers and create a custom installation media. You can then mount the custom ISO file to File Explorer to launch the upgrade process, keeping your files, apps, and settings. Finally, you can modify the Registry to block the automatic upgrade to version 24H2.
In this guide, I’ll explain the steps to upgrade an older version of Windows 11 to version 23H2.
Upgrade version 21H2 or 22H2 to Windows 11 23H2 in 2025
To upgrade to Windows 11 23H2 skipping 24H2, follow these steps:
-
Click the Windows 11 menu and select the version “23H2” (build number 22631) option.
-
Select the Windows 11 23H2 build to download the latest (x64) ISO file—for example, Windows 11, version 23H2 (22631.xxxx) amd64.

-
Choose the installation language with the “Language” menu.

-
Click the Next button.
-
Select the editions to include in the Windows 11 23H2 ISO file.

-
Click the Next button.
-
Select the “Download and convert to ISO” option.

-
Check the “Include updates (Windows converter only)” option.
Quick note: This is the option that will integrate the necessary files to make the ISO file version of Windows 11 23H2.
-
Click the “Create download package” button to save the tool on your device.
-
Open the zip folder with File Explorer.
-
Click the Extract all button.
-
Select the location to extract the files.
-
Click the Extract button.

-
Right-click the uup_download_windows.cmd batch file and select the Run as administrator option.
Quick note: You may get a message trying to run the script. If this is the case, choose the “Run Anyway” option.

-
Press “0” or “q” to exit the console after the process is complete.
-
Right-click the Windows 11 23H2 ISO file from the UUP folder and select the Mount option.

-
Select the virtual drive from the left navigation pane.
-
Double-click the Setup.exe file to begin the installation process for the older version of Windows 11.

-
(Optional) Click the “Change how Windows Setup downloads updates” option.

-
Select the “Not right now” option.

-
Click the Next button.
-
Click the Accept button to agree to the terms.
-
Select the “Keep personal files and apps” option.
-
Click the Next button.
-
Click the Install button.
-
Click the Next button.
-
Choose your region setting on the first page of the out-of-the-box experience (OOBE) after the installation.
Quick note: The OOBE process may be slightly different depending on when you’re setting up the operating system, as Microsoft dynamically updates this experience.

-
Click the Yes button.
-
Select your keyboard layout setting.

-
Click the Yes button.
-
Click the Skip button if you do not need to configure a second layout.
-
The computer will automatically connect to the network using an Ethernet connection. You must set up the connection manually on a wireless connection (a security key may be required).
-
(Optional) Confirm a name for the computer.

Quick note: This is an optional step, but it’s highly recommended to set a name to make it easier to identify the device in the network, on your Microsoft account, and when restoring your computer from backup. Also, after completing this step, the setup will restart to apply the new name, but it’ll start where you left off to continue with the settings.
-
Click the Next button. (The device will restart automatically.)
-
Select the “Set up for personal use” option for Windows 11 Pro. This option is not available for the “Home” edition.

Quick tip: Use the “Set up for work or school” option to skip the Microsoft account and create a local account.
-
Click the Next button.
-
Click the Sign in button.
-
Confirm your Microsoft account email to create a Windows 11 account.

-
Click the Next button.
-
Confirm your Microsoft account password.
-
Click the Next button.
-
Click the Create PIN button.
-
Create a new four-digit Windows Hello PIN.

-
Click the OK button.
-
Turn on or off the toggle switch for each privacy setting to confirm the one that best suits your situation.
-
Click the Next button.
-
Click the Next button again.
-
Click the Accept button.

-
Click the More options setting.
 Quick tip: You can also click the “Restore from this PC” button to restore your files, apps, settings, and credentials from the system backup available in your OneDrive account. You can learn more about the Windows Backup app in this guide.
 -
Click the “Set up as a new PC” option.

-
Click the “Set up as a new PC” option again.
-
(Optional) On the “Let’s customize your experience” page, select one or more ways you plan to use the device to allow the operating system to suggest tools and service customization during this experience.

-
Click the Accept button to continue. Or click the Skip button to skip this part of the setup.
-
(Optional) Use the code to link your Android phone or click the Skip option.
-
(Optional) Use the code to download the OneDrive on your phone or click the Skip option.
-
Click the “Not now” button if you will be using a browser other than Microsoft Edge.

-
Open Start.
-
Search for regedit and click the top result to open the Registry.
Quick note: Before proceeding, it’s crucial to acknowledge the risks associated with modifying the Windows Registry. Incorrect changes can lead to system instability or operational issues. Therefore, ensure you have a full system backup before making any changes. Proceed with caution and understanding. -
Browse the following path:
HKEY_LOCAL_MACHINE\Software\Policies\Microsoft\Windows
-
Right-click the Windows (folder) key, select the New submenu, and choose the Key option.
-
Name the WindowsUpdate and press Enter.
-
Right-click the WindowsUpdate (folder) key, select the New submenu, and choose the String Value option.

-
Name the new key ProductVersion and press Enter.
-
Right-click the newly created key and choose the Modify option.

-
Change the value to Windows 11.

-
Click the OK button.
-
Right-click the WindowsUpdate (folder) key, select the New submenu, and choose the DWORD (32-bit) Value option.
-
Name the key TargetReleaseVersion and press Enter.
-
Right-click the newly created key and choose the Modify option.
-
Change the value to 1.

-
Click the OK button.
-
Right-click the WindowsUpdate (folder) key, select the New submenu, and choose the String Value option.
-
Name the key TargetReleaseVersionInfo and press Enter.
-
Right-click the newly created key and choose the Modify option.
-
(Option 1) Change the value to 23H2 if your computer is on Windows 11 23H2.

-
(Option 2) Change the value to 22H2 if your computer is on Windows 11 22H2.
-
Click the OK button.
-
Restart your computer.
Once you complete the steps, the system will be upgraded to version 23H2, and the policy will prevent Windows 11 24H2 from being applied to your computer automatically.
After the installation, you should check for updates and manually install missing drives. You should also restore your files from backup and reinstall your applications.
When you’re ready for the upgrade, you can remove the configuration on HKEY_LOCAL_MACHINE\Software\Policies\Microsoft\Windows\WindowsUpdate by carefully deleting the “ProductVersion,” “TargetReleaseVersionInfo,” and “TargetReleaseVersion” keys or changing their values to their defaults.
Although it’s still possible to upgrade to Windows 11 23H2, you should never skip a new release entirely because, eventually, your current setup will stop being supported, making your device vulnerable to attacks and compatibility problems. In the case of Windows 11 23H2, this version is expected to reach the end of support on November 11, 2025, and after this day, Microsoft will stop rolling out security and maintenance updates.
Why You Can Trust Pureinfotech
The author combines expert insights with user-centric guidance, rigorously researching and testing to ensure you receive trustworthy, easy-to-follow tech guides. Review the publishing process.
Source link