
Pixel phones are renowned for their excellent cameras. And though the Pixel Camera app isn’t as feature-packed as the iPhone or Samsung Galaxy equivalents, it can do a few more tricks than you might realize.
9
Instantly Shoot Video When in Photo Mode
Need to start shooting video in a hurry? You don’t need to tap the video button, re-frame your shot, and then start filming. Just press and hold the shutter button when you’re in Photo mode. It’ll begin recording instantly.
To keep going for a longer clip, slide your finger over to the Lock icon. You can then remove your finger from the shutter button.
This feature is designed for those unexpected moments, not as a replacement for the proper Video mode. It shoots video at a slightly lower resolution and doesn’t crop it to a 16:9 ratio.
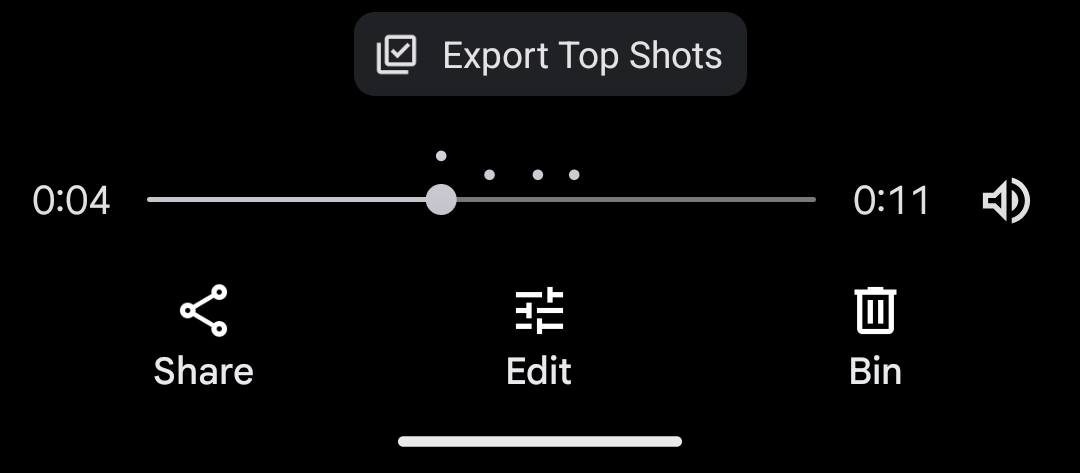
What’s good about it is that the Top Shot feature works while shooting a video like this. When you preview the clip, you’ll see one or more dots along the timeline. Scroll along to these points and select “Export Top Shots” to save a full-resolution still image of that frame.

8
Shoot Video and Photos Together
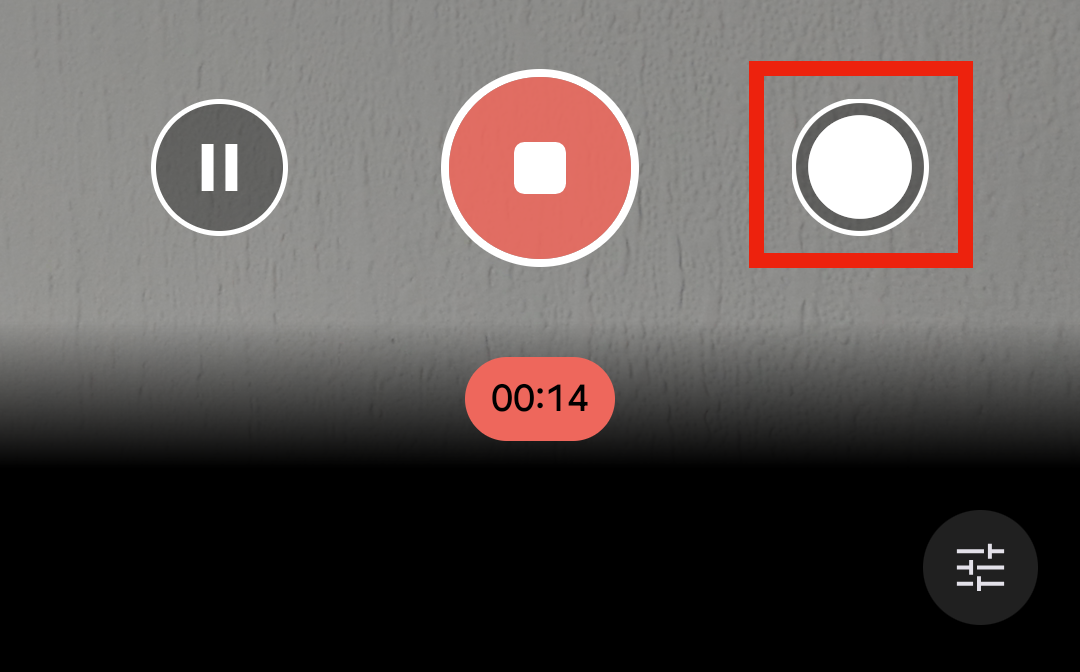
You can also take photos while shooting video. The trick to making this work is to disable HDR mode in video first. Switch to Video mode, tap the Settings cog, and set “10-bit HDR” to Off.
Now, when you start recording video, a white shutter button will appear alongside the video capture button. Just tap this any time you want to save a still image. Photos are captured at full resolution.

7
Zoom in More Precisely
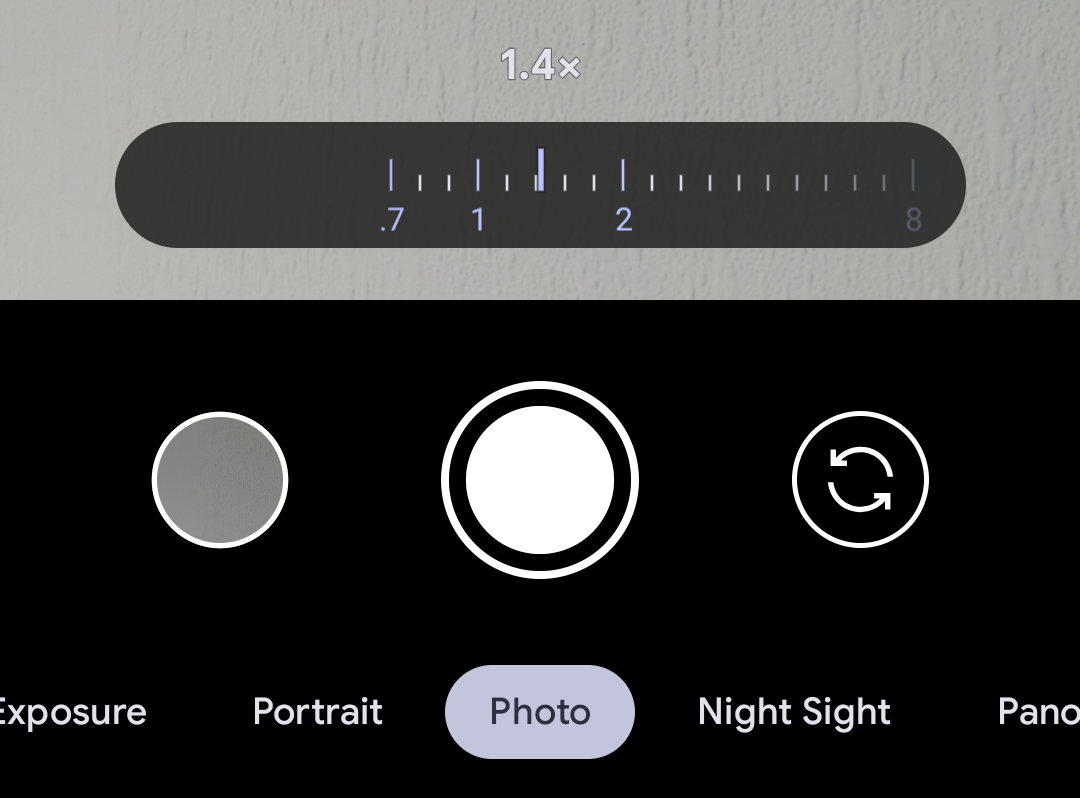
Pixel Camera offers a few ways to zoom in or out. The obvious one is to tap the zoom buttons that appear in the viewfinder. These are tied to your phone’s lenses or specific digital zoom settings. You can also use a two-finger pinch gesture to zoom in or out.
However, the most accurate way is to hold your finger on the zoom buttons and slide it sideways. This offers the best of both worlds. You can zoom to precise levels, and this method appears—to me at least—to be more sensitive than the pinch gesture.

6
Put a Video Shortcut on Your Home Screen
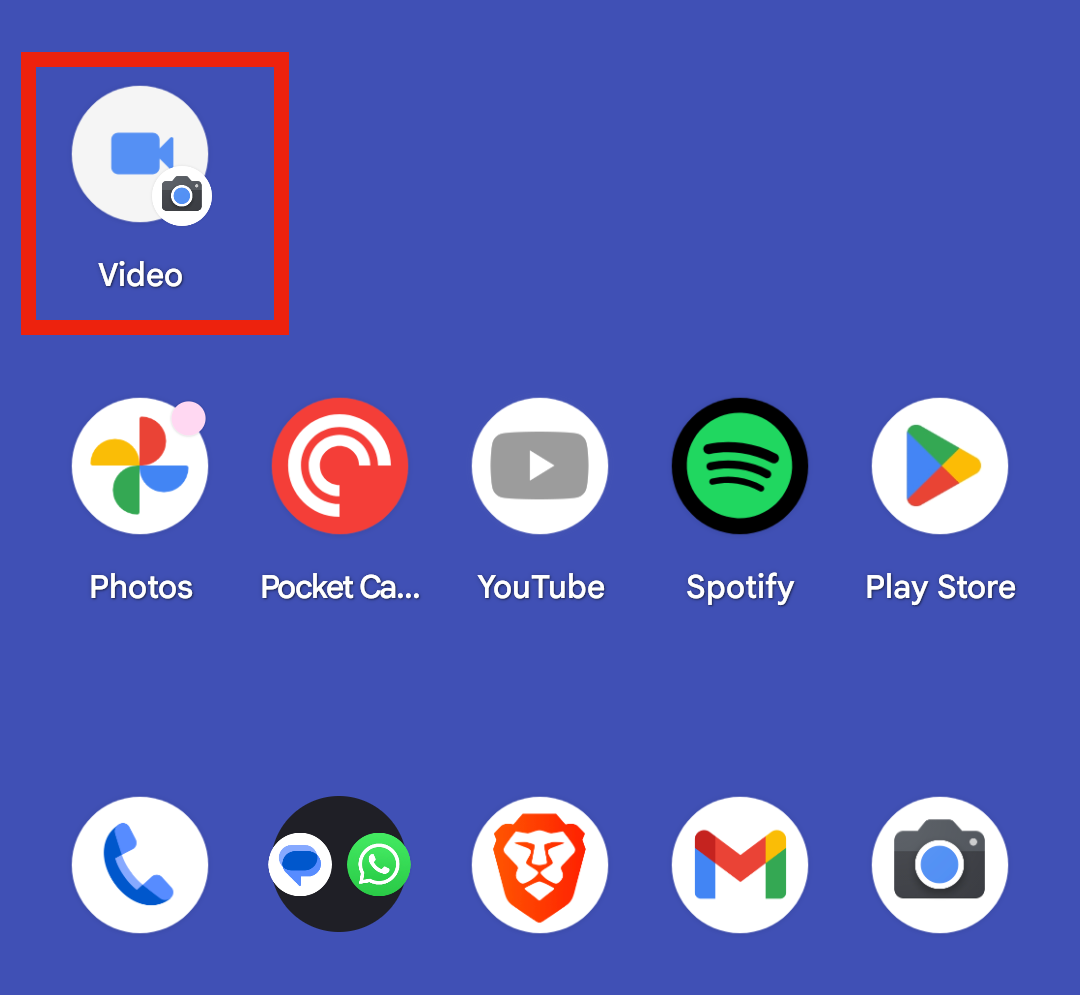
The camera app always opens in Photo mode, so there are a few extra steps needed to record a video. You can cut these out by placing a shortcut to Video mode right onto your home screen.
To do this, long-press the camera icon on your home screen. From the contextual menu that opens, drag the option labeled “Take a Video” onto the home screen, and it will be placed there with its own icon.

Tap this icon, and your camera app will launch directly into Video mode. You can place the selfie option on your home screen as well. This will launch the app directly into the selfie camera.

5
Tweak the Look of Your Image Before Shooting
The Pixel Camera app doesn’t have anything like the iPhone’s Photographic Styles, but you can adjust the brightness and contrast whilst you’re framing your shots.
This is available through the manual controls button in the bottom right, which also has other options depending on the model of Pixel camera, like shutter speed and ISO settings on the Pro devices.

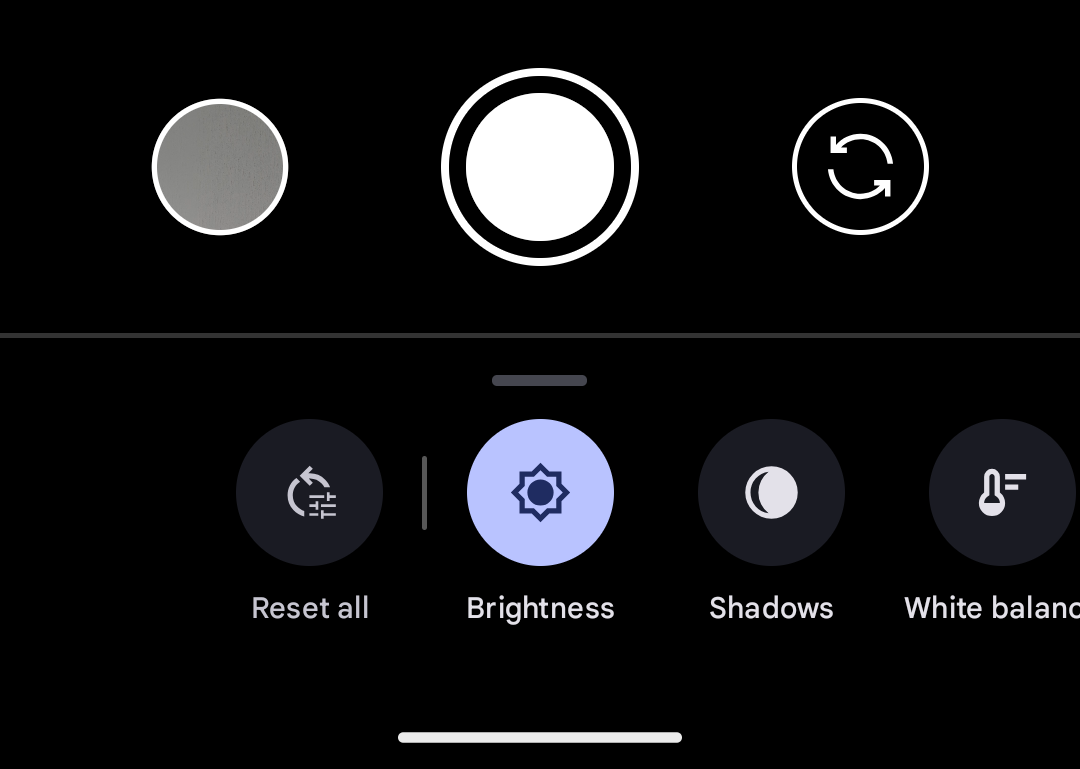
A quicker way to access the controls is by going to Settings > More Settings and enabling the option labeled “Quick Access Controls.” Now tap anywhere in the viewfinder, and you’ll see three sliders.

Brightness adjusts the highlights in your image, shadows adjust the darker areas, and white balance lets you change the color temperature of the photo.
4
Lock Focus
The focus settings in the camera app can be a little tricky to master. The app normally focuses in the center of the frame or will detect things it thinks you want to focus on and select those instead. You can also focus on an object manually by tapping on it in the viewfinder, and it will be tracked even if it or you move.
But if there’s a lot of action in your frame or you’re moving the camera a lot, the focus can jump around and shift to the wrong subject. To prevent this, you can lock the focus.
Tap and hold on to the object you want to focus on until the focus icon turns yellow and has a padlock symbol next to it. You can now re-frame your shot and maintain focus. Or if things pass in front of the frame, the focus will remain on your subject.
Tap anywhere to remove the lock.
3
Improve Composition With Grid Lines and Guides
One of the easiest ways to improve your mobile photography is to use the grid lines and guides within Pixel Camera.
Go to Settings > More Settings and scroll down to toggle on “Framing Hints.” This activates two indicators within your viewfinder. One shows the angle at which you’re holding your camera. To keep the horizon straight, line it up until it says zero degrees.
The other indicator uses white and yellow lines to show whether you’re tilting the camera. To hold the camera straight forward, move the phone so that the two lines are on top of each other. If the yellow line is above the white line, you’re tilting the camera down; if it’s below, you’re tilting it up.
Go back into More Settings, and under Grid Type, enable either the “3×3” or “Golden Ratio” options. These grid lines help you create more interesting compositions. Put simply, if you place the subject of your photo along any of the lines—particularly where the lines intersect—the image should look better than if you put it in the middle of the frame. You can use grid lines with video as well.
As always, though, rules are there to be broken.
2
Use the Main Camera for Better Selfies
The problem with selfies is that your composition options are limited by how long your arm is. Pixel phones let you take selfies from a bit further away.
Go into Settings > More Settings, and ensure the option labeled “Palm Timer” is enabled. Then go to “Advanced” and enable “Timer Light” if it isn’t already.
Palm Timer triggers the shutter button with a three-second delay. Prop up your phone somewhere, step back into position, and hold up your hand with your palm facing toward the lens. The camera should detect it and trigger the shutter. You’ll see a couple of flashes for the three-second countdown, and then it’ll take the picture.
What’s good about this is that you can use it with the rear camera, too. You’ll need some trial and error with the framing, but the resulting images will be of much higher quality.
1
Shoot RAW for Higher Quality Photos
Finally, to shoot the best quality photos of all, enable RAW mode. This gives you uncompressed and unprocessed images that you can edit yourself with no loss of quality.
To enable this, go to Settings > More Settings > Advanced, and toggle on “RAW/JPEG control.” Return to the main camera settings, and you’ll now see a RAW/JPEG option. Select “RAW” to save both a RAW file and a processed JPEG, or disable it to shoot in JPEG only.

The RAW and JPEG images are grouped together in the photo library. Open the image, and the JPEG opens by default. Tap the right-most thumbnail below it to view the RAW file.
You need a separate app to process RAW images. I recommend Snapseed.


Related
Snapseed Is the Best Photo Editing App You’re Not Using
If you don’t know about this photo editing app, you should.
Pixel Camera’s stripped-back UI means it has a lot of small but useful features that aren’t immediately obvious. Mastering some of these features will improve your photography and help you take better shots in the future.
Source link
-
-

-

-

-

-
-

-


