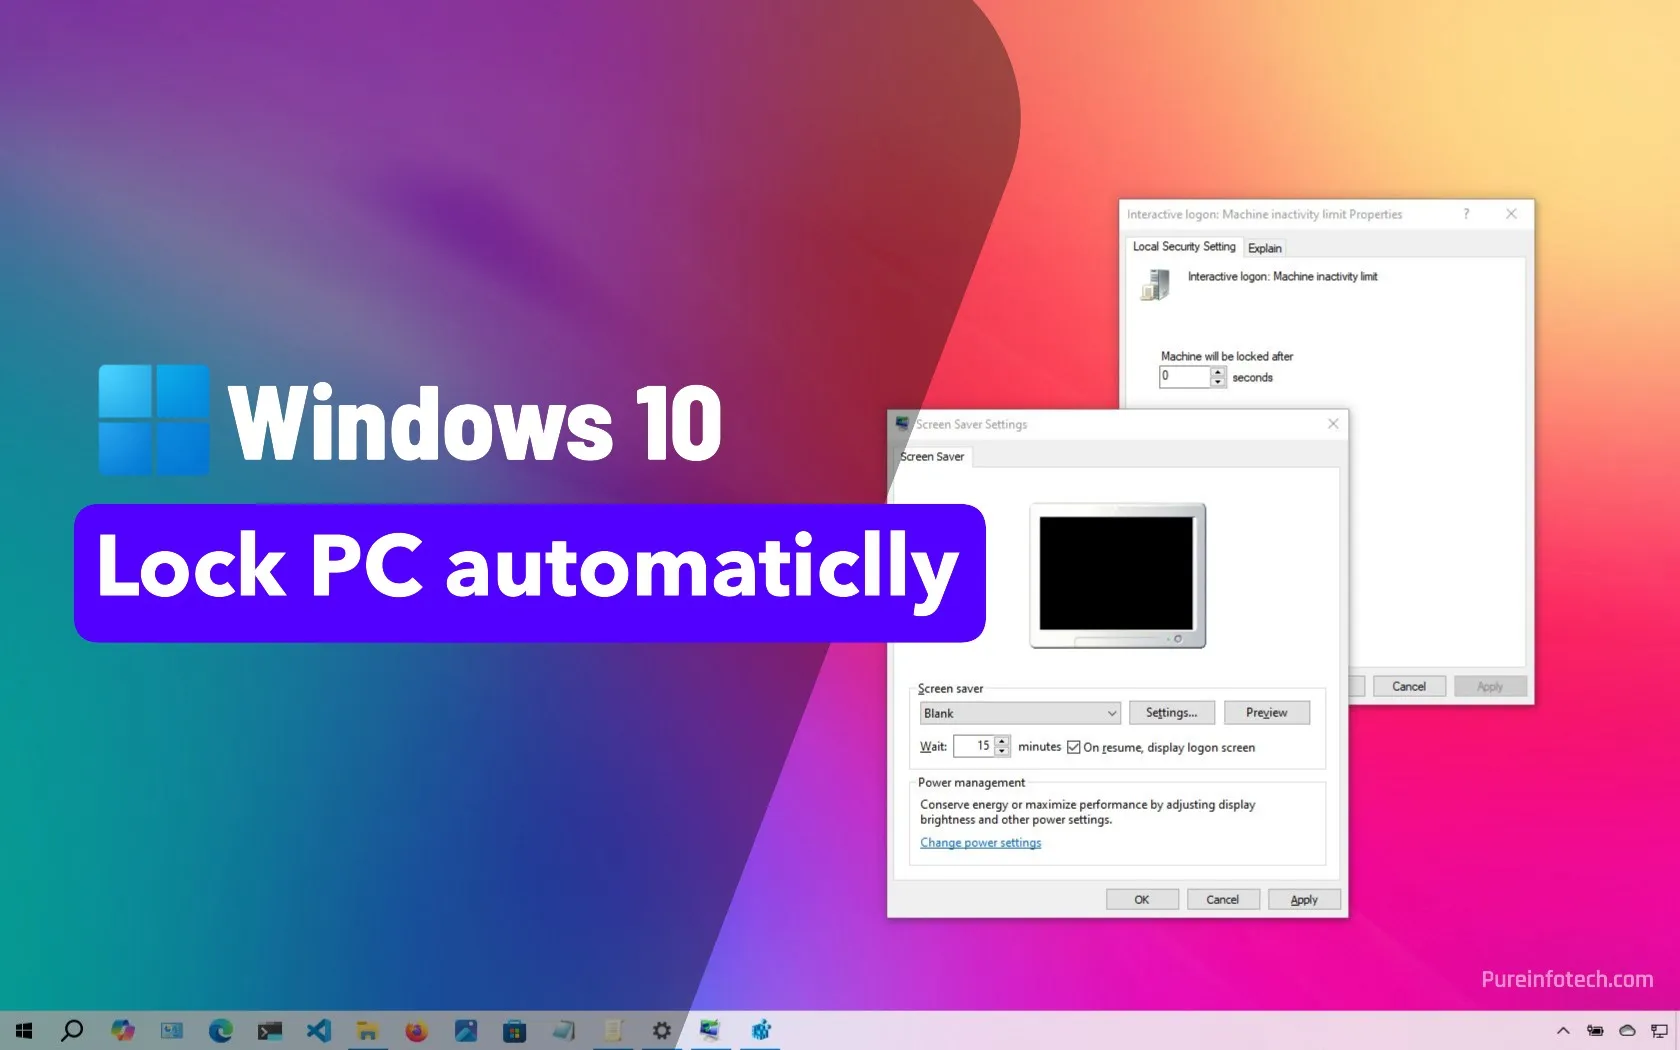
- To lock your Windows 10 PC automatically after inactivity, configure the Screen Saver settings by selecting a screen saver, setting a wait time, and enabling the option to show the logon screen on resume.
- Alternatively, you can use Group Policy or the Registry Editor to set an inactivity timeout that locks the device after a specific period. Windows 10 does not include a direct option in the Settings app unless you use Dynamic Lock with a Bluetooth device.
When stepping away from Windows 10 for an uncertain duration in a public place or a work environment, it’s important to ensure your computer locks automatically after a period of inactivity. This measure will help to safeguard your work from unauthorized access and prying eyes.
While you can manually lock your computer using the “Windows key + L” keyboard shortcut or the Lock option from the Start menu’s user account section, Windows 10 doesn’t provide a direct setting in the Settings app to enable automatic locking after inactivity unless you configure Dynamic Lock with a Bluetooth device.
However, you can configure your computer to lock automatically using the Screen Saver settings, Group Policy, or the Registry.
In this guide, I’ll outline the steps to use screen saver settings to lock your Windows 10 session after a specific period of inactivity.
Lock your PC automatically after inactivity using Settings
To lock your Windows 10 session after inactivity, follow these steps:
-
Open Settings.
-
Click on Personalization.
-
Click on Lock Screen.
-
Click the “Screen saver settings” option at the bottom of the page.
-
Choose a screen saver (such as Blank) in the “Screen Saver” section.
-
Change the wait time to the period (for example, 15 minutes) before Windows 10 locks your computer automatically.
-
Check the “On resume, display logon screen” option.

-
Click the Apply button.
-
Click the OK button.

After the specified period of inactivity, the screen saver will activate. Upon resuming, you’ll be prompted to enter your password, effectively locking your computer.
Lock your PC automatically after inactivity using Group Policy
To lock Windows 10 after a period of inactivity, follow these steps:
-
Open Start.
-
Search for gpedit and click the top result to open the Group Policy Editor.
-
Open the following path:
Computer Configuration > Windows Settings > Local Policies > Security Options
-
Right-click the “Interactive logon: Machine inactivity limit” policy and choose the Properties option.

-
Set the desired inactivity time in seconds (for example, 900 for 15 minutes).

-
Click the Apply button.
-
Click the OK button.
- Restart your computer.


Once you complete the steps, this policy forces the system to lock after the specified period of inactivity.
Lock your PC automatically after inactivity using Registry
To lock Windows 10 automatically after a period of inactivity, follow these steps:
-
Open Start.
-
Search for regedit and click the top result to open the Group Policy Editor.
-
Open the following path:
HKEY_LOCAL_MACHINE\SOFTWARE\Microsoft\Windows\CurrentVersion\Policies\System
-
Right-click in the System folder and select New, and choose “DWORD (32-bit) Value.”

-
Confirm the InactivityTimeoutSecs as the name.
-
Right-click the newly created key and choose the Modify option.
-
Select the Decimal option.
-
Set the desired inactivity time in seconds (for example, 900 for 15 minutes).

-
Click the OK button.
-
Restart your computer.

After you complete the steps, this method sets the inactivity timeout directly in the Registry.
Do you usually lock your computer before moving away from the screen? Let me know in the comments.
Update June 4, 2025: This guide has been updated to ensure accuracy and reflect changes to the process.
Why You Can Trust Pureinfotech
The author combines expert insights with user-centric guidance, rigorously researching and testing to ensure you receive trustworthy, easy-to-follow tech guides. Review the publishing process.
Source link
-

-
-

-

-

-

-
-