UPDATED 6/11/2025: No matter if you’re using macOS, Windows 11, or Windows 10, sooner or later, your device may fail to start. This could be due to a range of issues, such as file corruption, hardware failure, or a problematic system update. If the unexpected strikes your Mac, one of the most effective ways to recover is by using a bootable USB drive with the macOS installation files.
That’s why it’s a good idea to create a macOS bootable USB while your Mac is still working properly. It gives you peace of mind and a recovery tool if your device ever stops booting. But what if all your Apple devices (whether it’s a MacBook, MacBook Air, MacBook Pro, iMac, Mac Pro, or Mac Mini) are unavailable when you need them the most?
The good news is that you can also use a Windows computer to create a macOS bootable USB. Whether you’re on Windows 11 or 10, it’s possible to build an installation drive for macOS versions like Sequoia, Sonoma, Ventura, Monterey, Big Sur, Catalina, or Mojave. With the right tools and steps, a Windows computer can be your lifeline to get a non-booting Mac back up and running.
In this guide, I’ll outline the steps to create a macOS bootable USB installation on Windows 10 (or 11), which you can use to reinstall or upgrade the Apple OS.
Requirements
To complete this task, you’ll need the following:
- Broken Mac computer running macOS (optional).
- A trial copy of the TransMac software.
- One high-quality USB flash drive with 16GB of storage.
- Copy of macOS (DMG file).
Create macOS bootable USB installation media
To create a bootable USB drive with macOS, use these steps:
-
Download and install TransMac on Windows 10.
Quick note: This is a paid piece of software, but it gives you a 15-day trial, which is more than enough time. (If this works and you want to support the developer, purchase the full version.)
-
Connect the USB flash drive.
Important: If you have any data on the flash drive, remember to back it up since this process will erase everything on it.
-
Right-click the TransMac app and select the Run as administrator option.
-
Click the Run button. (If you use the trial version, wait 15 seconds.)
-
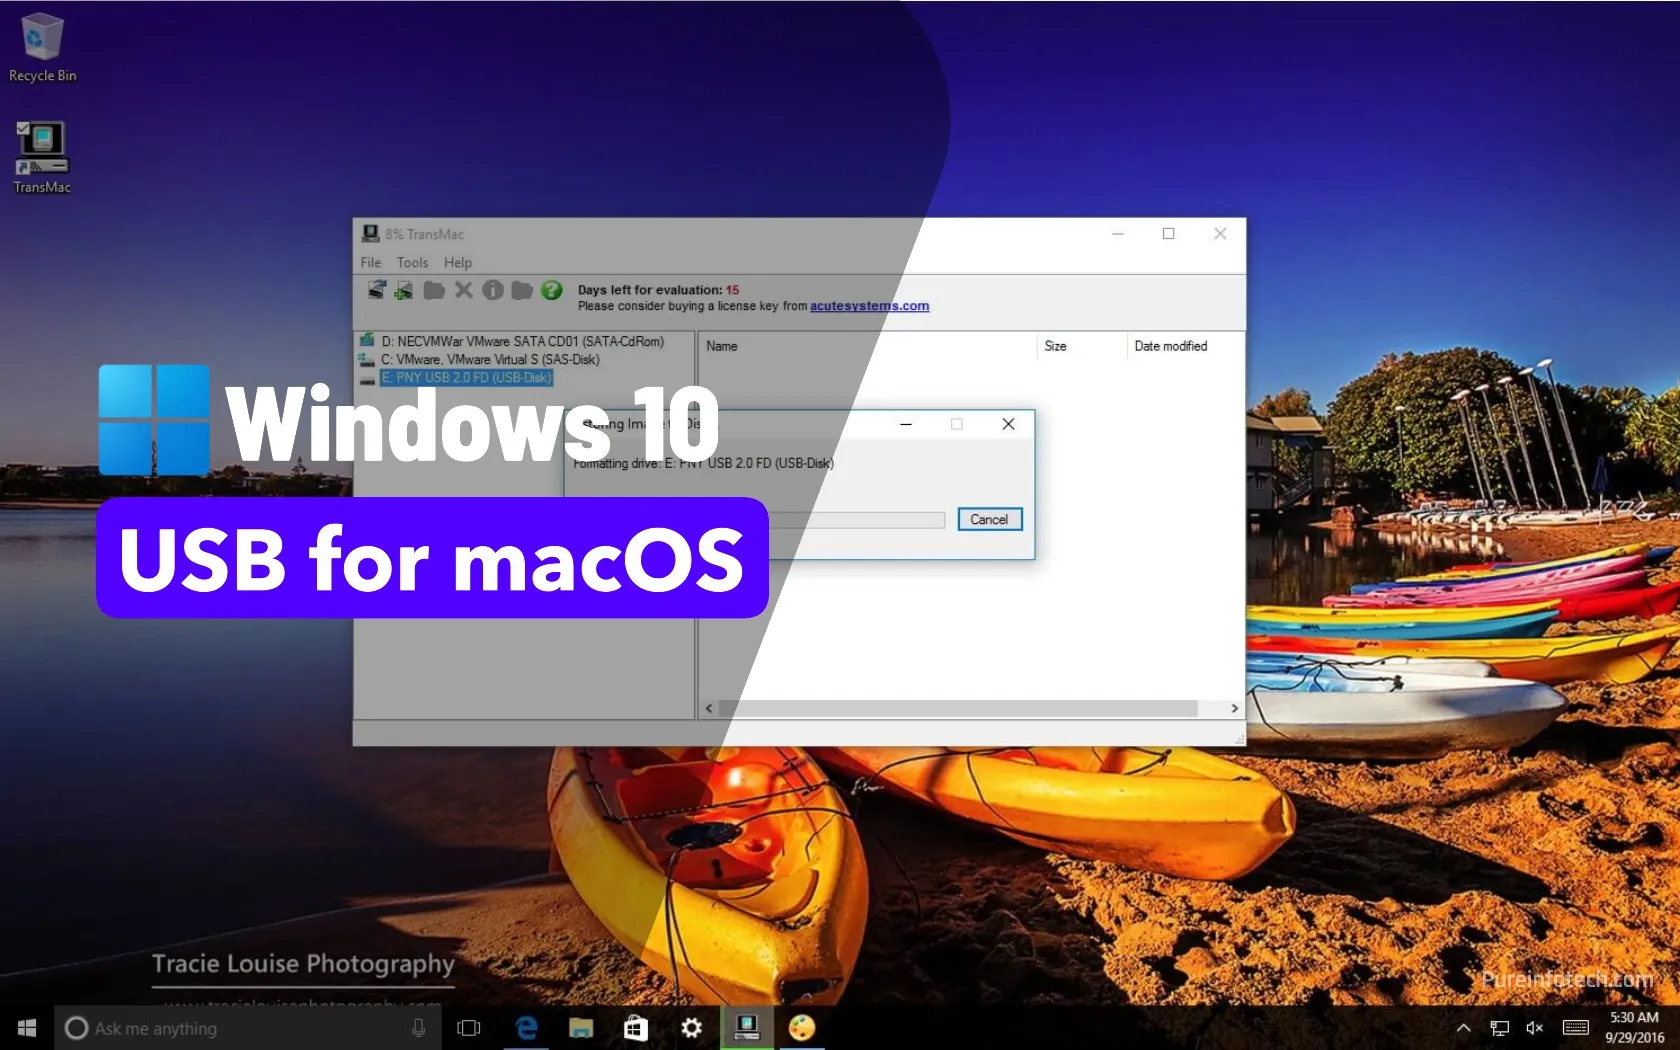
Right-click the USB flash drive and select the “Format Disk for Mac” option from the left pane.

Quick note: You want to perform this task before creating the bootable media because there is a good chance that the drive was formatted using a Windows device. If this is the case, the chances are it’s using an MBR partition, and the USB drive needs a GPT partition to work on a Mac.
-
Click the Yes button to format the drive on the warning message.

-
Confirm a name for the drive. For example, “macOS bootable USB.”
-
Click the OK button.

-
Click the Yes button.

-
Click the OK button.
-
Right-click the USB flash drive and select the “Restore with Disk Image” option from the left pane.

-
Click the Yes button to confirm the deletion of the USB flash drive data.

-
Click the browse button on the right.
-
Select the “.dmg” file with the macOS installation files.

-
Click the Open button.
-
Click the OK button.
-
Click the Yes button.


Once you complete the steps, insert the USB flash drive into your Mac to install, reinstall, or upgrade the operating system to the latest macOS version (Sequoia, Sonoma, Ventura, Monterey, Big Sur, Catalina, or Mojave).
Create a GPT partition on a USB flash drive
If the USB flash drive is not working with TransMac, it could still be a partition problem. In this case, you may need to redo the entire process. However, this time, you should follow these steps to use the diskpart command-line utility on Windows 10 (or 11) to create the appropriate GPT partition, and then follow the above instructions.
To create a GPT partition on a removable drive, use these steps:
-
Open Start.
-
Search for Command Prompt, right-click the top result, and select the Run as administrator option.
-
Type the following command and press Enter:
diskpart
-
Type the following command to view all drives connected to your computer and press Enter:
list disk
-
Type the following command with the number assigned for the USB flash drive and press Enter:
select disk 4
In the command, change “4” to the number corresponding to the USB flash drive.
-
Type the following command to clean the drive and press Enter:
clean
-
Type the following command to convert the drive to the GPT style and press Enter:
convert gpt
-
Type the following command to create a primary partition and press Enter: create partition primary
create partition primary
Once you have formatted the USB flash drive with a GPT partition, you can use the instructions mentioned above to use TransMac to create a bootable media, but this time, skip steps 5 through 10 and continue on step 11.
After the process, which could take up to an hour, connect the USB flash drive, turn on your Mac by holding down the “Option” key, and select the USB drive to install macOS.
Update June 11, 2025: This guide has been updated to ensure accuracy and reflect changes to the process.
Source link
-

-

-

-

-
-
-

-