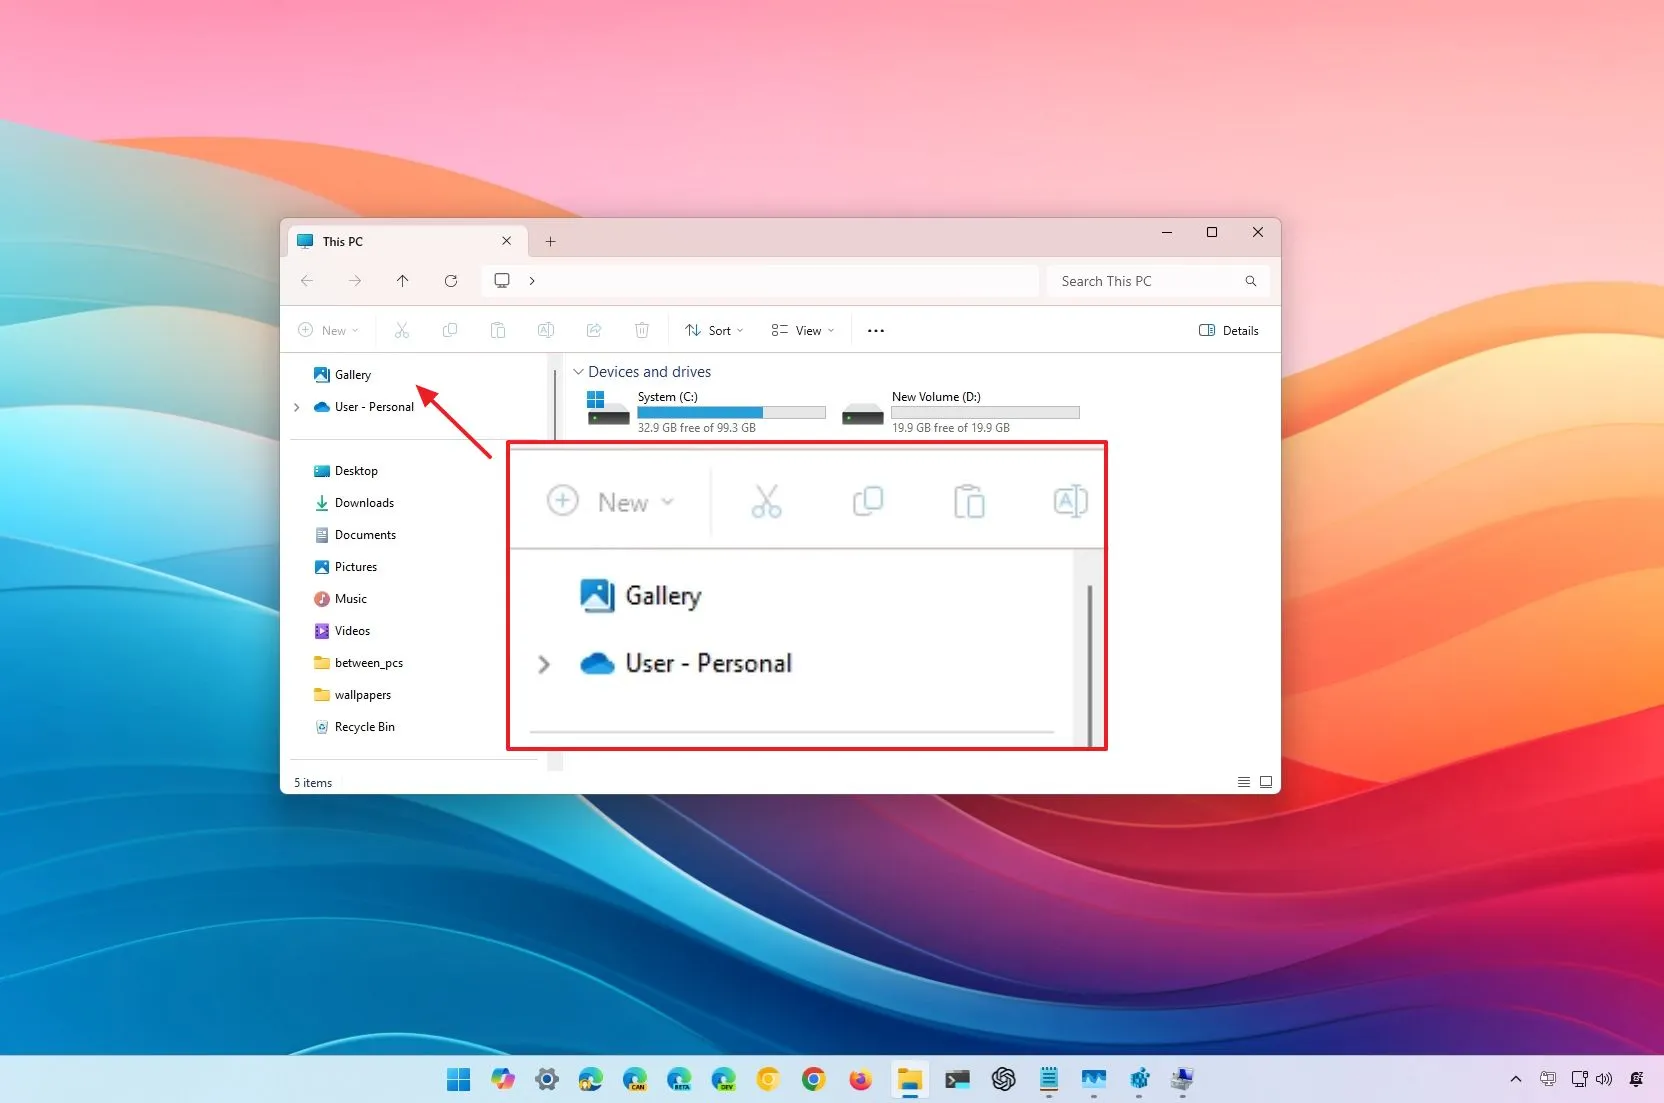
- To remove the Home page on File Explorer, create the “HubMode” Registry key and set its value to “1,” and then delete the “{f874310e-b6b7-47dc-bc84-b9e6b38f5903}” key inside the “NameSpace” Registry key. Once you complete the steps, restart the file manager manager to apply the changes.
On Windows 11, you can remove the “Home” page from File Explorer, and in this guide, I’ll explain the steps to complete this configuration. The Home page is the default landing page when you open File Explorer, and it provides quick access to your frequently used files and folders, as well as recent files and pinned items.
Although this page can be helpful for many users, some may prefer to use the “This PC” page instead. While there is a way to change the default startup page on File Explorer, it’s still possible to remove the “Home” page completely from the experience in the same way you can remove the “Gallery” and “OneDrive” pages by modifying the Registry.
In this guide, I will show you the steps to ditch the Home page from File Explorer on Windows 11.
Remove Home from File Explorer
To remove the File Explorer Home page on Windows 11, use these steps:
-
Open Start on Windows 11.
-
Search for regedit and click the top result to open the Registry.
-
Navigate to the following path:
HKEY_LOCAL_MACHINE\SOFTWARE\Microsoft\Windows\CurrentVersion\Explorer
-
Right-click the Explorer key, select new, and click the “DWORD (32-bit)” option.
-
Confirm the HubMode name for the key and press Enter.
-
Right-click the newly created key and select the Modify option.
-
Change the value of the HubMode key from 0 to 1.
-
Click the OK button.
-
Navigate to the following path:
HKEY_LOCAL_MACHINE\SOFTWARE\Microsoft\Windows\CurrentVersion\Explorer\Desktop\NameSpace
-
Right-click the {f874310e-b6b7-47dc-bc84-b9e6b38f5903} key and select the Delete option.
-
Restart the File Explorer.
Once you complete the steps, File Explorer should no longer include the “Home” page and default to the “This PC” page or the page you configured as the default. If the page is still showing, you may want to double-check the instructions and restart the computer.
Although the page will no longer be available in the file manager, you may still find the “Home” entry in the “Folder Options” settings, but it won’t work until you restore the Registry settings.
If you want to undo the changes, you can follow the same instructions, but in step 4, right-click the “HubMode” key and choose the “Delete” option. Then skip to step 9, right-click the “NameSpace” key, choose “New,” select the “Key” option, confirm the {f874310e-b6b7-47dc-bc84-b9e6b38f5903} key, and press Enter. Finally, right-click the “Default” string (inside the {f874310e-b6b7-47dc-bc84-b9e6b38f5903} key) and change the value to CLSID_MSGraphHomeFolder and click the “OK” button.
Why You Can Trust Pureinfotech
The author combines expert insights with user-centric guidance, rigorously researching and testing to ensure you receive trustworthy, easy-to-follow tech guides. Review the publishing process.
Source link
