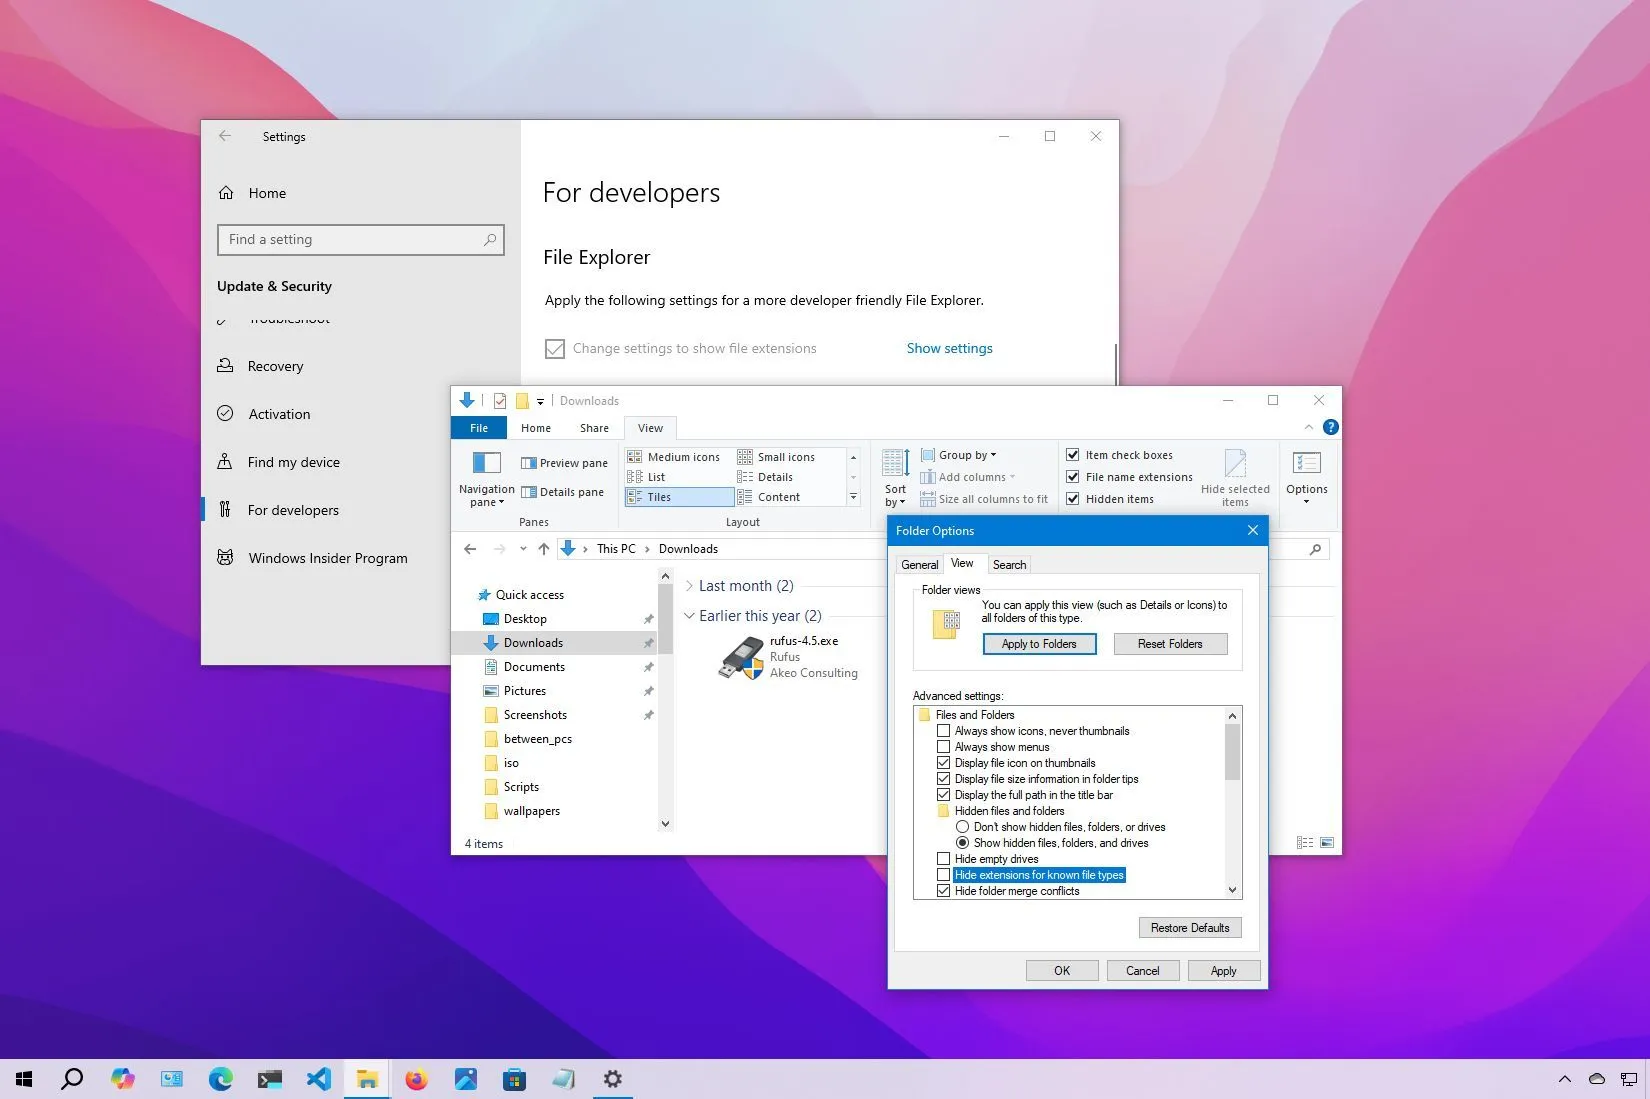
- To show file extensions on Windows 10, open File Explorer, click “View,” and check the “File name extensions” option. Or open “Folder Options” and clear the “Hide extensions for known file types” option.
- Alternatively, you can enable this feature from the Settings app or by using Command Prompt or PowerShell.
UPDATED 11/13/24: On Windows 10, a file extension refers to the three or four letters after the period at the end of the filename, which indicates the format type (such as .txt, .docx, or .pdf).
While not strictly necessary for file functionality, extensions offer several benefits. For example, they provide a quick way to identify a file’s format, making selecting the right program to open it easier. In addition, they give you an easier way to modify compatible file types. For instance, you can change a .txt file to a .bat file for scripting purposes.
The only caveat is that File Explorer doesn’t show extensions by default since it adds unnecessary visual clutter, helps to prevent mistakes that can make the file inaccessible, and improves security. However, showing extensions can also make the experience of working files a little easier.
In this guide, I will teach you the steps to show extensions for files while using File Explorer on Windows 10.
Show file extensions on Windows 10 from File Explorer
To show file extensions on Windows 10, use these steps:
-
Open File Explorer on Windows 10.
-
Click the View tab.
-
Check the “File name extensions” option.
Enable extensions from Folder Options
You can also enable file extensions from the “Folder Options” settings using these steps:
-
Open File Explorer.
-
Click the View tab.
-
Click the Options button.
-
Click the View tab.
-
Clear the “Hide extensions for known file types” option.
-
Click the Apply button.
-
Click the OK button.
Once you complete the steps, File Explorer will show the extensions for known file types.
Show file extensions on Windows 10 from Settings
To make file extensions visible from the Settings app, use these steps:
-
Open Settings.
-
Click on Update & security.
-
Click on For developer.
-
Click the File Explorer setting.
-
Check the “Change settings to show file extensions” option.
-
Click the Apply button.
After you complete the steps, the extensions for files will now show in File Explorer.
If these settings are grayed out, you may have to change them from within the “Folder Options” page in File Explorer.
This guide focuses on Windows 10, but the ability to hide and show file extensions has been around for long time, which means that you can use the same steps to show extensions on Windows 8.1, Windows 7, and older versions.
Show file extensions on Windows 10 from Command Prompt
To show file extensions through the Command Prompt (or PowerShell), use these steps:
-
Open Start.
-
Search for Command Prompt or PowerShell, right-click the top result, and choose the Run as administrator option.
-
Type the following command to show extensions for files and press Enter:
reg add HKCU\Software\Microsoft\Windows\CurrentVersion\Explorer\Advanced /v HideFileExt /t REG_DWORD /d 0 /f
After you complete the steps, File Explorer will start displaying file extensions on Windows 11.
If you want to undo the changes, you can use the same instructions, but in step 3, run this reg add HKCU\Software\Microsoft\Windows\CurrentVersion\Explorer\Advanced /v HideFileExt /t REG_DWORD /d 1 /f command.
Update November 13, 2024: This guide has been updated to ensure accuracy and reflect changes to the process.
Source link
