Summary
- Seamlessly sync files between Windows and Linux without cloud reliance using Syncthing.
- Install and set up Syncthing on Windows and Linux for secure file sharing.
- Syncthing requires both systems to be online for file synchronization to work.
Tired of manually copying files between operating systems or relying on cloud storage? Here’s how I use Syncthing to seamlessly sync files between my Windows and Linux machines without compromising privacy or dealing with storage limits.
Why I Picked Syncthing for File Syncing
If you’re like me and regularly work across different operating systems, you know the pain of keeping files in sync. After trying various solutions, I settled on Syncthing—a free and open-source continuous file synchronization tool that creates a direct peer-to-peer connection between your devices.
What I love most about Syncthing is that there’s no in-between cloud storage. Your data transfers directly between devices, which means you don’t have to trust a third-party provider with your private files. It’s just your devices talking to each other securely.
In my home setup, I’ve got two PCs—my main machine running a Windows-Garuda Linux dual-boot, and a spare Ubuntu system for testing purposes. Syncthing helps me share files, particularly screenshots, effortlessly between my Windows system and Ubuntu. Let me show you how to set it up.
The One Limitation You Should Know About
While Syncthing is fantastic, there’s one catch—both systems need to be running simultaneously for synchronization to work. Since there’s no intermediate storage, Syncthing can’t sync files when one device is offline. So, if my Windows PC is turned on but my Ubuntu PC is off, the syncing will not happen. That said, if both PCs are running at the same time, all the changes can get synchronized then.
This limitation is actually a bigger problem for dual-boot setups. Since Windows and Linux are installed on the same system, you can’t run both OSes at the same time. This makes it impossible for Syncthing to sync between these devices. However, there’s a very elegant solution for this: a simple USB drive. You can just have a USB stick connected to the PC, and when you boot into either operating system, it reads the USB stick and accesses the files.—
How to Install and Setup Syncthing
Installing and setting up Syncthing can be a bit complicated. Here’s a step-by-step guide on how to get it working on your Windows and Linux devices.
Step 1: Installing Syncthing on Windows and Linux
First, let’s get Syncthing running on Windows. To do so, visit the Syncthing website and head to the Downloads tab. You’ll find a number of download links here. Ignore everything under the “Base Syncthing” option as they require you to run a command-line instance for Syncthing to work. If you close the command line, Syncthing stops working, and I find that inconvenient.
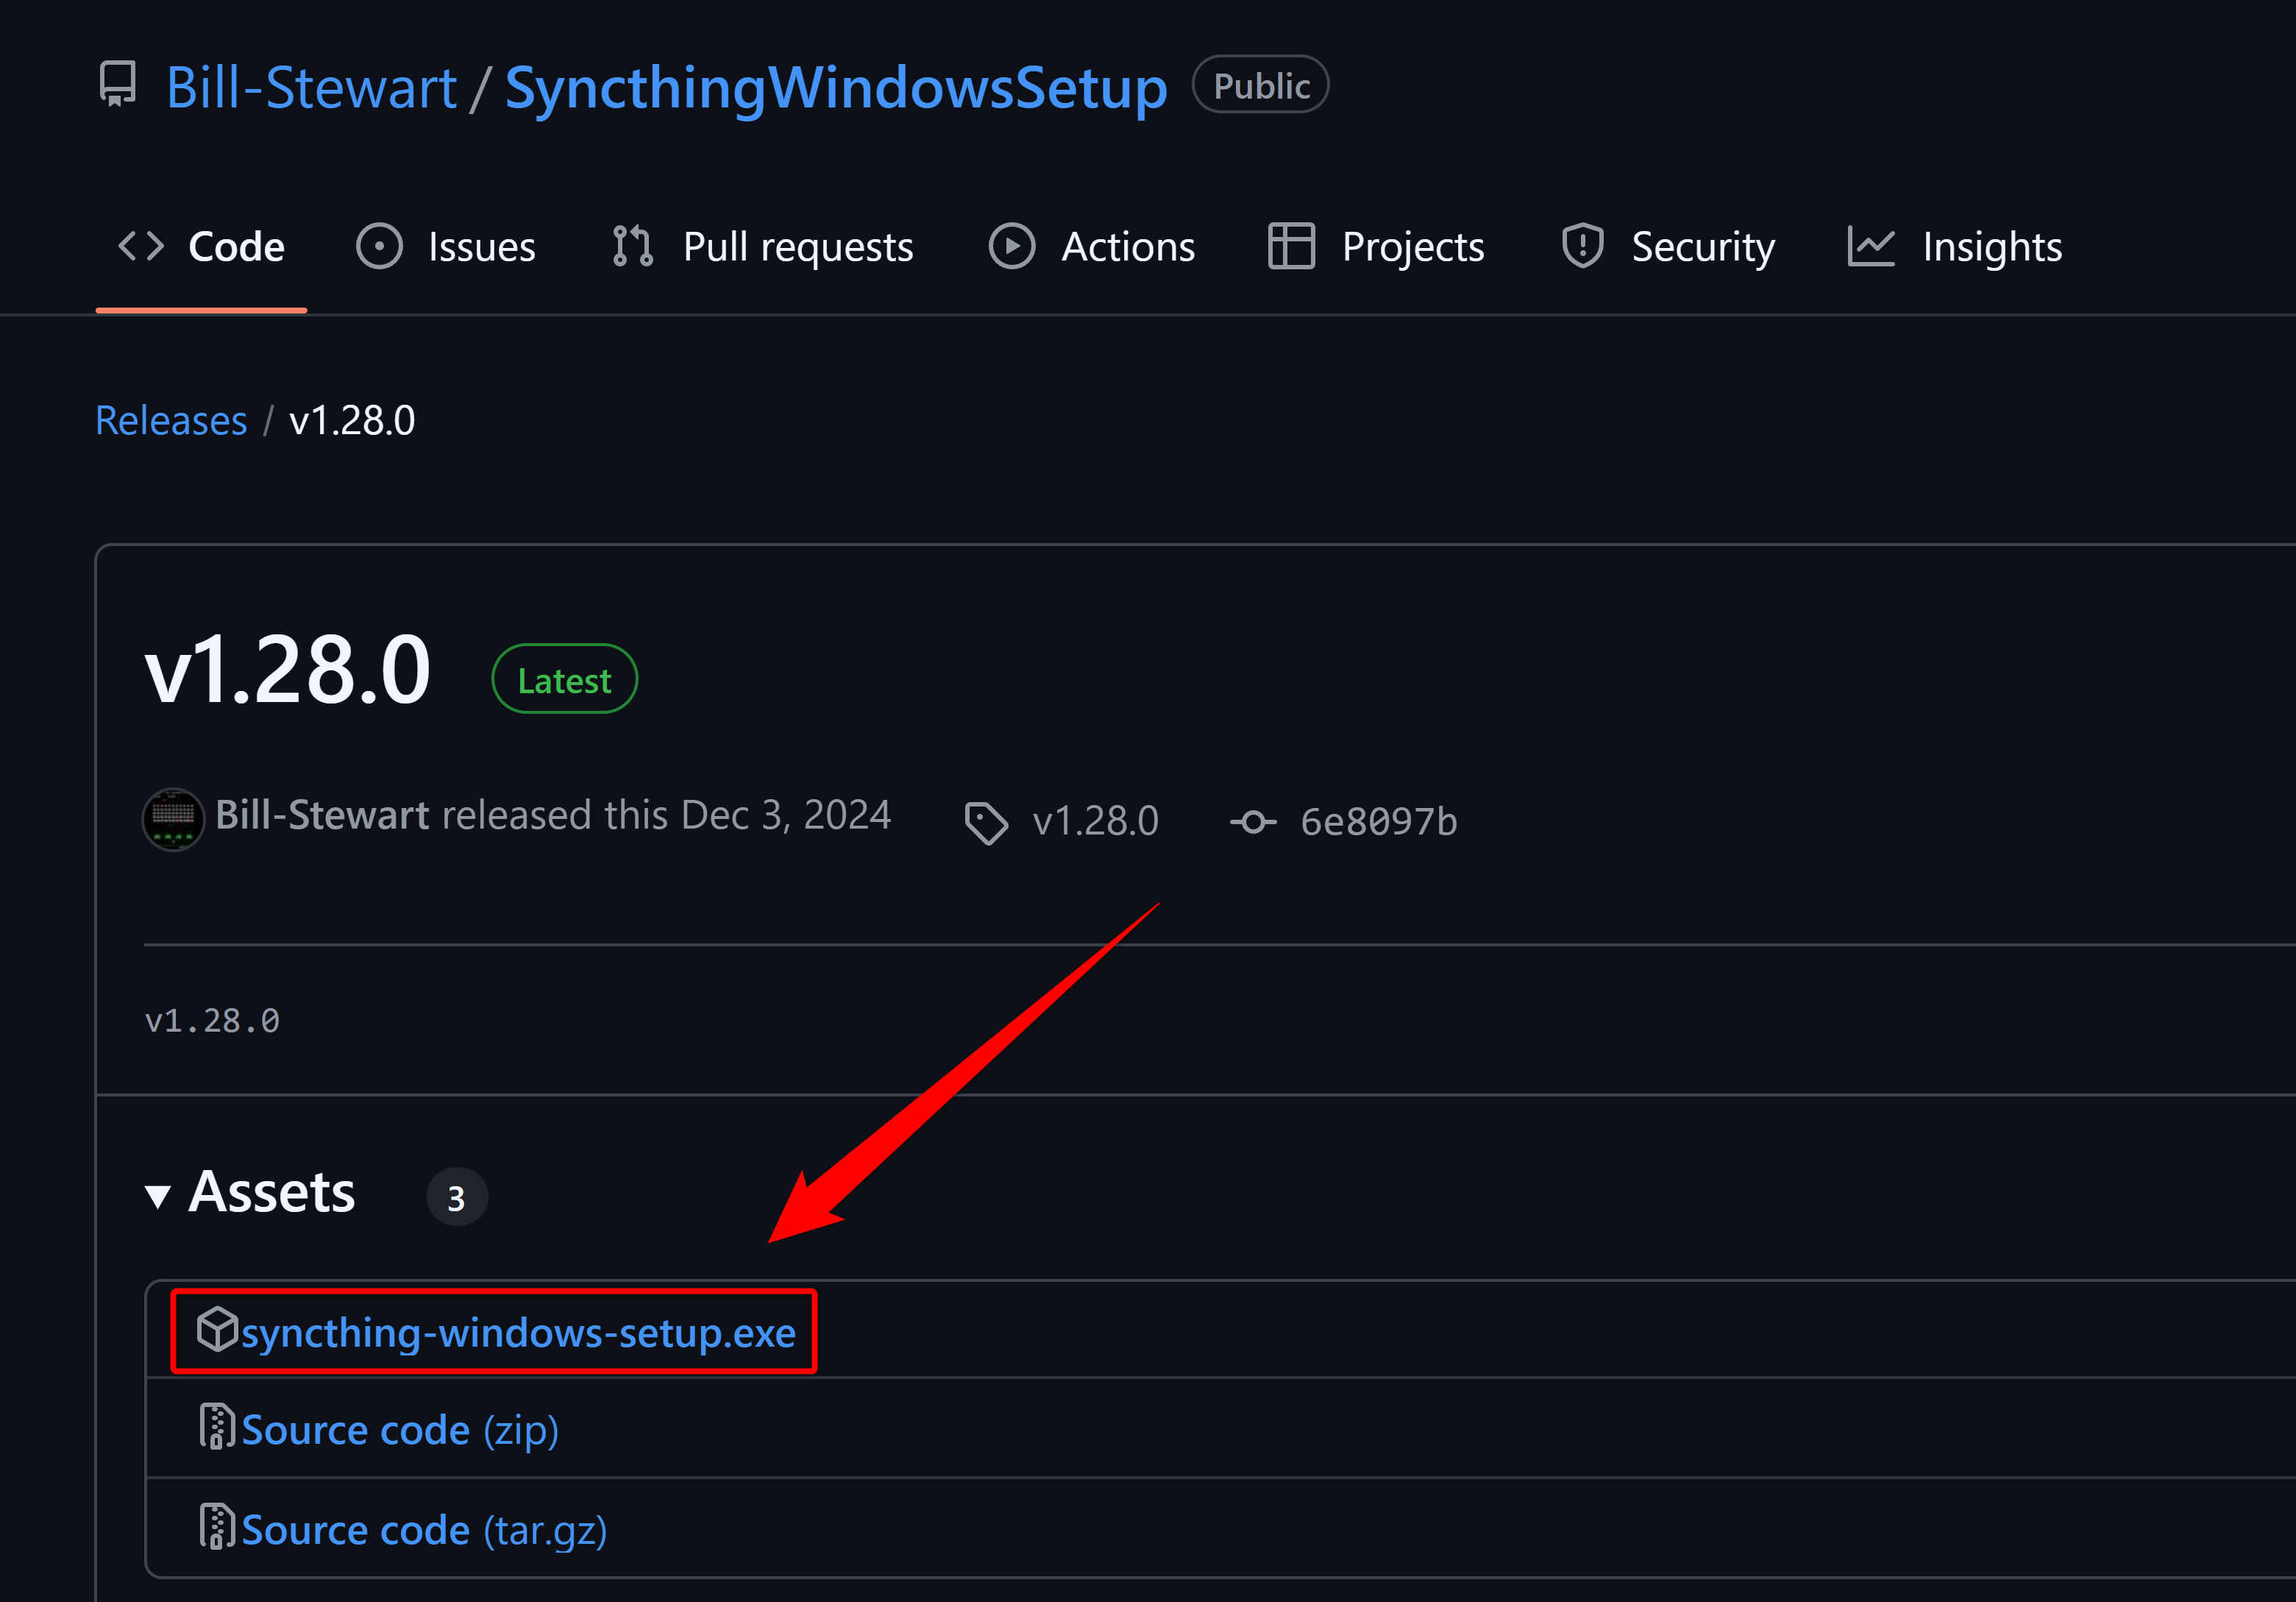
Instead, get the Syncthing Windows Setup under the Integrations section. It will lead you to a GitHub page from where you can download the Windows setup file. This version installs a Start Syncthing and a Stop Syncthing app on your system to easily maintain the service.
Once downloaded, simply run the setup file and follow the installation wizard. During the process, it will first ask you to configure the port and address. If you’re unsure, you can keep the default settings. Next, check the options “Start Syncthing Automatically when Logging on” and “Start Syncthing After Installation.” Lastly, click “Yes” on the Create Windows Firewall Rule For Syncthing—otherwise, it will not work.
Once installed, open your browser and, assuming you didn’t change the address and port defaults, paste this address into your address bar:
http://127.0.0.1:8384/
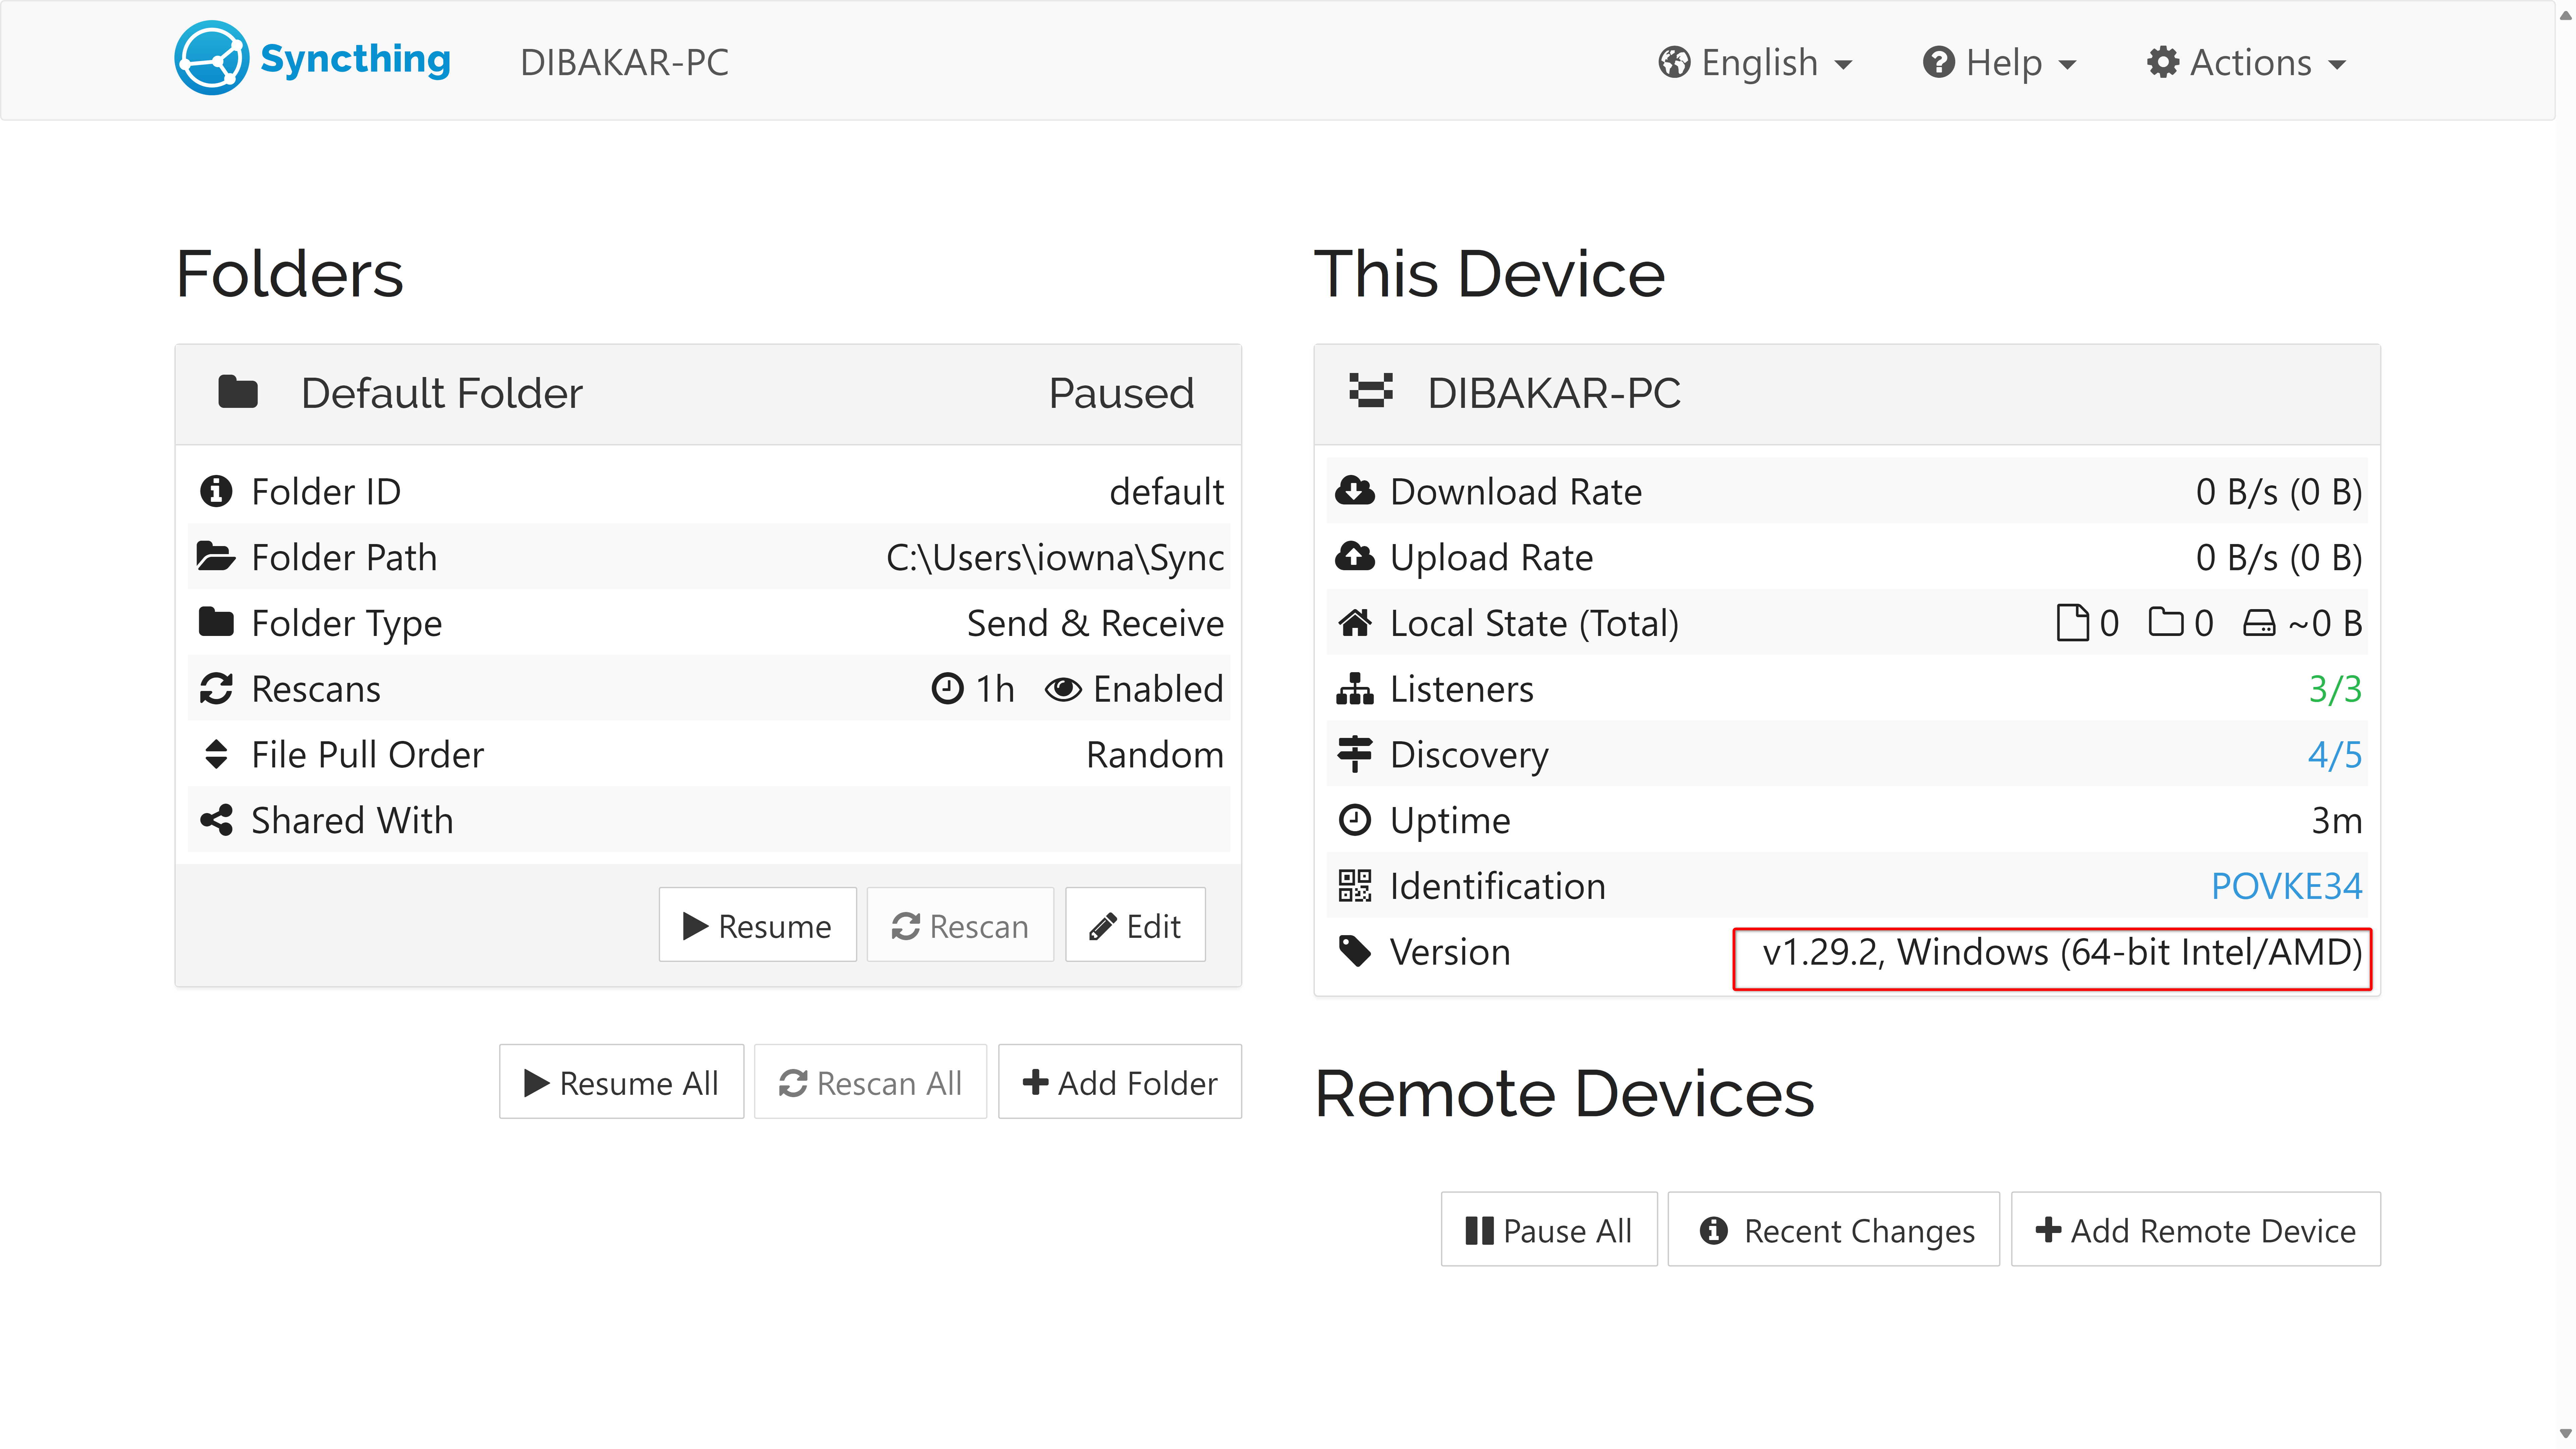
This opens Syncthing’s web interface, where you can manage your sync settings.
I’ll share how to configure the settings in the next section. For now, let’s get Syncthing on Linux. This should be typically straightforward since many Linux distributions include Syncthing in their repositories. For Ubuntu users, it’s as simple as opening a terminal and running:
sudo apt install syncthing
After installation, you’ll find two new apps: Syncthing WebUI and Start Syncthing in your Ubuntu Applications Overview. Launch Start Syncthing first, then open the Syncthing WebUI and a browser window will launch showing the same interface you saw on Windows.
Step 2: Connecting Your Devices
Now comes the fun part—linking your Windows and Linux systems. I’ll start on the Windows device for demonstration purposes.
First, open the Syncthing WebUI by visiting the URL:
http://127.0.0.1:8384/
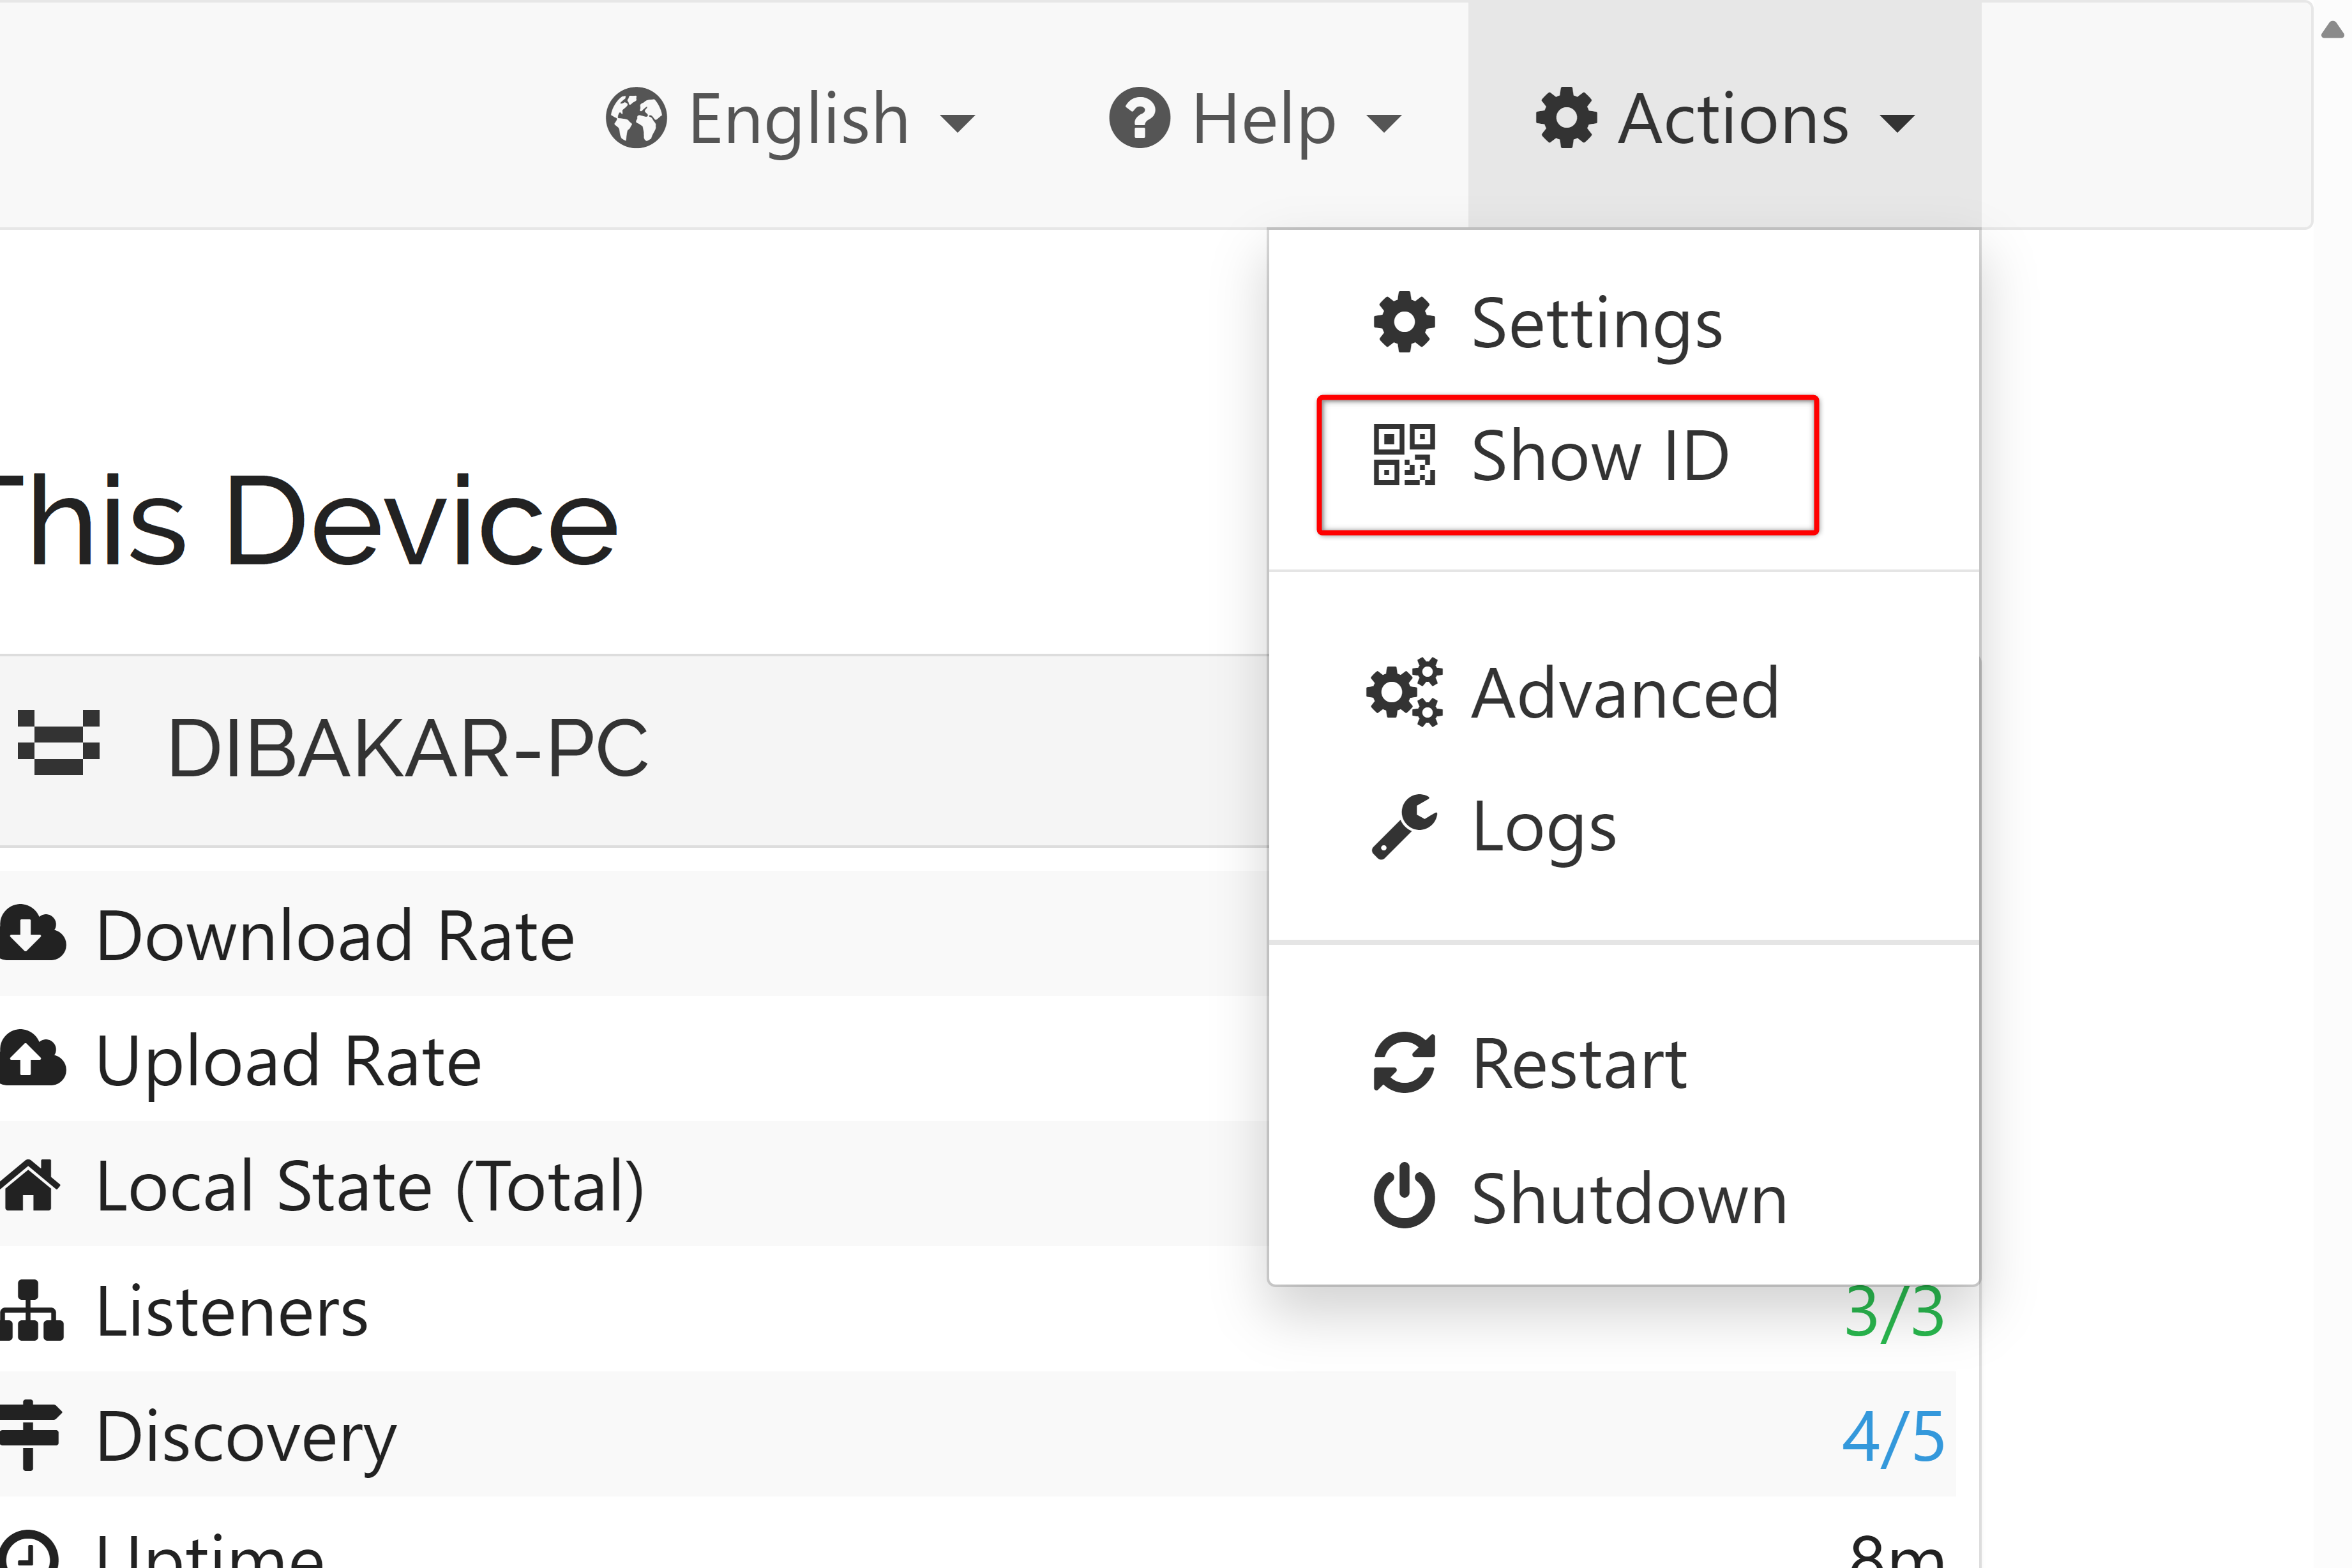
Now, from the top right-hand corner, click on Actions > Show ID. This will show you the Device ID for your Windows Syncthing.
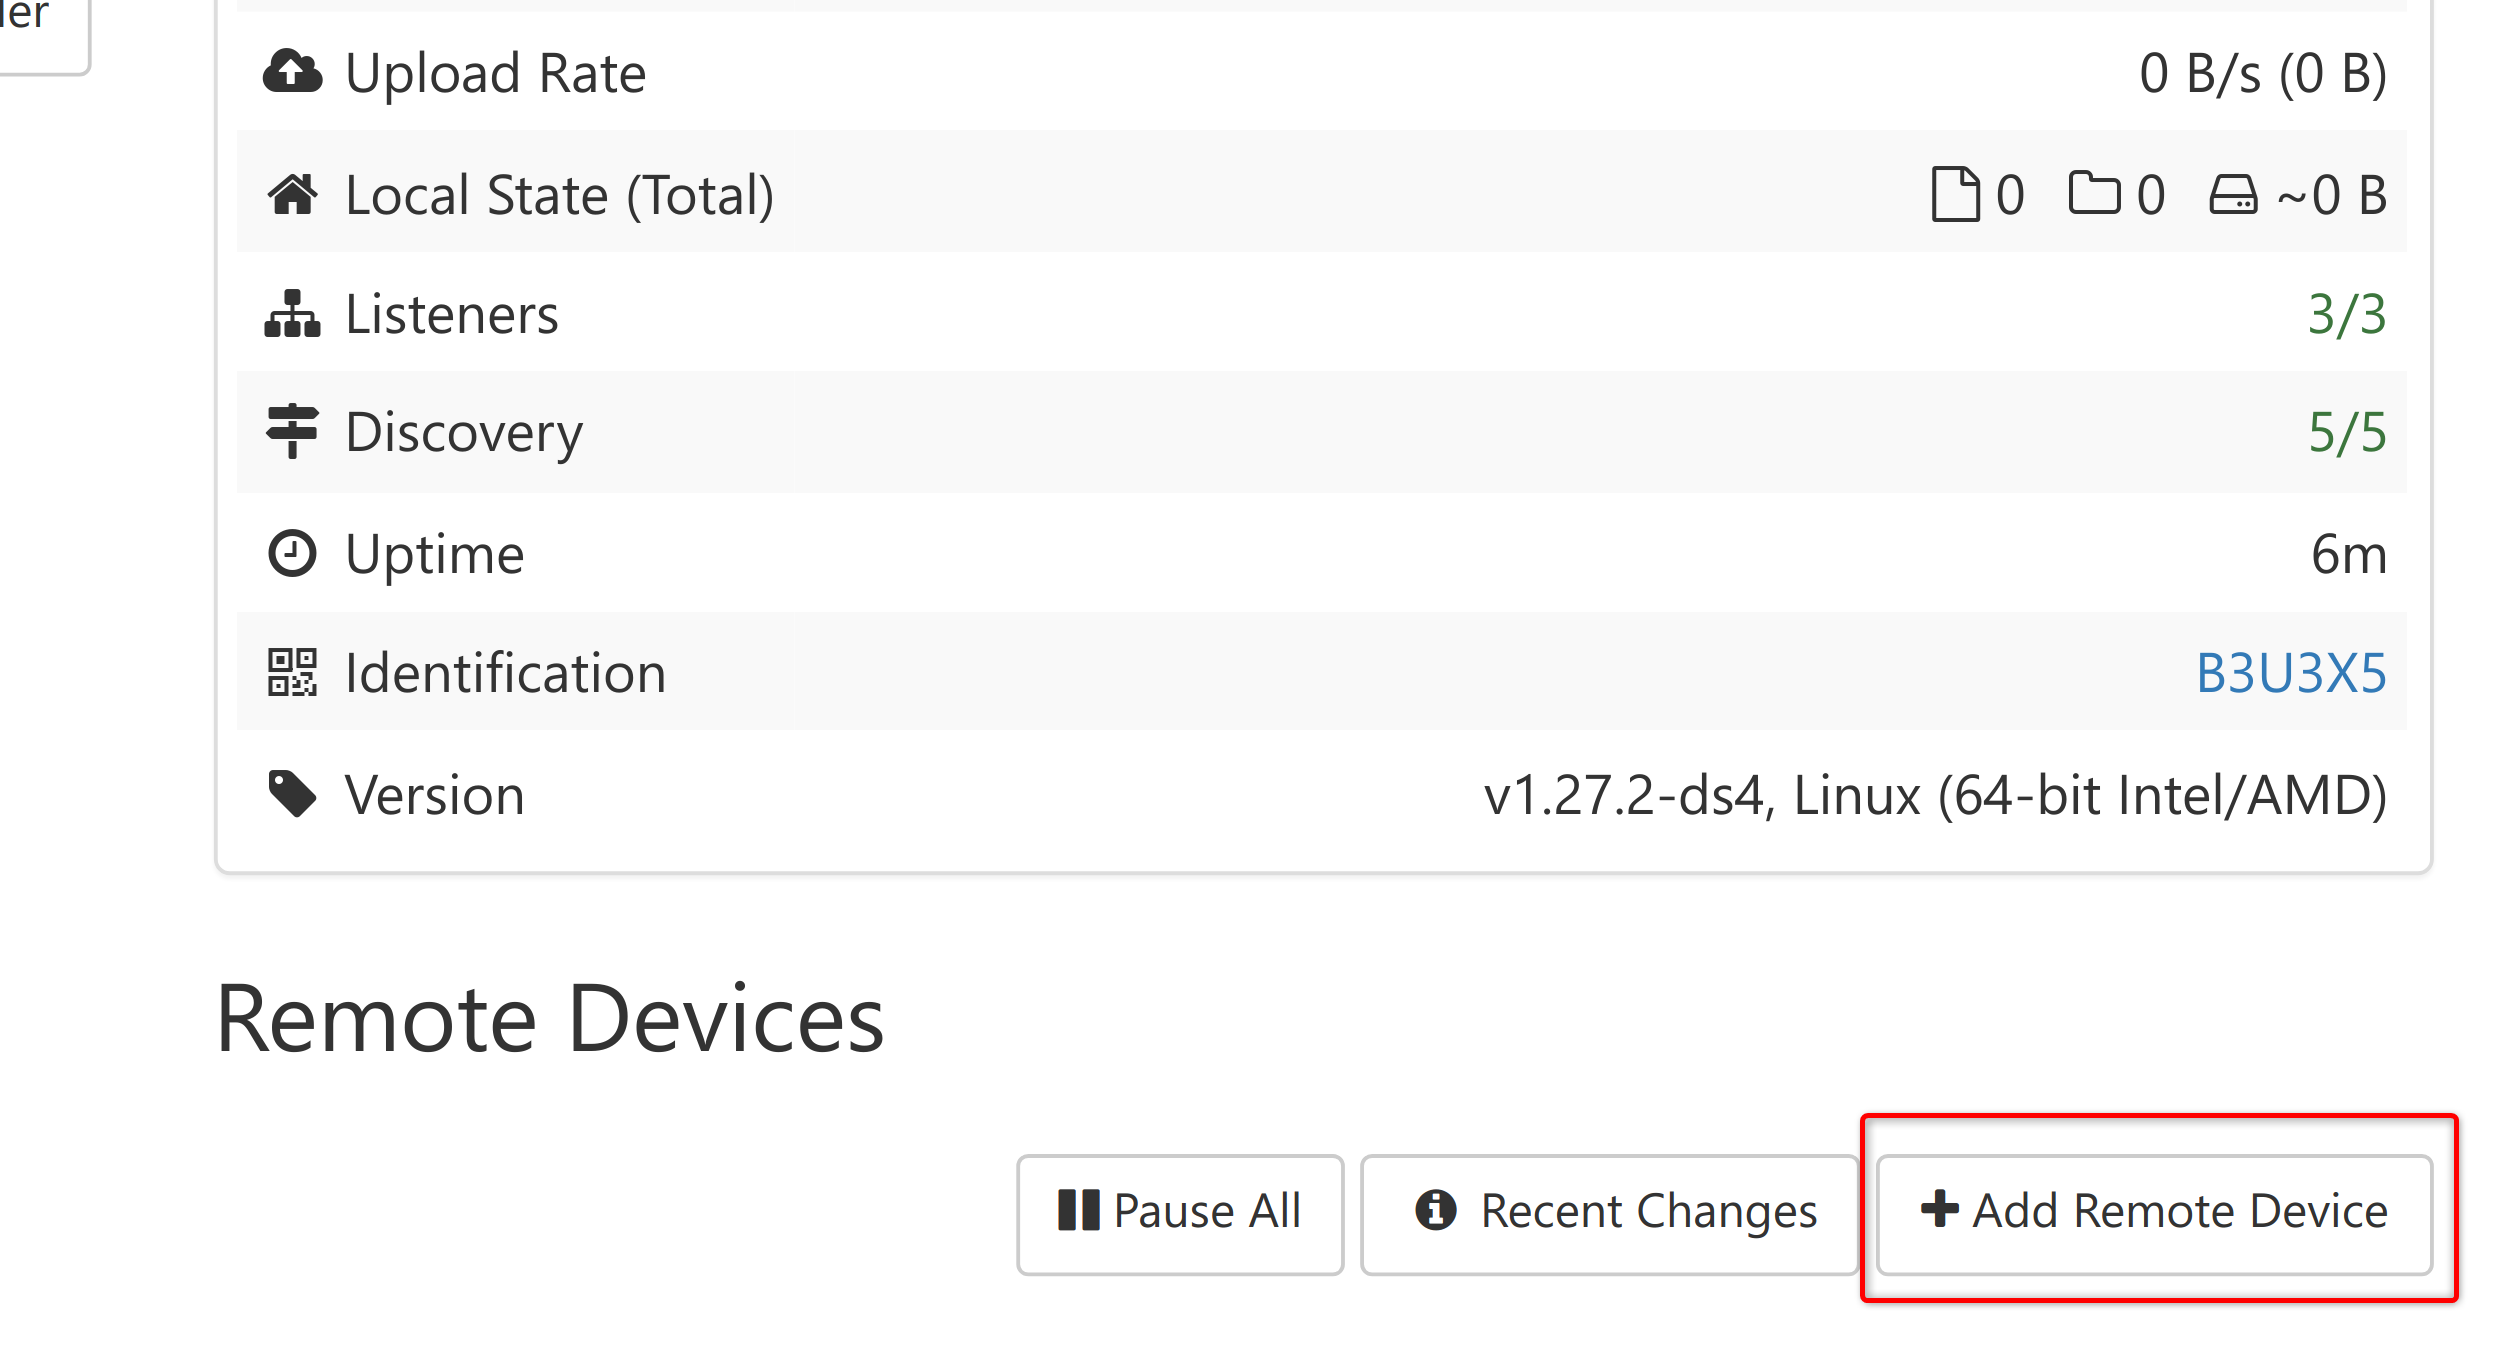
Now switch to the Linux machine and open Syncthing. Click on “Add Remote Device” in the bottom right corner and enter the Device ID from Windows. Give it a memorable and easily identifiable name, and click “Save.”
The Windows instance of Syncthing should now show a pairing request from the Linux PC. Accept it, give the Linux PC a name you’ll recognize (can be different from the name of the PC), and click “Save”.
That’s it! Both your Windows PC and Linux PC are now connected. You can verify the connection by checking the “Connected” sign in the Remote Device section on either interface. If there’s any issue with the connections, that should also show up here.
Step 3: Setting Up Sync Folders
Just connecting the devices doesn’t automatically sync your files—you need to tell Syncthing which folders to sync. By default, Syncthing creates a Default Folder for syncing. On Windows, it’s located at path:
C:\Users\{username}\Sync
While on Linux, you can find it here:
/home/{username}/Sync
Syncing is paused on the Default Folder, but you can easily enable it. Simply click on the “Edit” button, go to the “Sharing” tab, check the device you want to sync with, and hit Save. This should trigger a sharing request on the other device. Accept it, and both devices are now synced. If you add or remove any data (file or folder) to one folder, it will show up on the other synced folder.
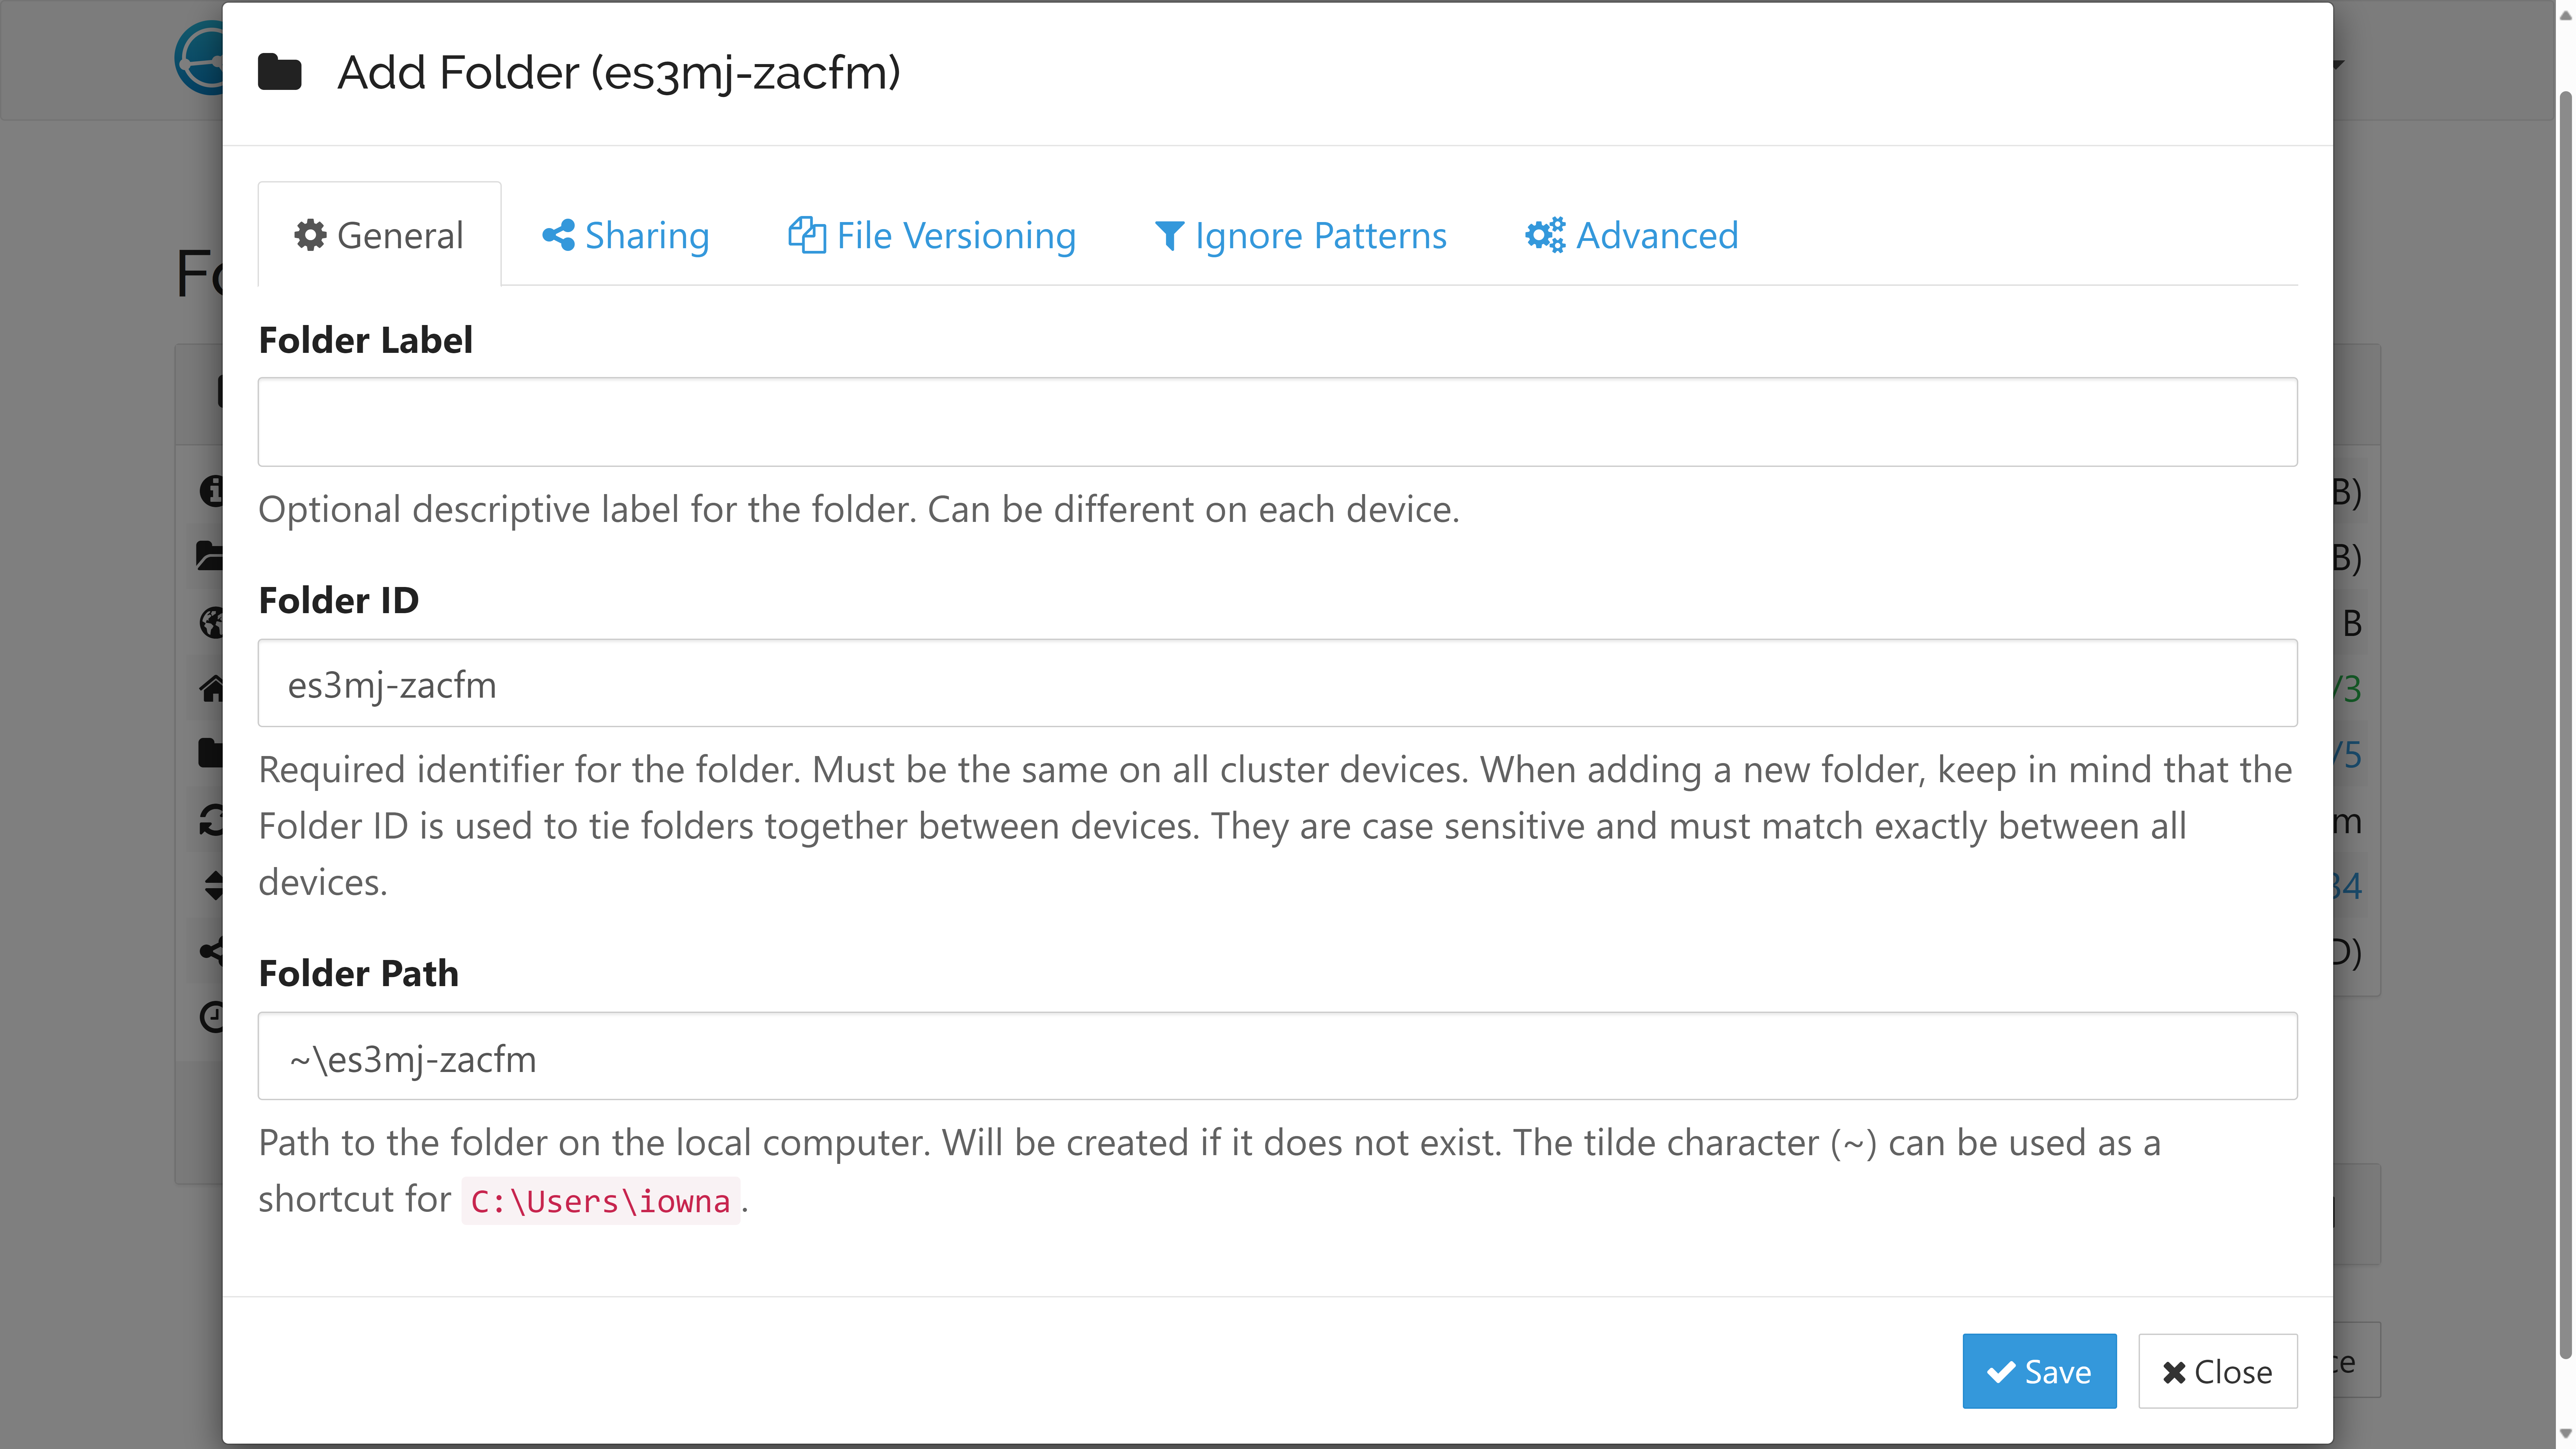
That said, if you don’t want to use the Default Folder, you can also set up a custom folder for syncing. To do this, click on “Add Folder” and add the path for the folder you want to share. You’ll also need to give it a Folder ID, which must be the same on all the synced devices. There’s also a Folder Label field. You can enter anything here—it’s there to help you identify the folder.
Syncthing has transformed how I share files between my Windows and Linux systems. While it’s not perfect and requires both systems to be online to sync, it’s still my preferred solution for its security, simplicity, and zero reliance on cloud storage.
Source link


