I’ve wanted to try a Cricut machine for years, but there’s something overwhelming about entering into a huge ecosystem of add-ons, subscriptions and software in one fell swoop. Once you’ve bought your machine, you need to take the plunge and opt for a Design Space membership, as well as a bunch of borderline essential tools to get even the most basic of crafts going.
Once you’ve overcome that hurdle though, and it’s one that’s not exclusive to the Joy Xtra, these gadgets are a whole lot of fun. I spent a week crafting everything from cards to water bottle stickers with my Cricut Joy Xtra, and now I’m well and truly hooked.
Cricut Joy Xtra: Specs
|
Feature |
Details |
|---|---|
|
Machine Dimensions |
12.48 in x 4.46 in x 5.87 in (31.7 cm x 11.3 cm x 14.9 cm) |
|
Weight |
6.03 lbs (2.73 kg) |
|
Max Cut Width (Mat) |
8.25 in (20.9 cm) — Fits A4 and US Letter sizes |
|
Max Cut Length (Mat) |
11.75 in (29.8 cm) |
|
Max Cut Size (Smart Materials) |
8.5 in x 4 ft (21.6 cm x 1.2 m) |
|
Cutting Speed |
5.65 inches per second |
|
Print Then Cut |
Yes (Built-in sensor for full-color stickers/decals) |
|
Compatible Materials |
50+ (Vinyl, Iron-on, Cardstock, Printable Sticker Paper, etc.) |
|
Connectivity |
Bluetooth® Wireless (No USB connection) |
|
Compatible Tools |
Cricut Joy Fine Point Blade, Foil Transfer Tool, Joy Pens & Markers |
|
Software |
Design Space (iOS, Android, Windows, Mac) |
|
Power |
100-240V AC Input / 18V DC Output |
Cricut Joy Xtra: Setup
I didn’t have the best time setting up my Cricut Joy Xtra. After downloading the Design Space app, you need to pair your machine via Bluetooth to your chosen device, where you can then send templates for cutting.
The problem is, my machine simply wouldn’t pair with my phone. I tried everything: un-installing and re-installing the app, different accounts, and the old faithful: turning the machine on and off again. So I turned to Reddit, which revealed that I’m not the only one who has struggled with this before. Apparently, it’s a common issue, easily solved if you have a friend or partner with an iPhone. I got my partner to connect with the Cricut Joy Xtra on his phone, which then allowed my machine to install a software update. Once updated, I was able to connect to it .
So there you have it, not a great first impression if you’re a devoted Android user. But once that teething issue was overcome, I was ready to go.
Cricut Joy Xtra: Performance
I put the Cricut Joy Xtra through three tests and made cards, a custom tee-shirt and a personalized water bottle. All of these used the fine point blade, but you want to use pens or a foil transfer blade, you can buy them on the Cricut website.
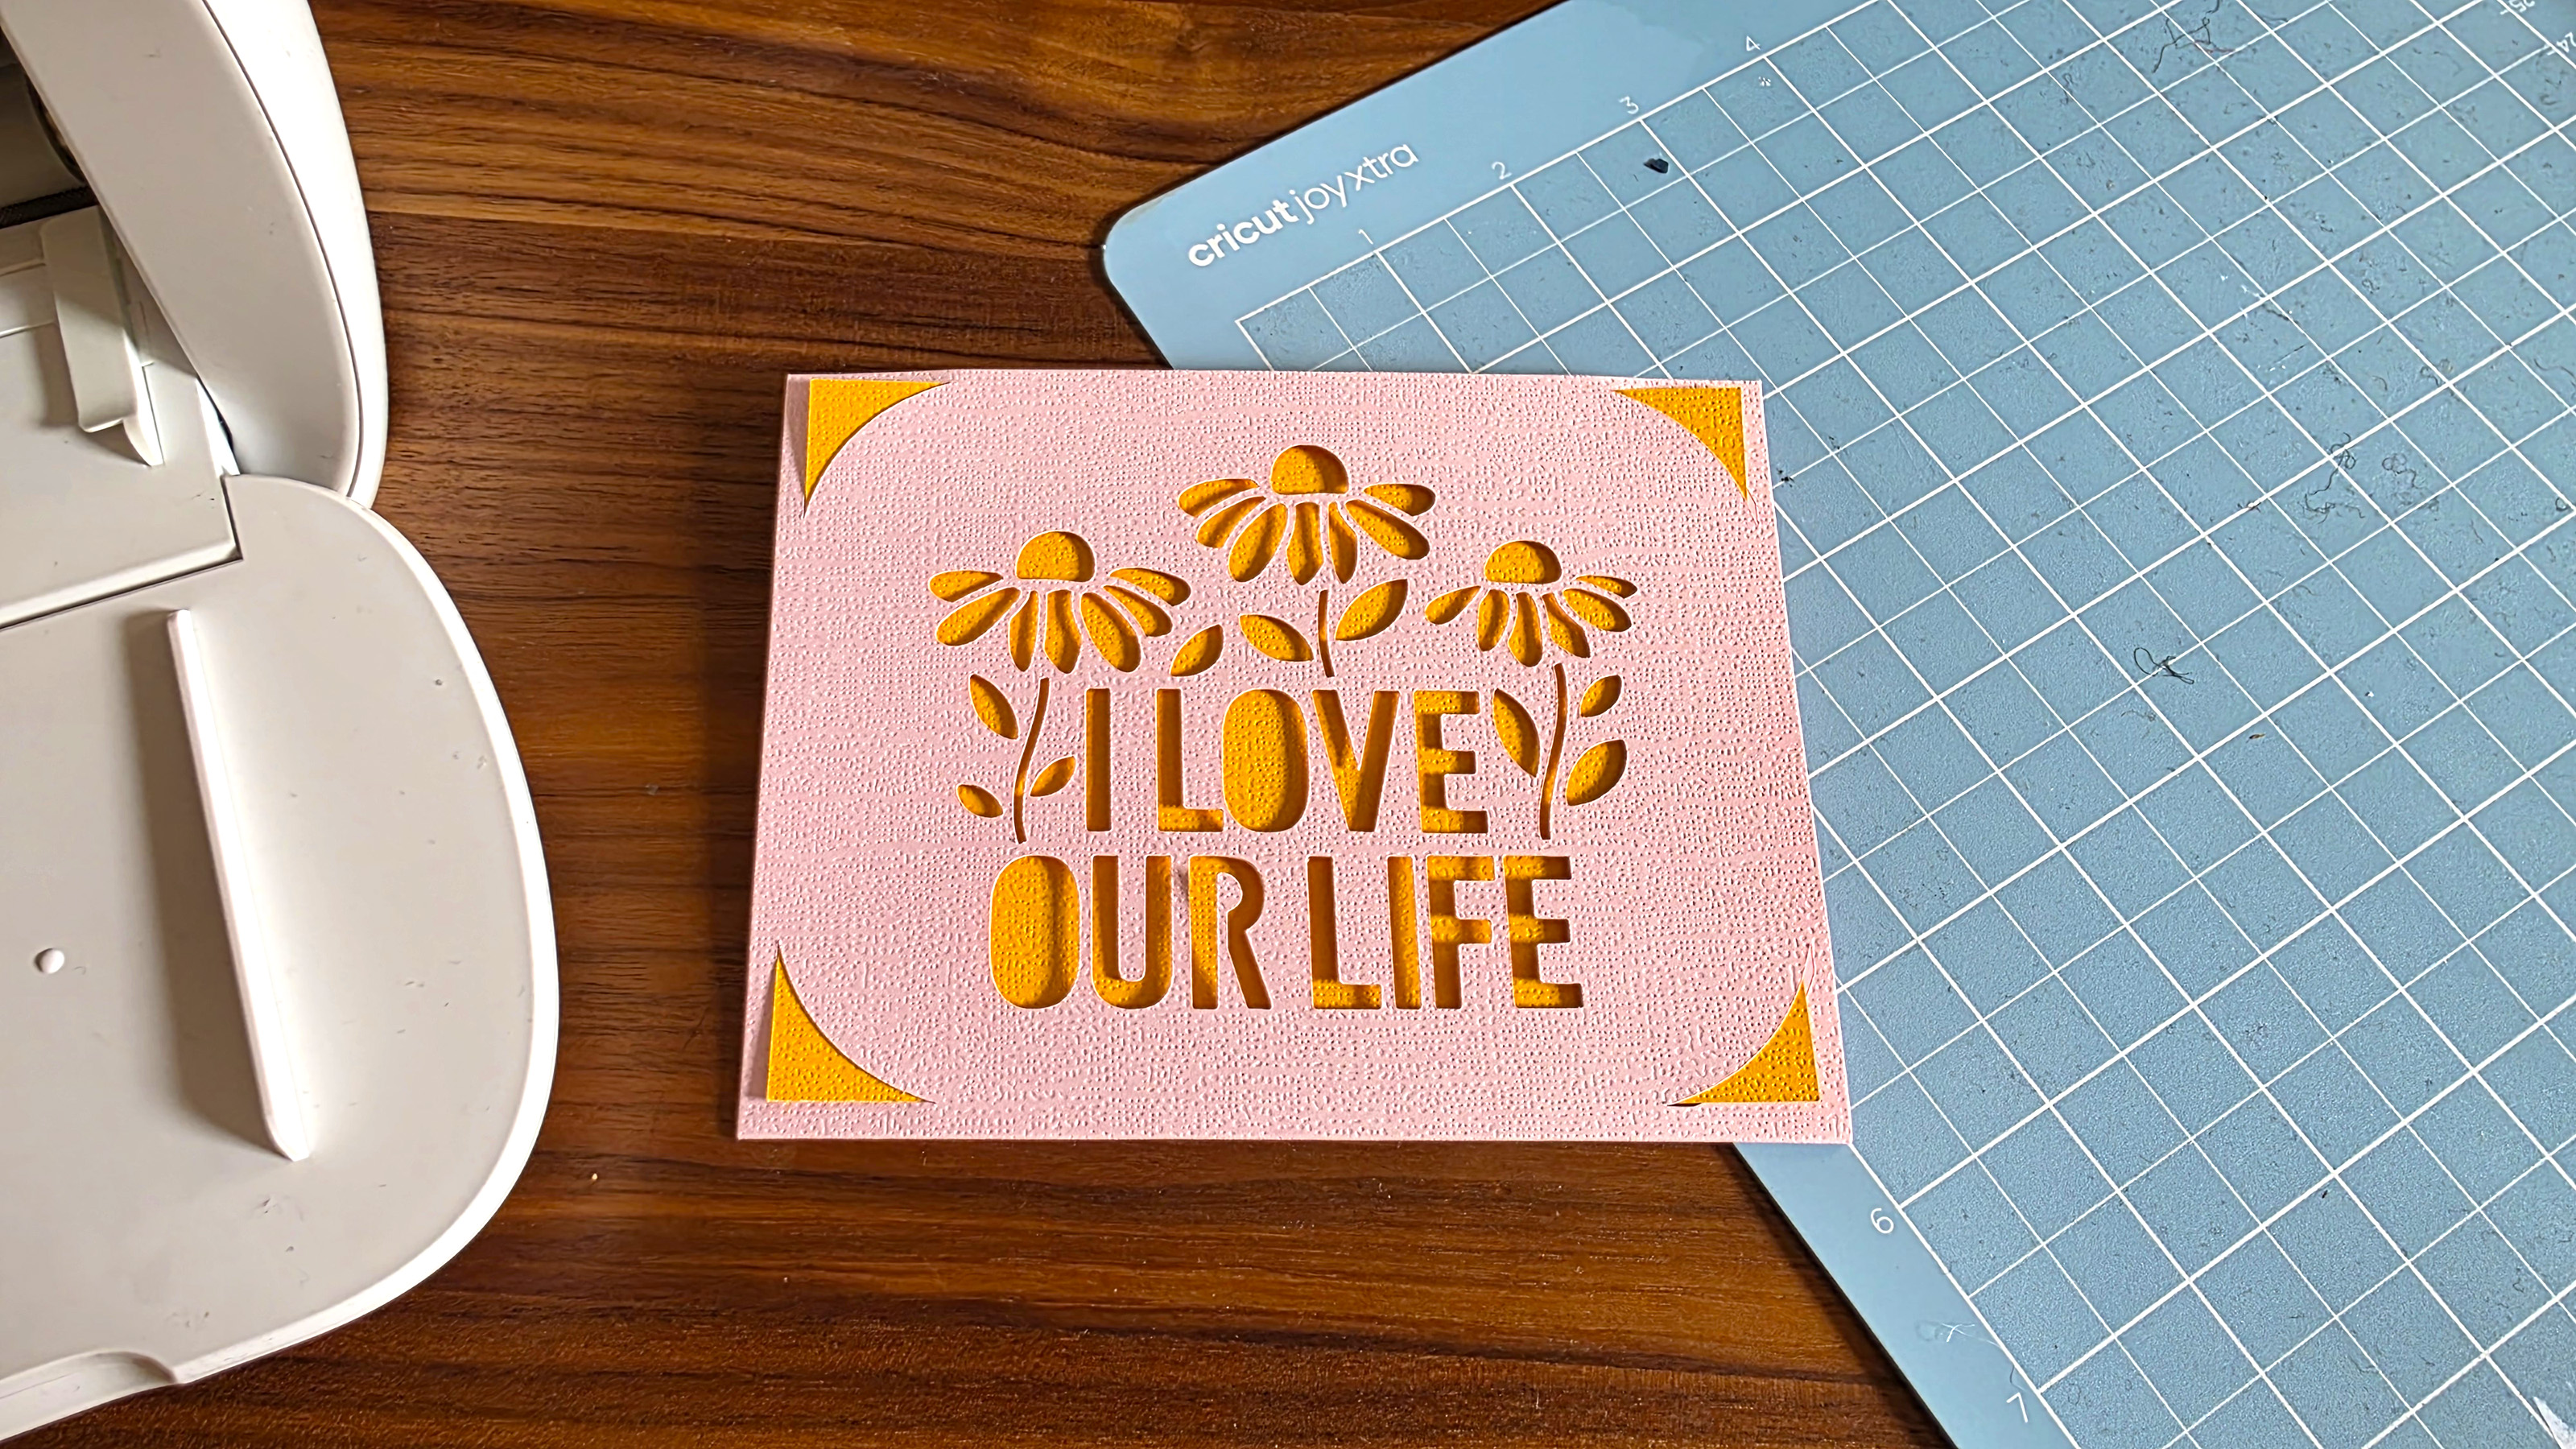
Making cards

Creating custom cards is probably the most common use of a Cricut machine, and if you get a Design Space membership, you can access a heap of pre-made designs that you simply need to click and go on.
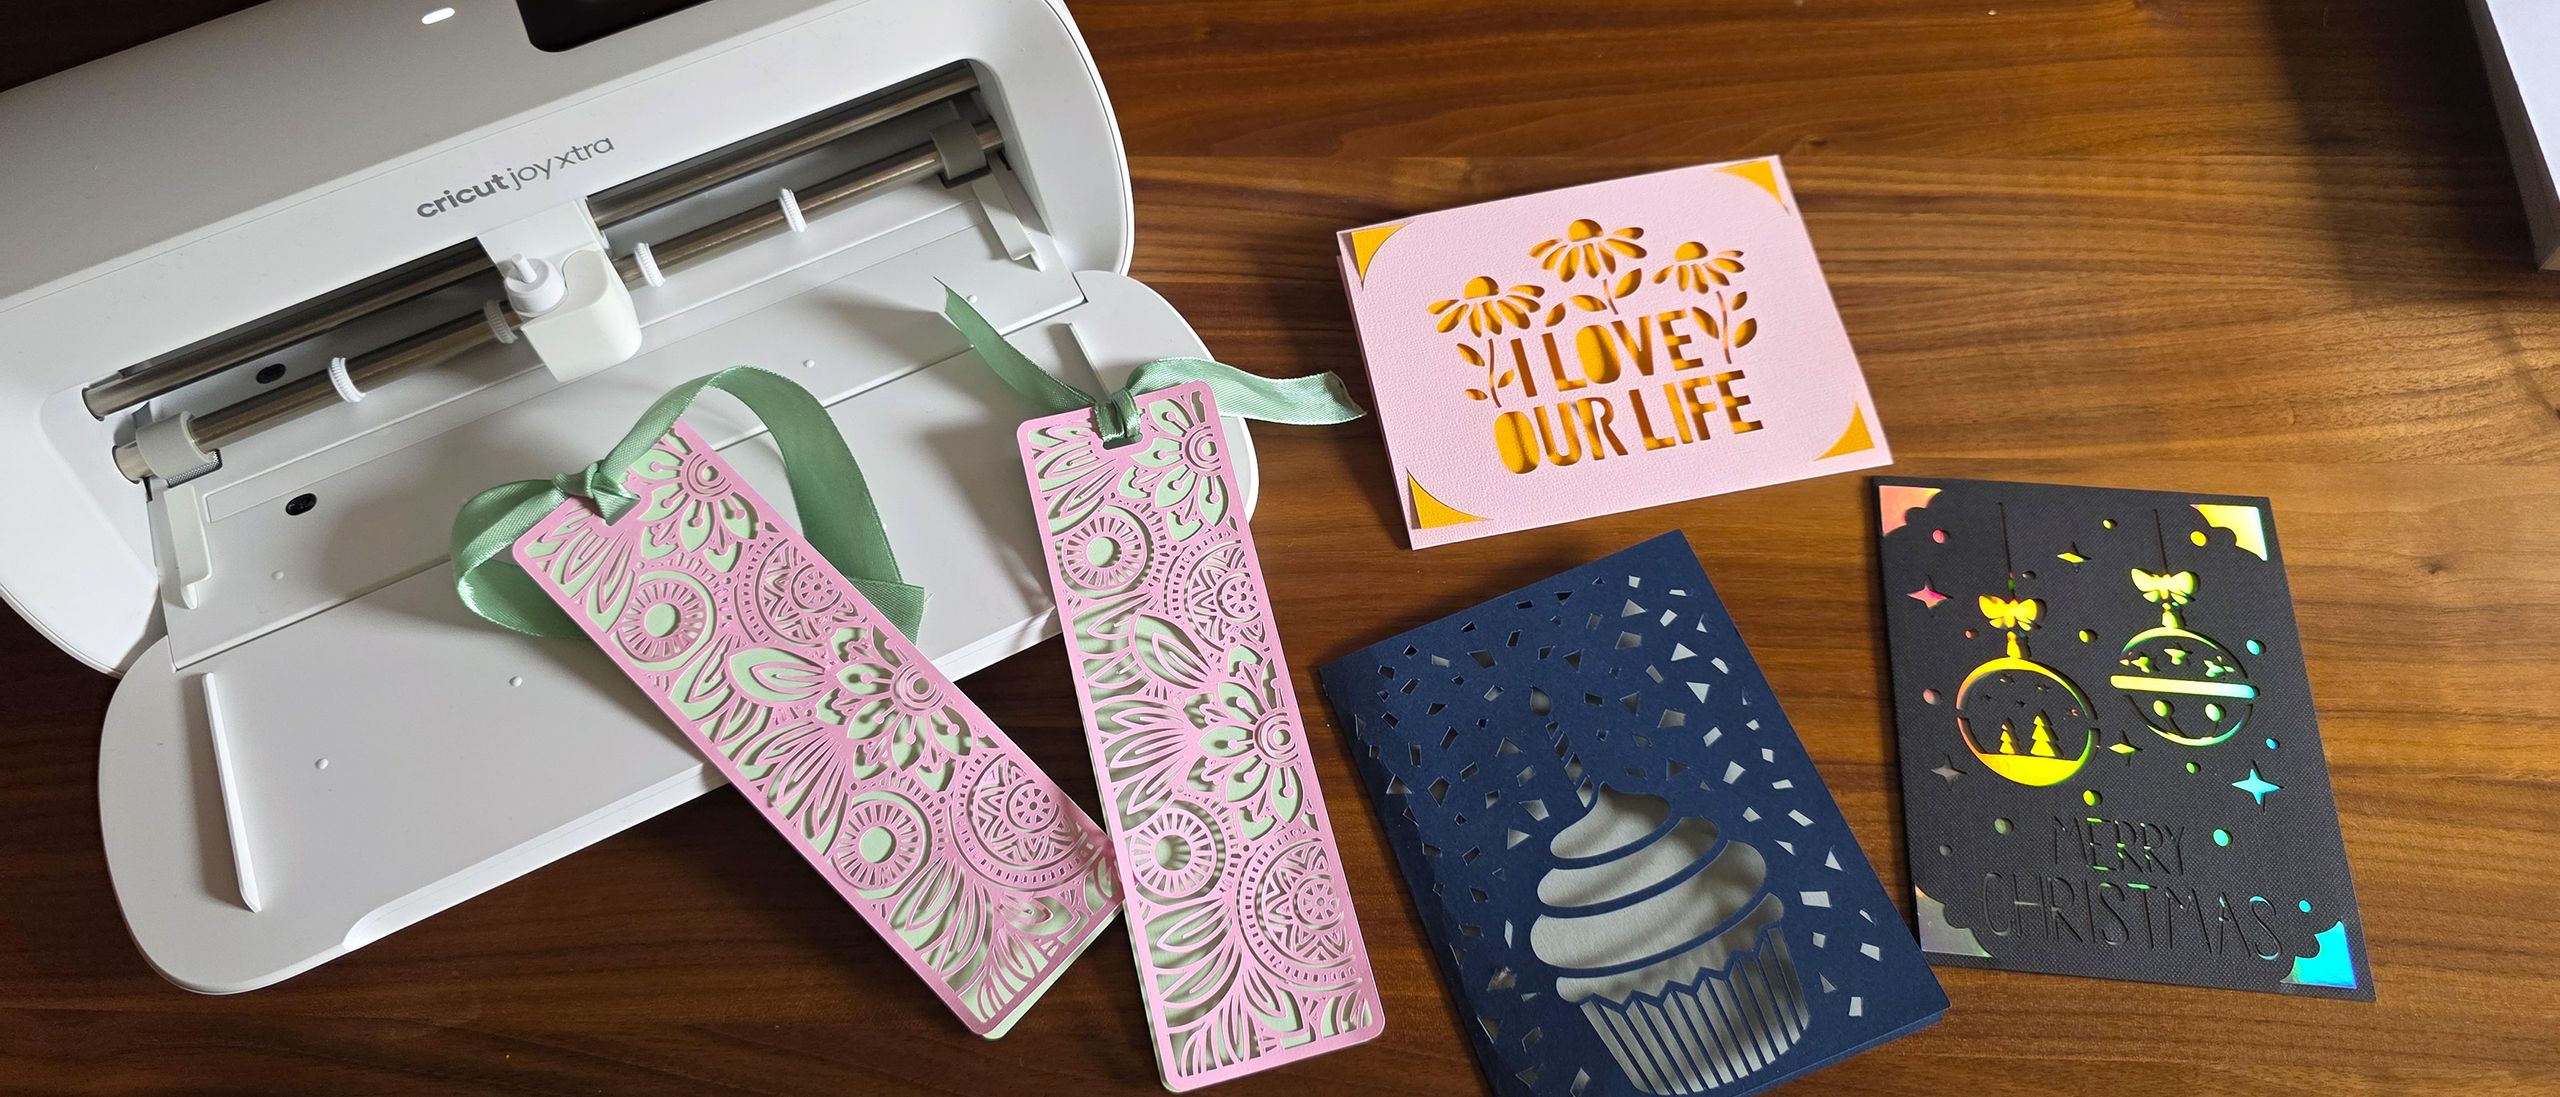
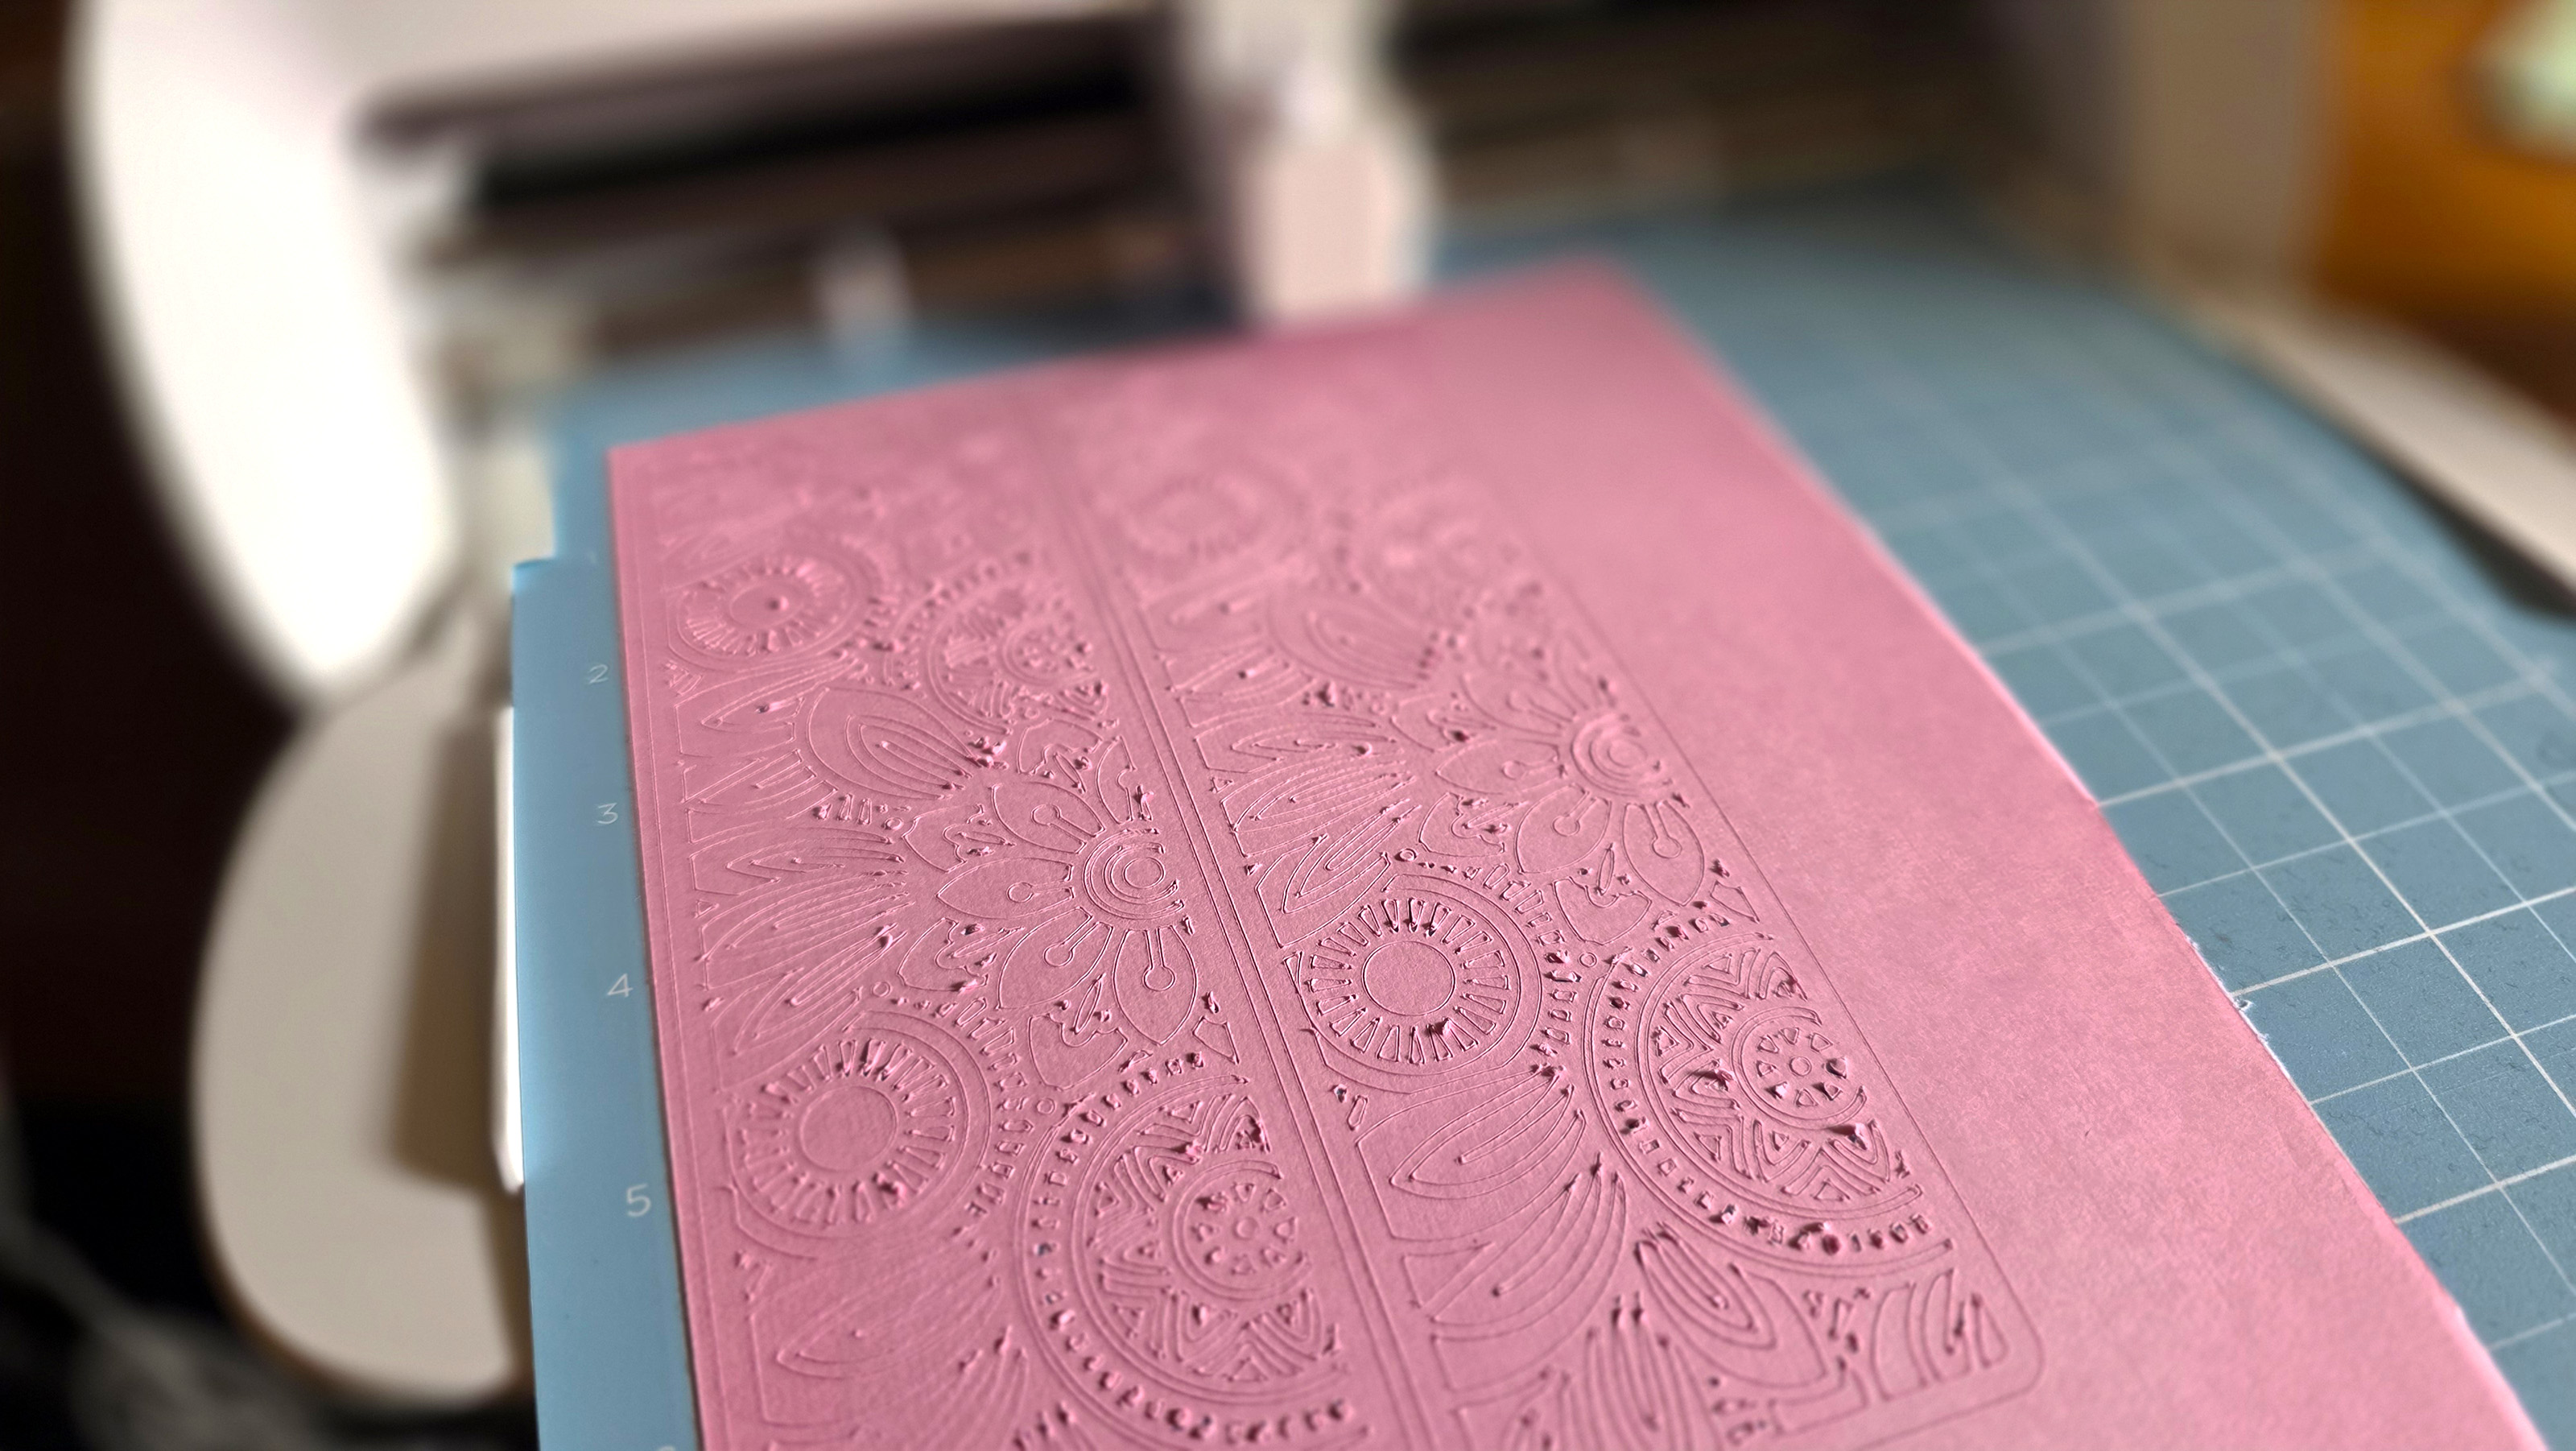
I made a mix of these, and some custom cards that I designed myself using the free fonts that come included with any Design Space app. But the one that I was most impressed with was the bookmarks pictured below.
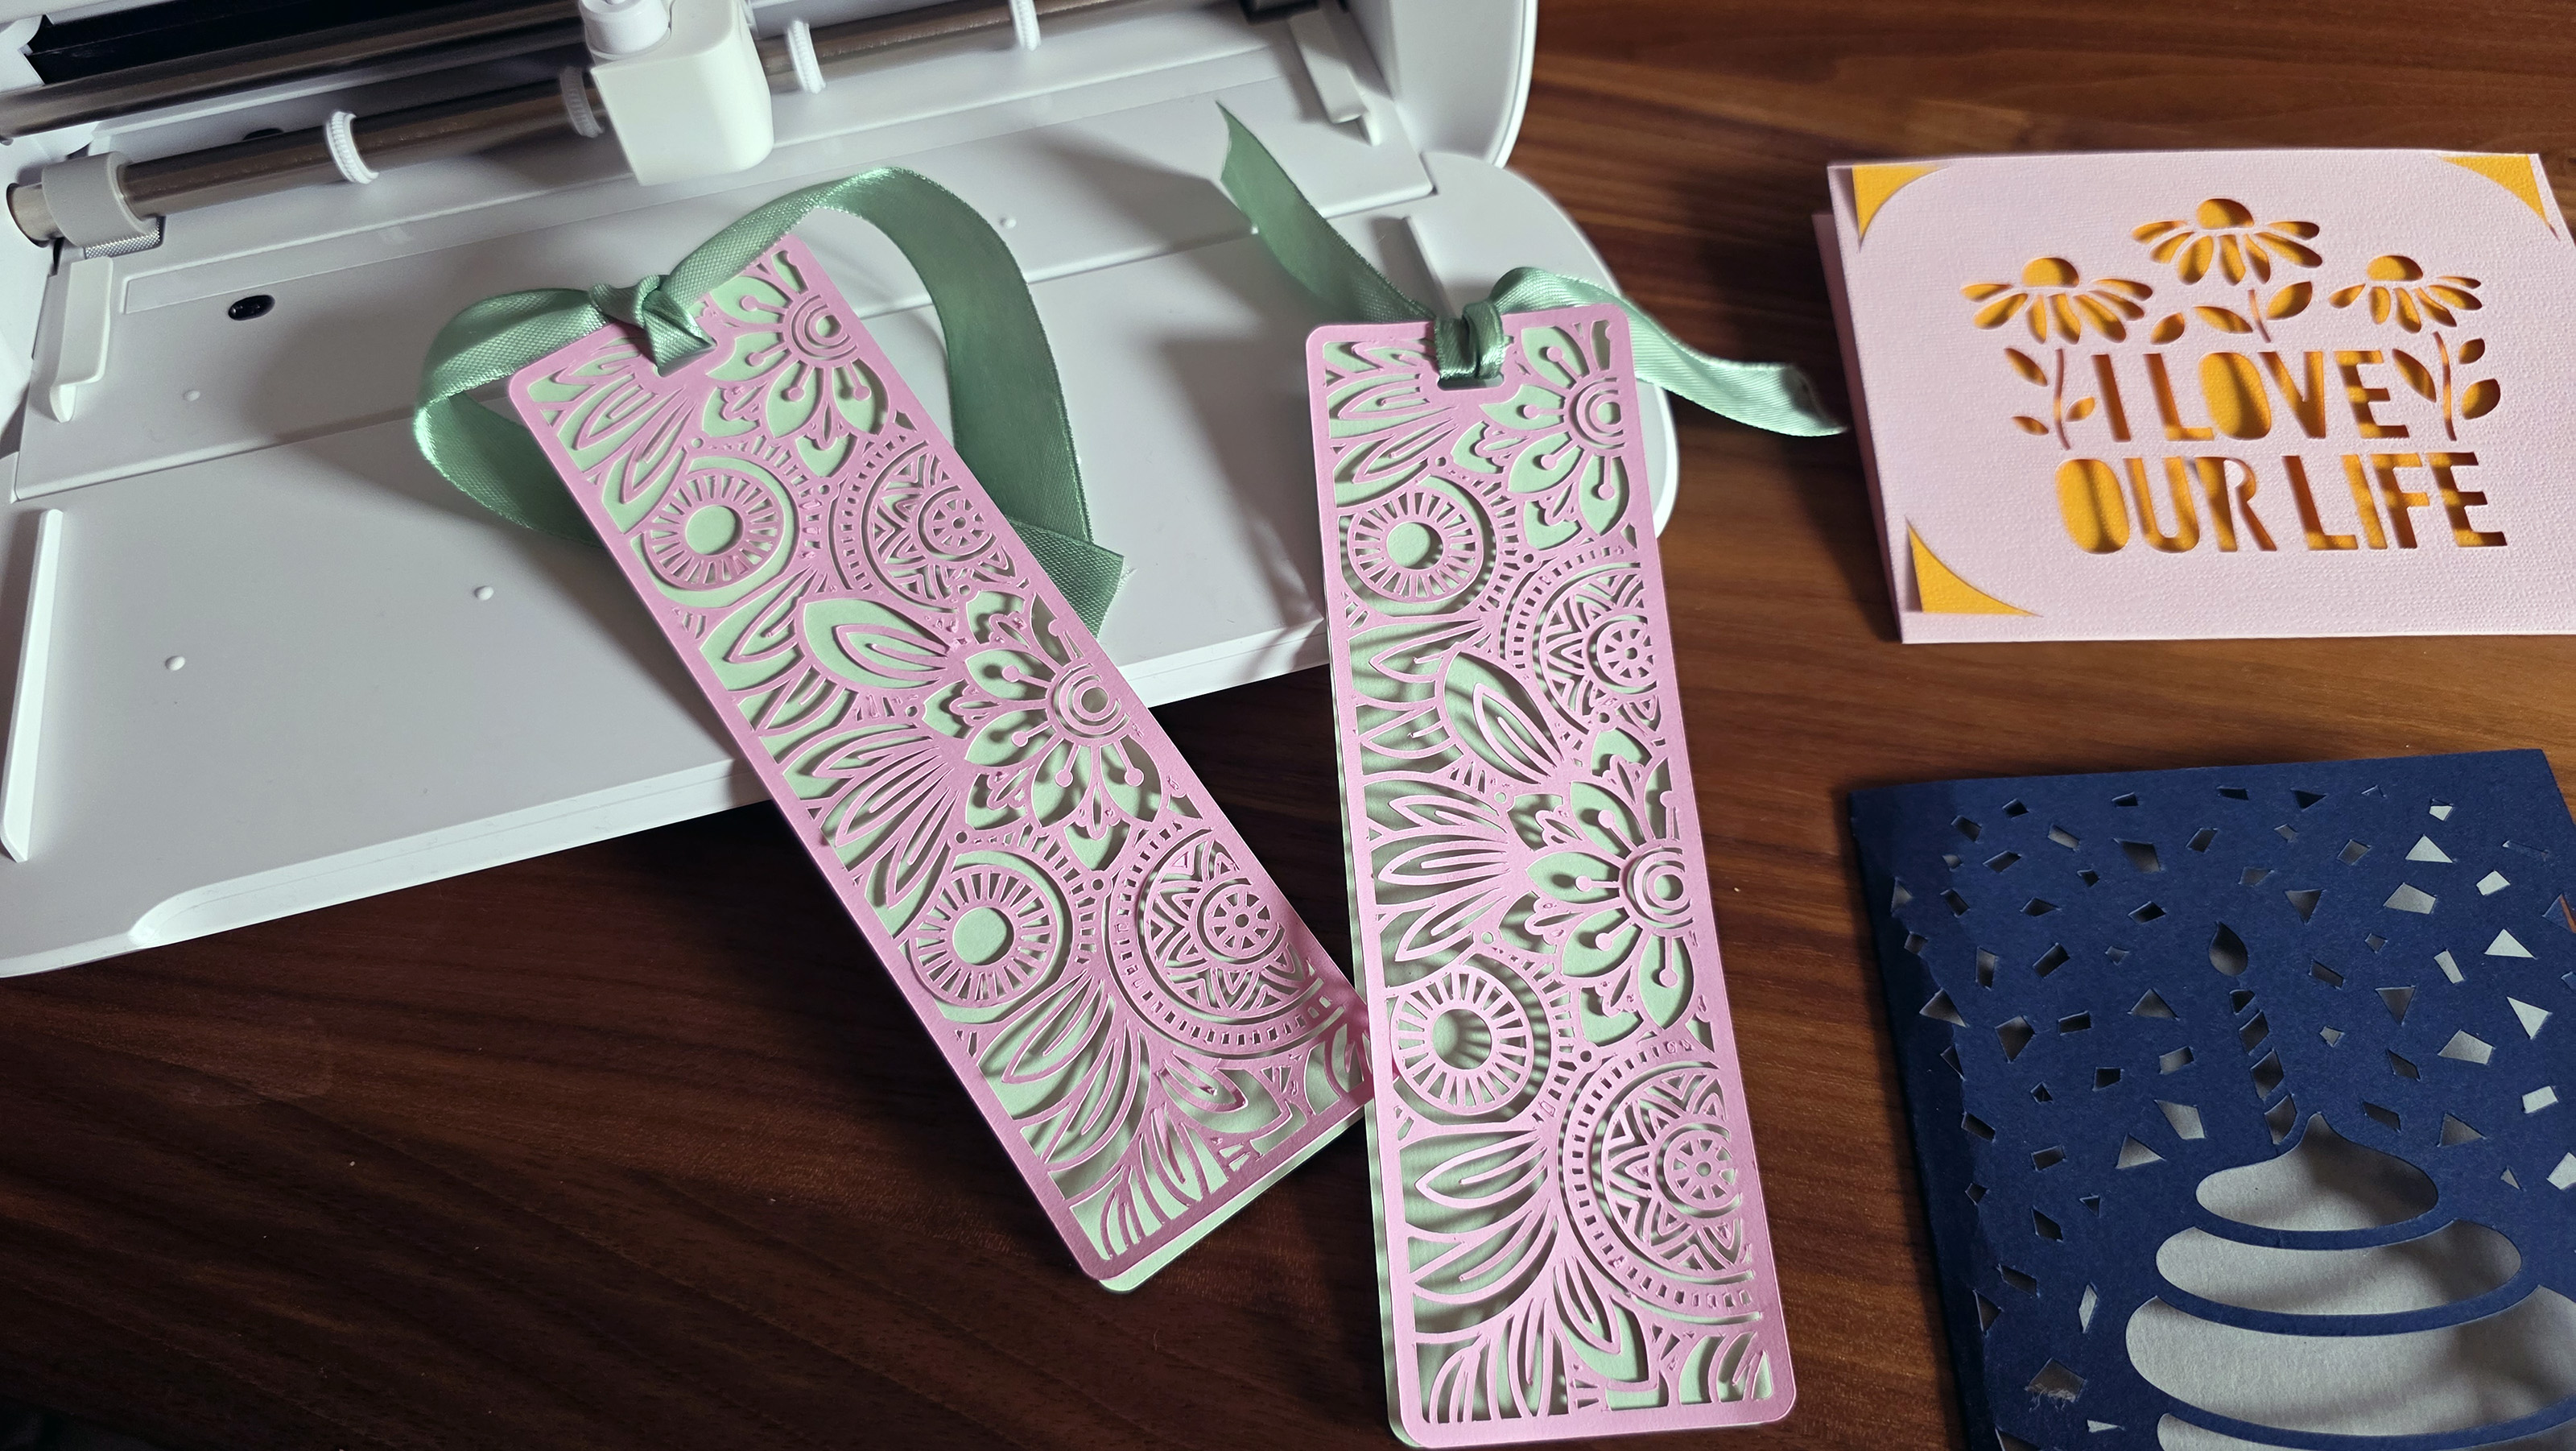
This design was so incredibly complex that it took the machine almost half an hour to cut every little hole, although I did cut both simultaneously. For one of Cricut’s smaller and cheaper machines, the Joy Xtra is insanely precise and capable of a huge amount of very fine detail. However, it’s slower than other Cricut machines, cutting 5.6 inches per second as opposed to the 14.1 inches per second you’ll get with the Maker 4 and Explore 4. so if I wanted to cut out a bookmark for all my wedding guests, I could be waiting a while.
Heat-transferring vinyl on a t-shirt
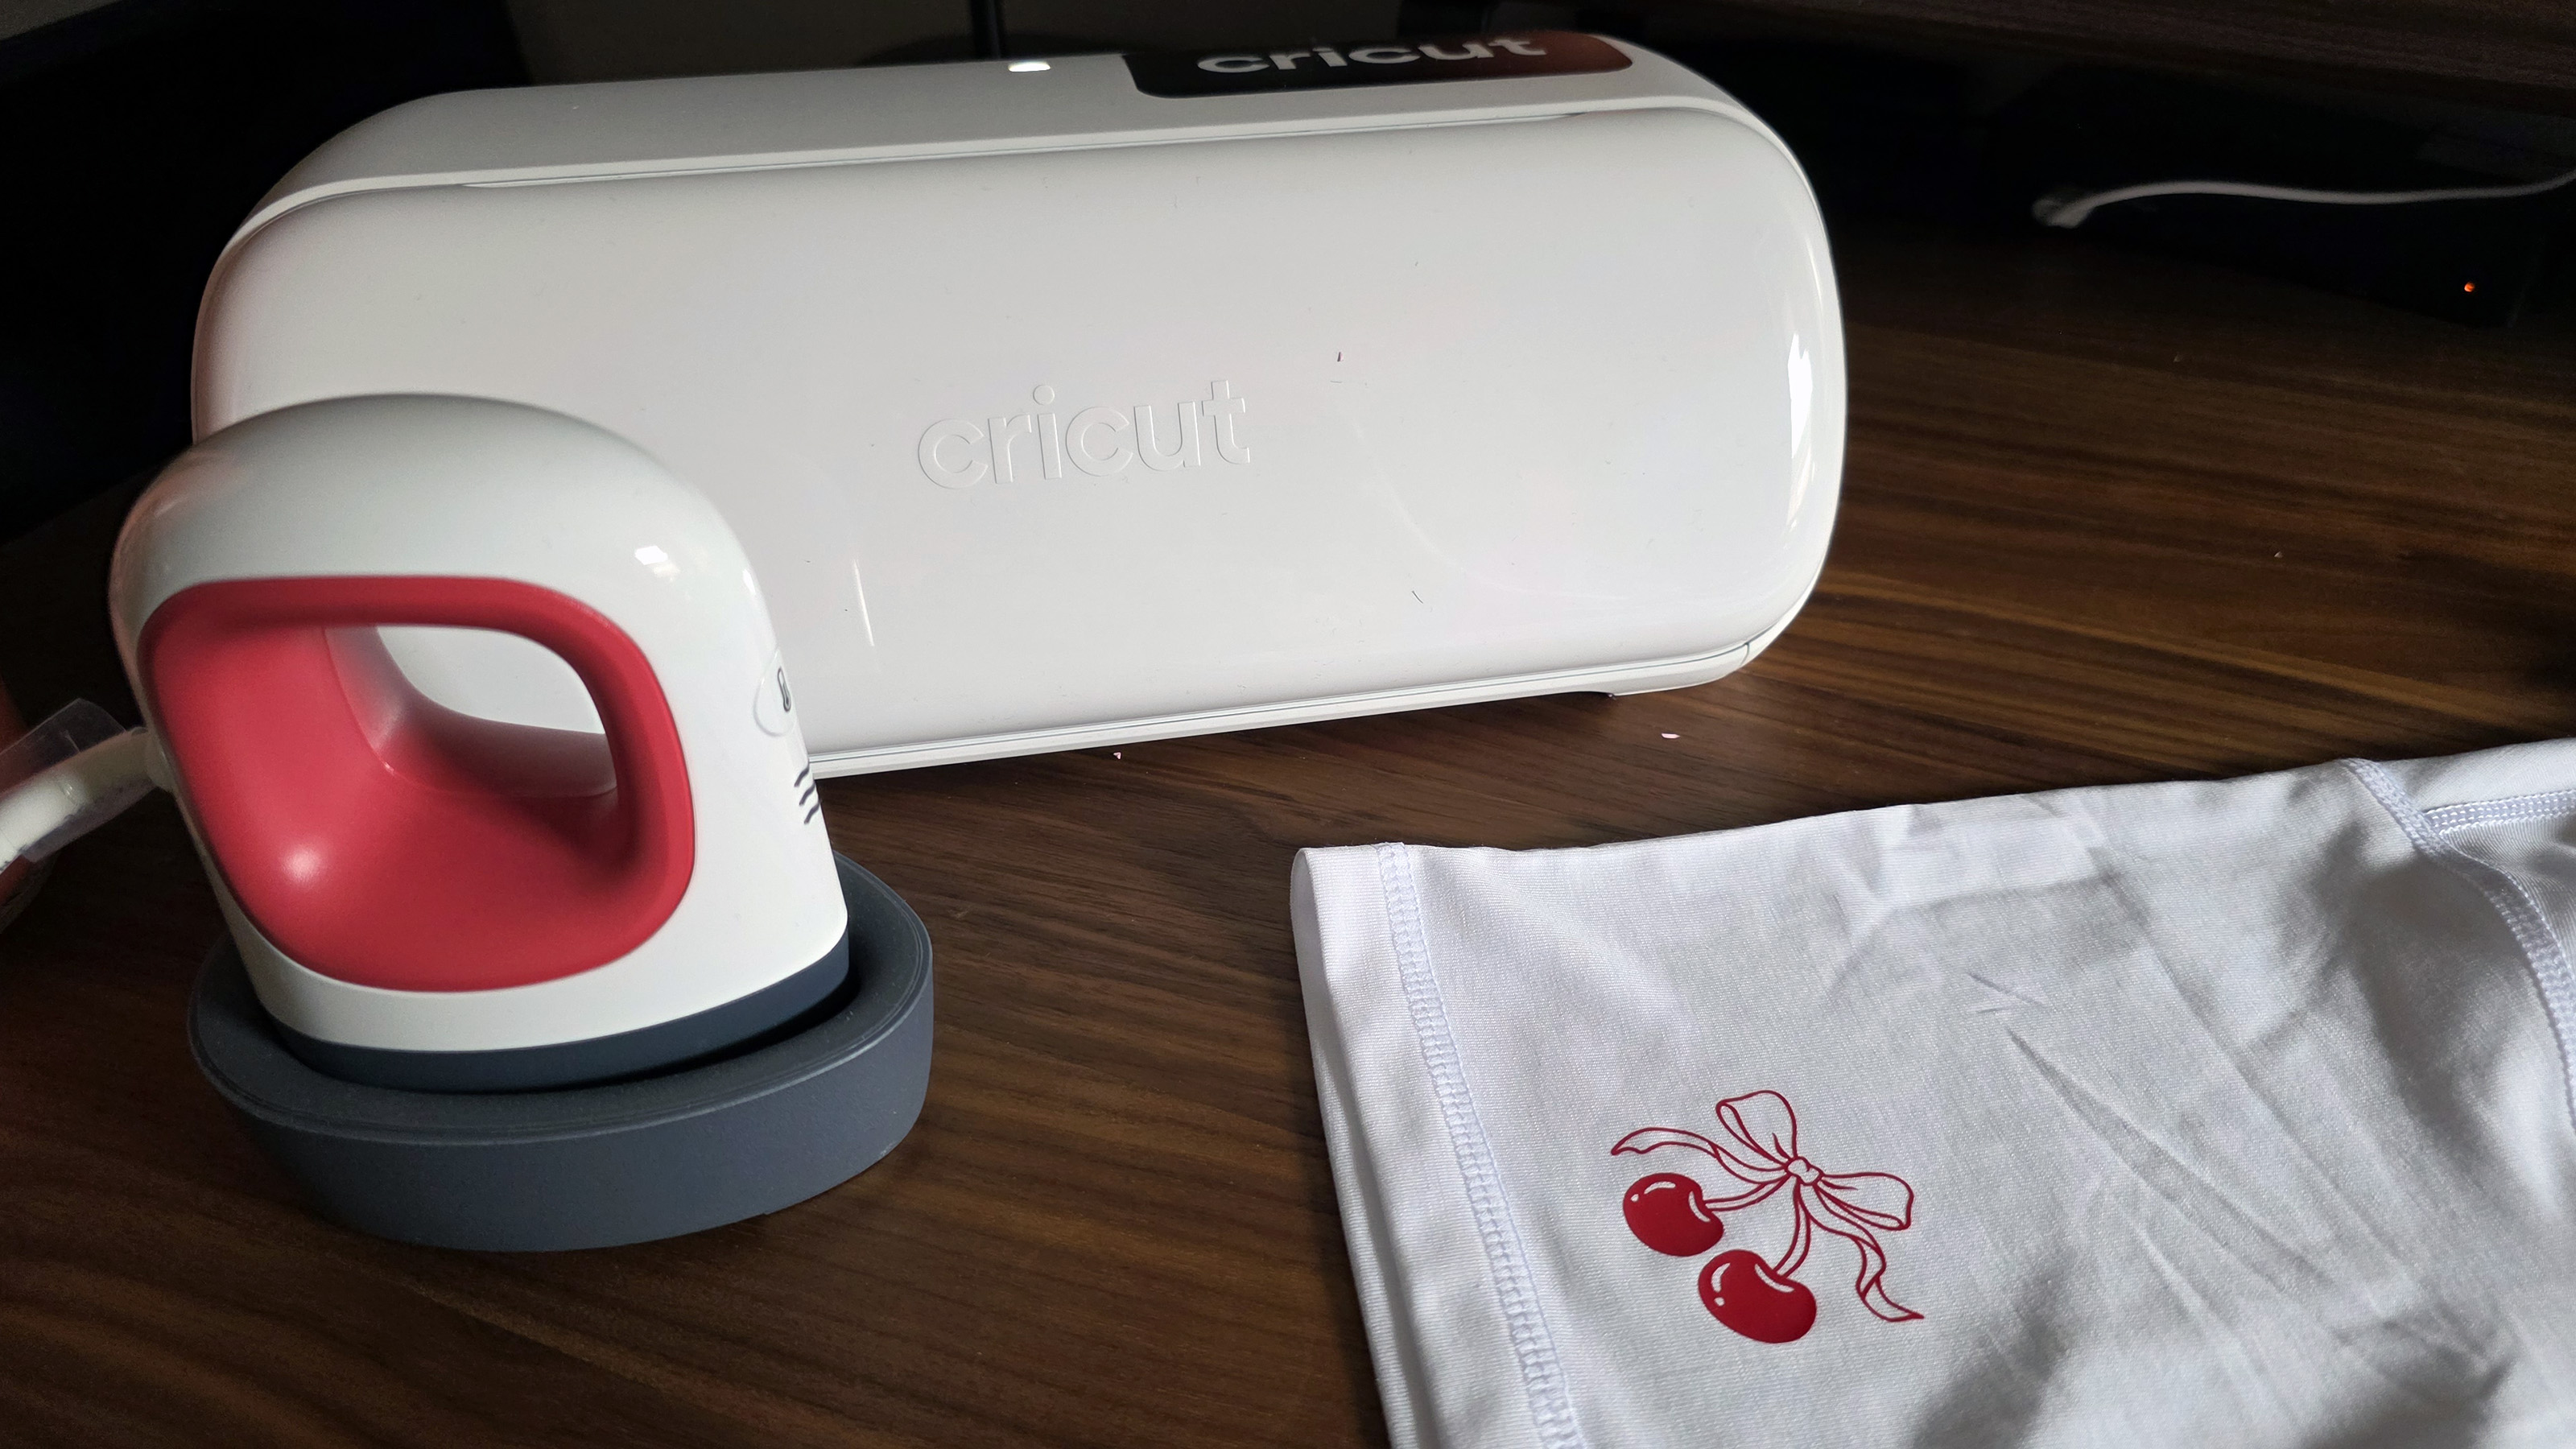

With the cards, I needed to use a card mat to feed my materials into the Cricut, but I used Cricut’s Smart Vinyl to cut out an iron-on cherry decal for one of my shirts. To do this I simply cut out the size I needed from my colored vinyl and fed it straight into the Xtra. It took a couple of minutes to cut out a small cherry decal, and I used a weeder tool (one of those non-negotiable tools you’ll need to buy alongside your machine) to pick out the inside of the bow cutout.
From there, I used Cricut’s own mini iron tool to adhere it to my shirt, which took around 30 seconds of light pressure. I had no issues peeling the cherry backing away, and it looked pristine and ready to wear straight away. Ideal for creating personalized shirts for group trips, or adding logos to plain items. Just remember to mirror your template before you feed it into the machine before cutting when using text!
Adding a personalized sticker to my water bottle
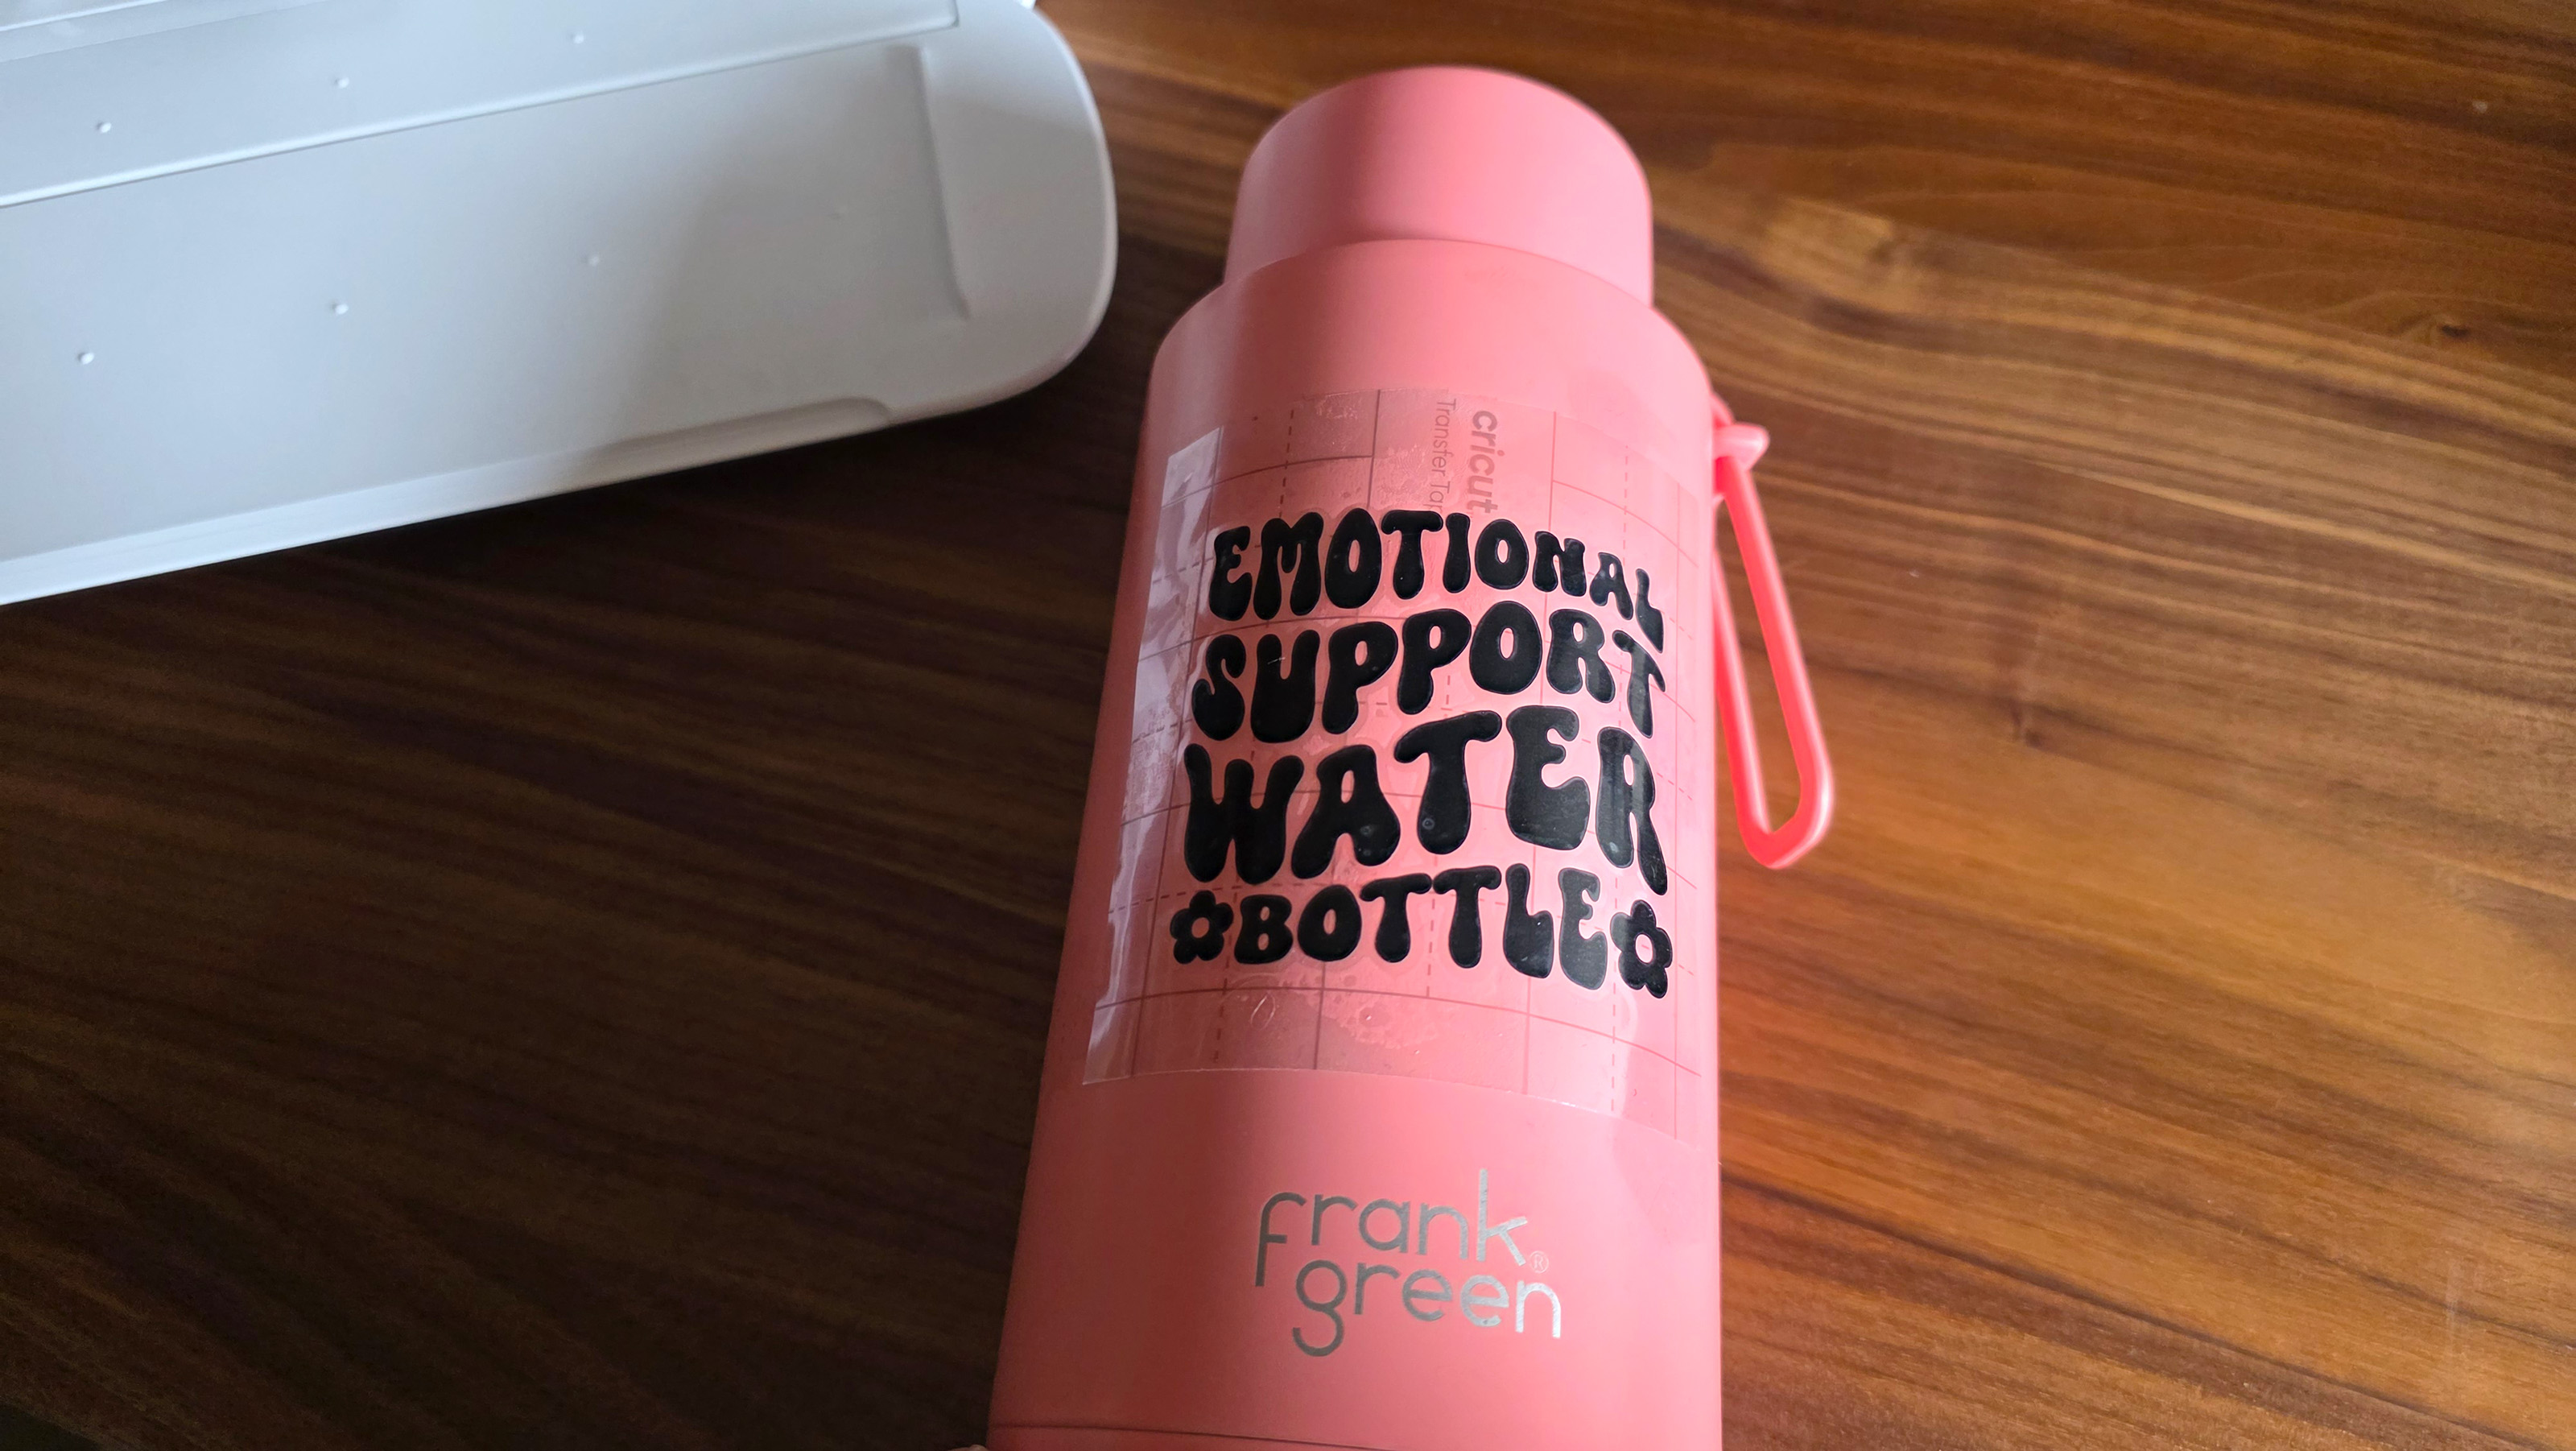
I used permanent vinyl to add a sticker to my favorite water bottle, which sits by my desk most days! I opted for a pre-designed sticker that says ’emotional support water bottle’ and fed this on Smart Vinyl into the Xtra.
Again, cutting this only took a few minutes and then I was able to use my picker tool to get rid of the spare vinyl from around my lettering. From there, I needed to add my sticker to transfer tape, which required quite a firm hand using the scraper tool to ensure every piece adhered to the tape, and then I was able to stick this onto the side of the bottle.
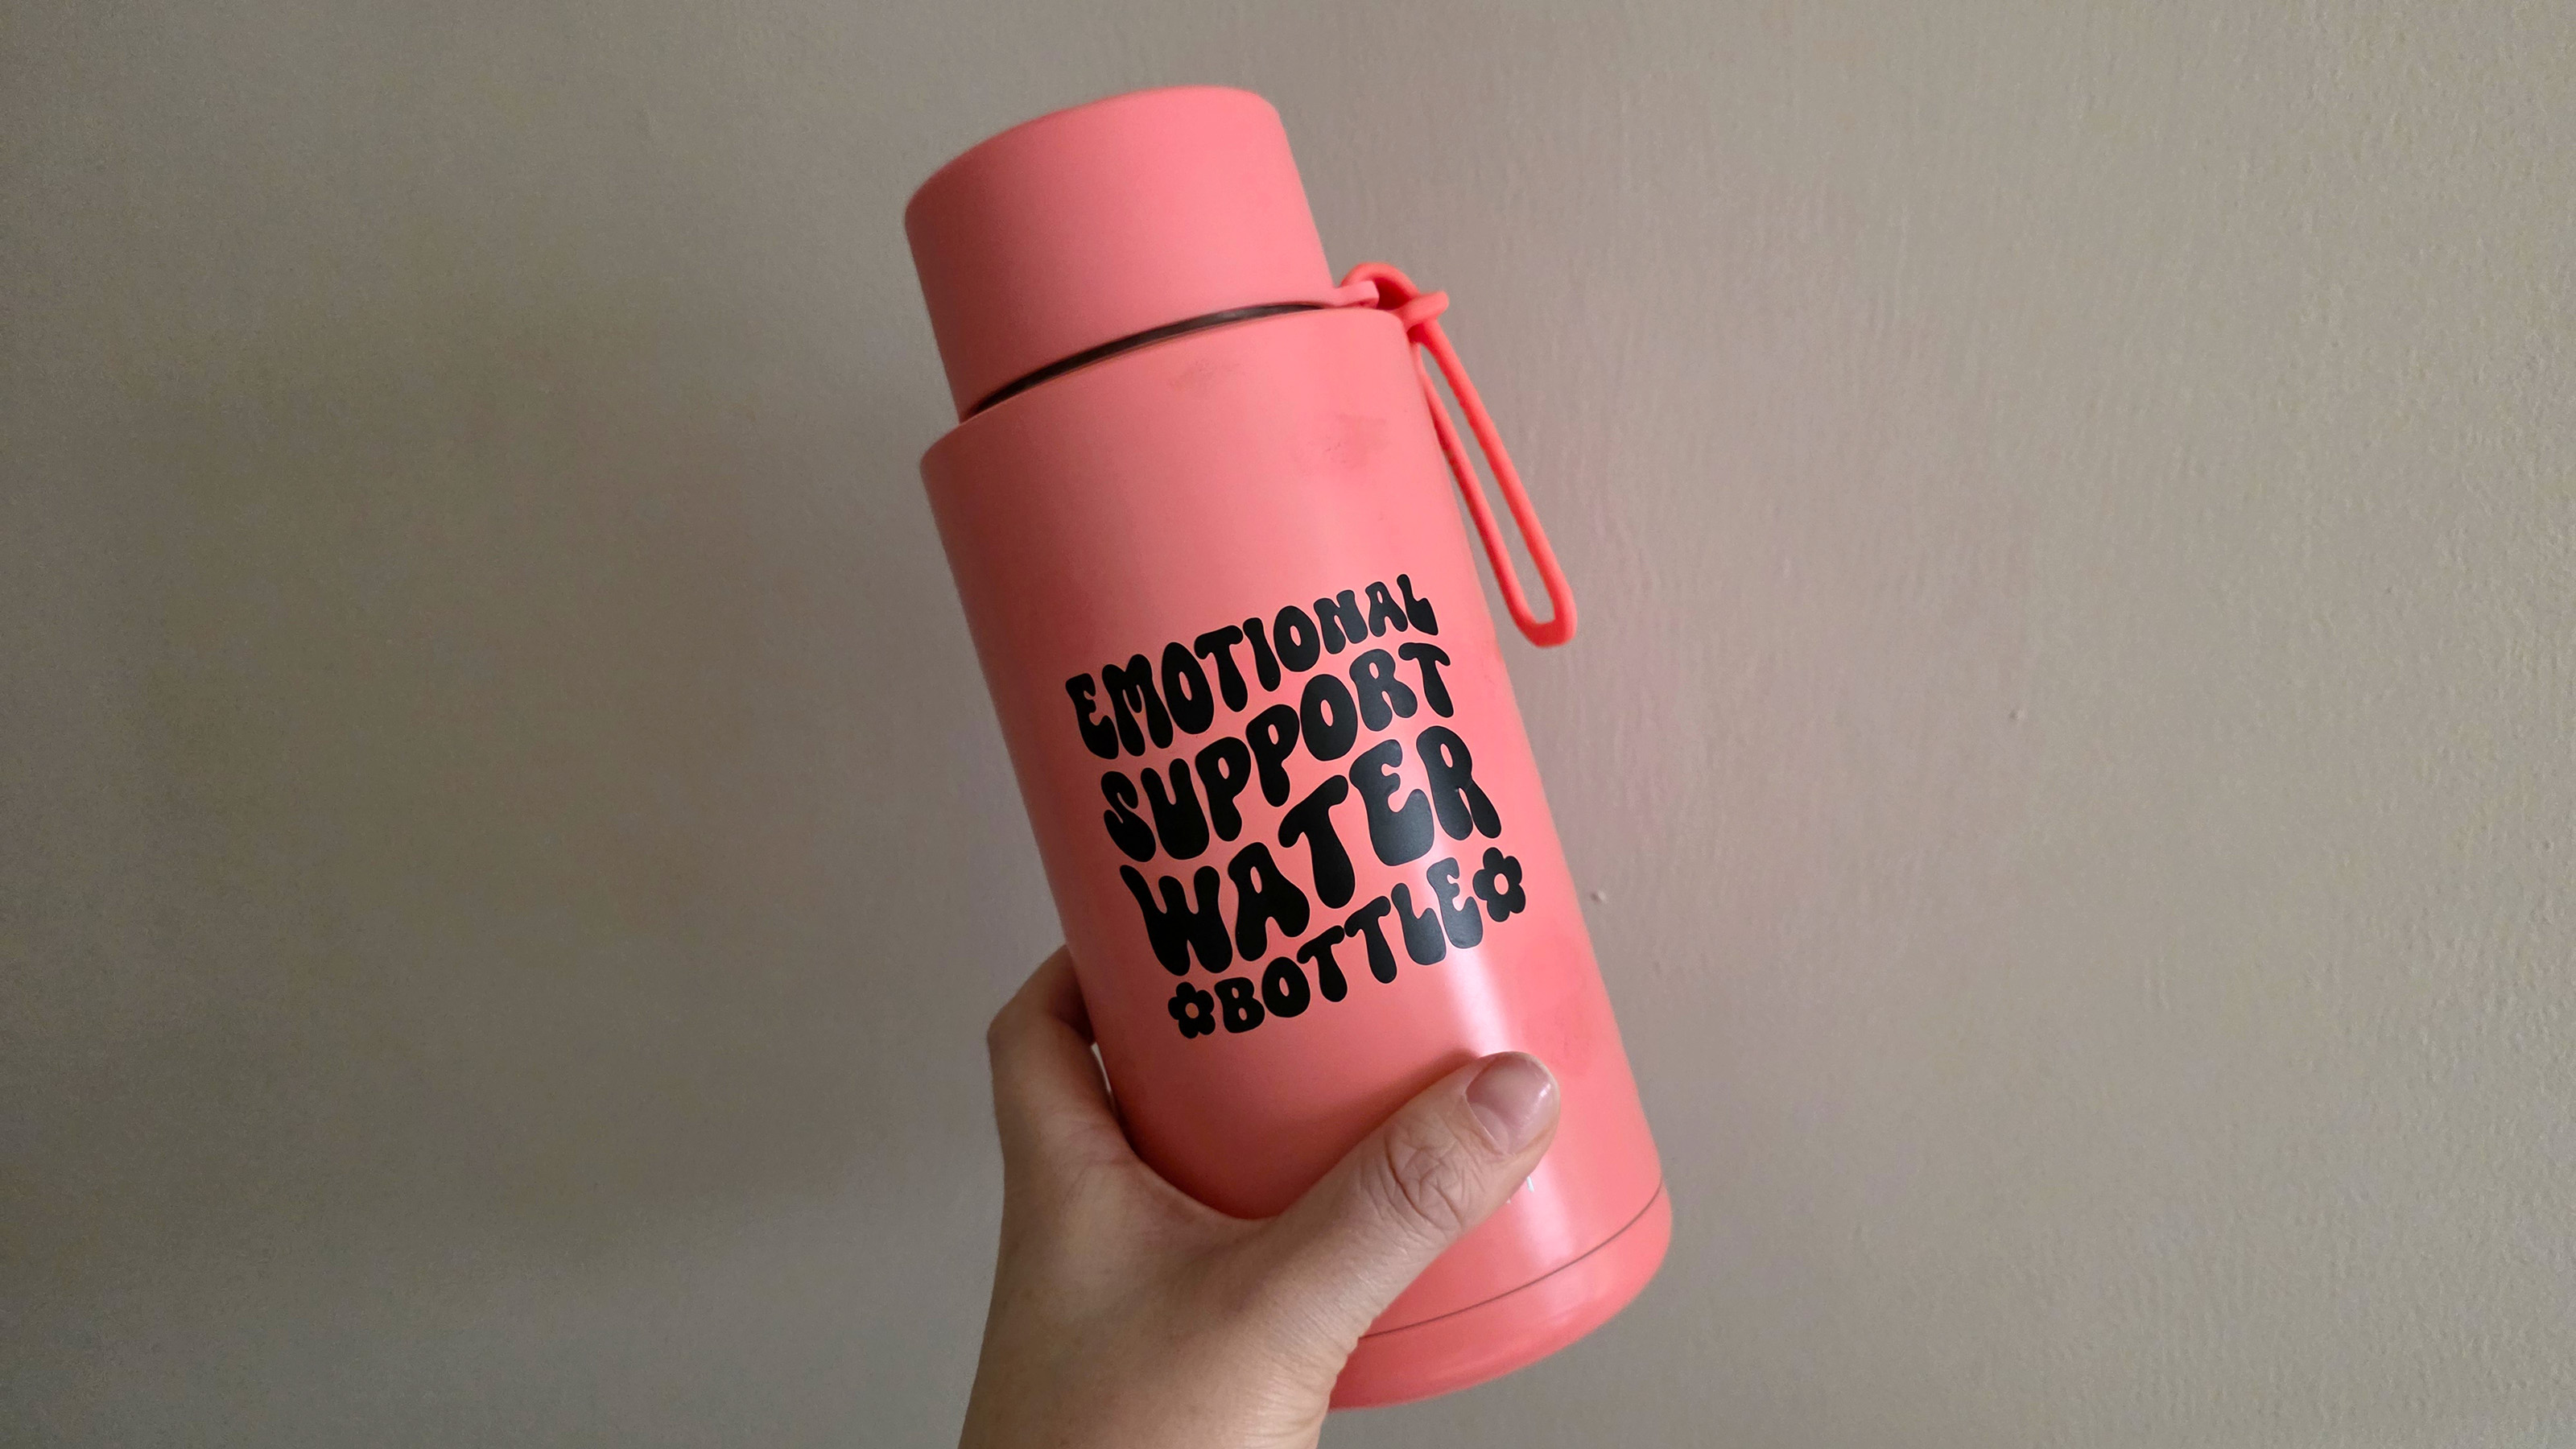
I used the scraper tool once more to ensure every letter was pressed down, and a few needed me to go over once more with a gentle hand as I peeled the sticker away, but I was very happy with the result.
Cricut Joy Xtra: Comparison
Prior to the release of the Joy Xtra, there was a wide gulf between the petite Cricut Joy and the brand’s range of expert machines, which cut much wider and longer materials, but also take up a lot more space.
For people like me, who want to dabble in crafting and hopefully level-up as I learn, there’s room to grow with the Joy Xtra that you won’t find with the Joy.
With that being said, there are a few things you could find lacking from the Joy Xtra. It’s not got a ‘Load’ or ‘Go’ button, meaning you’re dependent on the Design Space software for just about every part of the crafting process. It also only has one tool clamp, meaning you will have to switch mid-craft if you want to draw and cut in one project. There’s also no scoring stylus compatibility, which is one of Cricut’s more popular features.
|
Feature |
Cricut Joy |
Cricut Joy Xtra |
Cricut Explore 3 |
|---|---|---|---|
|
Max Cut Width |
4.5 inches |
8.5 inches |
11.7 inches |
|
Print Then Cut |
No |
Yes |
Yes |
|
Materials |
50+ |
50+ |
100+ |
|
Connectivity |
Bluetooth |
Bluetooth |
Bluetooth & USB |
|
Best For |
Labels & Quick Cards |
Stickers & Small DIY |
Large Decals & Iron-ons |
Cricut Joy Xtra: Verdict
For the vast majority of crafters. the Cricut Joy Xtra is the machine you want. It’s got that perfect balance between functionality and user-friendly specs which will make it less intimidating to first-time users, and it’s a worthy upgrade from the Joy.
I was incredibly impressed by its precision and detail, and plan on using it a lot more to make everything from bachelorette accessories to wedding namecards! Just be warned, if you’re someone who wants to go all-in on Cricut machines, you may feel restricted by its narrower cutting dimensions, and its slower cutting speed isn’t ideal for small business owners.
Source link