
Apple’s Check In safety feature first arrived on iPhone in 2023 with the launch of iOS 17. Apple later added it to the Apple Watch via 2024’s watchOS 11. Now, with 2025’s release of watchOS 26, Apple’s best hidden safety feature is better and easier to use than ever.
Check Ins can automatically keep loved ones apprised of your whereabouts, with notifications when you depart or arrive at a location. This is a safety tool I use often, and perfect for folks who enjoy late-night walks or runs and/or those who simply enjoy venturing out solo.
How to use Check In on your Apple Watch in watchOS 26
- Install watchOS 26
- Open your Smart Stack and scroll down to edit the widgets
- Select the Check In widget and add it to your Smart Stack
- Return to your Smart Stack and tap the Check In widget
- Choose your recipient via dictation, address book, or search
- Choose how you want to Check In: timer, destination, or workout completion
- Edit the send details
- Send your Check In
Read on to see full illustrated instructions for each step.
1. Install watchOS 26

(Image: © Dan Bracaglia/Digitpatrox)
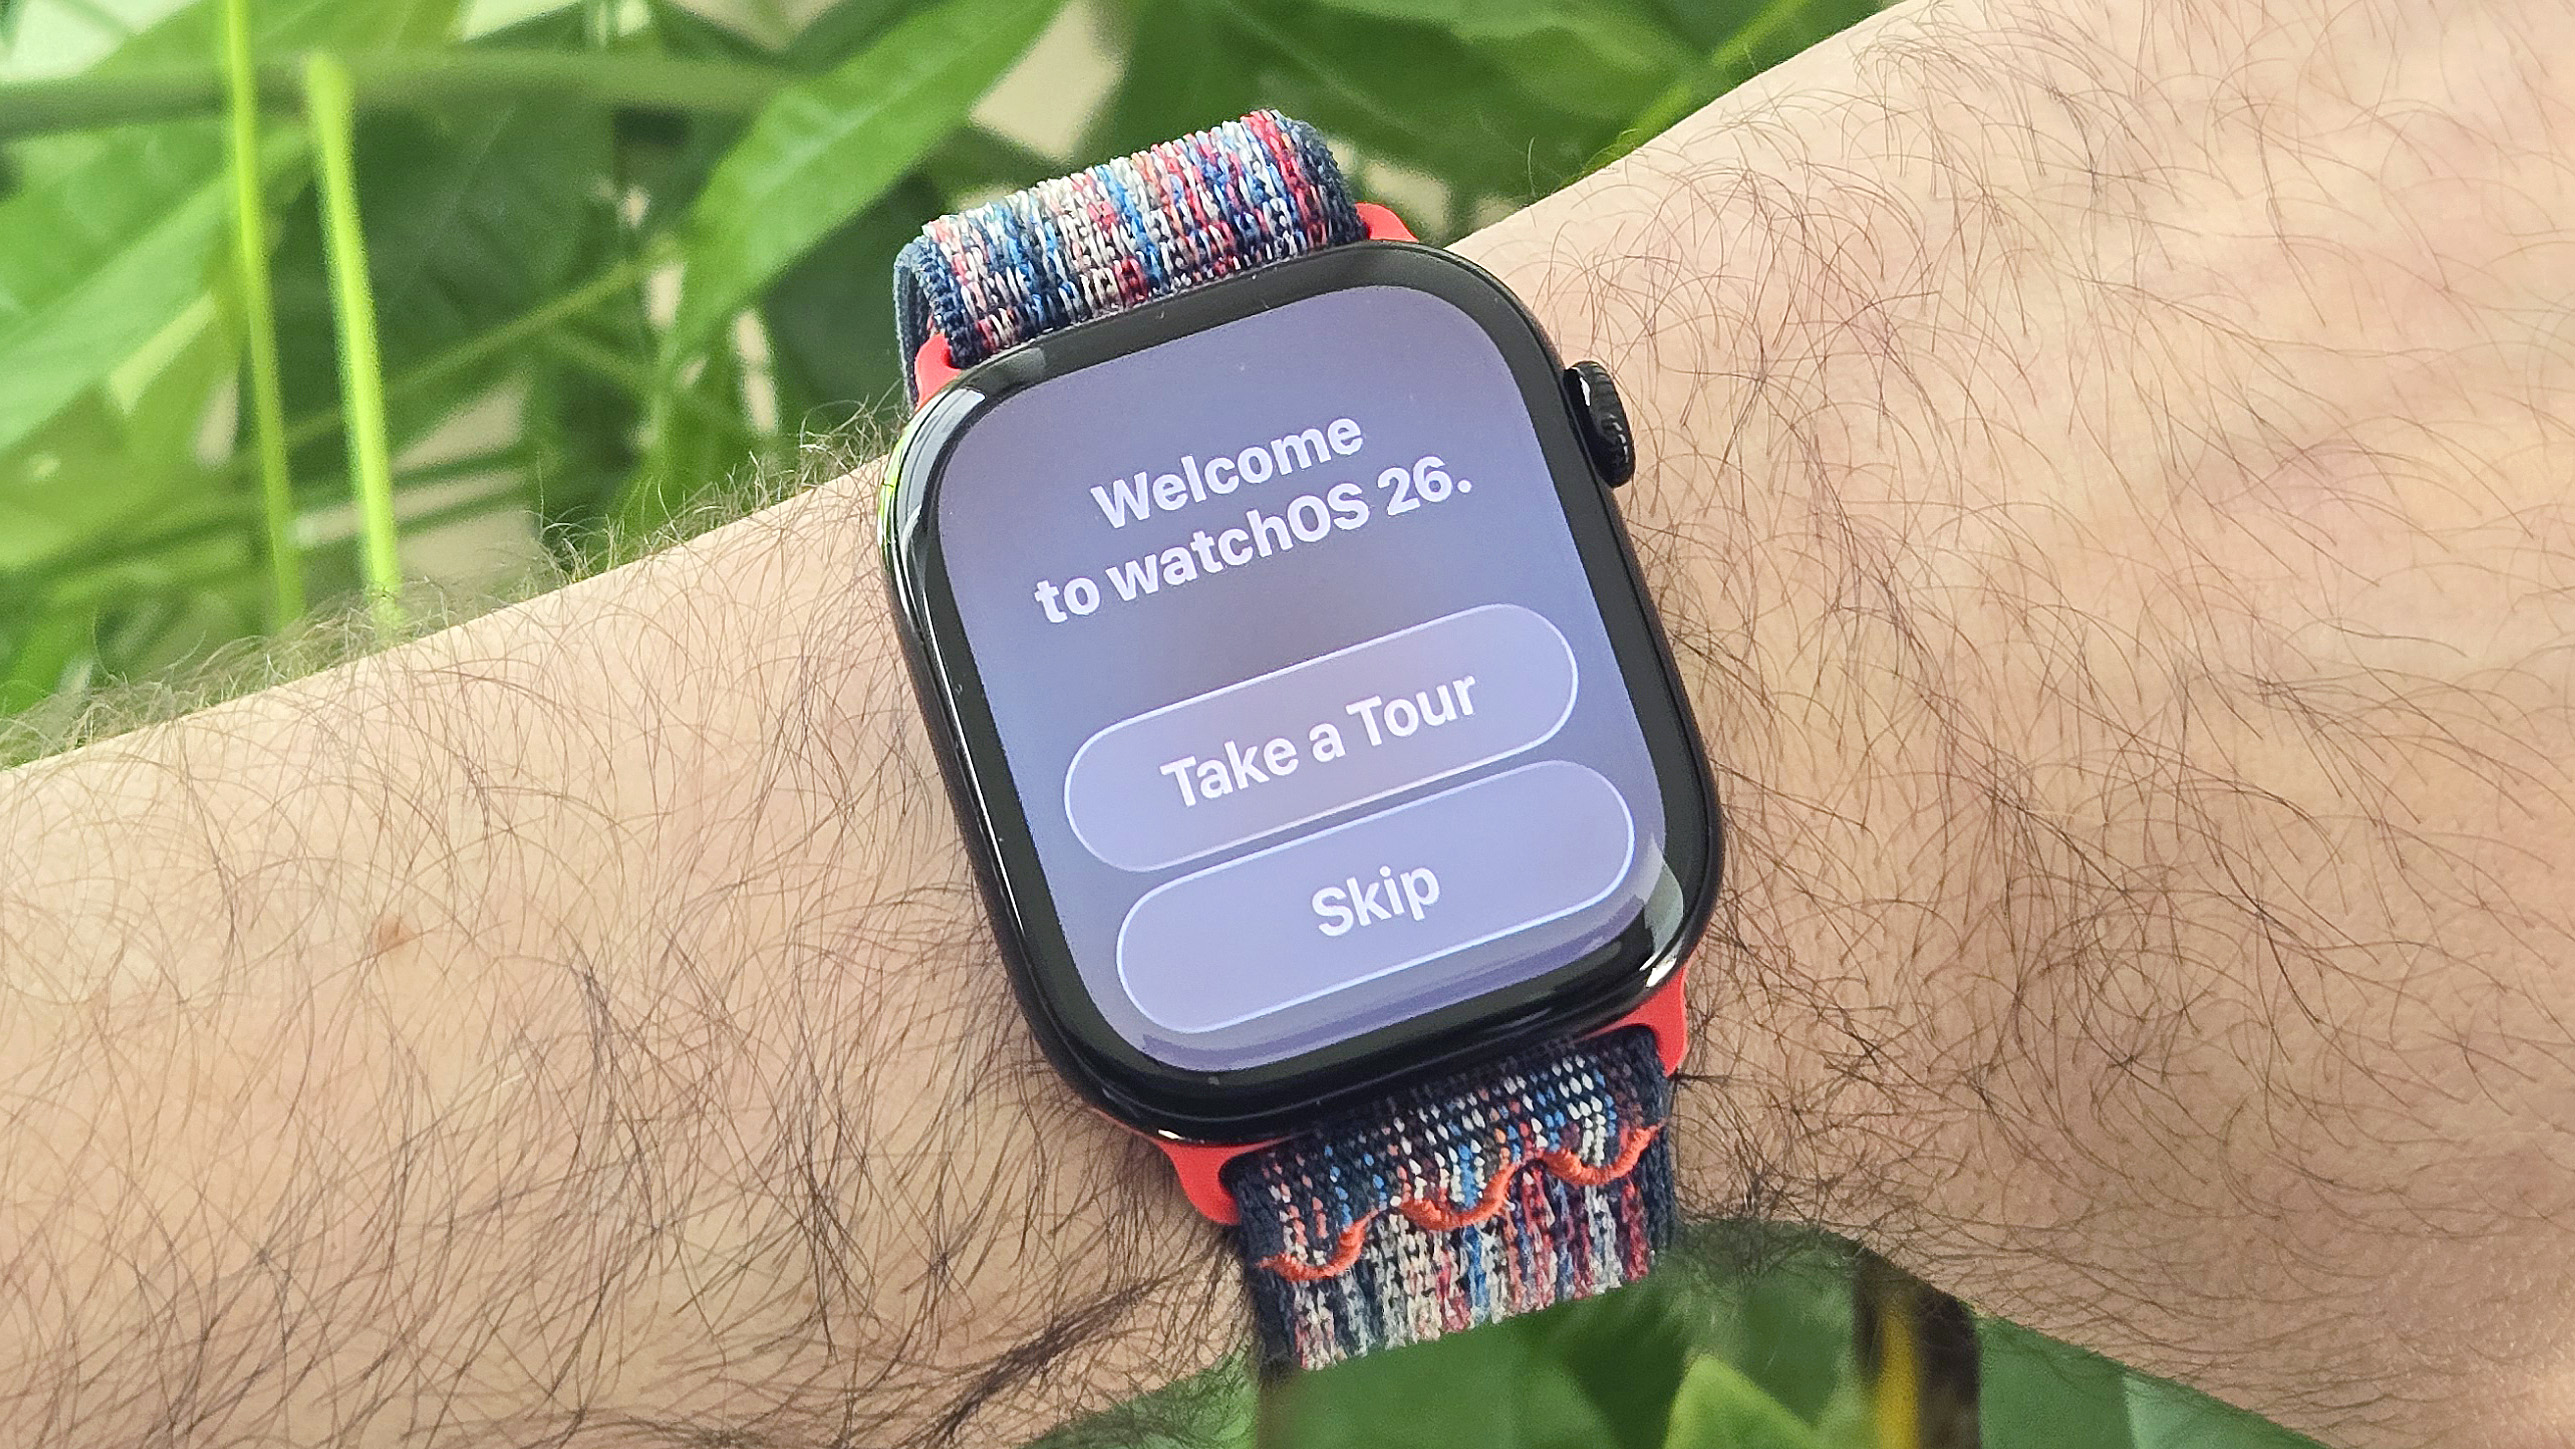
Before trying the Check In feature on your Apple Watch, download and install watchOS 26, Apple’s latest smartwatch operating system. Need help? Here’s a step-by-step explainer on how to install watchOS 26, including a list of eligible models.
2. Open your Smart Stack and scroll down to edit the widgets

(Image: © Dan Bracaglia/Digitpatrox)
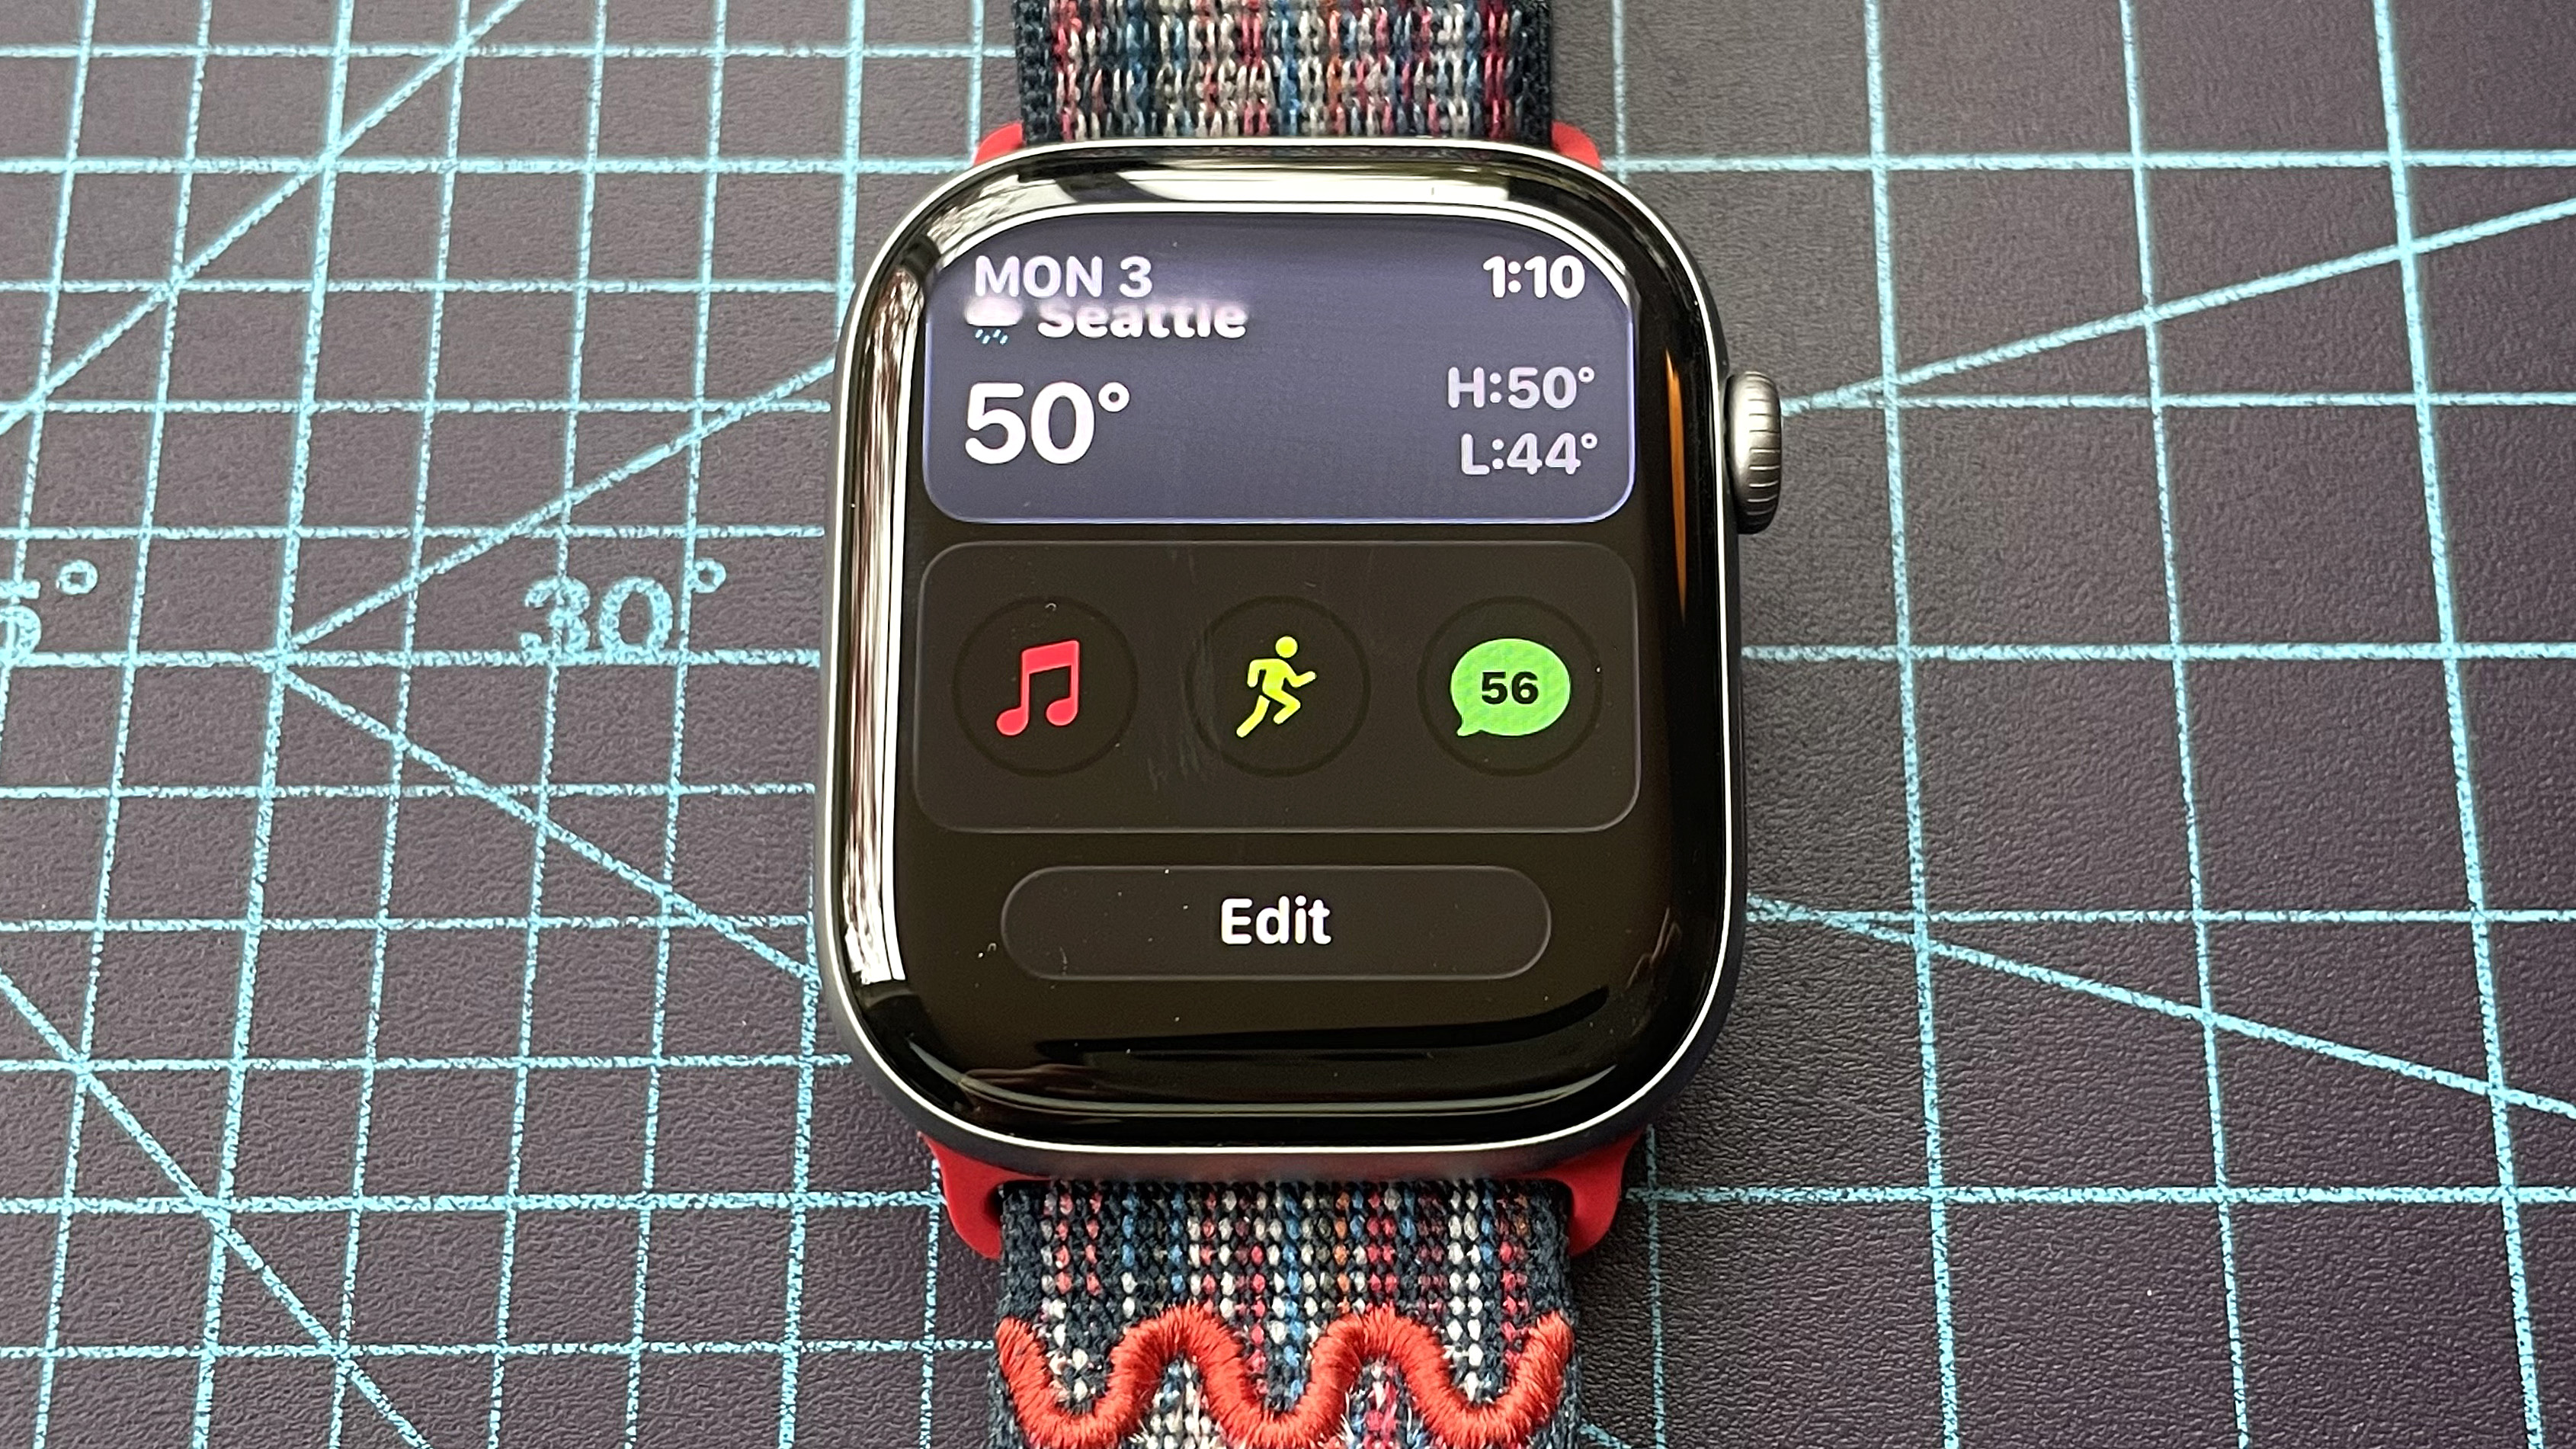
Once you have watchOS 26 up and running, it’s time to add the Check In widget to your Smart Stack. To do this, swipe up from the bottom of the homescreen to open the Smart Stack. Next, scroll to the bottom of the widget list and tap the edit button. Next, tap the plus sign to select new widgets to add.
3. Select the Check In widget and add it to your Smart Stack

(Image: © Dan Bracaglia/Digitpatrox)
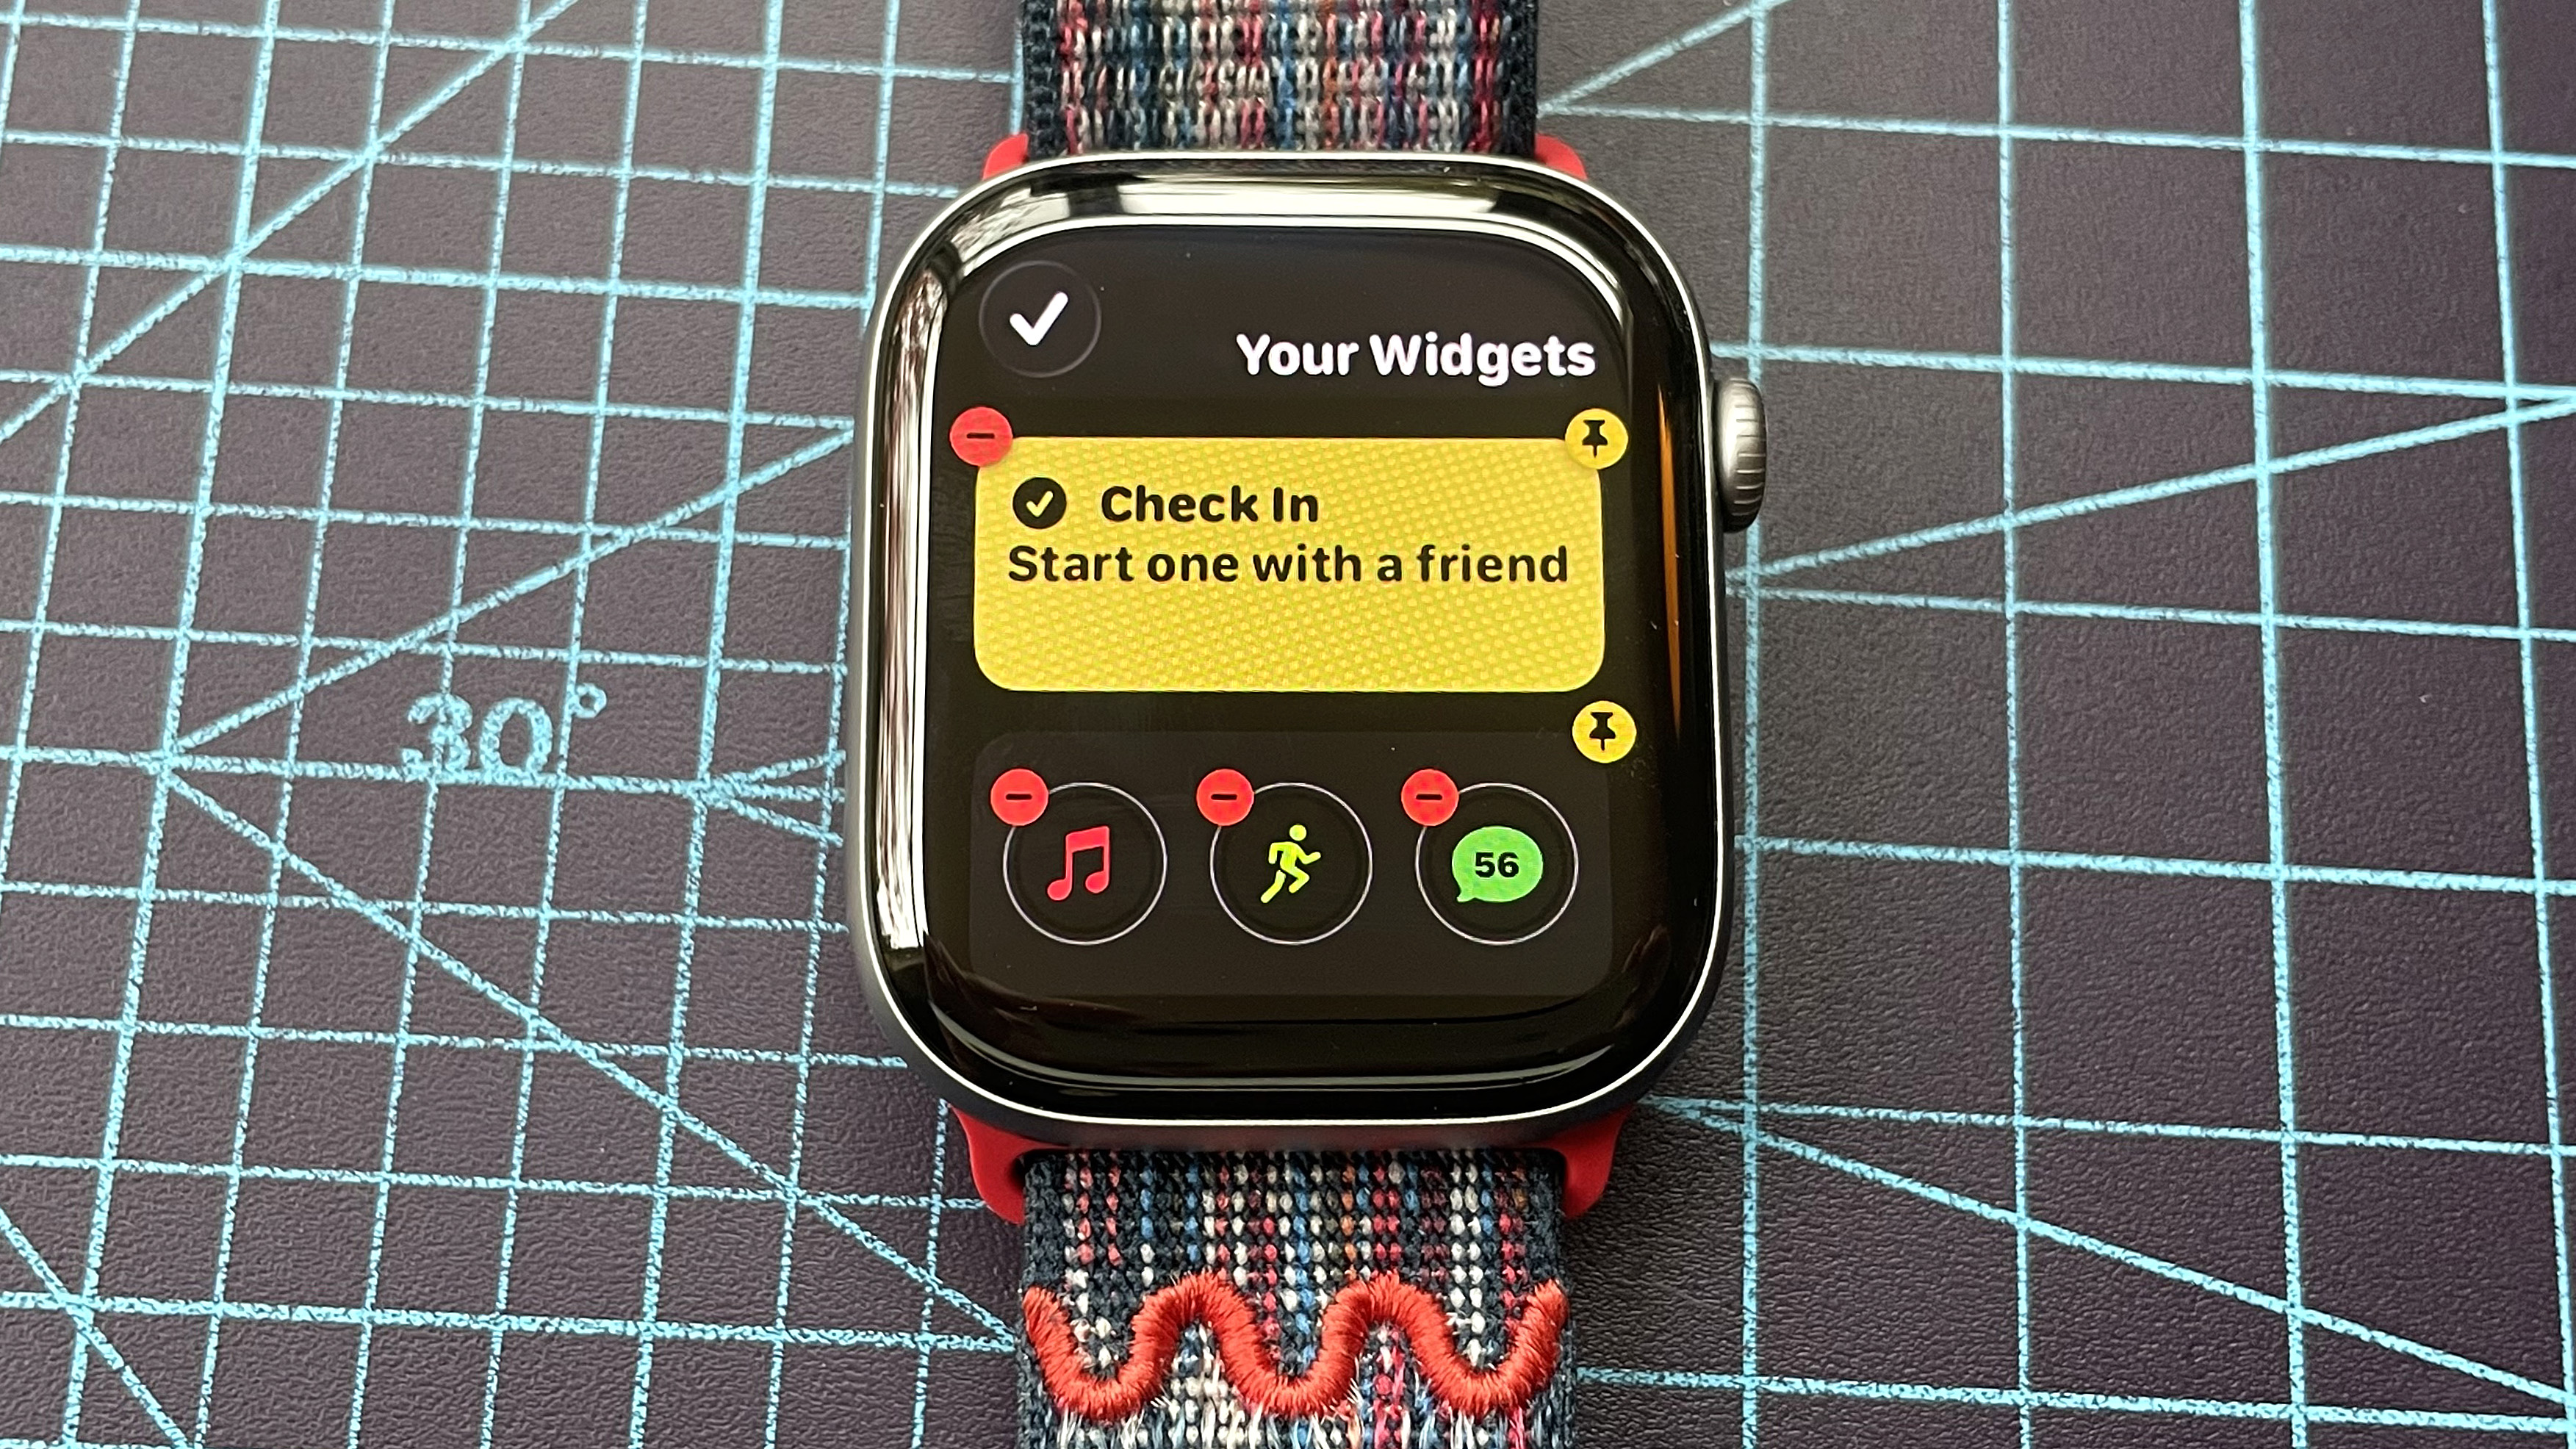
Scroll through the widget list until you see ‘Check In’ and tap it. The next screen will present a preview of what the widget looks like in full. Tap on the widget again to generate a preview of it in your Smart Stack. Then, tap the check mark in the upper left corner to officially add it to your Smart Stack.
4. Return to your Smart Stack and tap the Check In widget
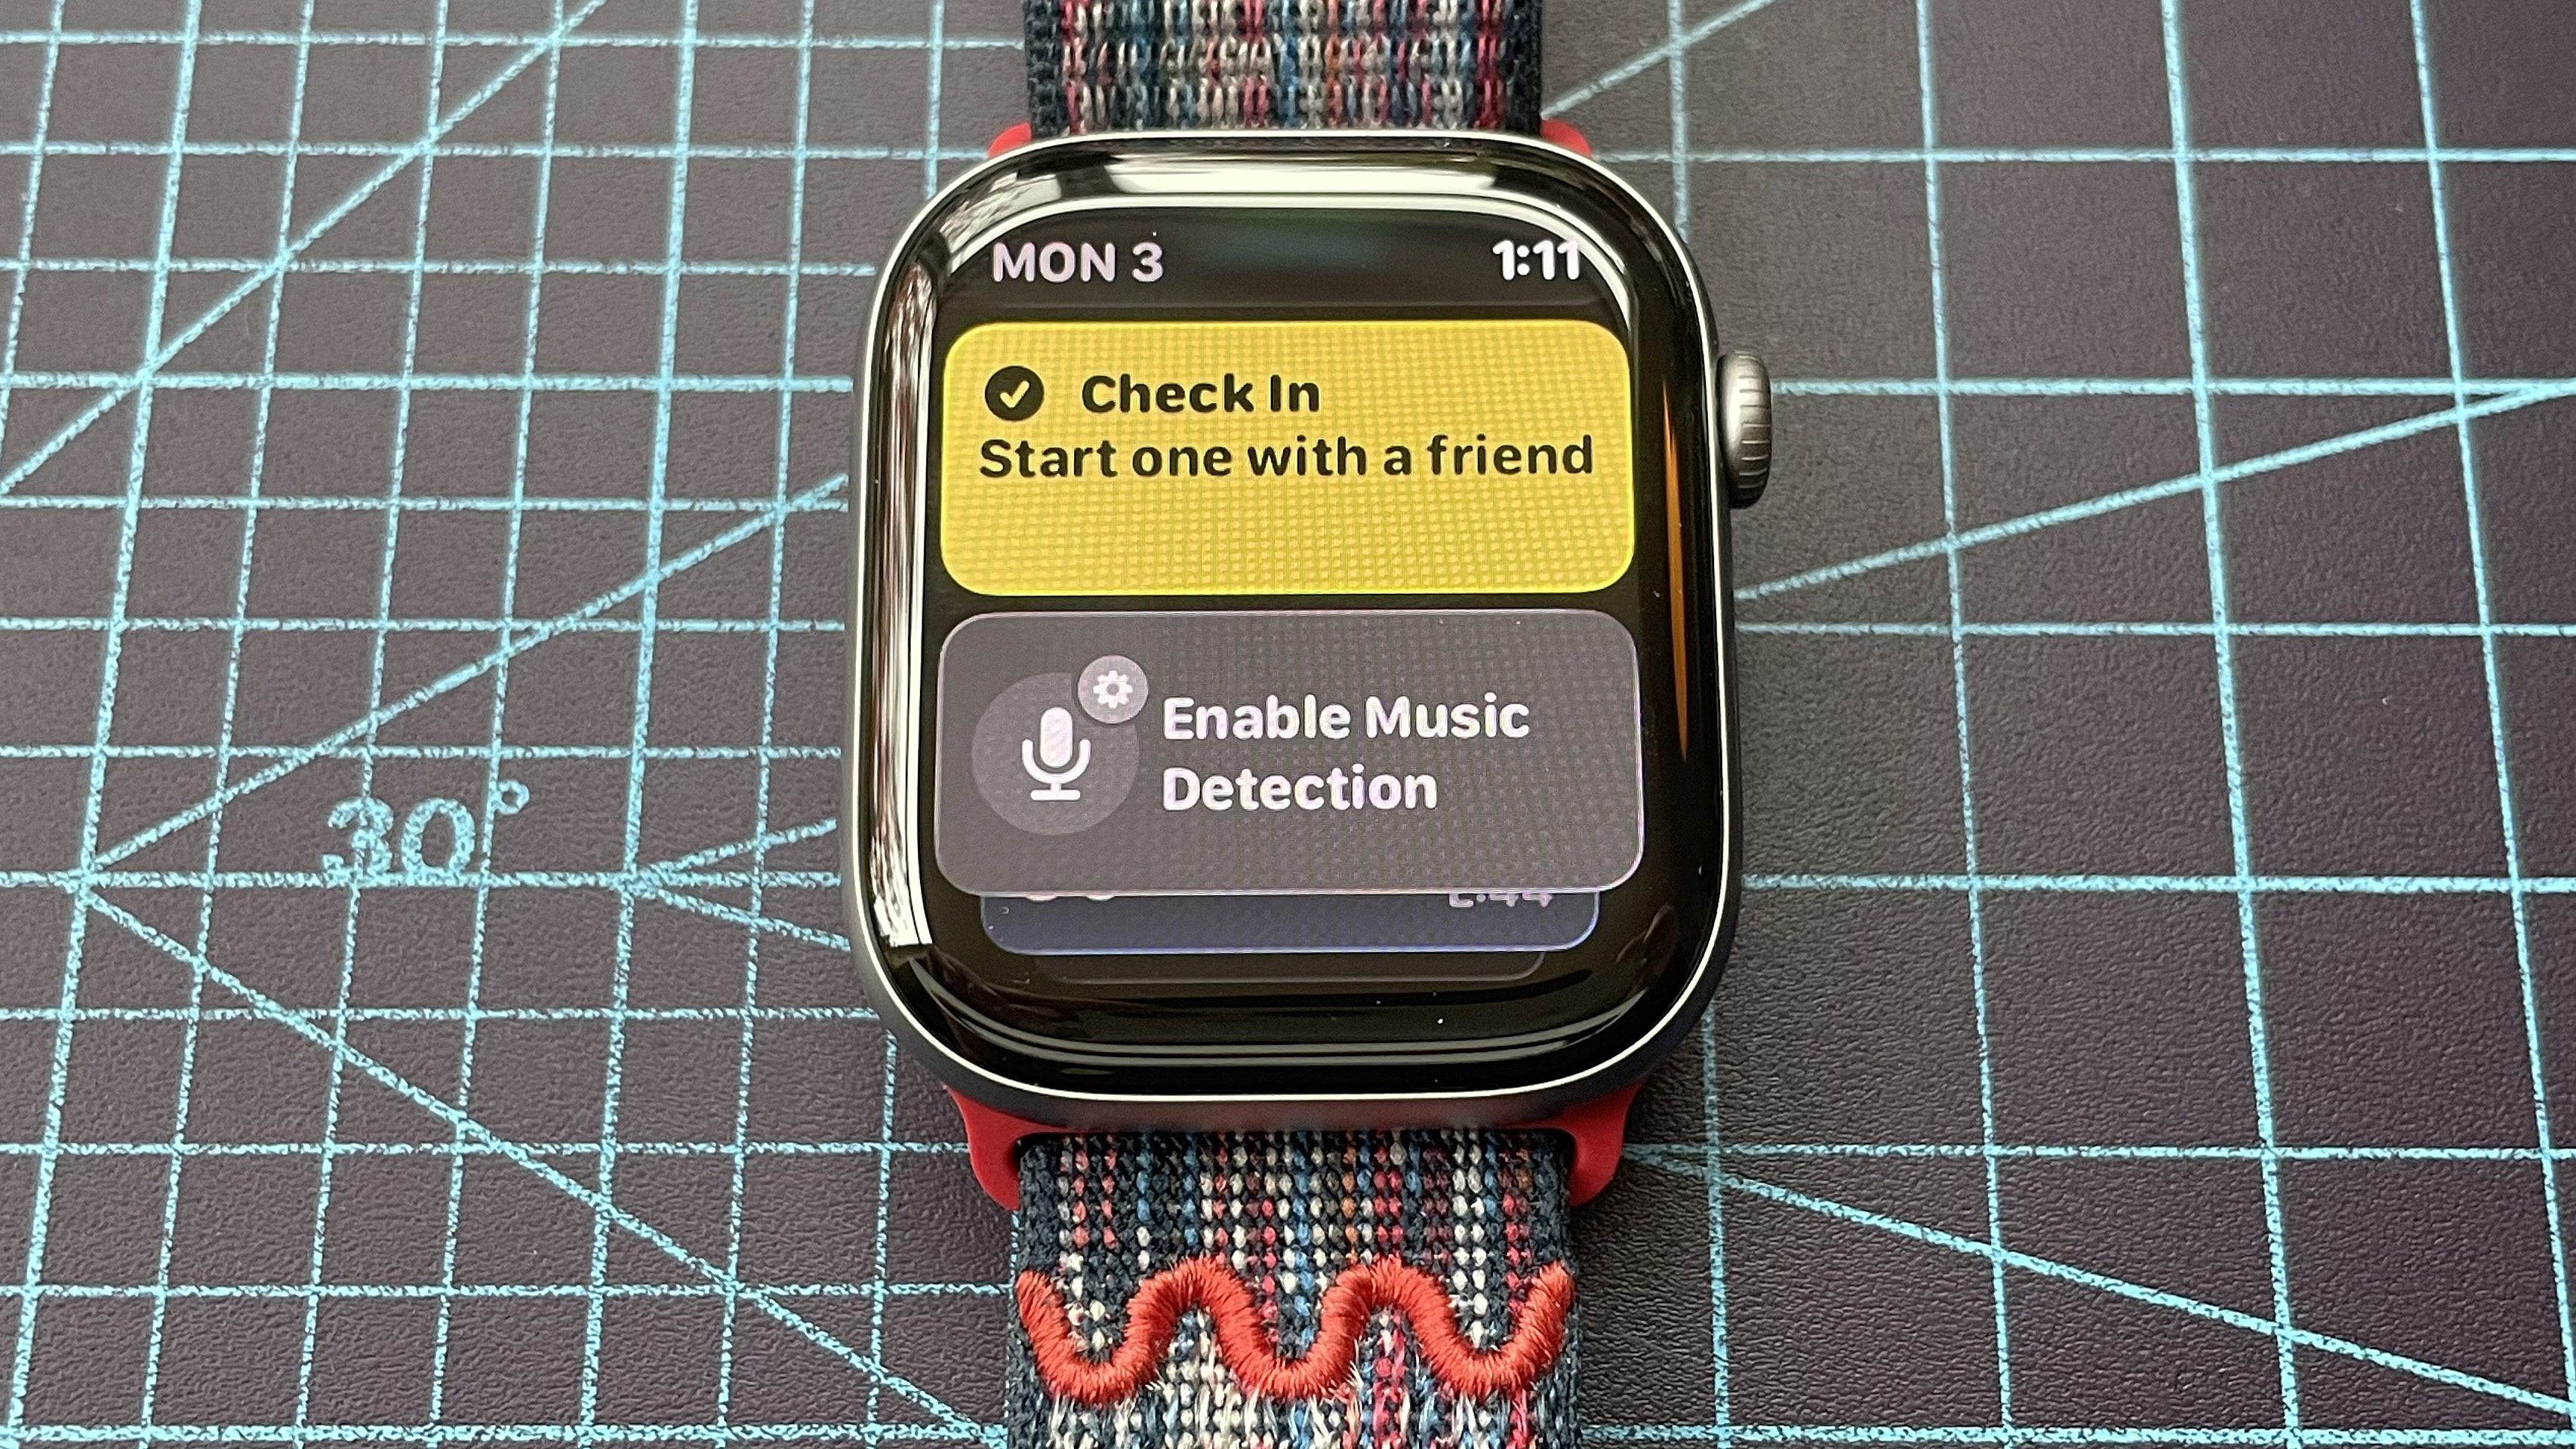

(Image: © Dan Bracaglia/Digitpatrox)
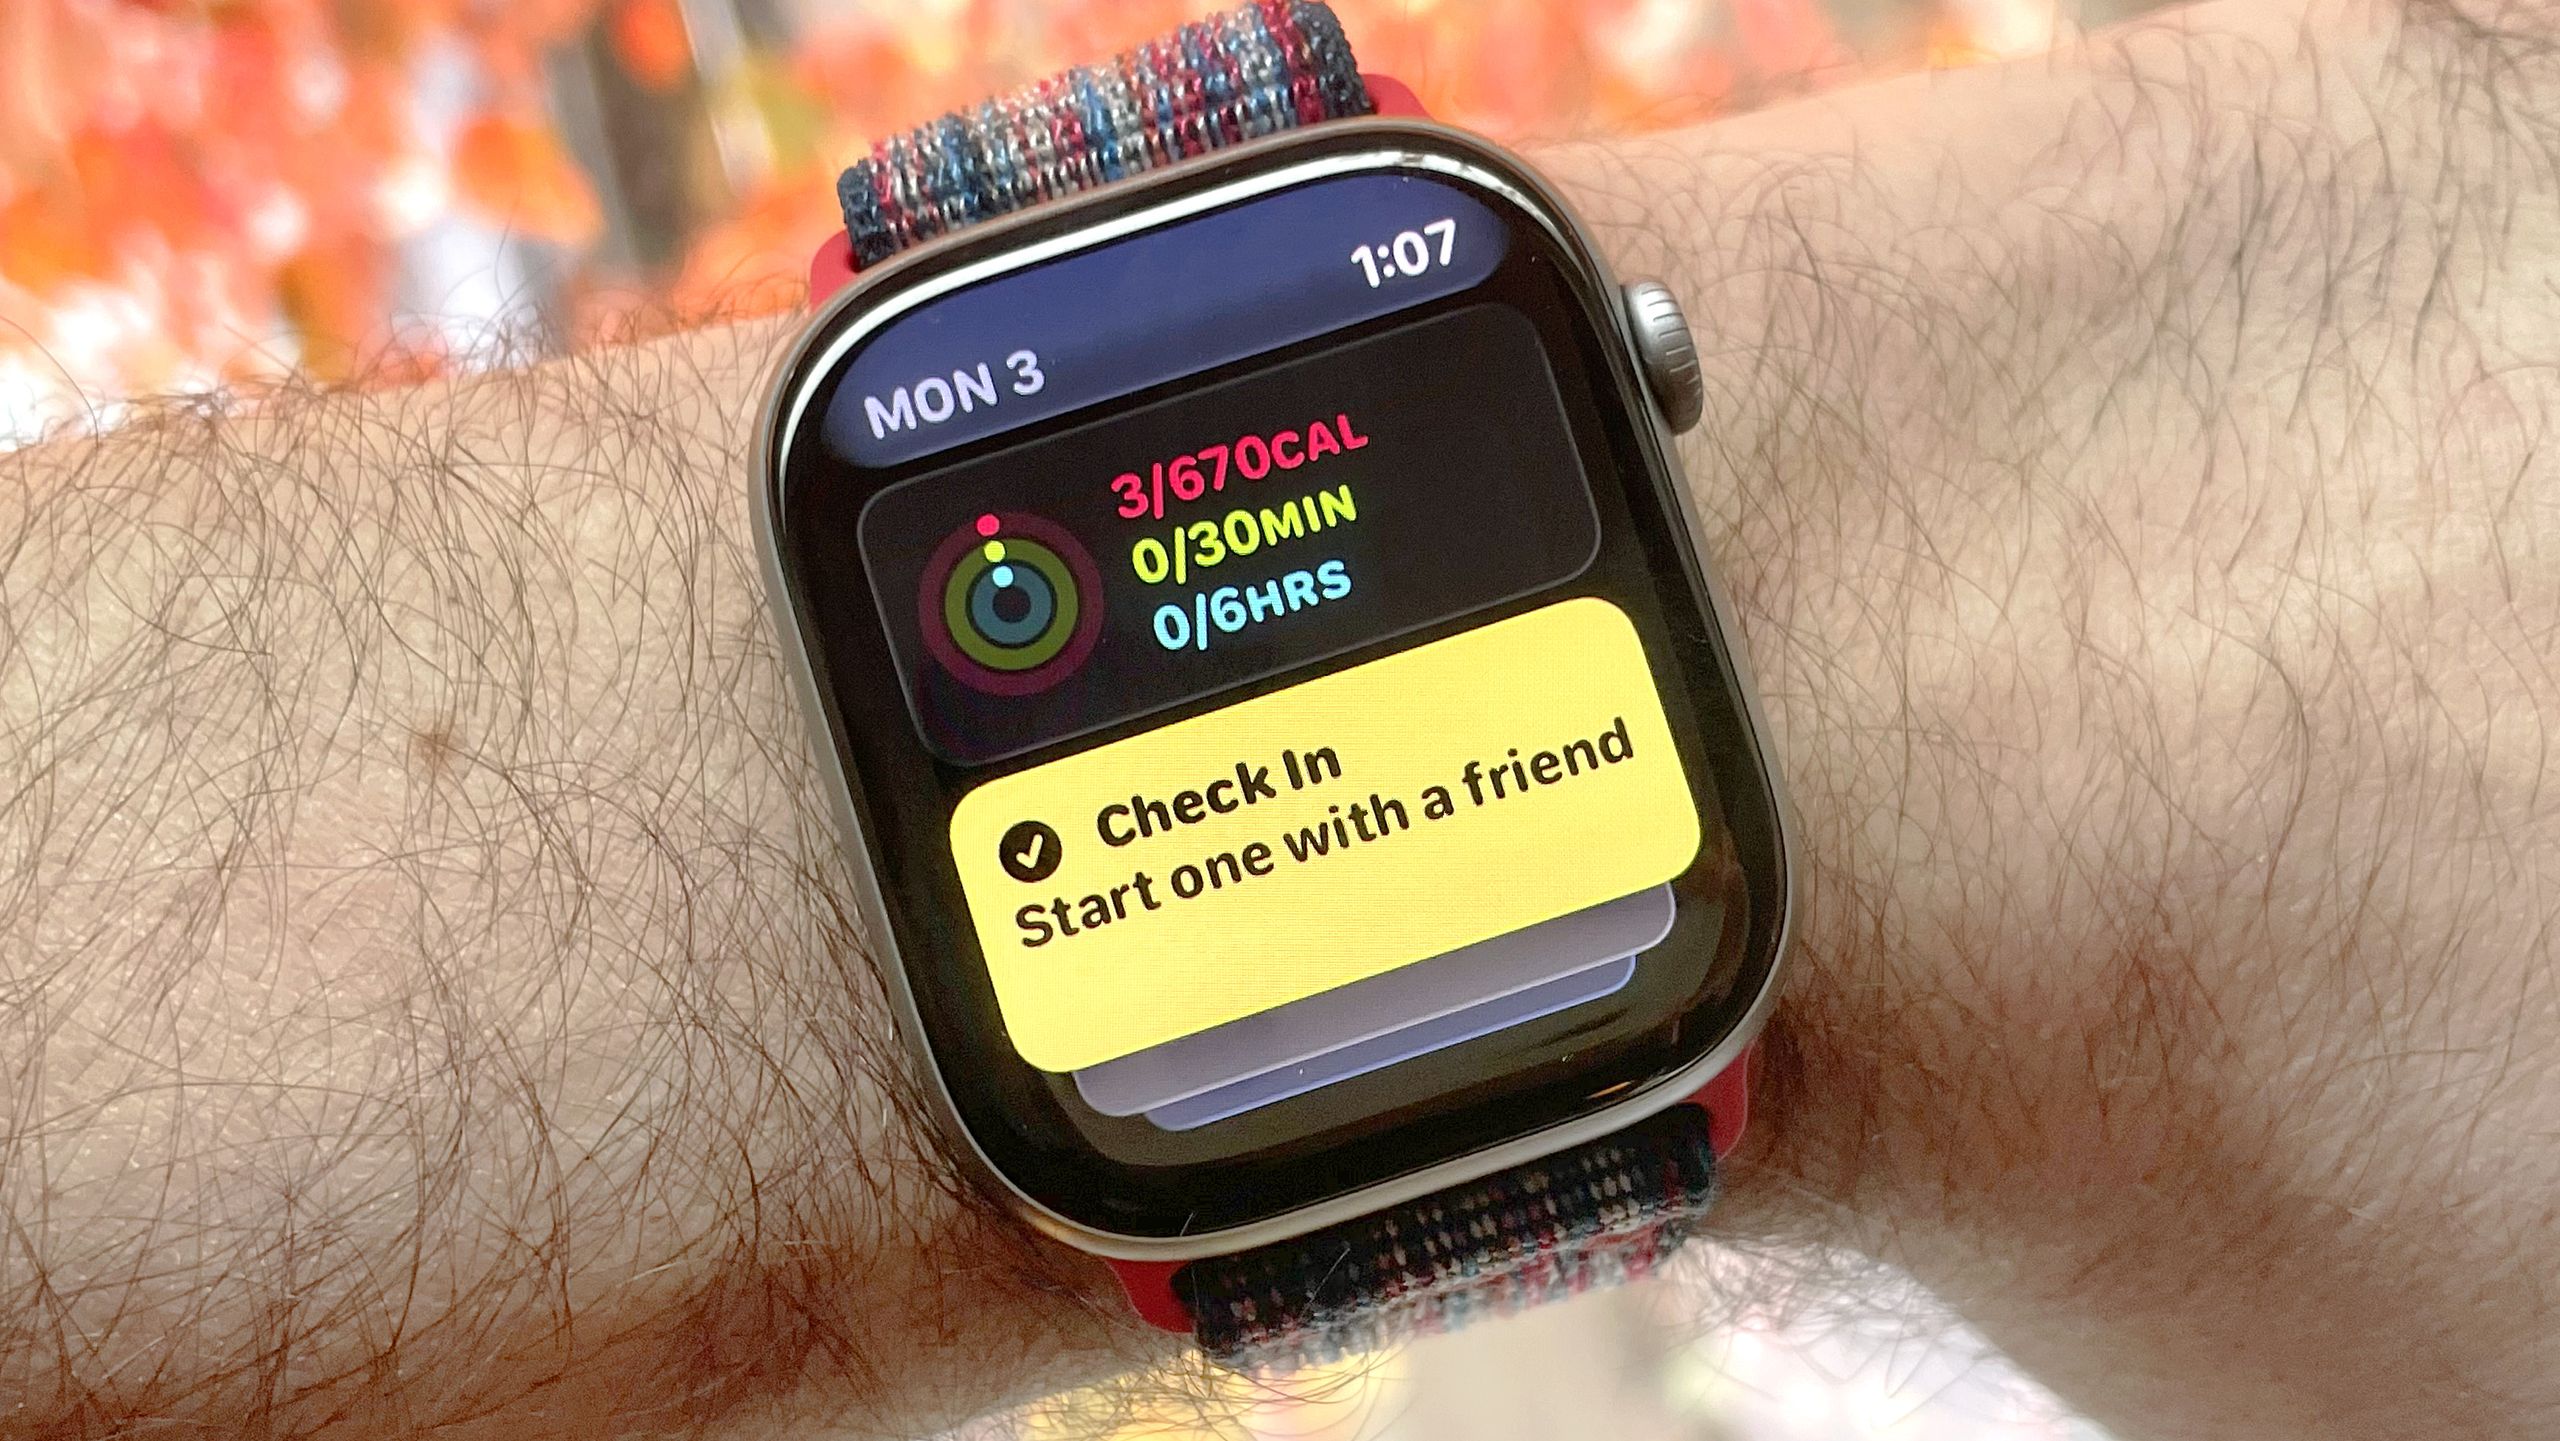
Now it’s time to send your first Check In. From the homescreen of the Apple Watch, swipe up to open the Smart Stack, scroll down until you find the yellow Check In widget, and tap it to start a Check In.
5. Choose your recipient via dictation, address book or search
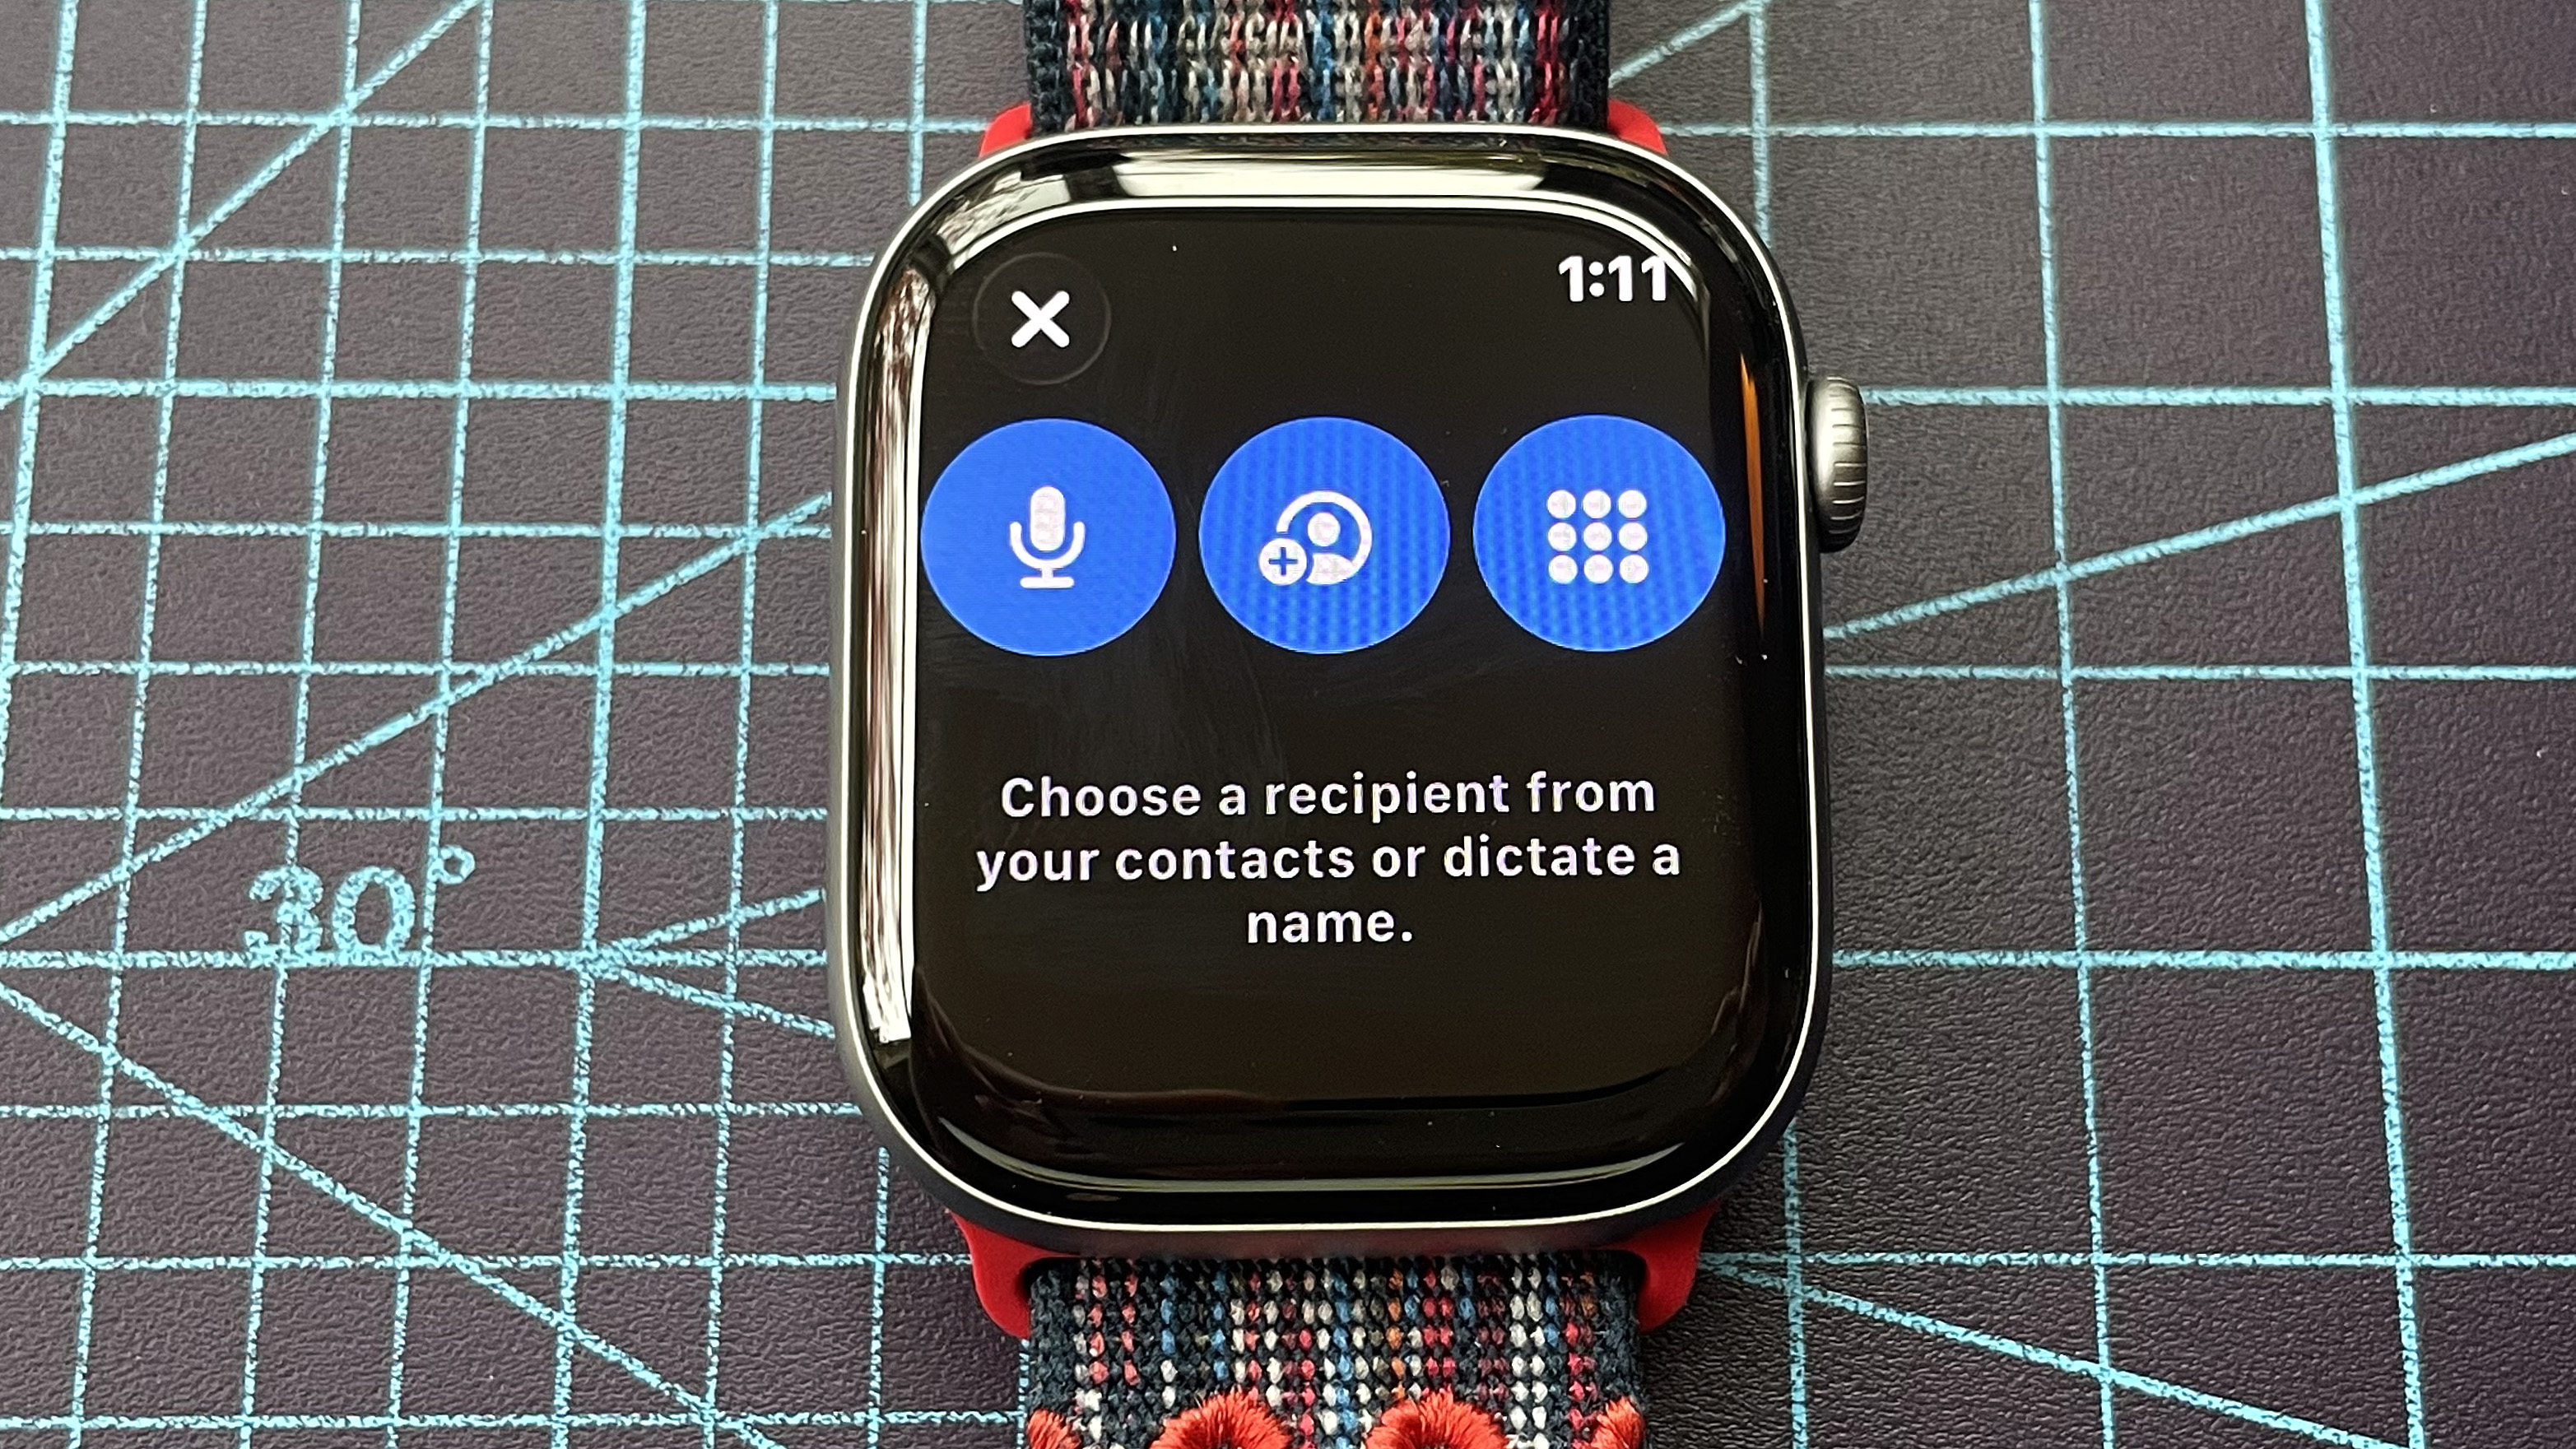

(Image: © Dan Bracaglia/Digitpatrox)
The first step of a Check In is to choose your recipient(s), either via dictation, address book search, or manually entering a phone number.
6. Choose how you want to Check In: timer, destination or workout
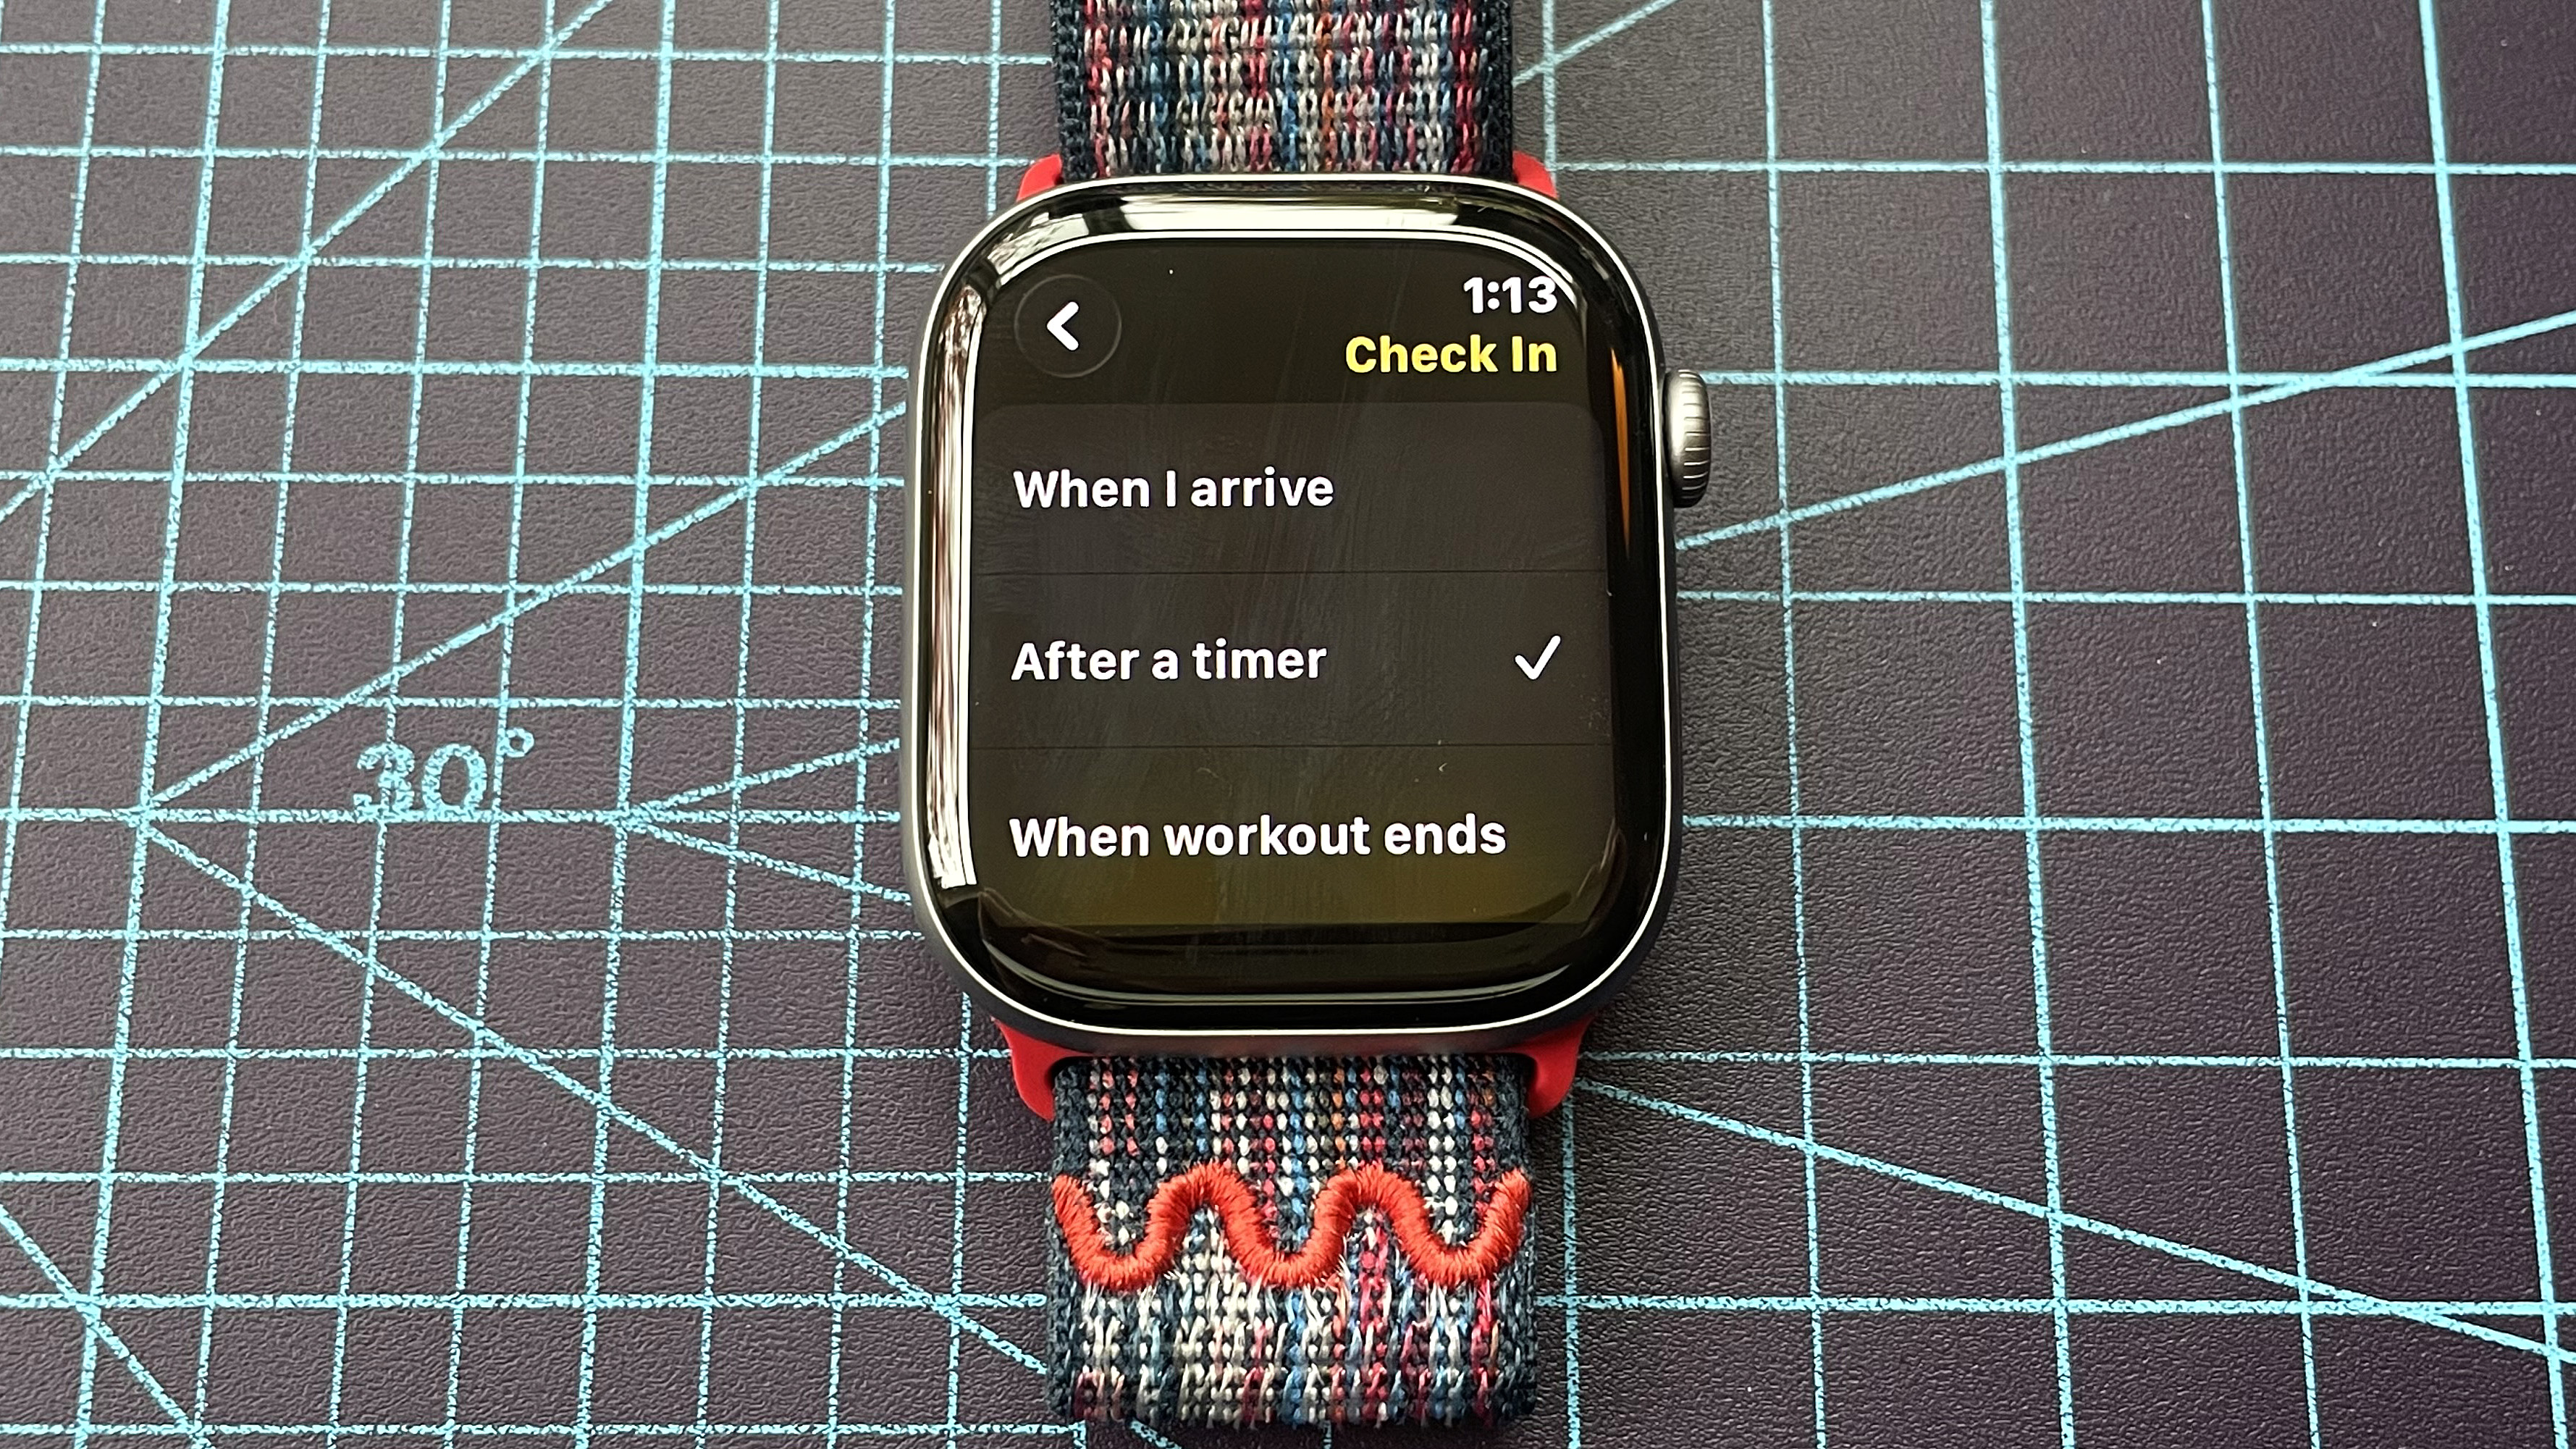

(Image: © Dan Bracaglia/Digitpatrox)
Once you’ve selected your Check In recipients, it’s time to select how the Check In will be generated. Tap ‘edit’ in the upper grey box and then tap ‘Check In.’ Here you’ll be presented with three options. ‘When I arrive’ is based on destination and will alert your selected contacts when you safely arrive using GPS data.
‘After a timer’ is based on time elapsed. When it expires, you’ll be notified to Check In. Failing to do so alerts your contacts and sends your location data.
‘When a workout ends’ sends an alert to your contacts when you’ve manually completed an exercise in the Workout app, letting them know you’ve made it home safely. This one is particularly useful for folks who like to solo run, hike, bike, or walk an outdoor route.
7. Edit the send details
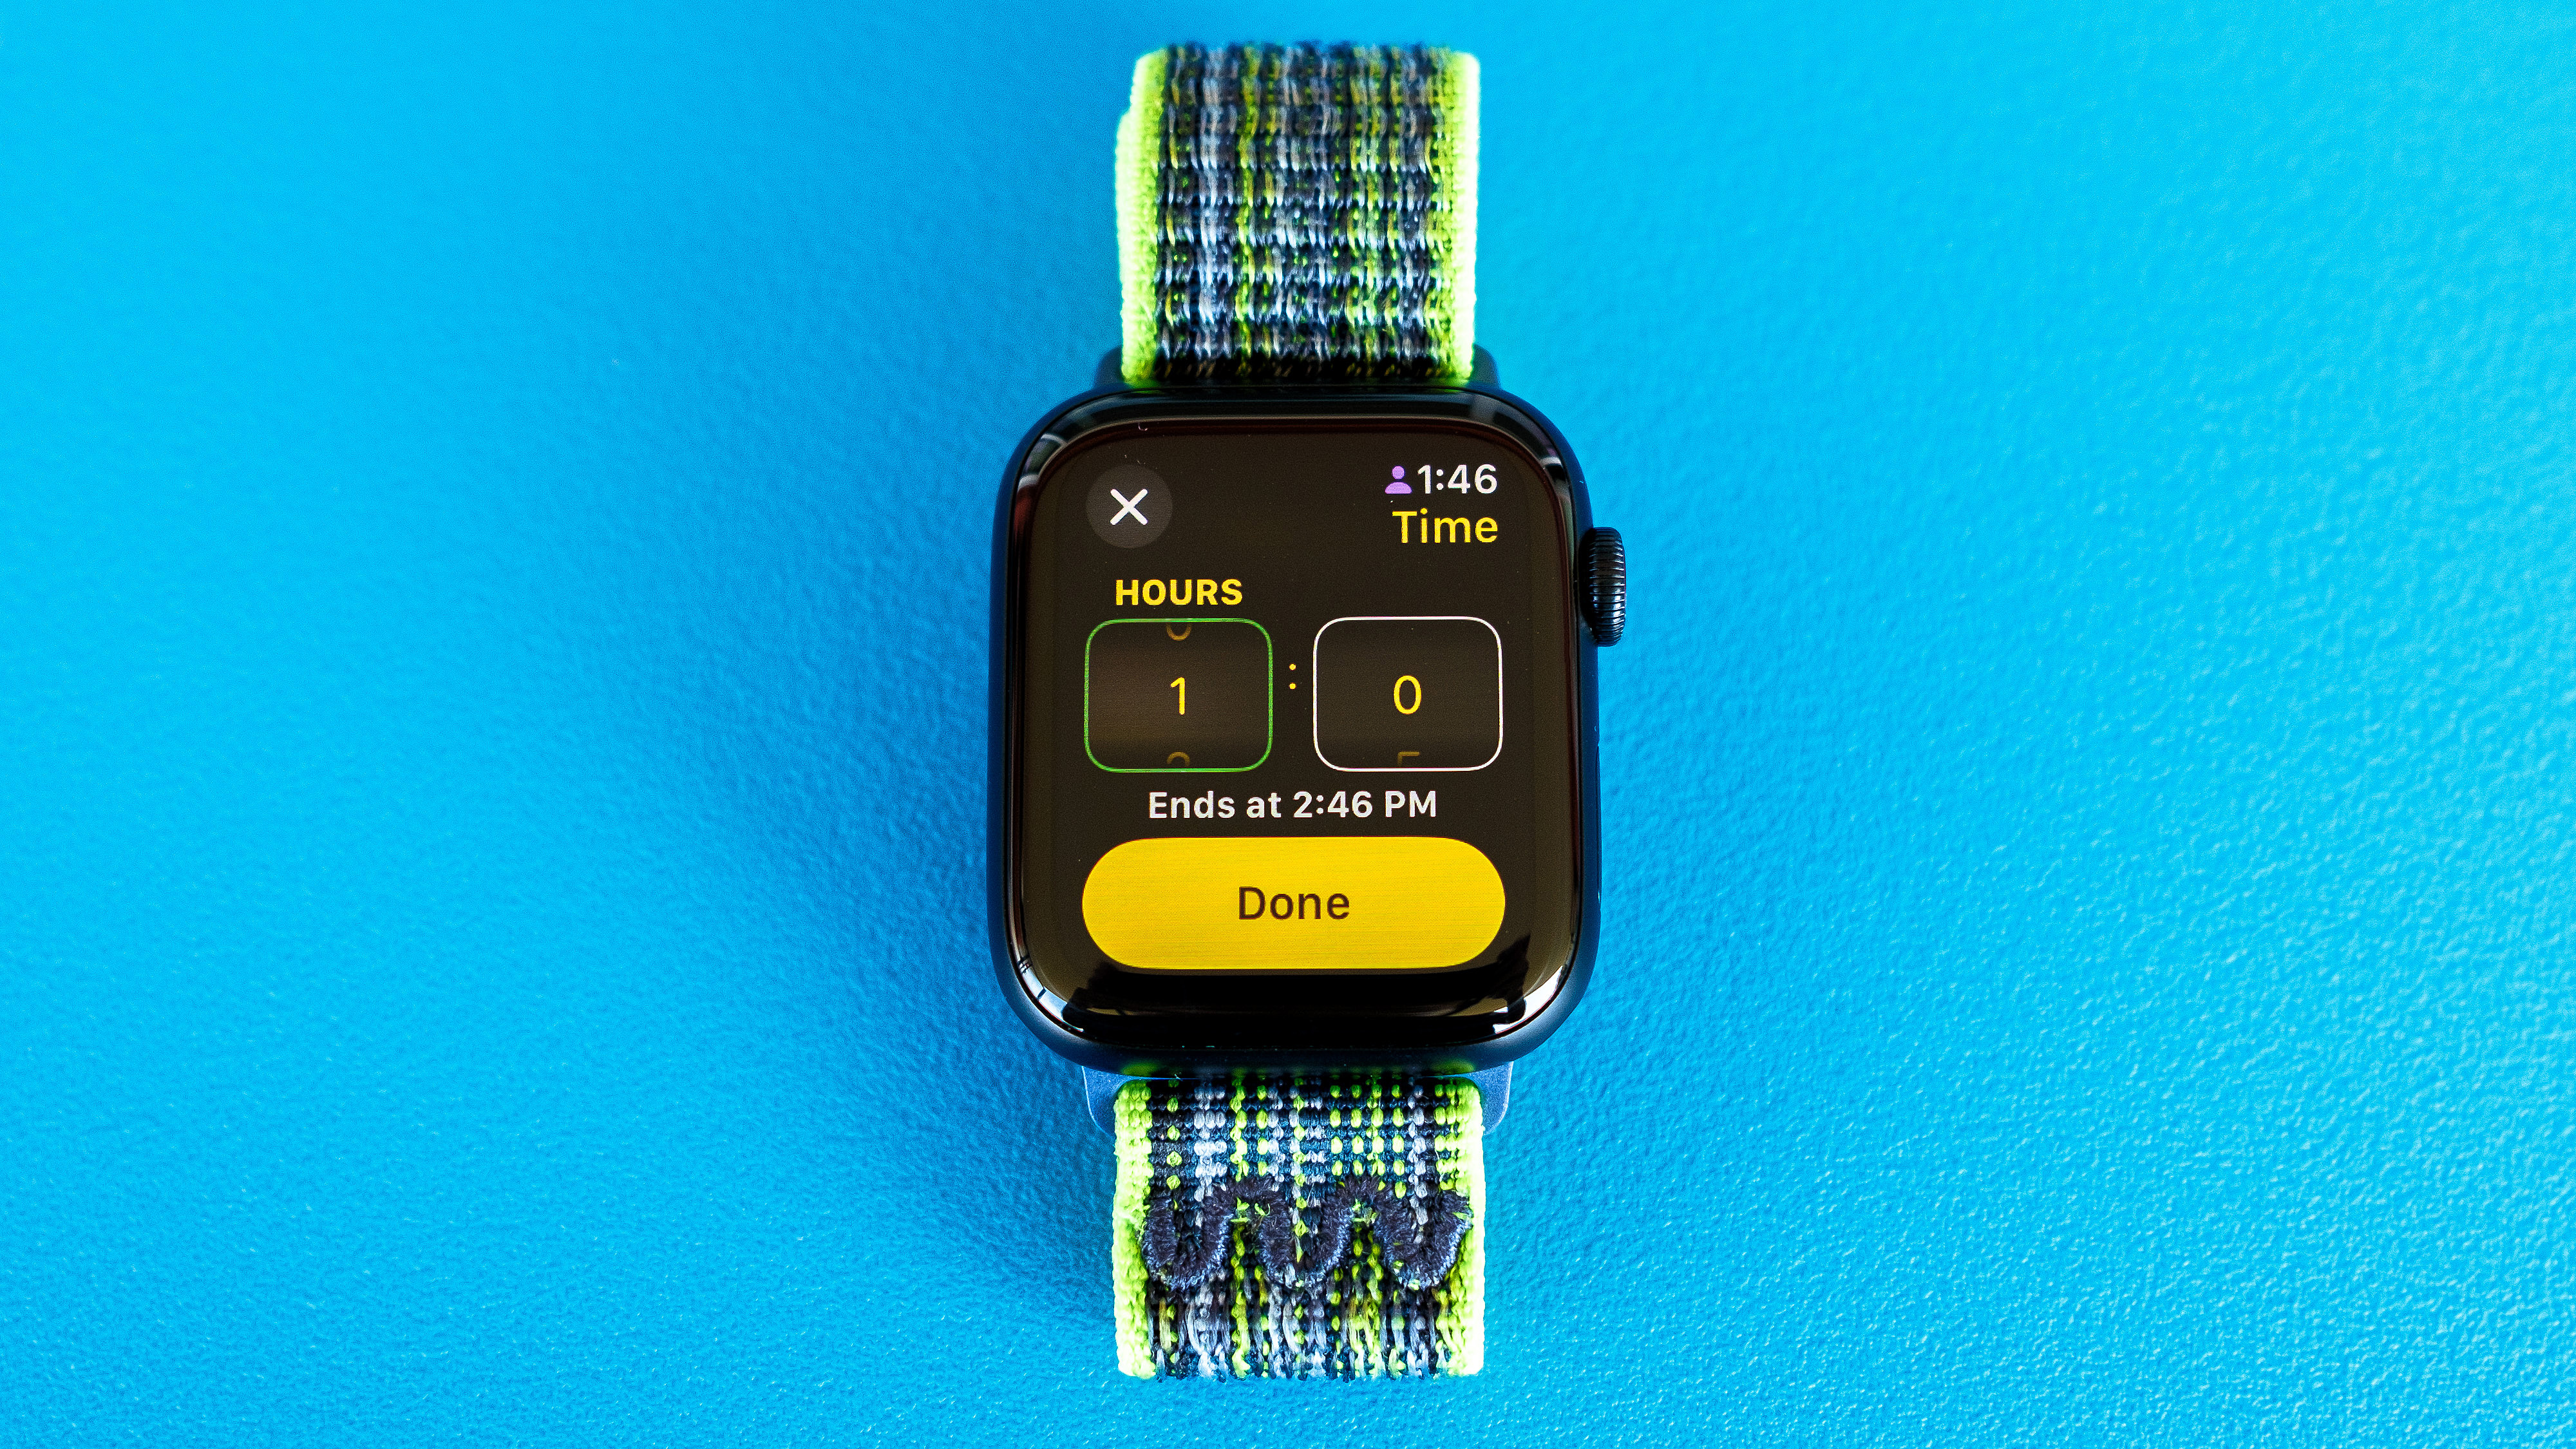

(Image: © Dan Bracaglia/Digitpatrox)
When checking in via arrival, simply search and select your destination. Tap the checkmark in the upper right corner to verify your selection.
If you’re checking in via a timer, options are in increments of five minutes up to eight hours. Flick your finger to scroll through the minutes and hours. Click ‘Done’ when you’re happy with your selection and again tap the checkmark in the upper right to verify everything.
To Check In via workout, you’ll need to open the Workout app, select an exercise, and start it. Then, scroll to the left and then down to select Check In. From there, you can edit the details and send your Check In.
8. Send your Check In
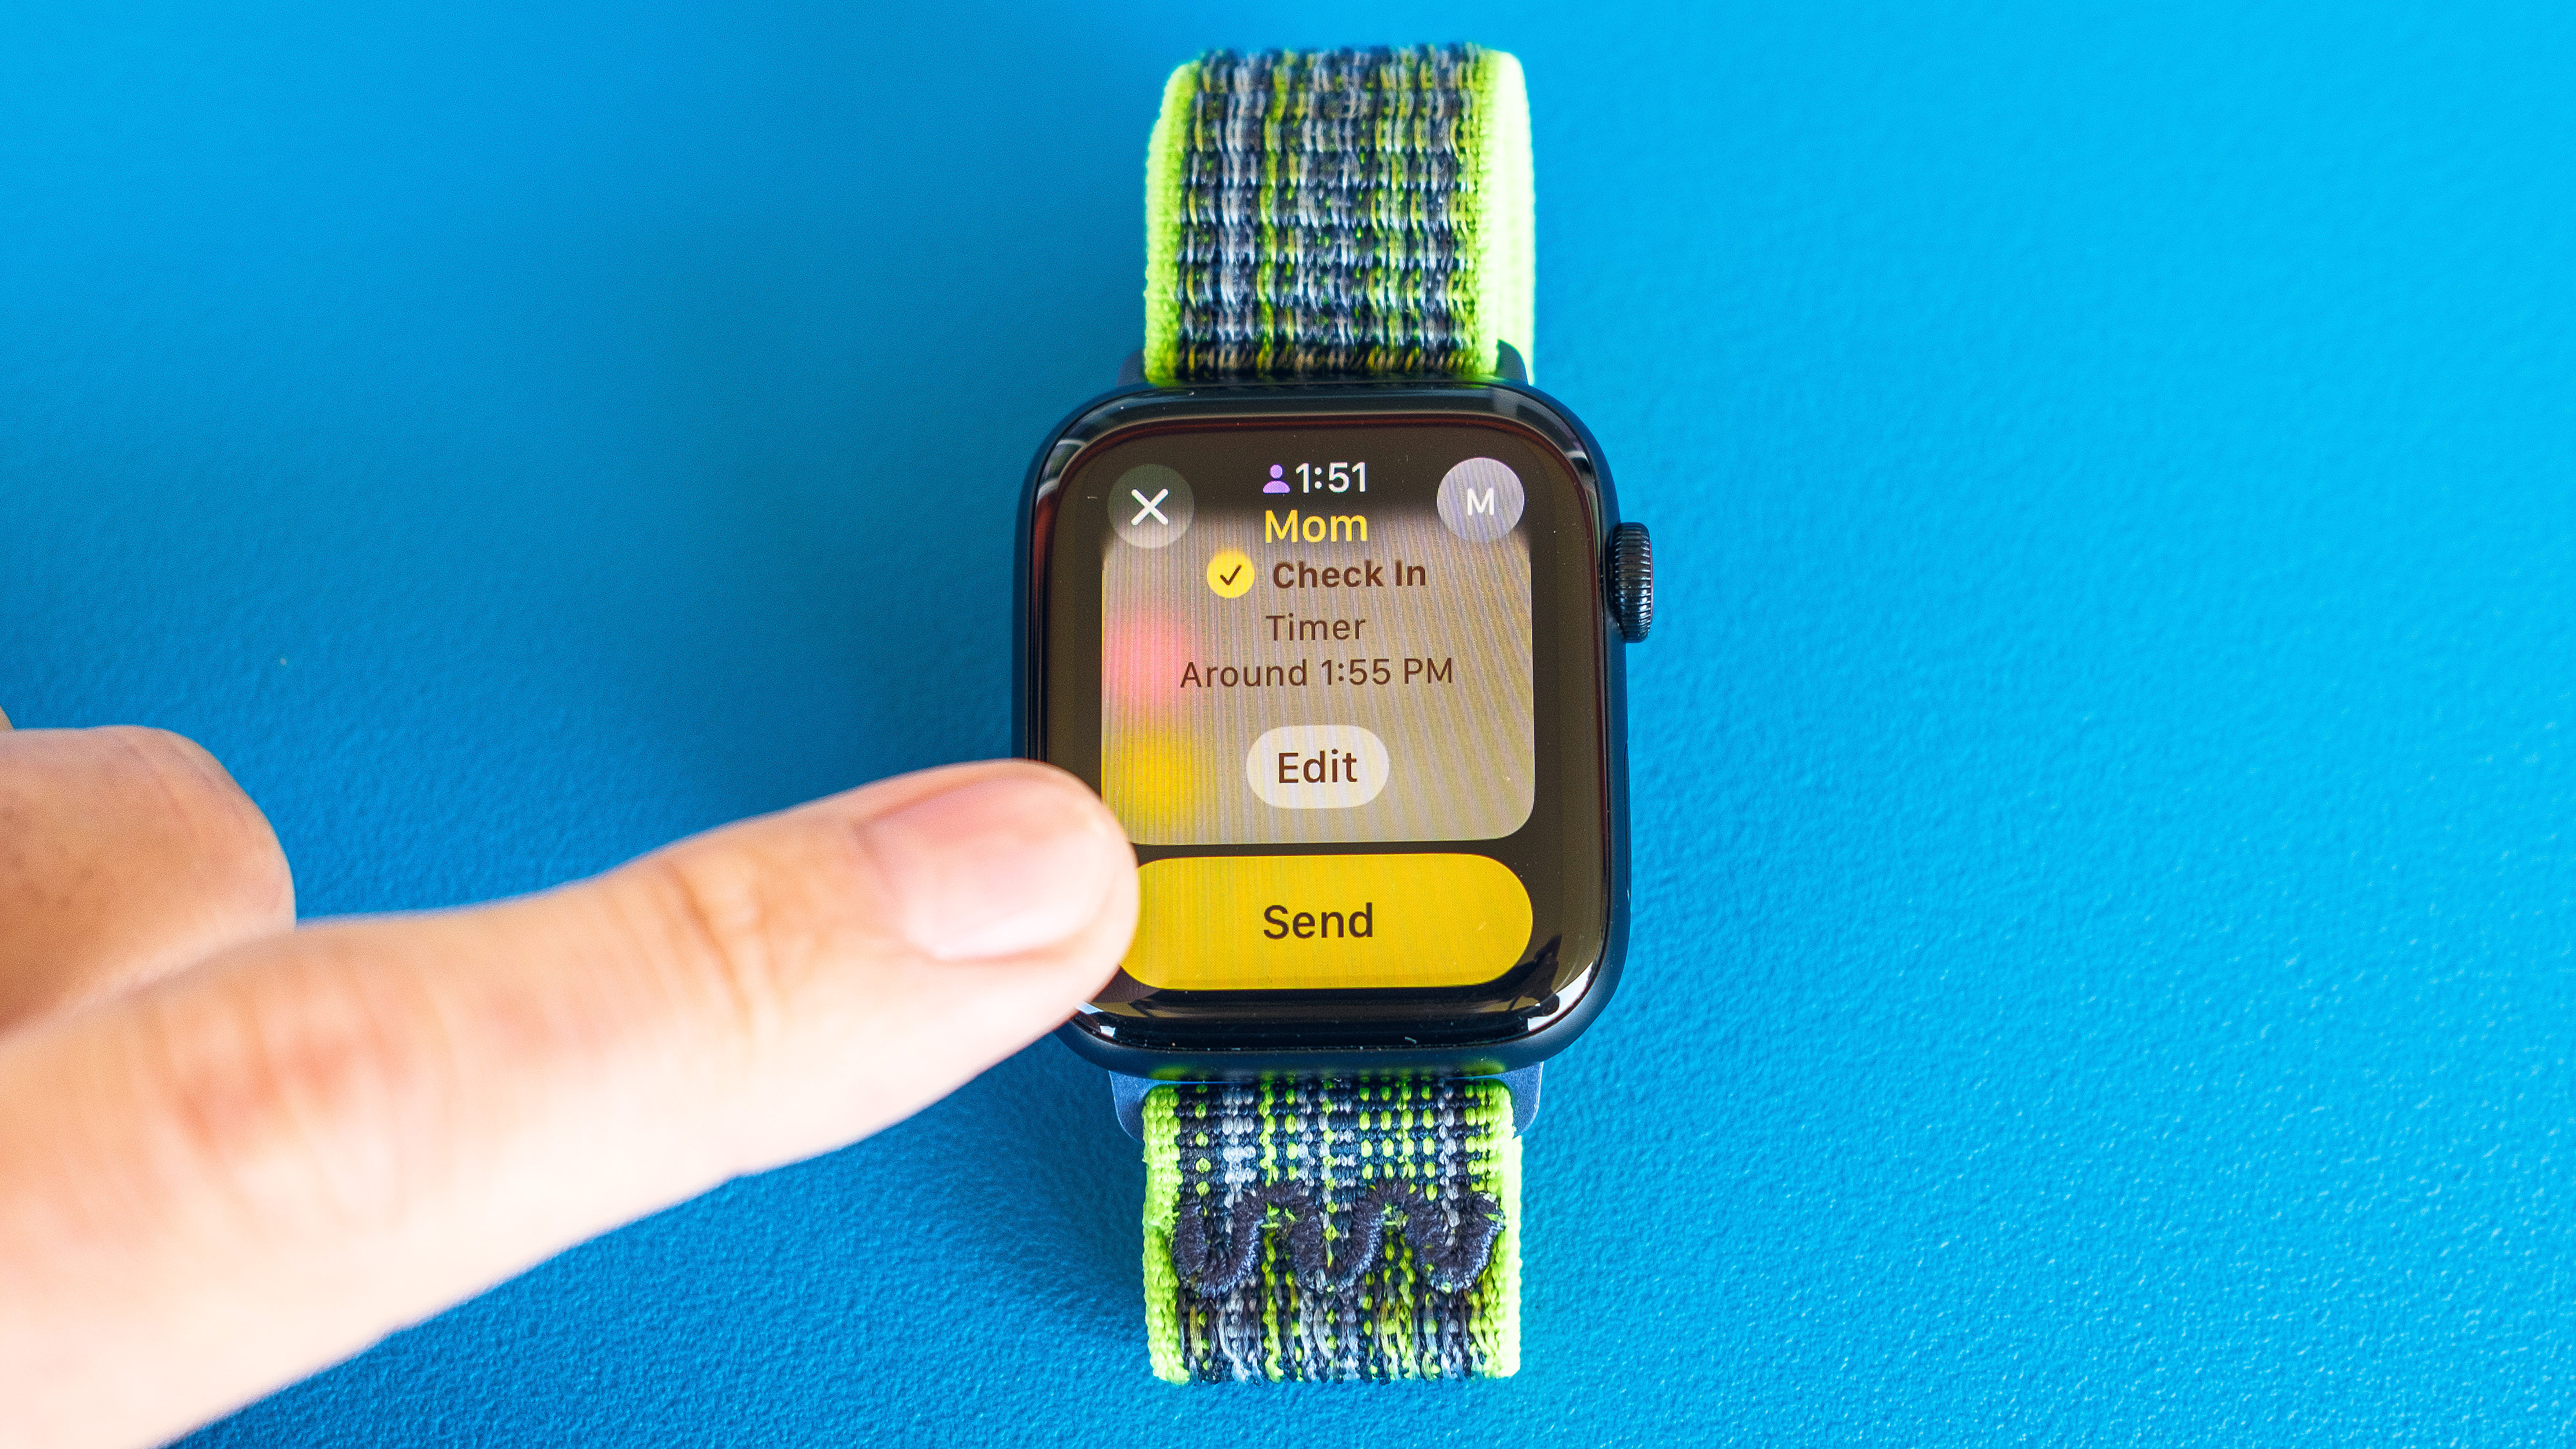
(Image: © Dan Bracaglia/Digitpatrox)
The final step, once all the important details of your safety Check In are locked down, is to click ‘Send’ to launch your Check In message and alert your recipients.

And there you have it, how to Check In on your Apple Watch in watchOS 26 without breaking a sweat. This is a great feature to use if you’re heading out on an adventure outdoors — even if you’re rolling with a crew — on a first date, on a road trip, or in any other scenario where safety is paramount.
Want more ways to get the most out of your Apple Watch? If you’ve already made the jump to watchOS 26, you can now do all sorts of other cool new things, like view your daily sleep score, flick your wrist to dismiss notifications, (finally) access the Notes app, and even translate messages in real time.
More from Digitpatrox
Source link
-

-

-

-
-


